Authenticate with Dex
Dex is an OpenID Connect identity hub. Dex can be used to expose a consistent
OpenID Connect interface to your applications while allowing your users to authenticate using their existing credentials
from various back-ends, including LDAP, SAML, and other OIDC providers. Using an identity hub like Dex has the advantage
of allowing you to change your authentication back-ends without affecting the rest of the system.
You can also use Dex for authentication to the Kubernetes API server itself; for example, to allow LDAP logins to work
with kubectl. This is outside the scope of this document, but you can read more about it
here.
In this guide we will see how to authenticate users with your application via an OIDC flow that uses Dex as an identity provider. This guide is just an example to get you started and does not cover all aspects of a complete setup, like setting up a domain and SSL certificates.
Setup
This feature requires Gloo Gateway’s external auth server to communicate with an external OIDC provider/authorization server.
Because of this interaction, the OIDC flow may take longer than the default timeout of 200ms.
You can increase this timeout by setting the requestTimeout value on external auth settings
.
The external auth settings can be configured on the global Gloo Gateway Settings object
.
This guide assumes that you have deployed Gloo to the gloo-system namespace and that the glooctl command line utility
is installed on your machine. glooctl provides several convenient functions to view, manipulate, and debug Gloo resources;
in particular, it is worth mentioning the following command, which we will use each time we need to retrieve the URL of
the Gloo Gateway that is running inside your cluster:
glooctl proxy url
Deploy sample application
The sample petclinic application deploys a MySql server. If you are using minikube v1.5 to run this guide, this
service is likely to crash due a minikube issue.
To get around this, you can start minikube with the following flag:
minikube start --docker-opt="default-ulimit=nofile=102400:102400"
Let’s deploy a sample web application that we will use to demonstrate these features:
kubectl apply -f https://raw.githubusercontent.com/solo-io/gloo/v0.8.4/example/petclinic/petclinic.yaml
Creating a Virtual Service
Now we can create a Virtual Service that routes all requests (note the / prefix) to the petclinic service.
apiVersion: gateway.solo.io/v1
kind: VirtualService
metadata:
  name: petclinic
  namespace: gloo-system
spec:
  virtualHost:
    domains:
    - '*'
    routes:
    - matchers:
      - prefix: /
      routeAction:
        single:
          kube:
            ref:
              name: petclinic
              namespace: default
            port: 80
To verify that the Virtual Service has been accepted by Gloo Gateway, let’s port-forward the Gateway Proxy service so that it is
reachable from your machine at localhost:8080:
kubectl -n gloo-system port-forward svc/gateway-proxy 8080:80
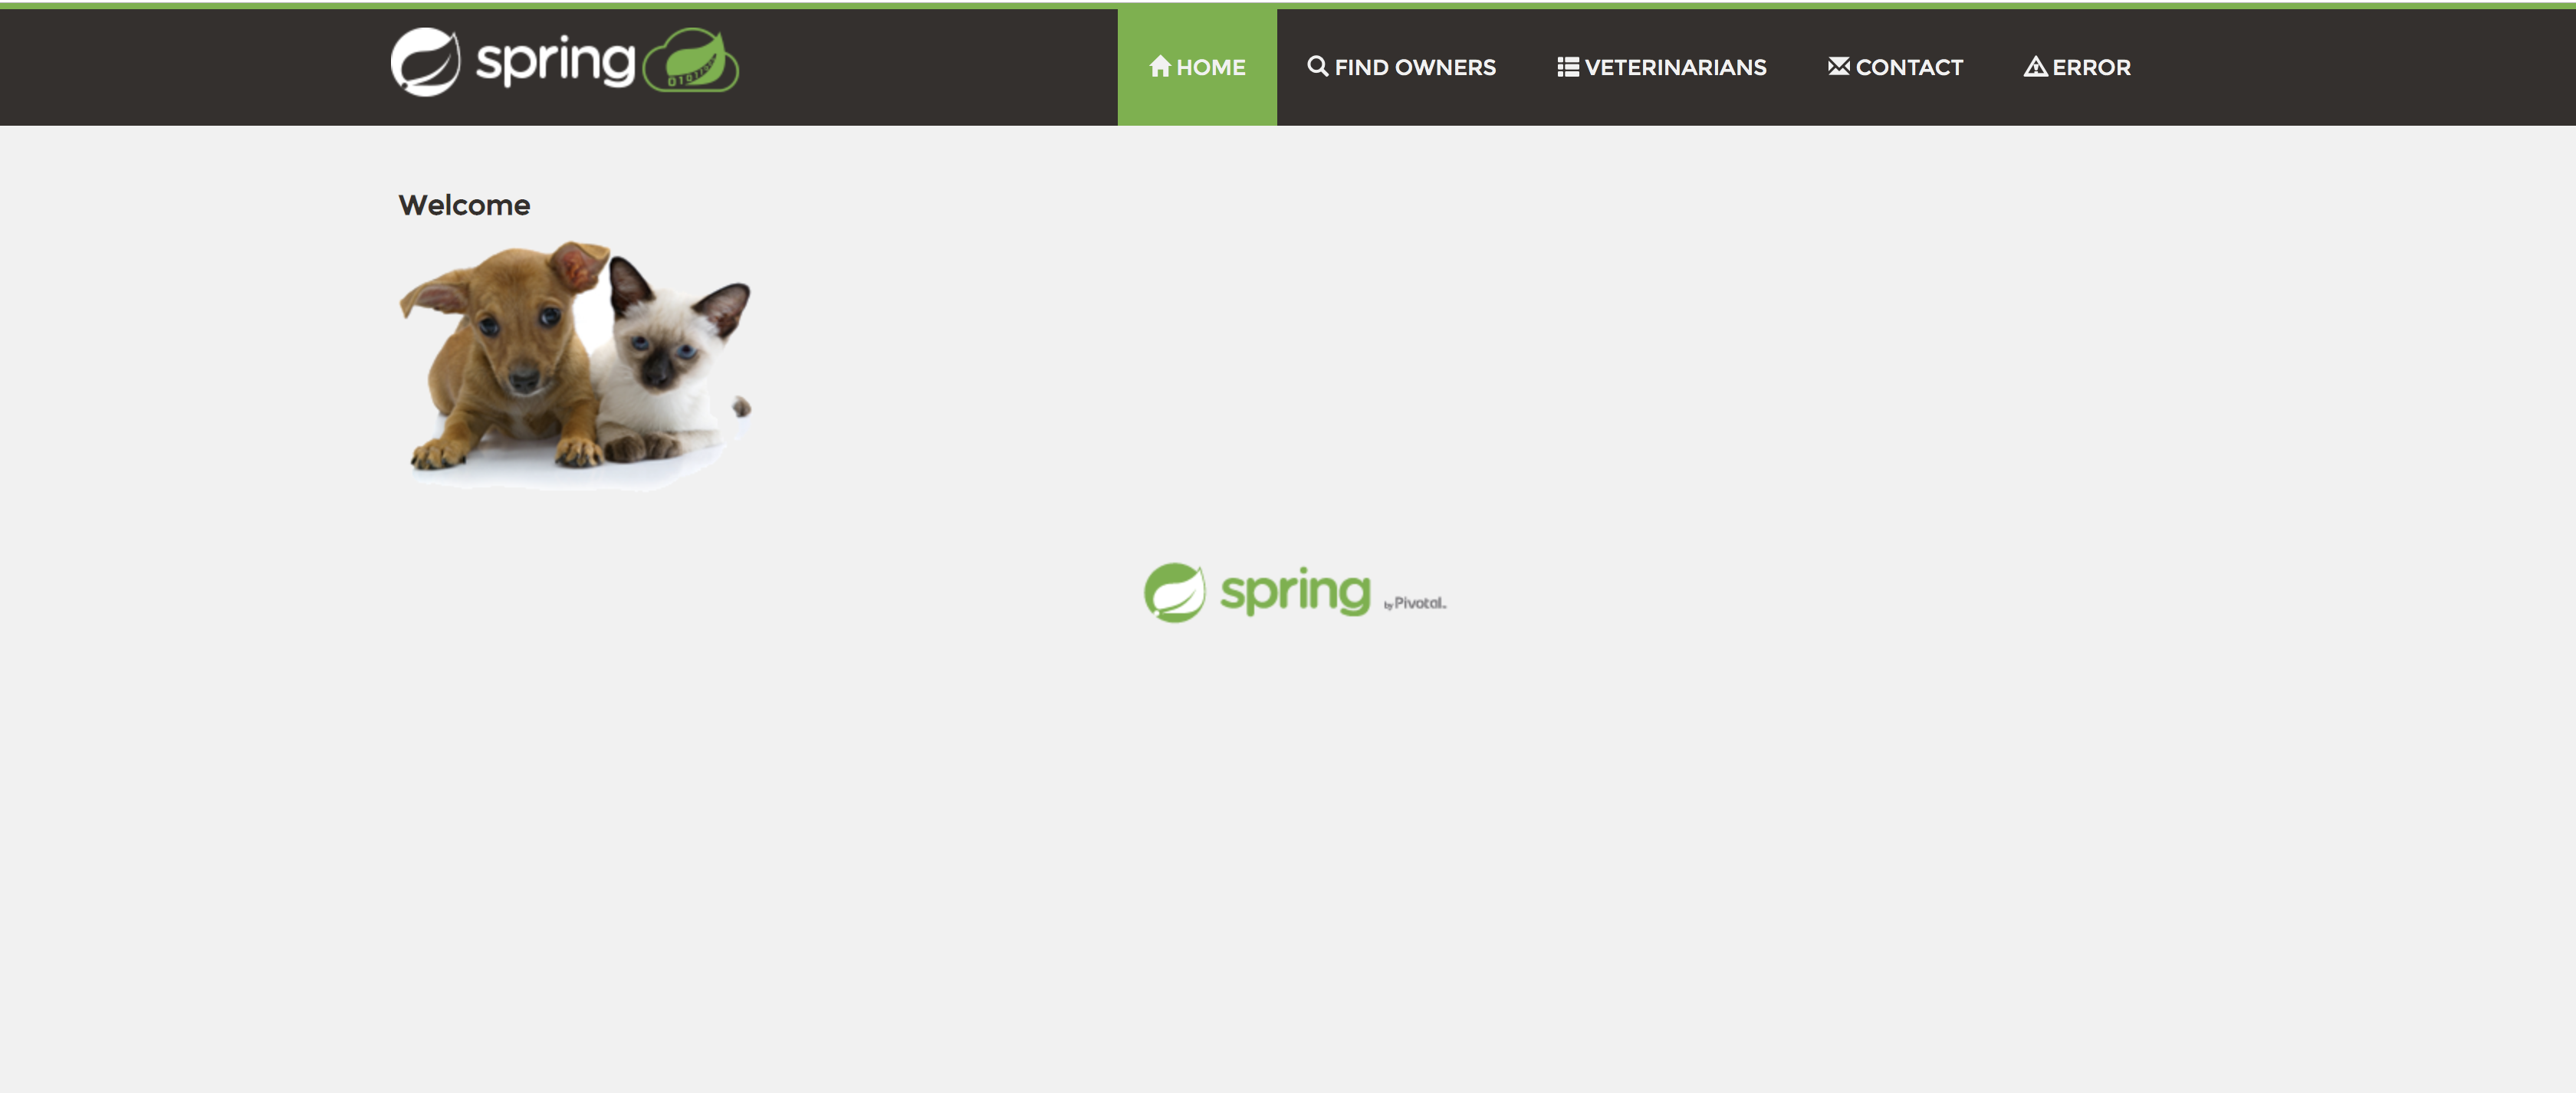
If you open your browser and navigate to http://localhost:8080 you should see the following page (you might need to wait a minute for the containers to start):
Securing the Virtual Service
As we just saw, we were able to reach our application without having to provide any credentials. This is because by default Gloo Gateway allows any request on routes that do not specify authentication configuration. Let’s change this behavior. We will update the Virtual Service so that each request to the sample application is authenticated using an OpenID Connect flow.
Install Dex
To implement the authentication flow, we need an OpenID Connect provider to be running in your cluster. To this end, we will deploy the Dex identity service, as it easy to install and configure.
Let’s start by defining a dex-values.yaml Helm values file with some bootstrap configuration for Dex:
cat > dex-values.yaml <<EOF
config:
  # The base path of dex and the external name of the OpenID Connect service.
  # This is the canonical URL that all clients MUST use to refer to dex. If a
  # path is provided, dex's HTTP service will listen at a non-root URL.
  issuer: http://dex.gloo-system.svc.cluster.local:32000
  # Instead of reading from an external storage, use this list of clients.
  staticClients:
  - id: gloo
    redirectURIs:
    - 'http://localhost:8080/callback'
    name: 'GlooApp'
    secret: secretvalue
  # Allow dex to store the static list of clients in memory
  enablePasswordDB: true
    storage:
      type: memory
  # A static list of passwords to login the end user. By identifying here, dex
  # won't look in its underlying storage for passwords.
  staticPasswords:
  - email: "admin@example.com"
    # bcrypt hash of the string "password"
    hash: "\$2a\$10\$2b2cU8CPhOTaGrs1HRQuAueS7JTT5ZHsHSzYiFPm1leZck7Mc8T4W"
    username: "admin"
    userID: "08a8684b-db88-4b73-90a9-3cd1661f5466"
EOF
This configures Dex with a static users. Notice how we choose a client secret with value secretvalue for the client named gloo. Gloo Gateway will need to provide this secret when connecting to Dex in order to confirm its identity.
Note that the above configuration uses unsecured http traffic without SSL certificates. You can have Dex generate its own certificates by including settings for the Helm chart on the path certs.web.altNames. The names should be set to the fully-qualified domain name of the Dex service on Kubernetes and the Dex URL, which would be dex.gloo-system.svc.cluster.local and https://dex.gloo-system.svc.cluster.local:32000. You would then need to add the Dex web server certificate authority to Gloo Gateway’s external authentication so the web certificates used by the Dex service will be trusted. You can find more information about adding trusted CAs to the Ext Auth service here.
Using this configuration, we can deploy Dex to our cluster using Helm.
If helm repo list doesn’t list the dex repo, invoke:
helm repo add dex https://charts.dexidp.io
And then install dex (helm 3 command follows):
helm install dex --namespace gloo-system dex/dex -f dex-values.yaml
Make the client secret accessible to Gloo Gateway
To be able to act as our OIDC client, Gloo Gateway needs to have access to the client secret we defined in the Dex configuration,
so that it can use it to identify itself with the Dex authorization server. Gloo Gateway expects the client secret to be stored
in a specific format inside of a Kubernetes Secret.
Let’s create the secret and name it oauth:
glooctl create secret oauth --client-secret secretvalue oauth
apiVersion: v1
kind: Secret
type: extauth.solo.io/oauth
metadata:
  name: oauth
  namespace: gloo-system
data:
  # The value is a base64 encoding of the following YAML:
  # client_secret: secretvalue
  # Gloo Gateway expects OAuth client secrets in this format.
  client-secret: Y2xpZW50U2VjcmV0OiBzZWNyZXR2YWx1ZQo=
Create an AuthConfig
The auth configuration format shown on this page was introduced with Gloo Enterprise, release 0.20.1. If you are using an earlier version, please refer to this page to see which configuration formats are supported by each version.
Now that all the necessary resources are in place we can create the AuthConfig resource that we will use to secure our
Virtual Service.
apiVersion: enterprise.gloo.solo.io/v1
kind: AuthConfig
metadata:
  name: oidc-dex
  namespace: gloo-system
spec:
  configs:
  - oauth2:
      oidcAuthorizationCode:
        appUrl: http://localhost:8080/
        callbackPath: /callback
        clientId: gloo
        clientSecretRef:
          name: oauth
          namespace: gloo-system
        issuerUrl: http://dex.gloo-system.svc.cluster.local:32000/
        scopes:
        - email
        session:
          cookieOptions:
            notSecure: true
The above configuration uses the new oauth2 syntax. The older oauth syntax is still supported, but has been deprecated.
The above configuration instructs Gloo Gateway to use its extauth OIDC module to authenticate the incoming request. Notice how the configuration references the client secret we created earlier and compare the configuration values with the ones we used to bootstrap Dex.
Update the Virtual Service
Once the AuthConfig has been created, we can use it to secure our Virtual Service:
apiVersion: gateway.solo.io/v1
kind: VirtualService
metadata:
  name: petclinic
  namespace: gloo-system
spec:
  virtualHost:
    domains:
    - '*'
    routes:
    - matchers:
      - prefix: /
      routeAction:
        single:
          kube:
            ref:
              name: petclinic
              namespace: default
            port: 80
    options:
      extauth:
        configRef:
          name: oidc-dex
          namespace: gloo-system
Note this is a simplistic example that has a / catch-all path prefix route. Gloo Gateway needs to handle the /callback route and does so in the External Auth service. If you don’t have a matching route (ie, either using a / or /callback) for the callback setting, you’ll see 404s when the Identity Provider tries to callback to Gloo Gateway with the correct tokens. Please reach out to us on the Slack if you run into trouble here.
Testing our configuration
The OIDC flow redirects the client (in this case, your browser) to a login page hosted by Dex. Since Dex is running in your cluster and is not publicly reachable, we need some additional configuration to make our example work. Please note that this is just a workaround to reduce the amount of configuration necessary for this example to work.
- Port-forward the Dex service so that it is reachable from your machine at
localhost:32000:
kubectl -n gloo-system port-forward svc/dex 32000:32000 &
portForwardPid1=$! # Store the port-forward pid so we can kill the process later
- Add an entry to the
/etc/hostsfile on your machine, mapping thedex.gloo-system.svc.cluster.localhostname to yourlocalhost(the loopback IP address127.0.0.1).
echo "127.0.0.1 dex.gloo-system.svc.cluster.local" | sudo tee -a /etc/hosts
- Port-forward the Gloo Gateway Proxy service so that it is reachable from your machine at
localhost:8080:
kubectl -n gloo-system port-forward svc/gateway-proxy 8080:80 &
portForwardPid2=$! # Store the port-forward pid so we can kill the process later
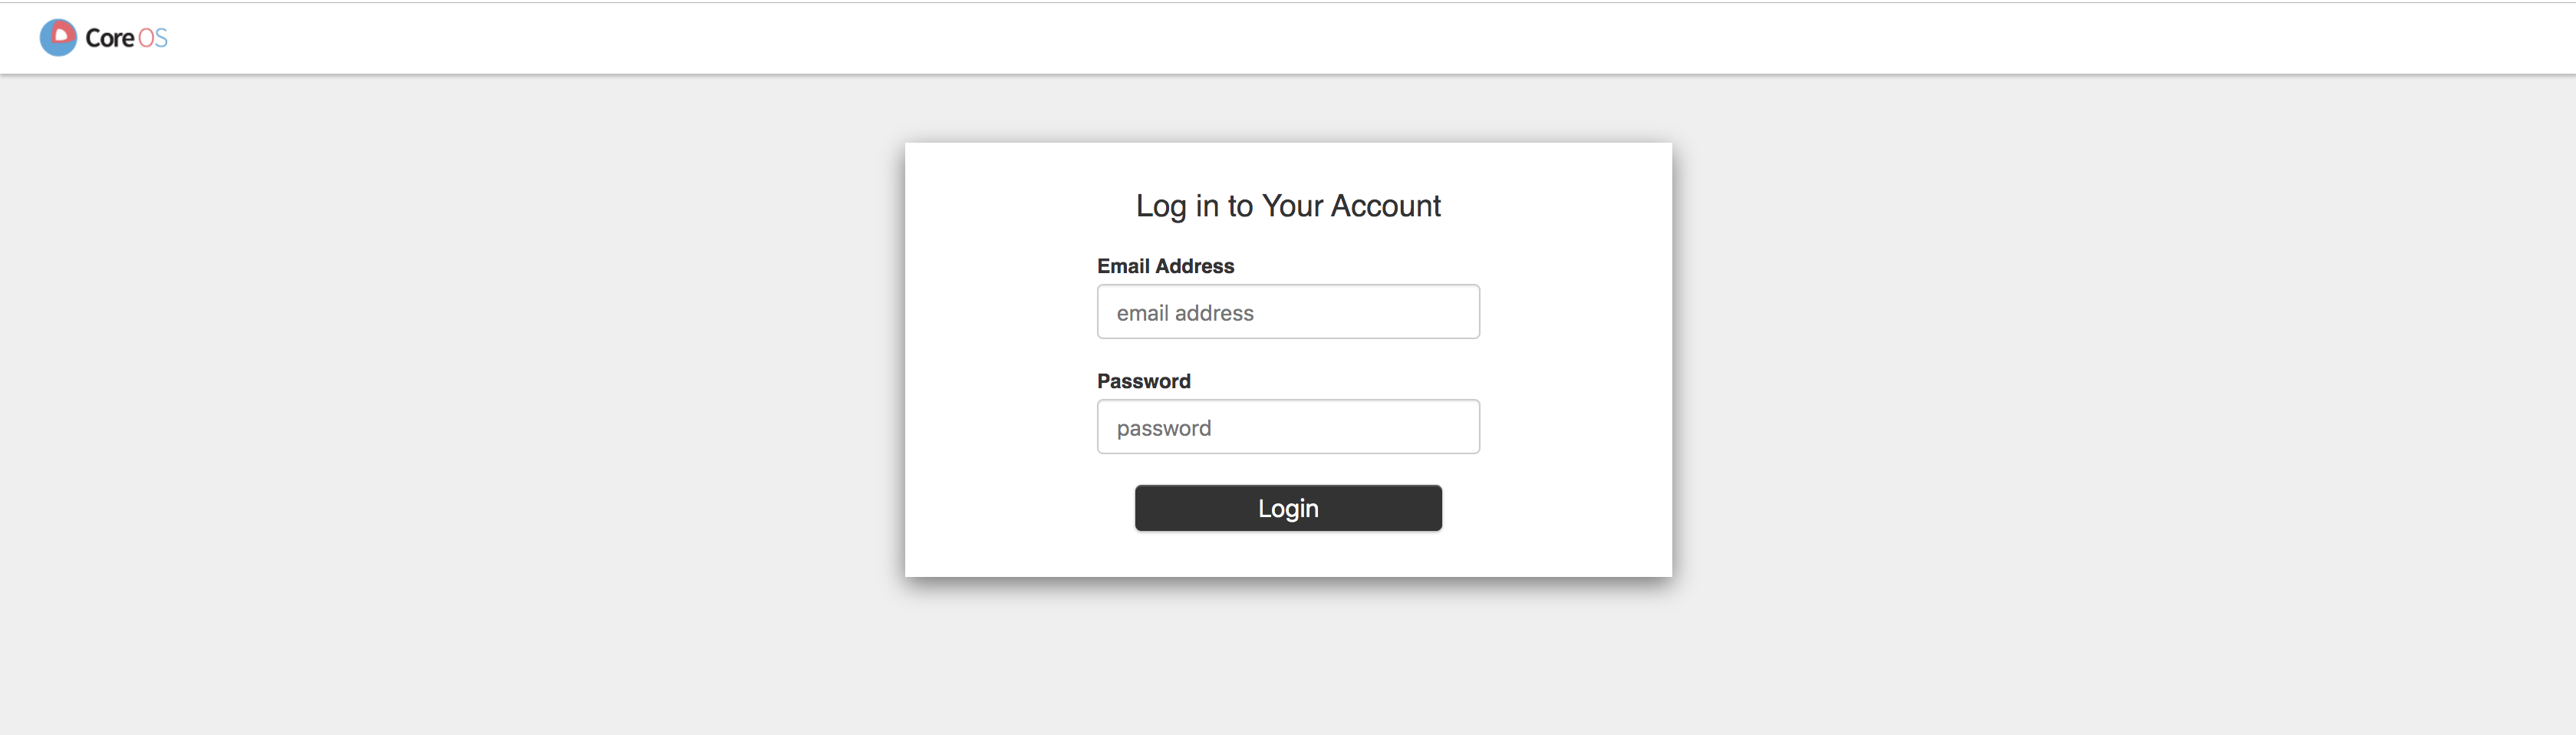
Now we are ready to test our complete setup! Open you browser and navigate to http://localhost:8080. You should see the following login page:
If you login as the admin@example.com user with the password password, Gloo Gateway should redirect you to the main page
of our sample application!
If this does not work, one thing to check is the requestTimeout setting on your extauth Settings. See the warning in the setup section for more details.
Logging
If Gloo Gateway is running on kubernetes, the extauth server logs can be viewed with:
kubectl logs -n gloo-system deploy/extauth -f
If the auth config has been received successfully, you should see the log line:
"logger":"extauth","caller":"runner/run.go:179","msg":"got new config"
Cleanup
You can clean up the resources created in this guide by running:
sudo sed '/127.0.0.1 dex.gloo-system.svc.cluster.local/d' /etc/hosts # remove line from hosts file
kill $portForwardPid1
kill $portForwardPid2
rm dex-values.yaml
helm delete --purge dex
kubectl delete -n gloo-system secret oauth dex-grpc-ca  dex-grpc-client-tls  dex-grpc-server-tls  dex-web-server-ca  dex-web-server-tls
kubectl delete virtualservice -n gloo-system petclinic
kubectl delete authconfig -n gloo-system oidc-dex
kubectl delete -f https://raw.githubusercontent.com/solo-io/gloo/v0.8.4/example/petclinic/petclinic.yaml