Authenticate with an Access Token
This feature is available in Gloo Gateway Enterprise only. If you are using the open source version of Gloo, these instructions do not work.
You may already have an OIDC compliant authentication system in place at your organization which can issue and validate access tokens. In that case, Gloo Gateway can rely on your existing system by accepting requests with an access token and validating that token against an introspection endpoint.
In this guide we will deploy ORY Hydra, a simple OpenID Connect Provider. Hydra will serve as our existing OIDC compliant authentication system. We will generate a valid access token from the Hydra deployment and have Gloo Gateway validate that token using Hyrda’s introspection endpoint.
Setup
This guide assumes that you have deployed Gloo to the gloo-system namespace and that the glooctl command line utility
is installed on your machine. glooctl provides several convenient functions to view, manipulate, and debug Gloo resources;
in particular, it is worth mentioning the following command, which we will use each time we need to retrieve the URL of
the Gloo Gateway that is running inside your cluster:
glooctl proxy url
Deploy sample application
The sample petclinic application deploys a MySql server. If you are using minikube v1.5 to run this guide, this service is likely to crash due a minikube issue. To get around this, you can start minikube with the following flag:
minikube start --docker-opt="default-ulimit=nofile=102400:102400"
Let’s deploy a sample web application that we will use to demonstrate these features:
kubectl apply -f https://raw.githubusercontent.com/solo-io/gloo/v0.8.4/example/petclinic/petclinic.yaml
Creating a Virtual Service
Now we can create a Virtual Service that routes all requests (note the / prefix) to the petclinic service.
apiVersion: gateway.solo.io/v1
kind: VirtualService
metadata:
  name: petclinic
  namespace: gloo-system
spec:
  virtualHost:
    domains:
    - '*'
    routes:
    - matchers:
      - prefix: /
      routeAction:
        single:
          kube:
            ref:
              name: petclinic
              namespace: default
            port: 80
To verify that the Virtual Service has been accepted by Gloo Gateway, let’s port-forward the Gateway Proxy service so that it is
reachable from your machine at localhost:8080:
kubectl -n gloo-system port-forward svc/gateway-proxy 8080:80
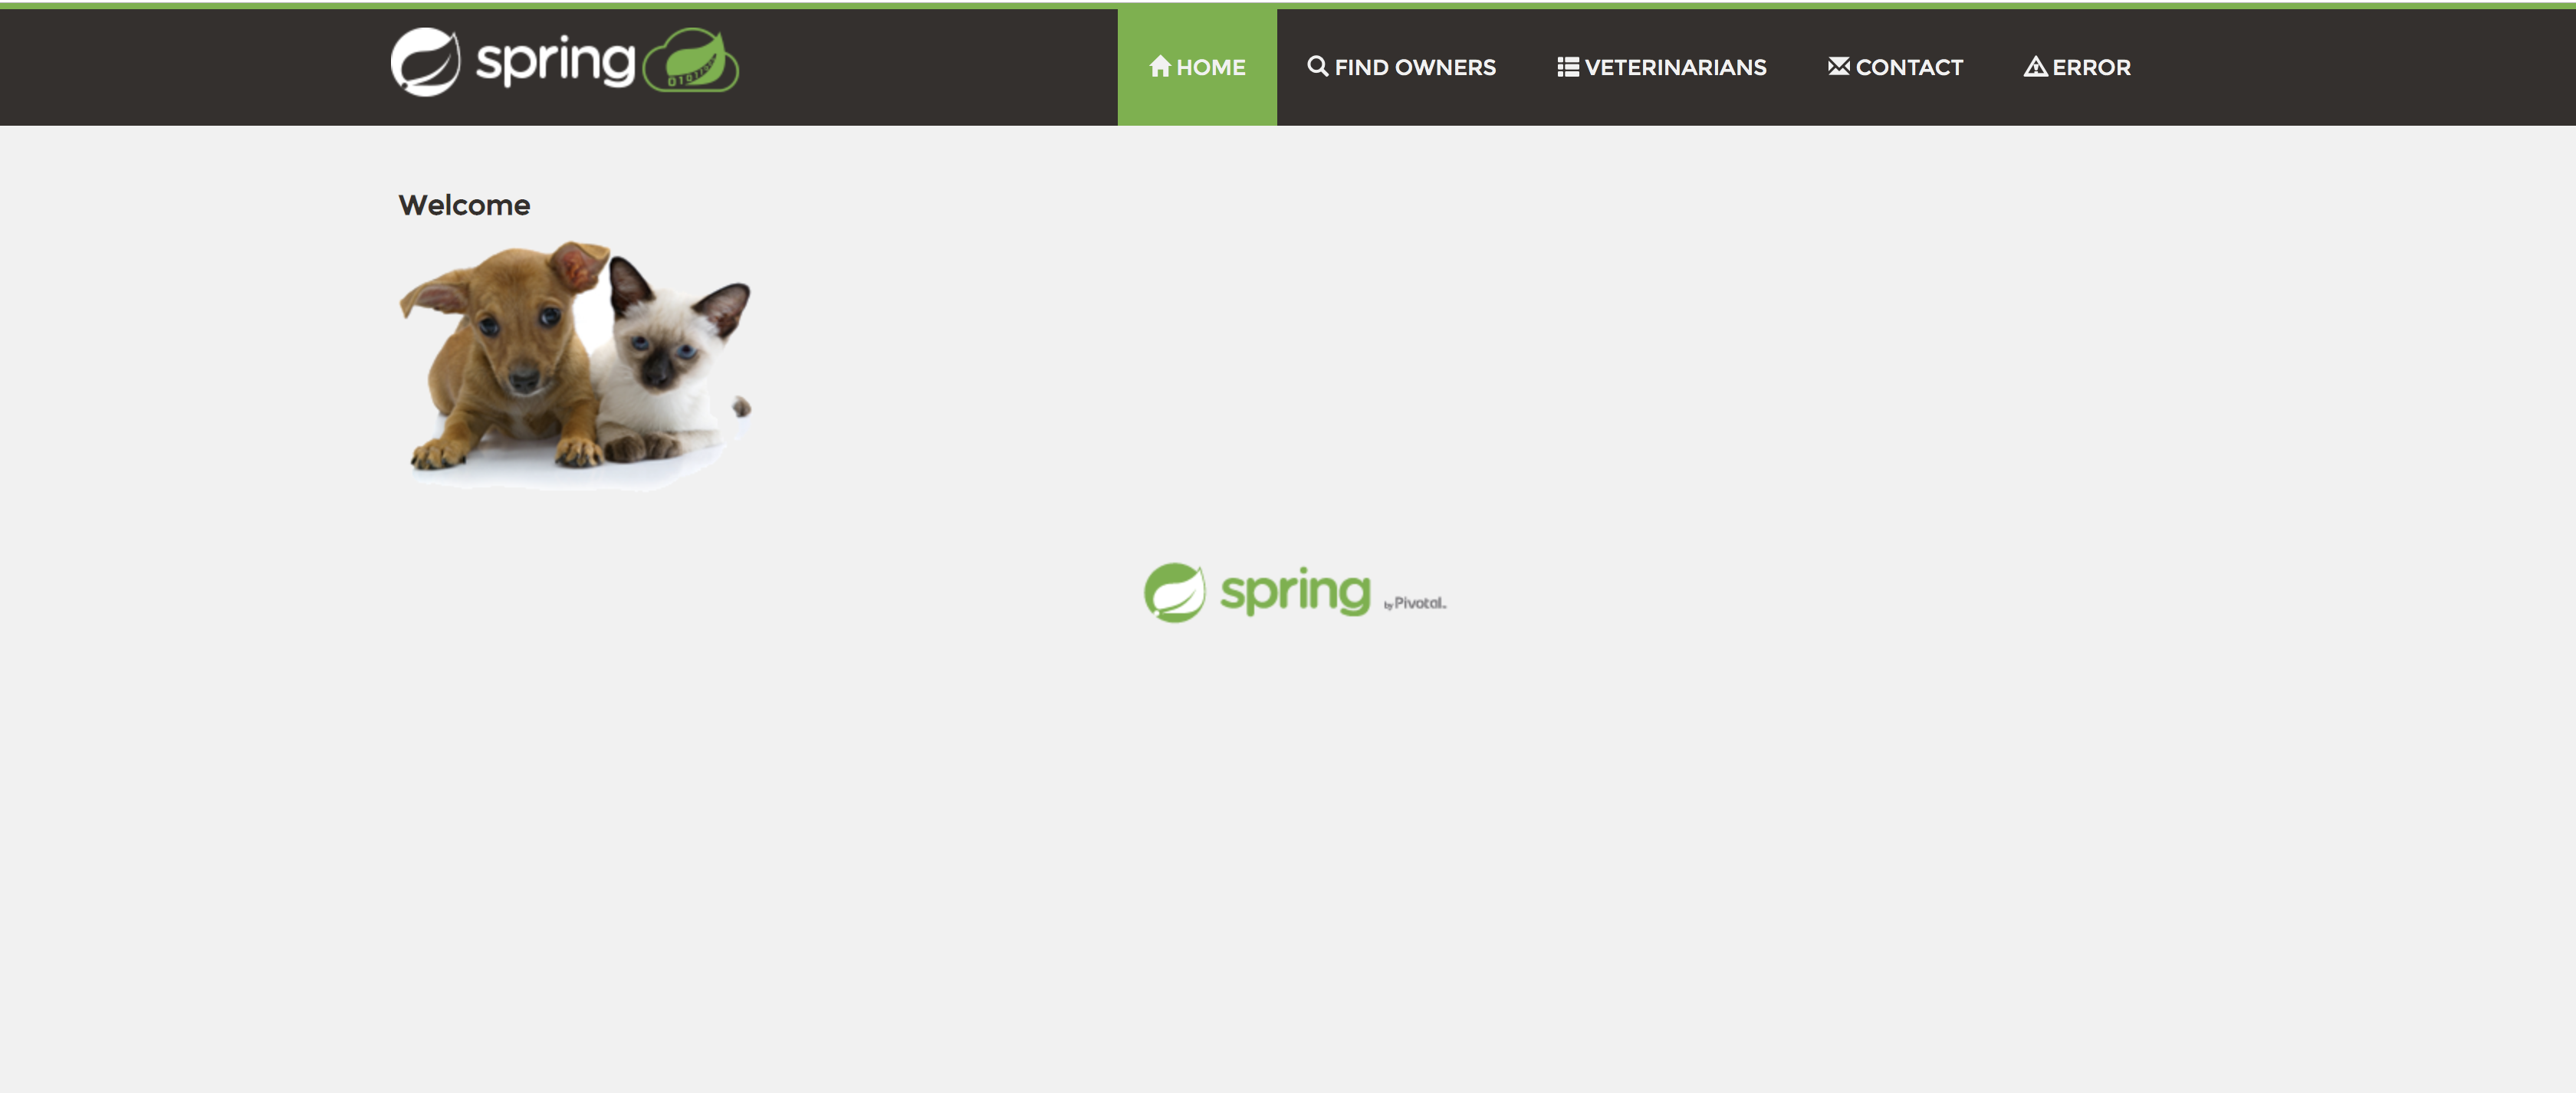
If you open your browser and navigate to http://localhost:8080 you should see the following page (you might need to wait a minute for the containers to start):
Securing the Virtual Service
As we just saw, we were able to reach our application without having to provide any credentials. This is because by default Gloo Gateway allows any request on routes that do not specify authentication configuration. Let’s change this behavior.
We will update the Virtual Service so that each request to the sample application is authenticated using an OpenID Connect flow.
Install Hydra
To implement the authentication flow, we need an OpenID Connect provider available to Gloo Gateway. For demonstration purposes, will deploy the Hydra provider in the same cluster, as it easy to install and configure.
Let’s start by adding the Ory helm repository.
helm repo add ory https://k8s.ory.sh/helm/charts
helm repo update
Now we are going to deploy Hydra using the helm chart:
helm install \
    --set 'hydra.config.secrets.system=$(LC_ALL=C tr -dc 'A-Za-z0-9' < /dev/urandom | base64 | head -c 32)' \
    --set 'hydra.config.dsn=memory' \
    --set 'hydra.config.urls.self.issuer=http://public.hydra.localhost/' \
    --set 'hydra.config.urls.login=http://example-idp.localhost/login' \
    --set 'hydra.config.urls.consent=http://example-idp.localhost/consent' \
    --set 'hydra.config.urls.logout=http://example-idp.localhost/logout' \
    --set 'ingress.public.enabled=true' \
    --set 'ingress.admin.enabled=true' \
    --set 'hydra.dangerousForceHttp=true' \
    hydra-example \
    ory/hydra --version 0.4.5
In the above command, we are using an in-memory database of Hydra and setting hydra.dangerousForceHttp to true, disabling SSL. This is for demonstration purposes and should not be used outside of a development context.
We should now see the two Hydra pods running in the default namespace:
NAME                                     READY   STATUS    RESTARTS   AGE
hydra-example-58cd5bf699-9jgz5           1/1     Running   0          10m
hydra-example-maester-75c985dd5b-s4b27   1/1     Running   0          10m
petclinic-0                              1/1     Running   1          25h
petclinic-db-0                           1/1     Running   0          25h
The administrative endpoint is running on port 4445 and the public endpoint is running on port 4444. We will be using the former to create a client id and password and validate the token, and then the latter to generate an access token.
Create the Client and Access Token
Now that we have Hydra up and running, we need to create a client id and client secret by interfacing with the administrative endpoint on Hydra. First we will make the administrative endpoint accessible by forwarding port 4445 of the Hydra pod to our localhost.
kubectl port-forward deploy/hydra-example 4445 &
portForwardPid1=$! # Store the port-forward pid so we can kill the process later
[1] 1417
~ >Forwarding from 127.0.0.1:4445 -> 4445
Now we can use curl to interact with the administration endpoint and create a client id and client secret.
curl -X POST http://127.0.0.1:4445/clients \
  -H 'Content-Type: application/json' \
  -H 'Accept: application/json' \
  -d '{"client_id": "my-client", "client_secret": "secret", "grant_types": ["client_credentials"]}'
You should see output similar to this:
{"client_id":"my-client","client_name":"","client_secret":"secret","redirect_uris":null,"grant_types":["client_credentials"],"response_types":null,"scope":"offline_access offline openid","audience":null,"owner":"","policy_uri":"","allowed_cors_origins":null,"tos_uri":"","client_uri":"","logo_uri":"","contacts":null,"client_secret_expires_at":0,"subject_type":"public","token_endpoint_auth_method":"client_secret_basic","userinfo_signed_response_alg":"none","created_at":"2020-10-01T19:46:51Z","updated_at":"2020-10-01T19:46:51Z"}
Now we will using the public endpoint to generate our access token. First we will port-forward the hydra pod on port 4444.
kubectl port-forward deploy/hydra-example 4444 &
portForwardPid2=$! # Store the port-forward pid so we can kill the process later
[2] 1431
~ >Forwarding from 127.0.0.1:4444 -> 4444
Let’s use curl again to create our access token using the client id and secret we just registered on the administrative endpoint.
curl -X POST http://127.0.0.1:4444/oauth2/token \
  -H 'Content-Type: application/x-www-form-urlencoded' \
  -H 'Accept: application/json' \
  -u my-client:secret \
  -d 'grant_type=client_credentials' | jq .access_token -r
The command should render the access token as output which we can set as a variable:
#OUTPUT
vn83zER2AjyOPbzoVXS3A3S65OCC2LvdGcsz3i5CxlY.NWWWsEixtTLSxN7E0Yk5NsWEZvVZEIjlOCtre0T-s4Q

#SET VARIABLE
ACCESS_TOKEN=vn83zER2AjyOPbzoVXS3A3S65OCC2LvdGcsz3i5CxlY.NWWWsEixtTLSxN7E0Yk5NsWEZvVZEIjlOCtre0T-s4Q
We can validate the token using the introspection path of the administrative endpoint:
curl -X POST http://127.0.0.1:4445/oauth2/introspect \
  -H 'Content-Type: application/x-www-form-urlencoded' \
  -H 'Accept: application/json' \
  -d "token=$ACCESS_TOKEN" | jq
This is the same path that Gloo Gateway will use to check on the validity of tokens. The next step is to take the introspection URL and add it to an AuthConfig and then associate that AuthConfig with the Virtual Service we created earlier.
Create an AuthConfig
The auth configuration format shown on this page was introduced with Gloo Enterprise, release 0.20.1. If you are using an earlier version, please refer to this page to see which configuration formats are supported by each version.
Now that all the necessary resources are in place we can create the AuthConfig resource that we will use to secure our Virtual Service.
apiVersion: enterprise.gloo.solo.io/v1
kind: AuthConfig
metadata:
  name: oidc-hydra
  namespace: gloo-system
spec:
  configs:
  - oauth2:
      accessTokenValidation:
        introspectionUrl: http://hydra-example-admin.default:4445/oauth2/introspect
The above configuration instructs Gloo Gateway to use the introspectionUrl to validate access tokens that are submitted with the request. If the token is missing or invalid, Gloo Gateway will deny the request. We can use the internal hostname of the Hydra administrative service, since the request will come from Gloo Gateway’s exauth pod which has access to Kubernetes DNS.
Update the Virtual Service
Once the AuthConfig has been created, we can use it to secure our Virtual Service:
apiVersion: gateway.solo.io/v1
kind: VirtualService
metadata:
  name: petclinic
  namespace: gloo-system
spec:
  virtualHost:
    domains:
    - '*'
    routes:
    - matchers:
      - prefix: /
      routeAction:
        single:
          kube:
            ref:
              name: petclinic
              namespace: default
            port: 80
    options:
      extauth:
        configRef:
          name: oidc-hydra
          namespace: gloo-system
Testing our configuration
The authentication flow to get the access token happens outside of Gloo Gateway’s purview. To access the petclinic site, we will simply include the access token in our request. Gloo Gateway will validate that the token is active using the URL we specified in the AuthConfig.
- Port-forward the Gloo Gateway Proxy service so that it is reachable from your machine at
localhost:8080:
kubectl -n gloo-system port-forward svc/gateway-proxy 8080:80 &
portForwardPid3=$! # Store the port-forward pid so we can kill the process later
Now we are ready to test our complete setup! We are going to use curl instead of the browser to access the petclinic page, since we need to include the access token in the request.
First let’s try and access the site without a token value set:
curl http://localhost:8080 -v
We will receive a 403 (Forbidden) message letting us know that our access was not authorized. Now let’s try an invalid access token value:
curl http://localhost:8080 \
  -H "Authorization: Bearer qwertyuio23456789" -v
Again we will receive a 403 message. Finally, let’s try using the access token we generated earlier. Be sure to paste in your proper access token value:
curl http://localhost:8080 \
  -H "Authorization: Bearer $ACCESS_TOKEN" -v
You will receive a 200 HTTP response and the body of the petclinic homepage.
Logging
If Gloo Gateway is running on kubernetes, the extauth server logs can be viewed with:
kubectl logs -n gloo-system deploy/extauth -f
If the auth config has been received successfully, you should see the log line:
"logger":"extauth","caller":"runner/run.go:179","msg":"got new config"
Cleanup
You can clean up the resources created in this guide by running:
kill $portForwardPid1
kill $portForwardPid2
kill $portForwardPid3
helm delete --purge hydra-example
kubectl delete virtualservice -n gloo-system petclinic
kubectl delete authconfig -n gloo-system oidc-hydra
kubectl delete -f https://raw.githubusercontent.com/solo-io/gloo/v0.8.4/example/petclinic/petclinic.yaml
Summary and Next Steps
In this guide you saw how Gloo Gateway could be used with an existing OIDC system to validate access tokens and grant access to a VirtualService. You may want to also check out the authentication guides that use Dex and Google for more alternatives when it comes to OAuth-based authentication.