Build a developer portal frontend
Develop a frontend user interface (UI) application for your Gloo Portal custom resource (CR) so that your end users can explore, authenticate, and use your API products.
Your end-users need a way to find, review, and use your API products. As such, you must be able to customize the developer portal's frontend app so that your company style, logos, and other branding elements are consistent.
Gloo provides a sample React app that you can use as a starting point to develop your frontend application. This frontend app displays the information that your Portal CR pulls together: the API products and usage plans that you want to expose, along with additional metadata. Because this information is controlled by the Portal CR, you don't have to update the frontend app as often after the initial setup.
Before you begin
-
Configure the developer portal, including to create and expose the portal server securely.
-
Get Docker so that you can build and push the frontend application for the developer portal that you created.
-
Get the external address of the ingress gateway. If you deployed your ingress gateway in a different namespace or with a different version, update the command.
export INGRESS_GW_IP=$(kubectl get svc -n gloo-mesh-gateways istio-ingressgateway -o jsonpath='{.status.loadBalancer.ingress[0].ip}')
echo $INGRESS_GW_IP
export INGRESS_GW_IP=$(kubectl get svc -n gloo-mesh-gateways istio-ingressgateway -o jsonpath='{.status.loadBalancer.ingress[0].hostname}') echo $INGRESS_GW_IPNote: Depending on your environment, you might see
<pending>instead of an external IP address. For example, if you are testing locally in kind or minikube, or if you have insufficent permissions in your cloud platform, you can instead port-forward the service port of the ingress gateway:kubectl -n gloo-mesh-gateways port-forward deploy/istio-ingressgateway-1-18-2 8081 -
Verify that you can access the developer portal APIs that are used to build the frontend. The following example command requests a list of the API products that the developer portal exposes. The frontend app that you develop in this guide displays these API products to your end users. For other APIs, see Developer portal API.
curl -vik --resolve developer.example.com:80:$INGRESS_GW_IP http://developer.example.com:80/v1/apisExample output:
[{"apiId":"tracks-rt-gloo-mesh-gateways-$CLUSTER_NAME","contact":"support@example.com","customMetadata":null,"description":"REST API for Catstronauts to retrieve data for tracks, authors and modules.","license":"license info","termsOfService":"You must authenticate to use this API! And other Terms of Service.","title":"Catstronauts REST API","usagePlans":[]} -
For local testing with your browser, update your
/etc/hostsDNS file. Map the IP address of your ingress gateway to resolve to thedeveloper.example.comhost domain that you set in the route table.sudo nano /etc/hostsReplace
${INGRESS_GW_IP}with the value that you previously retrieved.${INGRESS_GW_IP} developer.example.com
Build your frontend app
To help you build a frontend app, Gloo Gateway provides a dev-portal-starter sample React GitHub project. The following steps show you how to containerize the application locally by using Docker. You might also build and push the Docker image to a container registry, such as DockerHub or your cloud provider's registry.
- Optional: Customize the frontend app for your brand before you build and push the image.
- Build and push a Docker image to your container registry. Choose from among the following options.
You can use a sample container image in Solo's public image registry. This image is configured for the
developer.example.comhost that you set up when you created the Portal custom resource. Continue to the next step.Build and push the container image to your own container image registry,
<image-registry>. For most production use cases, you use a private container image registry, such as offered by your cloud provider. Keep in mind that when you deploy the app, your cluster must have access to this private container image registry.- Clone the sample React UI app's GitHub project.
git clone -b finalFeatureAdds https://github.com/solo-io/dev-portal-starter.git - Follow the Readme instructions to build a local Docker container image. Make sure to replace
IMAGE_NAMEwith the container image registry that you want to use. - Push the Docker container image to your container image registry.
docker push $IMAGE_NAME/portal-frontend:latest
If you make changes to the app, you might want to test these before pushing to your private container registry. You can build and push the image to the local Docker container image registry. Keep in mind that when you deploy the app, your local environment must have access to this local Docker registry, such as in a Kind cluster.
- Clone the sample React UI app's GitHub project.
git clone -b finalFeatureAdds https://github.com/solo-io/dev-portal-starter.git - Run the local Docker container image registry.
docker run -d -p 5000:5000 --restart always --name registry registry:2 - Follow the Readme instructions to build a local Docker container image. Replace
IMAGE_NAMEwith the local Docker registry,localhost:5000. - Push the Docker container image to the local Docker registry.
docker push localhost:5000/portal-frontend:latest
- Clone the sample React UI app's GitHub project.
- Deploy the frontend app.
Deploy the frontend app
After containerizing your app, you can deploy the app to the same cluster that runs your developer portal.
-
Create the Kubernetes resources to run your app.
ServiceAccount: Create a separate service account for your frontend app so that its identity is separate from the other apps that run in the namespace.Service: Create a service for the frontend app so that you can expose it securely.Deployment: Create a deployment to run the frontend app.The following example uses a sample image from Solo's public image registry. If you built your container image in a different container registry, copy and update the YAML configuration fileimagelocation before applying the file to your cluster.
kubectl apply -f https://raw.githubusercontent.com/solo-io/gloo-mesh-use-cases/main/gloo-gateway/portal/frontend-deployment.yaml -
Expose the frontend app securely through the ingress gateway. The following example uses the host
developer.example.com. It refers to the virtual gateway that you created when you configured the developer portal.kubectl apply -f- <<EOF apiVersion: networking.gloo.solo.io/v2 kind: RouteTable metadata: name: portal-frontend namespace: gloo-mesh-gateways spec: hosts: - "developer.example.com" virtualGateways: - name: istio-ingressgateway-portal namespace: gloo-mesh-gateways defaultDestination: port: number: 8080 ref: name: gloo-mesh-portal-server namespace: gloo-mesh-addons cluster: $CLUSTER_NAME http: - name: portal-frontend-auth forwardTo: destinations: - port: number: 4000 ref: name: portal-frontend namespace: gloo-mesh-addons cluster: $CLUSTER_NAME labels: oauth: "true" route: portal-api matchers: - uri: prefix: /portal-server/v1/login - forwardTo: pathRewrite: /v1 name: authn-api-and-usage-plans labels: oauth: "true" route: portal-api matchers: - uri: prefix: /portal-server/v1 headers: - name: Cookie value: ".*?id_token=.*" regex: true - forwardTo: pathRewrite: /v1/me name: authn-me labels: oauth: "true" route: portal-api matchers: - uri: prefix: /portal-server/v1/me - forwardTo: pathRewrite: /v1/api-keys name: authn-api-keys labels: oauth: "true" route: portal-api matchers: - uri: prefix: /portal-server/v1/api-keys - forwardTo: pathRewrite: /v1/apis name: no-auth-apis labels: route: portal-api matchers: - uri: prefix: /portal-server/v1/apis - forwardTo: pathRewrite: /v1/usage-plans name: no-auth-usage-plans labels: route: portal-api matchers: - uri: prefix: /portal-server/v1/usage-plans - name: portal-frontend-no-auth forwardTo: destinations: - port: number: 4000 ref: name: portal-frontend namespace: gloo-mesh-addons cluster: $CLUSTER_NAME matchers: - uri: prefix: / EOF -
Remove the route table for the developer portal that you previously created to expose the developer portal backend.
kubectl delete routetable dev-portal-rt -n gloo-mesh-gateways -
Change the
callbackandlogoutpath in the external auth policy that you created earlier to point to the APIs of the developer portal frontend. Make sure to replace$CLUSTER_NAME,$KEYCLOAK_CLIENTand$KEYCLOAK_URLwith the values that you set for the cluster name, and the Keycloak client ID and URL.kubectl apply -f -<<EOF apiVersion: security.policy.gloo.solo.io/v2 kind: ExtAuthPolicy metadata: name: oidc-auth namespace: gloo-mesh-addons spec: applyToRoutes: - route: labels: oauth: "true" config: server: name: ext-auth-server namespace: gloo-mesh-addons cluster: $CLUSTER_NAME glooAuth: configs: - oauth2: oidcAuthorizationCode: appUrl: http://developer.example.com callbackPath: /portal-server/v1/login logoutPath: /portal-server/v1/logout clientId: $KEYCLOAK_CLIENT clientSecretRef: name: oauth namespace: gloo-mesh-addons issuerUrl: "$KEYCLOAK_URL/realms/master/" scopes: - email session: failOnFetchFailure: true cookie: allowRefreshing: true cookieOptions: notSecure: true maxAge: 3600 headers: idTokenHeader: id_token EOF -
Verify that you can access the developer portal frontend in your web browser. If you used the example in this guide, enter
http://developer.example.com/in your web browser.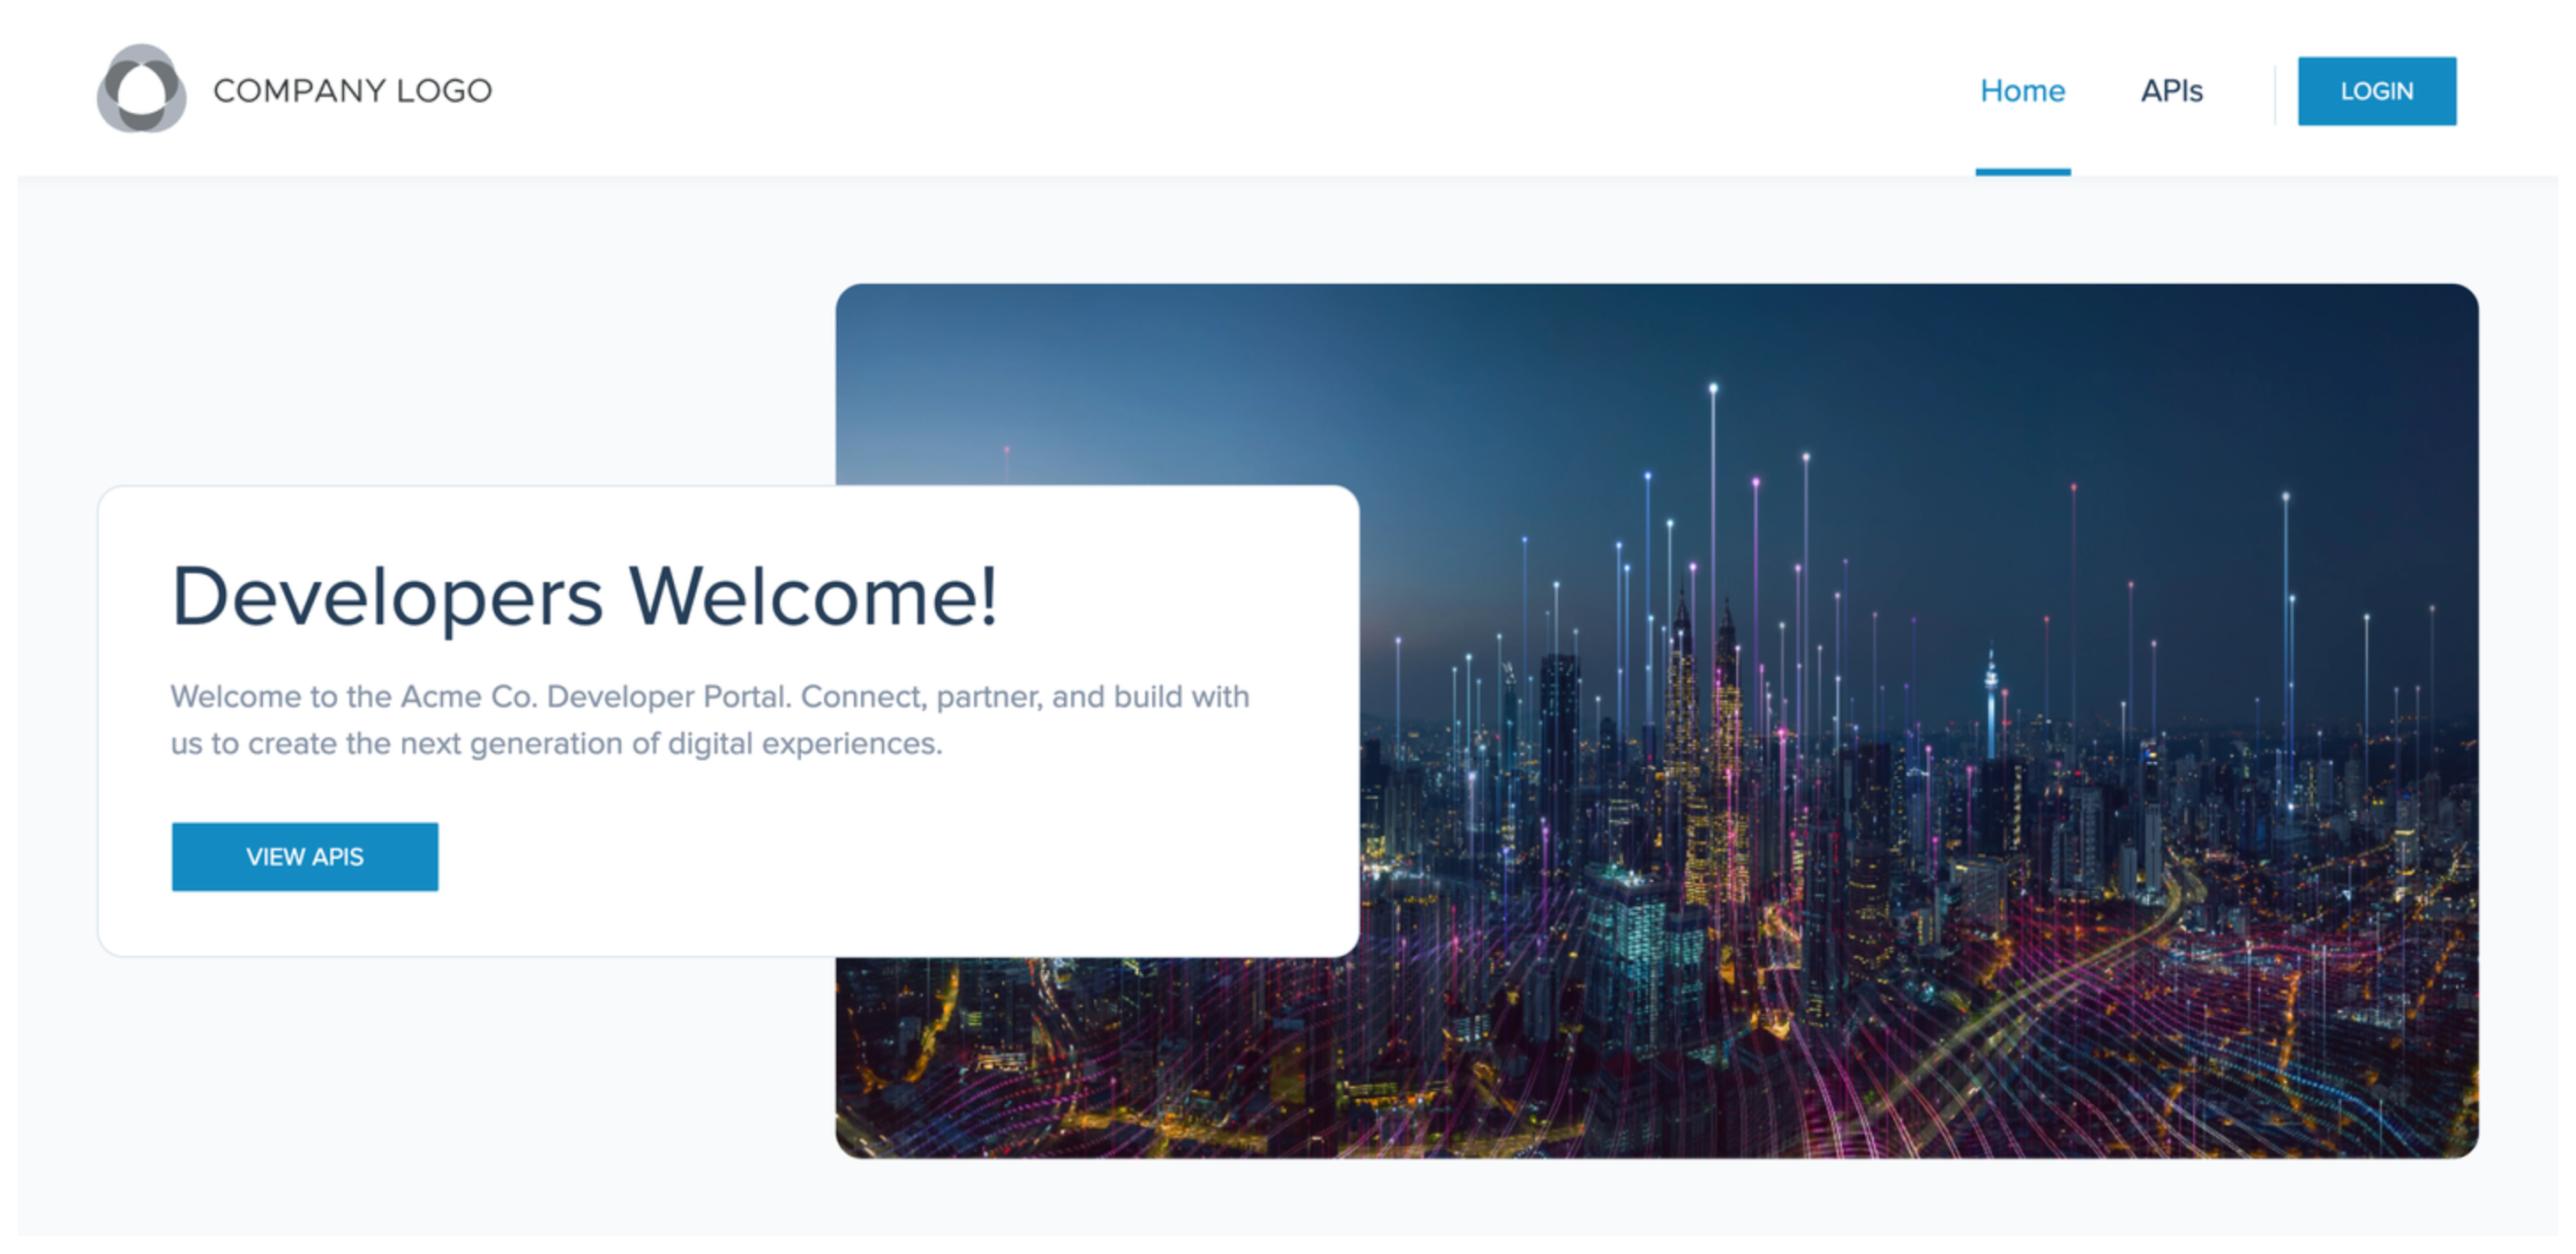
Great job! You deployed the frontend app for the developer portal. Now, when you update your Portal resource to add new API products, usage plans, or metadata, the frontend is automatically updated for you.
Next steps:
- Customize the frontend app for your brand.
- Interact with the developer portal with your end users so that they know how to interact with the developer portal.
Customize the frontend app for your brand
You can customize your frontend app to reflect your brand's logos, colors, icons, and other branding elements. For more information, review the project's Readme.
- Clone the sample React UI app's GitHub project.
git clone -b finalFeatureAdds https://github.com/solo-io/dev-portal-starter.git - Replace the logo and favicon with your company's branding assets.
- Replace the
logo.svgfile inprojects/ui/src/Assets/logo.svg. - Replace the favicon in
projects/ui/public/favicon.svg
- Replace the
- Replace the sample images for the banner and cards in
projects/ui/src/Assets/with your own images. - Optional: Replace the fonts (
projects/ui/src/Assets/fonts) and icons (projects/ui/src/Assets/Icons) with your company's preferred assets. You might want to keep the icons, however, and just change the color in the next step. - Change the color scheme in
project/ui/src/Styles/_constants.scssto match your company's colors. In that file, you can also change the default icon colors. - Confirm the tool that you want to use to render your API docs.
- Default - Redocly: By default, Redocly is set up to render your API docs. Redocly provides an easy-to-use, three-part layout to your API docs. For an interactive demo, see ReDoc Pet Store.
- Swagger: Another popular editor is Swagger. With Swagger, you can also provide a Try it out button for users (Redocly requires a paid plan for this functionality). For an interactive demo, see Swagger Editor. To switch to use Swagger, comment out the Redocly and uncomment the Swagger section in the
projects/ui/src/Components/ApiDetails/ApiSchemaDisplay.txsfile as follows.
/** Redoc - Default */ /* Comment out the Redoc line return <RedocDisplay spec={apiSchema} />; */ /** Uncomment the Swagger lines * Swagger - Alternative */ return ( <SwaggerDisplay spec={apiSchema} apiId={apiId ?? "Unsupported schema display"} /> );- Use another editor: In the
projects/ui/src/Components/ApiDetails/directory, create a sibling file to theRedocDisplay.tsxandSwaggerDisplay.tsxfiles. Then, update theprojects/ui/src/Components/ApiDetails/ApiSchemaDisplay.tsxfile similar to the previous step.
- Optional: For more changes, you can edit any of the app files. Review the comments throughout the code and your company's own frontend styling guidelines.
- Build and deploy (or re-build and re-deploy) the frontend app.