External auth with Okta
Use the Okta identity hub to authenticate your users for the Gloo UI. Okta can be used to expose a consistent OpenID Connect interface to your apps while allowing your users to use credentials that are managed by Okta to authenticate with your app.
Before you begin
- Complete the getting started guide to install Gloo Gateway, Istio, and Bookinfo in your cluster.
- Optional: Review the information about how authentication and authorization work with the Gloo UI.
Step 1: Expose the Gloo UI
-
Follow the steps in the HTTPS listener guide to create a virtual gateway with an HTTPS listener. When you set environment variables at the beginning of the guide, set
$DNS_NAMEto*and$SERVER_CERT_NAMEtovg-gloo-ui. Make sure that you deploy the virtual gateway to thegloo-mesh-gatewaysnamespace. Your virtual gateway looks similar to the following:kubectl apply -f- <<EOF apiVersion: networking.gloo.solo.io/v2 kind: VirtualGateway metadata: name: vg-gloo-ui namespace: gloo-mesh-gateways spec: listeners: - allowedRouteTables: - host: '*' http: {} port: number: 443 tls: mode: SIMPLE secretName: gw-ssl-1-secret - allowedRouteTables: - host: '*' http: {} httpsRedirect: true port: number: 80 workloads: - selector: labels: istio: ingressgateway cluster: $CLUSTER_NAME EOF -
Create a route table to route incoming traffic on the ingress gateway to the Gloo UI.
kubectl apply -f- <<EOF apiVersion: networking.gloo.solo.io/v2 kind: RouteTable metadata: name: gloo-ui-rt namespace: gloo-mesh-gateways spec: defaultDestination: kind: SERVICE port: number: 8090 ref: name: gloo-mesh-ui namespace: gloo-mesh hosts: - '*' http: - forwardTo: {} matchers: - uri: prefix: / name: gloo-mesh-ui virtualGateways: - name: istio-ingressgateway EOF -
Get the external address of the ingress gateway and save it as an environment variable.
export INGRESS_GW_IP=$(kubectl get svc -n gloo-mesh-gateways istio-ingressgateway -o jsonpath='{.status.loadBalancer.ingress[0].ip}')
echo $INGRESS_GW_IP
export INGRESS_GW_IP=$(kubectl get svc -n gloo-mesh-gateways istio-ingressgateway -o jsonpath='{.status.loadBalancer.ingress[0].hostname}') echo $INGRESS_GW_IP -
In your web browser, enter the IP address that was assigned to your ingress gateway, followed by a
/, such ashttps://35.145.23.156/. Verify that the Gloo UI opens.open https://$INGRESS_GW_IP/
Step 2: Set up an Okta OIDC app
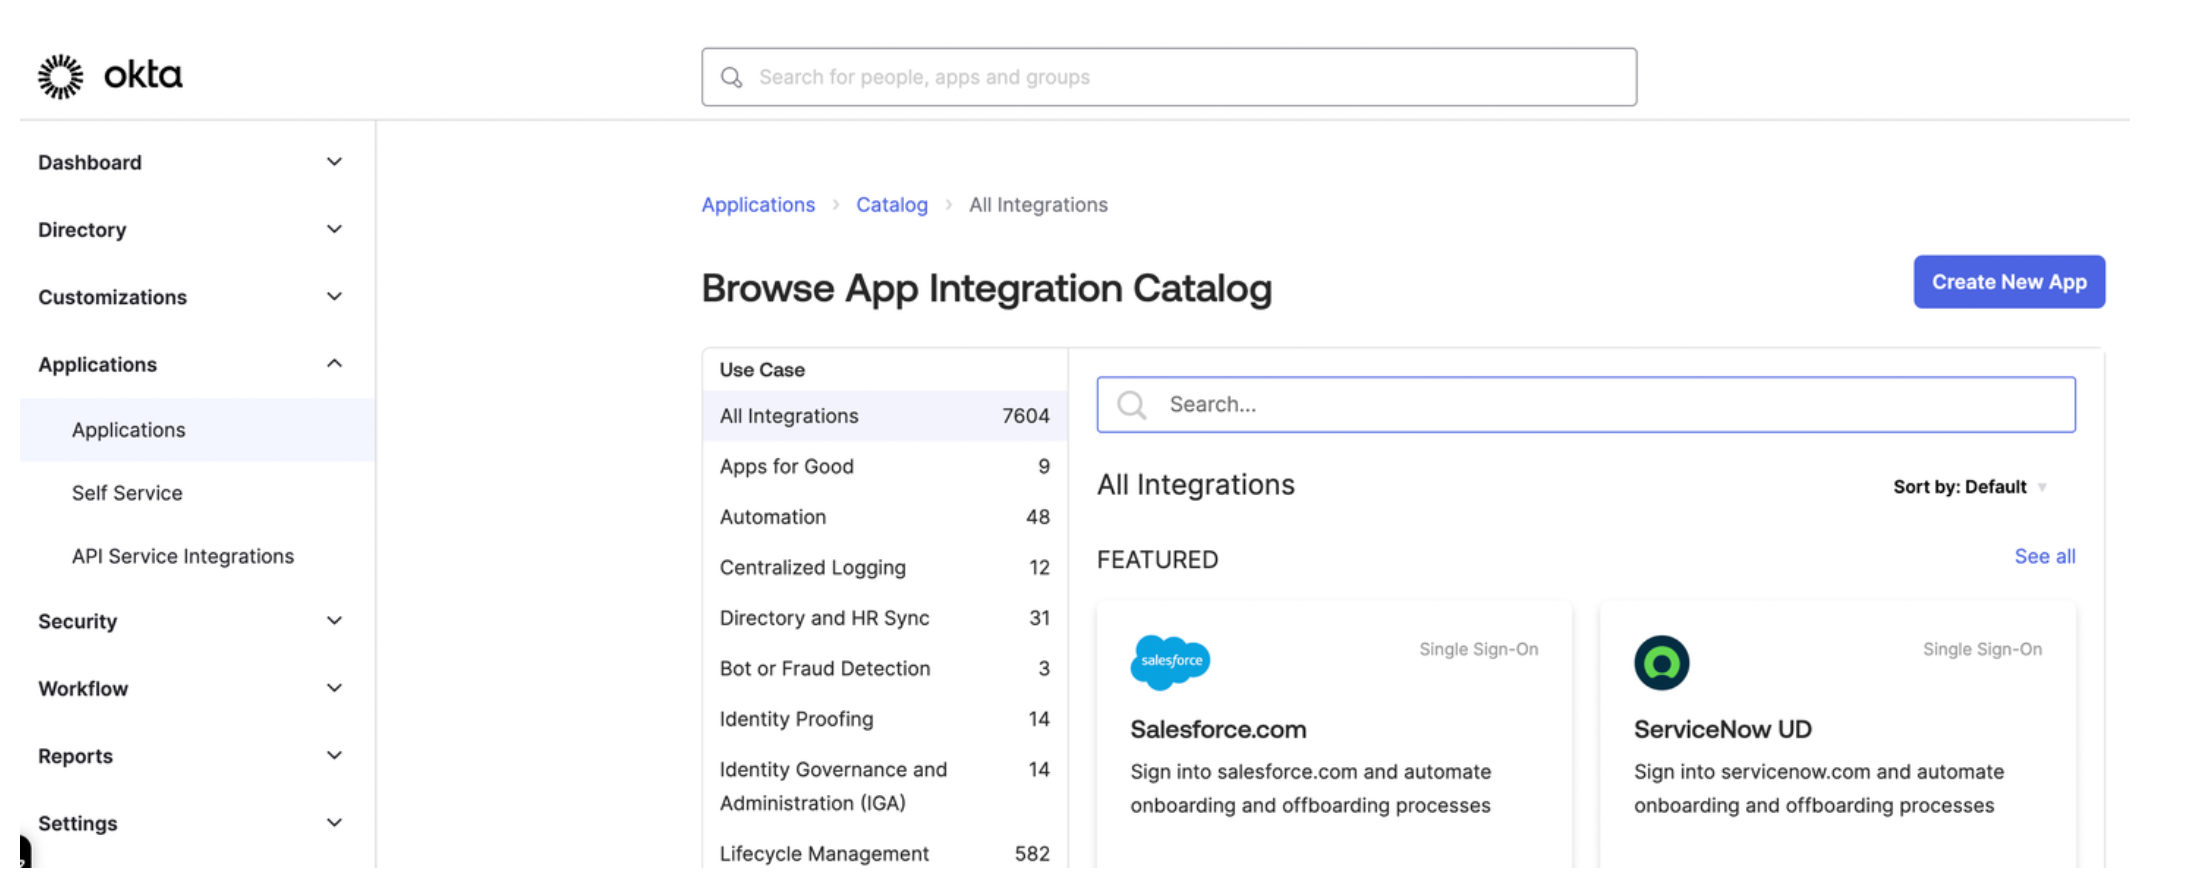
- Open the Okta dashboard. If you don't have an Okta account that you can use, sign up for an Okta developer account.
- From the Applications menu, click Applications > Create New App. Note that you might see a Create App Integration button instead.
- Select OIDC - OpenID Connect as the sign-in method for your app and Web application as your application type. Then, click Next.
- Enter a name for your app and optionally upload a logo.
- Enter the sign-in redirect URL. The URL is composed of the external address of the ingress gateway that you created for the Gloo UI earlier (the value of
$INGRESS_GW_IP) and the/oidc-callbackpath. For example, your URL might behttps://35.145.23.156/oidc-callback. - From the Assignments section, select Allow everyone in your organization to access. This way, you do not need to asign a user or group to this app. Instead, you can use your Okta developer account credentials to test the Okta authentication flow.
- Click Save to save your changes. You are redirected to the Okta app details page.
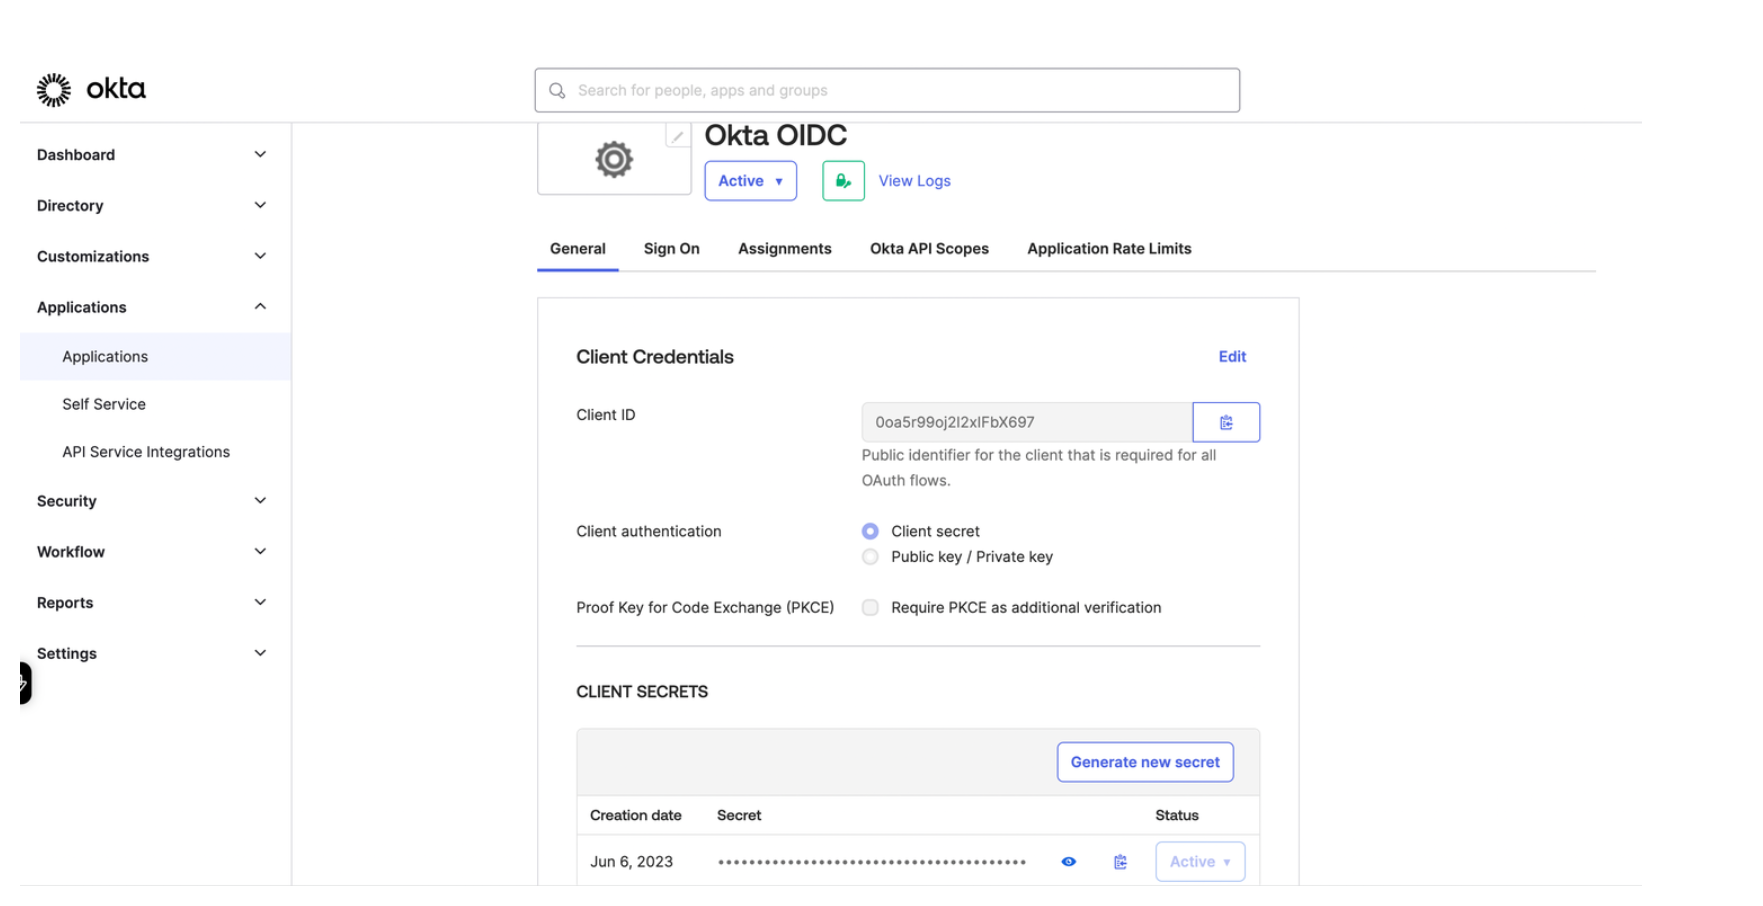
- From the General tab on the Okta app details page, note the Client ID and the client Secret.
- From the Sign on tab in the OpenID Connect ID Token section, change the Issuer from
Dynamicto the Okta URL. Your Okta URL typically includes your account ID and anokta.comextension, such ashttps://dev-12345678.okta.com.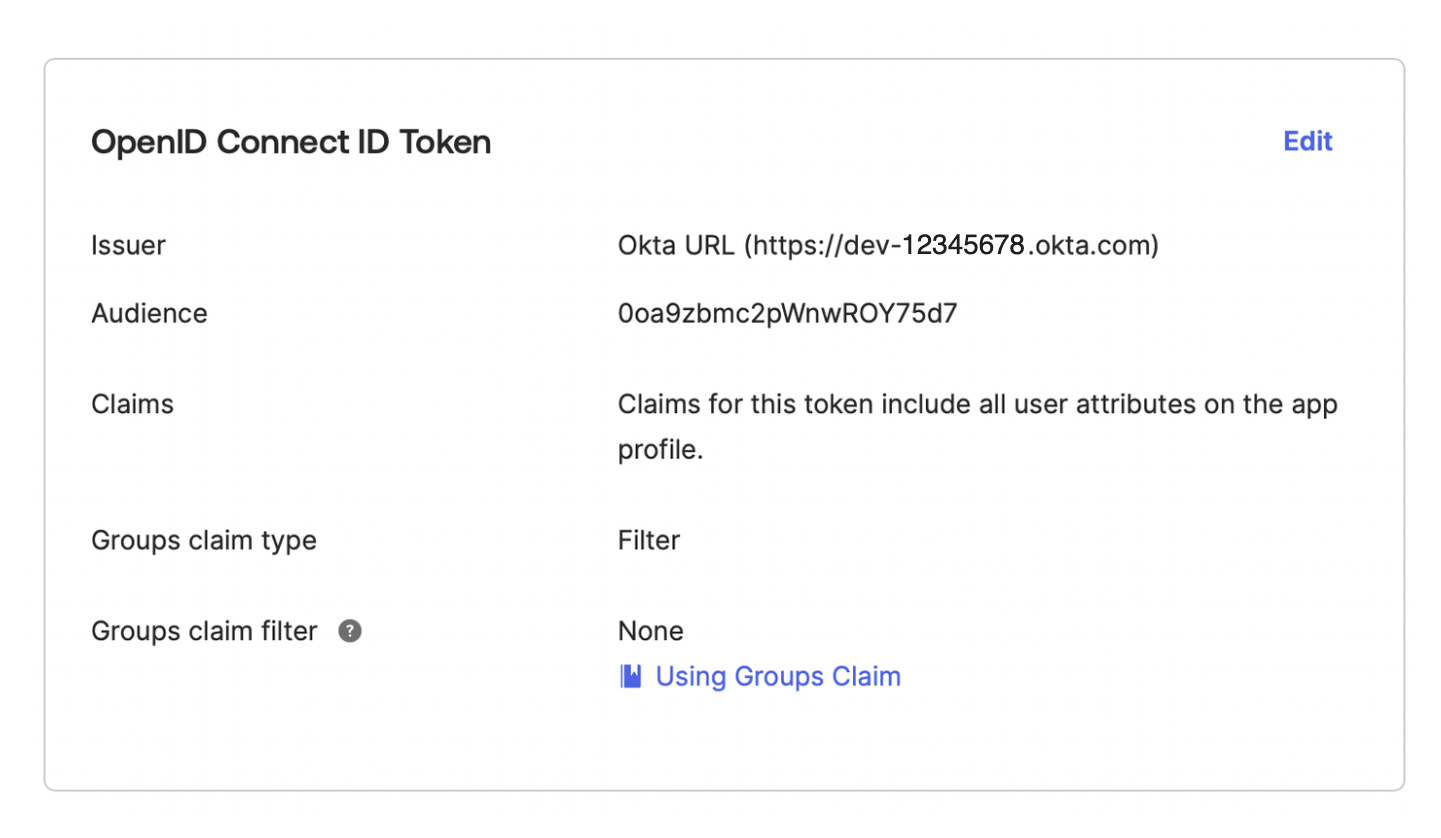
Step 3: Set up external auth for the Gloo UI
-
Follow the steps to get your current Helm values.
-
To configure your Gloo UI with the Okta OIDC provider, add the following Helm values to your Gloo Platform Helm values file.
glooUi:
  enabled: true
  auth:
    enabled: true
    backend: oidc
    oidc:
      clientId: "<client-ID>"
      clientSecret: "<client-secret>"
      clientSecretName: dashboard
      issuerUrl: '<issuer-URL>'
      appUrl: '<app-URL>'
Setting Description clientIdEnter the client ID that was assigned to your Okta OIDC app. You can retrieve the client ID from the General tab of your Okta OIDC app. clientSecretEnter the client secret value that was created for your Okta OIDC app. You can retrieve the client secret from the General tab of your Okta OIDC app. clientSecretNameEnter a name for the Kubernetes secret that is automatically created for you and stores the clientSecret. In this example, the Kubernetes secret is nameddashboard.issuerUrlEnter the Okta issuer URL that you set up in the Okta app, such as https://dev-12345678.okta.com. You can retrieve the Okta issue URL from the Issuer field on the Sign on tab of your Okta OIDC app.appUrlEnter the public address that was assigned to your ingress gateway. For example, your app URL might look similar to the following https://35.145.23.156. -
Follow the steps to upgrade and verify your Helm installation.
-
Verify that a dashboard custom resource is created for you and that the Okta settings, such as the client ID, issuer URL, and app URL are correct.
kubectl get dashboard settings -n gloo-mesh -o yaml -
Verify that a Kubernetes secret was created with the name that you specified in the
clientSecretNameof your Helm chart. In your secret, make sure the you seeoidc-client-secretdata.kubectl describe secret dashboard -n gloo-mesh
Step 4: Verify external auth with Okta
-
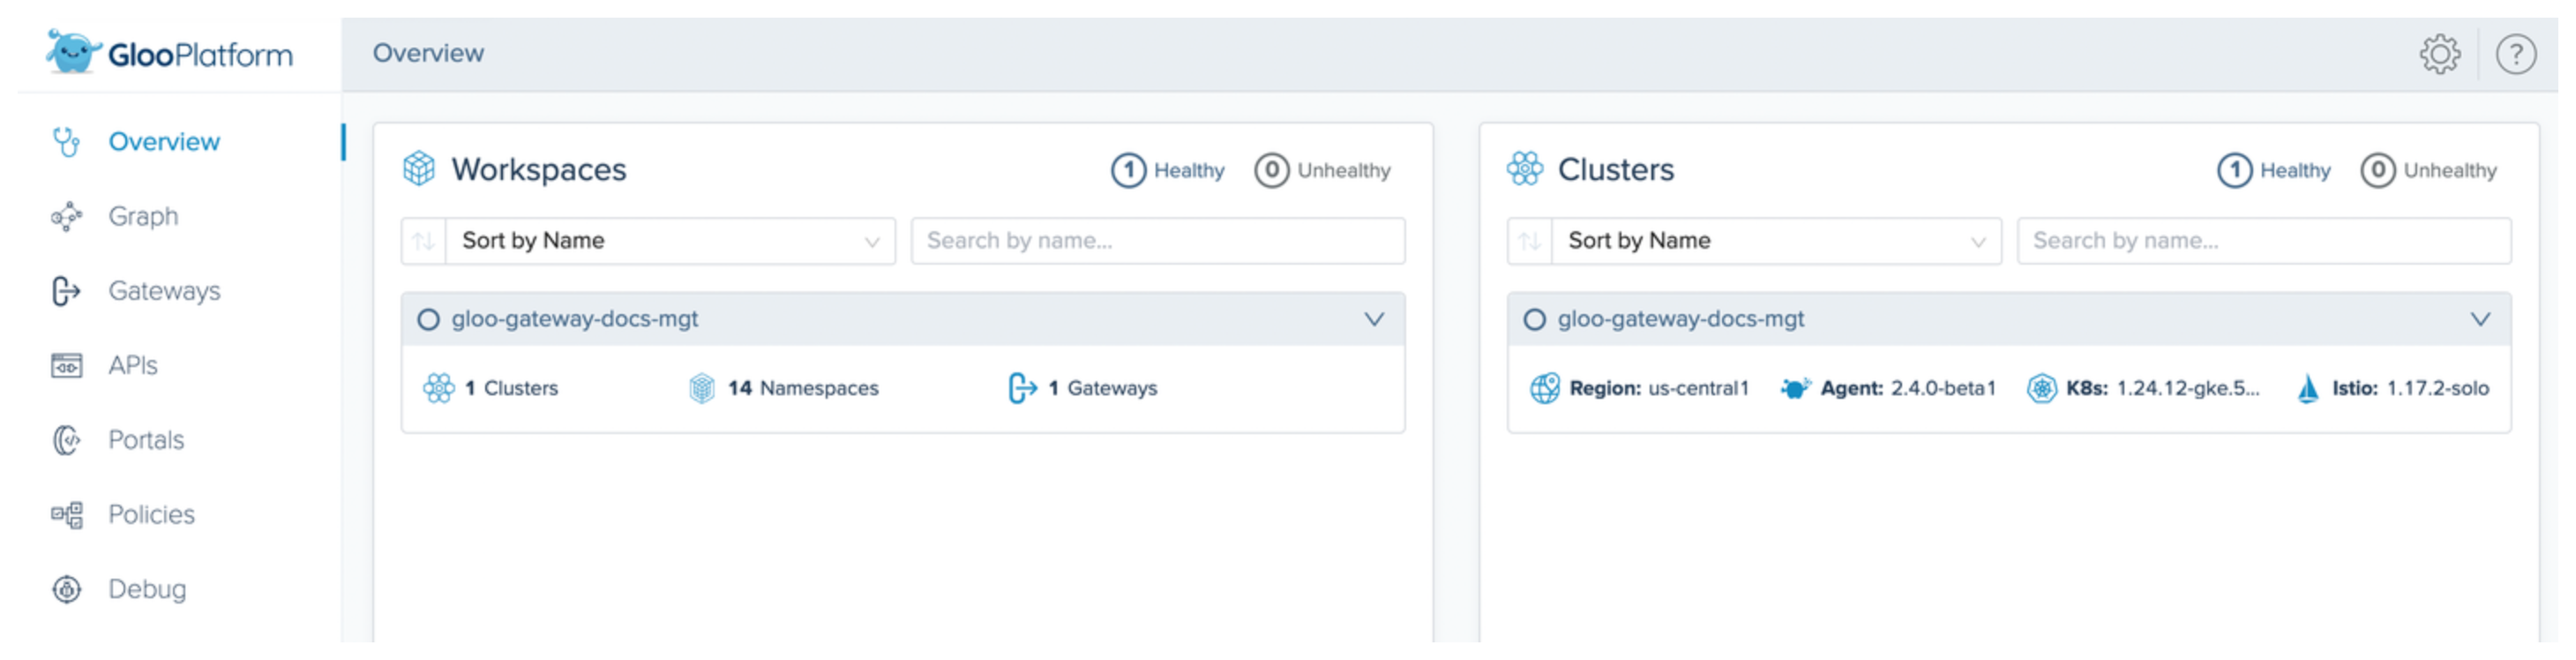
In your browser, open the app URL that you entered in your Helm chart. For example, the URL might be
https://35.145.23.156. Make sure that you see the Gloo UI welcome screen.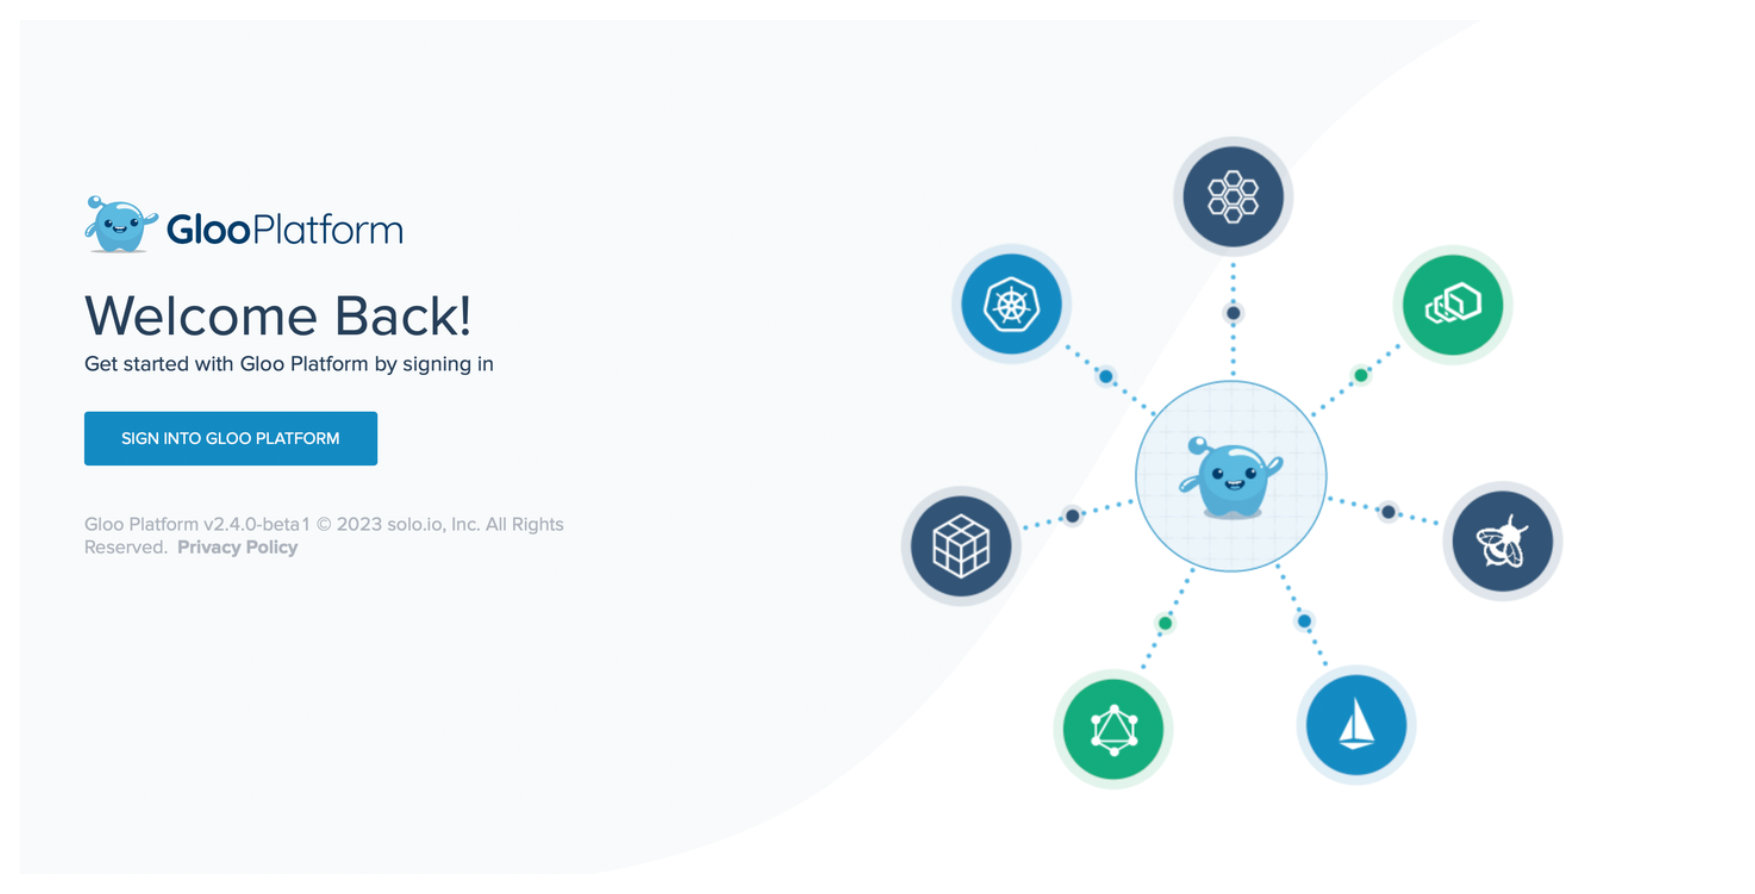
-
Click SIGN INTO GLOO PLATFORM. You are redirected to the Okta login page.
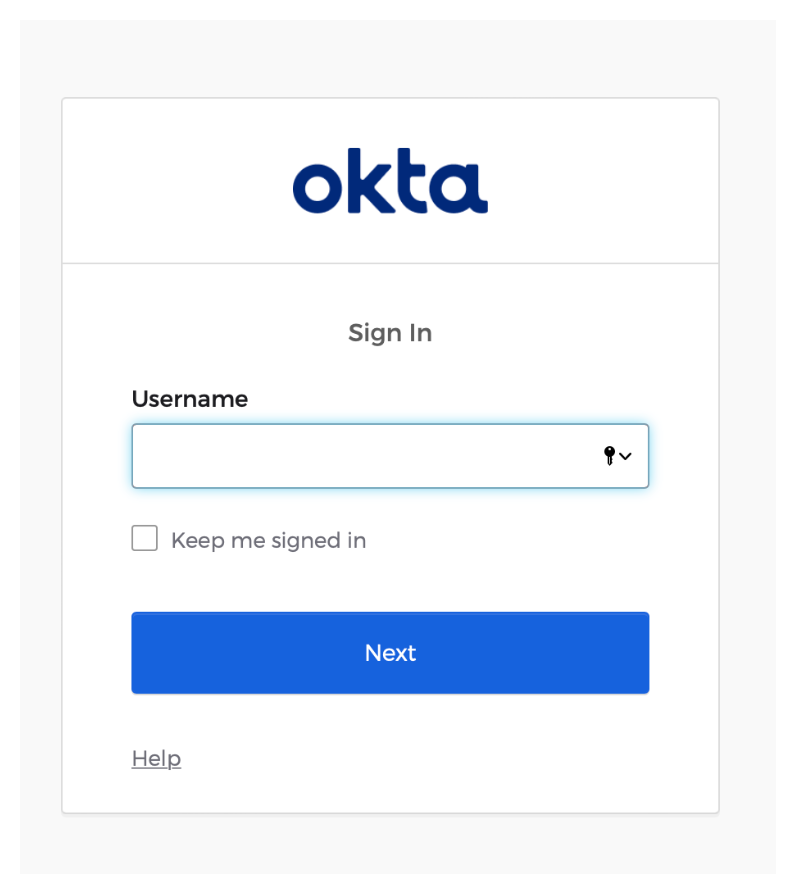
-
Enter your Okta username and password. If successfully authenticated, Okta issues an ID token and redirects you to the Gloo UI.
Cleanup
You can optionally remove the resources that you set up as part of this guide.
-
Delete the virtual gateway, secret, and route table that you create to expose the Gloo UI.
kubectl delete vg vg-gloo-ui -n gloo-mesh-gateways kubectl delete secret gw-ssl-1-secret -n gloo-mesh-gateways kubectl delete rt gloo-ui-rt -n gloo-mesh-gateways -
Follow Step 3: Set up external auth for the Gloo UI to upgrade your Gloo Platform installation. In your Helm values file, remove the
glooUi.authsection. -
Remove your Okta OIDC app.
- Open the Okta dashboard and select Applications > Applications from the menu.
- Find your Okta OIDC app.
- Click the gear icon and from the drop down menu, select Deactivate.