Users and Groups
In this guide you are going to add Users and Groups to a Usage Plan that is associated with the version of an API Product in an Environment. A Usage Plan can specify the authentication policy and rate limit policy for a set of users or groups. When a user wants to consume an API Product, they can authenticate for access using either an API Key or OAuth2.0. Users can also log into the Portal UI to test out the API Product commands and procure an API Key for authentication.
We will do the following:
- Create a user and group
- Associate the group with a Usage Plan on an API Product
- Log into the Portal UI to procure an API Key
- Use the API Key to call the API Product
Prerequisites
You will need these things in place to follow the guide:
curlkubectl- A compatible Kubernetes cluster setup (1.16 or higher), to which you can connect via
kubectl - One of two Gateway implementations installed to your cluster, either:
- Istio 1.5 or higher, or
- Gloo Edge Enterprise 1.5.0-beta9 or higher;
- The Gloo Portal installed to your cluster. Please refer to the setup guide for detailed installation instructions.
- An API Doc, API Product, Environment, and Portal configured. Please refer to the Getting Started guide to configure these components.
Creating a user and group
We are first going to create a user (dev1) and then add them to a group (developers). Users and groups are both stored as Custom Resources (CRs) in Kubernetes. Each user can log into the Portal UI using a hashed password stored in a Kubernetes secret. Other authentication methods will be added in future releases. A user can be added through the Admin Dashboard or by creating the Kubernetes Secret and Custom Resource using kubectl.
In our example, we will add a user by using kubectl. You can also create a user with the Admin Dashboard.
First we will create and store a password in a Kubernetes Secret.
The plaintext password is hashed using a bcrypt function with a cost of 10. We can use the htpasswd function
from the apache-utils package to do the same at the command line.
# Install the apache2-utils if you don't already have them
sudo apt install apache2-utils -y

# Generate the bcrypt hash with cost of 10
pass=$(htpasswd -bnBC 10 "" mysecurepassword | tr -d ':\n')

# Store the hash as a Kubernetes Secret
kubectl create secret generic dev1-password \
  -n gloo-portal --type=opaque \
  --from-literal=password=$pass
Next we will create the user by submitting a Custom Resource configuration:
cat << EOF | kubectl apply -f-
apiVersion: portal.gloo.solo.io/v1beta1
kind: User
metadata:
  name: dev1
  namespace: gloo-portal
spec:
  accessLevel: {}
  basicAuth:
    passwordSecretKey: password
    passwordSecretName: dev1-password
    passwordSecretNamespace: gloo-portal
  username: dev1
EOF
We can verify our user was created successfully by running:
kubectl get user dev1 -n gloo-portal -oyaml
The state of the user CR should be Succeeded.
Create a Group
With user dev1 created, we can now create a group and make dev1 a member. Users are associated with groups based on a
label applied to the user CR. The group CR has a userSelector setting specifying which labels it should match when
evaluating user CRs. We'll first create the group and then apply the label set in userSelector to dev1's CR to make them a member of the group.
You can also create a group with the Admin Dashboard.
Let's create the group developers using kubectl:
cat << EOF | kubectl apply -f-
apiVersion: portal.gloo.solo.io/v1beta1
kind: Group
metadata:
  name: developers
  namespace: gloo-portal
spec:
  displayName: developers
  userSelector:
    matchLabels:
      groups.portal.gloo.solo.io/gloo-portal.developers: "true"
EOF
Now let's verify that the developers group was created successfully:
kubectl get group developers -n gloo-portal -oyaml
The state of the group CR should be Succeeded.
Finally, we'll update dev1's CR with the new label:
kubectl label user dev1 -n gloo-portal groups.portal.gloo.solo.io/gloo-portal.developers="true"
We can validate that dev1 has been added to developers by looking at the status of the developers CR:
kubectl get group developers -n gloo-portal -oyaml
status:
  observedGeneration: "1"
  state: Succeeded
  users:
  - name: dev1
    namespace: gloo-portal
Now that we have a user and group, we can set them up with a Usage Plan on the Petstore API Product.
Adding a group to an API Product in an Environment
API Product that have been added to an Environment have Usage Plans to determine how users and groups may access and use the API. If there are no plans associated with an API Product, then everyone has unauthenticated and unlimited access. Once a plan is added, unauthenticated access is revoked for all existing users and groups.
We are going to create a Basic usage plan for our Petstore API Product and then associate that plan with the developers group we created earlier. You can also configure a usage plan with the Admin Dashboard.
We will first update the configuration of the Petstore API Product in the Development Environment to include the Basic usage plan:
cat << EOF | kubectl apply -f-
apiVersion: portal.gloo.solo.io/v1beta1
kind: Environment
metadata:
  name: dev
  namespace: default
spec:
  domains:
  - api.example.com
  # If you are using Gloo Edge and the Gateway is listening on a port other than 80,
  # you need to include a domain in this format: <DOMAIN>:<PORT>.
  # In this example we expect the Gateway to listen on port 32000.
  - api.example.com:32000
  displayInfo:
    description: This environment is meant for developers to deploy and test their APIs.
    displayName: Development
  parameters:
    usagePlans:
      basic:
        displayName: Basic plan with API key auth
        authPolicy:
          apiKey: { }
        rateLimit:
          requestsPerUnit: 3
          unit: MINUTE
  apiProducts:
  - namespaces:
    - "*"
    labels:
    - key: app
      operator: Equals
      values:
      - petstore
    versions:
      tags:
      - stable
    usagePlans:
    - basic
EOF
We have now created a usage plan that uses the API Key authentication method and is limited to 3 requests per minute. The next step is to update our developers group to have access to the Petstore API Product with the Basic usage plan. We will also grant them access to the Petstore portal.
cat << EOF | kubectl apply -f-
apiVersion: portal.gloo.solo.io/v1beta1
kind: Group
metadata:
  name: developers
  namespace: gloo-portal
spec:
  displayName: developers
  # AccessLevel determines the resources the group has access to,
  # including APIProducts and Portals.
  accessLevel:
    apis:
    - products:
        namespaces:
        - "*"
        labels:
        - key: app
          operator: Equals
          values:
          - petstore
      environments:
        namespaces:
        - "*"
      usagePlans:
      - basic
    portals:
    - name: petstore-portal
      namespace: default
  userSelector:
    matchLabels:
      groups.portal.gloo.solo.io/gloo-portal.developers: "true"
EOF
Our user dev1 should now have access through the developers group to log into the Petstore portal, procure an API key, and test the API Product's functionality.
Using the Petstore portal
In order to access the Petstore portal, you will need to update your hosts file to map petstore.example.com to the IP address of the Istio ingress controller. If you haven't already done so from the Getting Started exercise, you will need to do the following.
Make sure you've got the INGRESS_HOST and INGRESS_PORT environment variables set.
Then let's add entries for the api.example.com and petstore.example.com domains:
cat <<EOF | sudo tee -a /etc/hosts

# Added for Gloo Portal Guides
${INGRESS_HOST} api.example.com
${INGRESS_HOST} petstore.example.com
EOF
Now you can go to the Petstore Portal in your browser using http://petstore.example.com and the INGRESS_PORT.
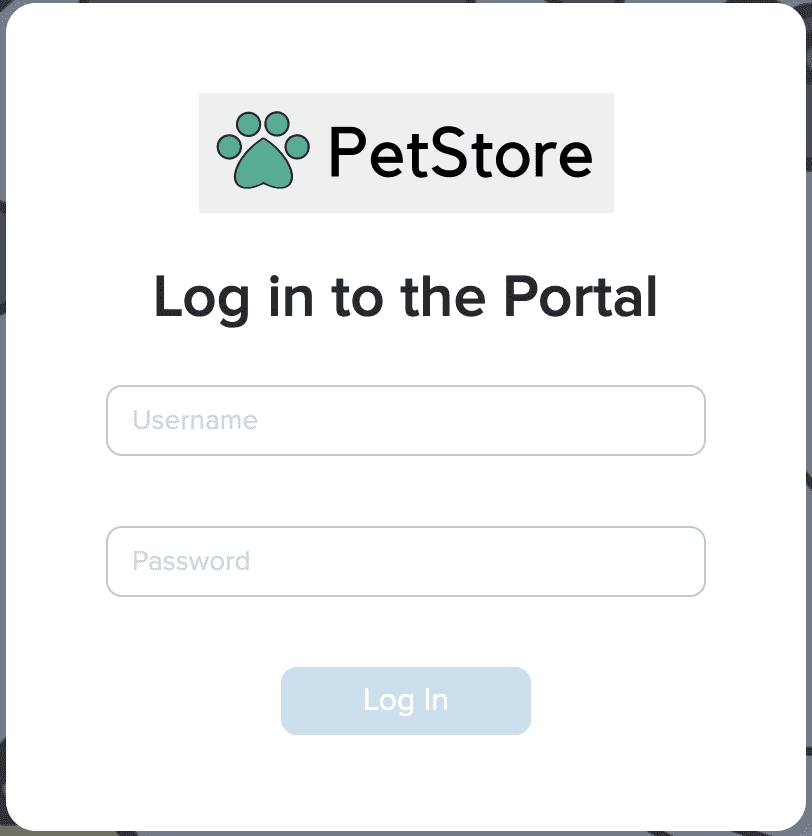
Click on the Log In button and enter the credentials of the dev1 user - dev1 and mysecurepassword :
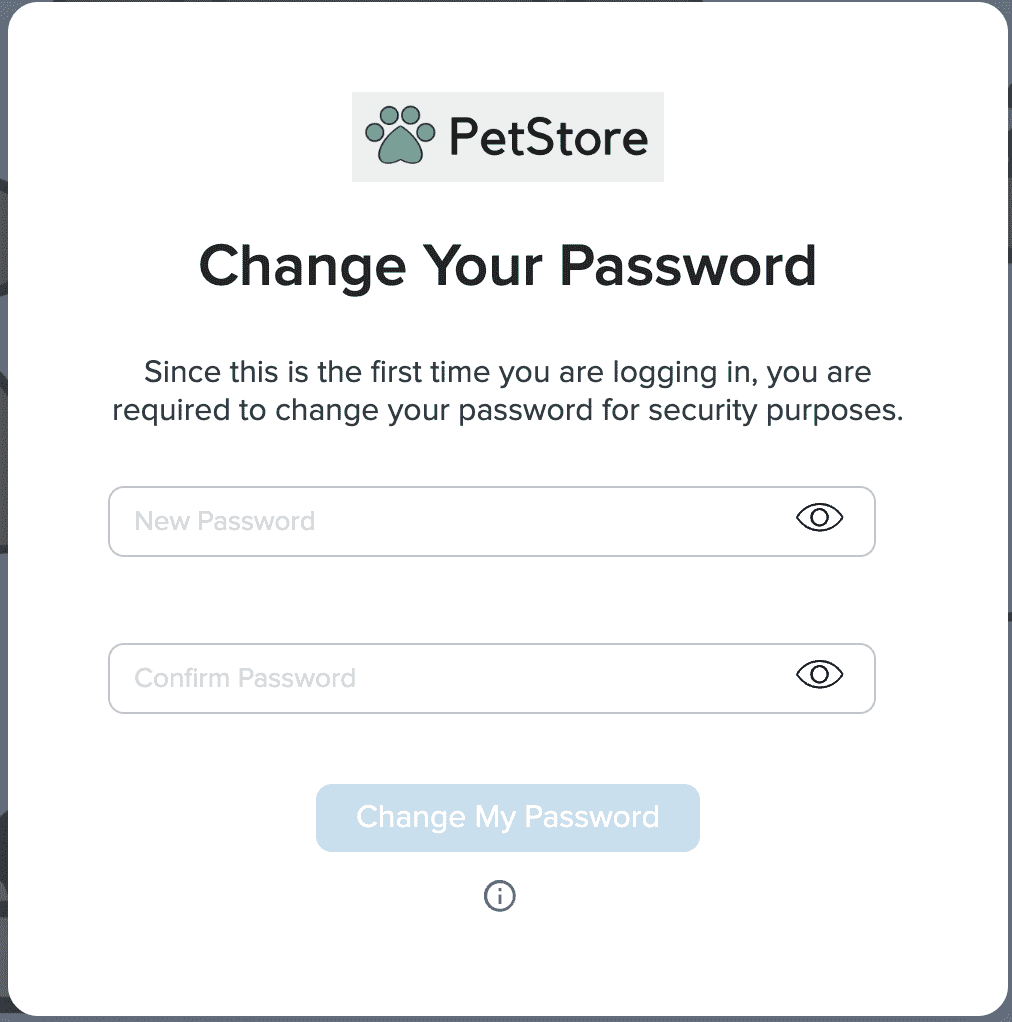
The first time a user logs in, they will be prompted to change their password. Change dev1's password to a new value and click the Change My Password button.
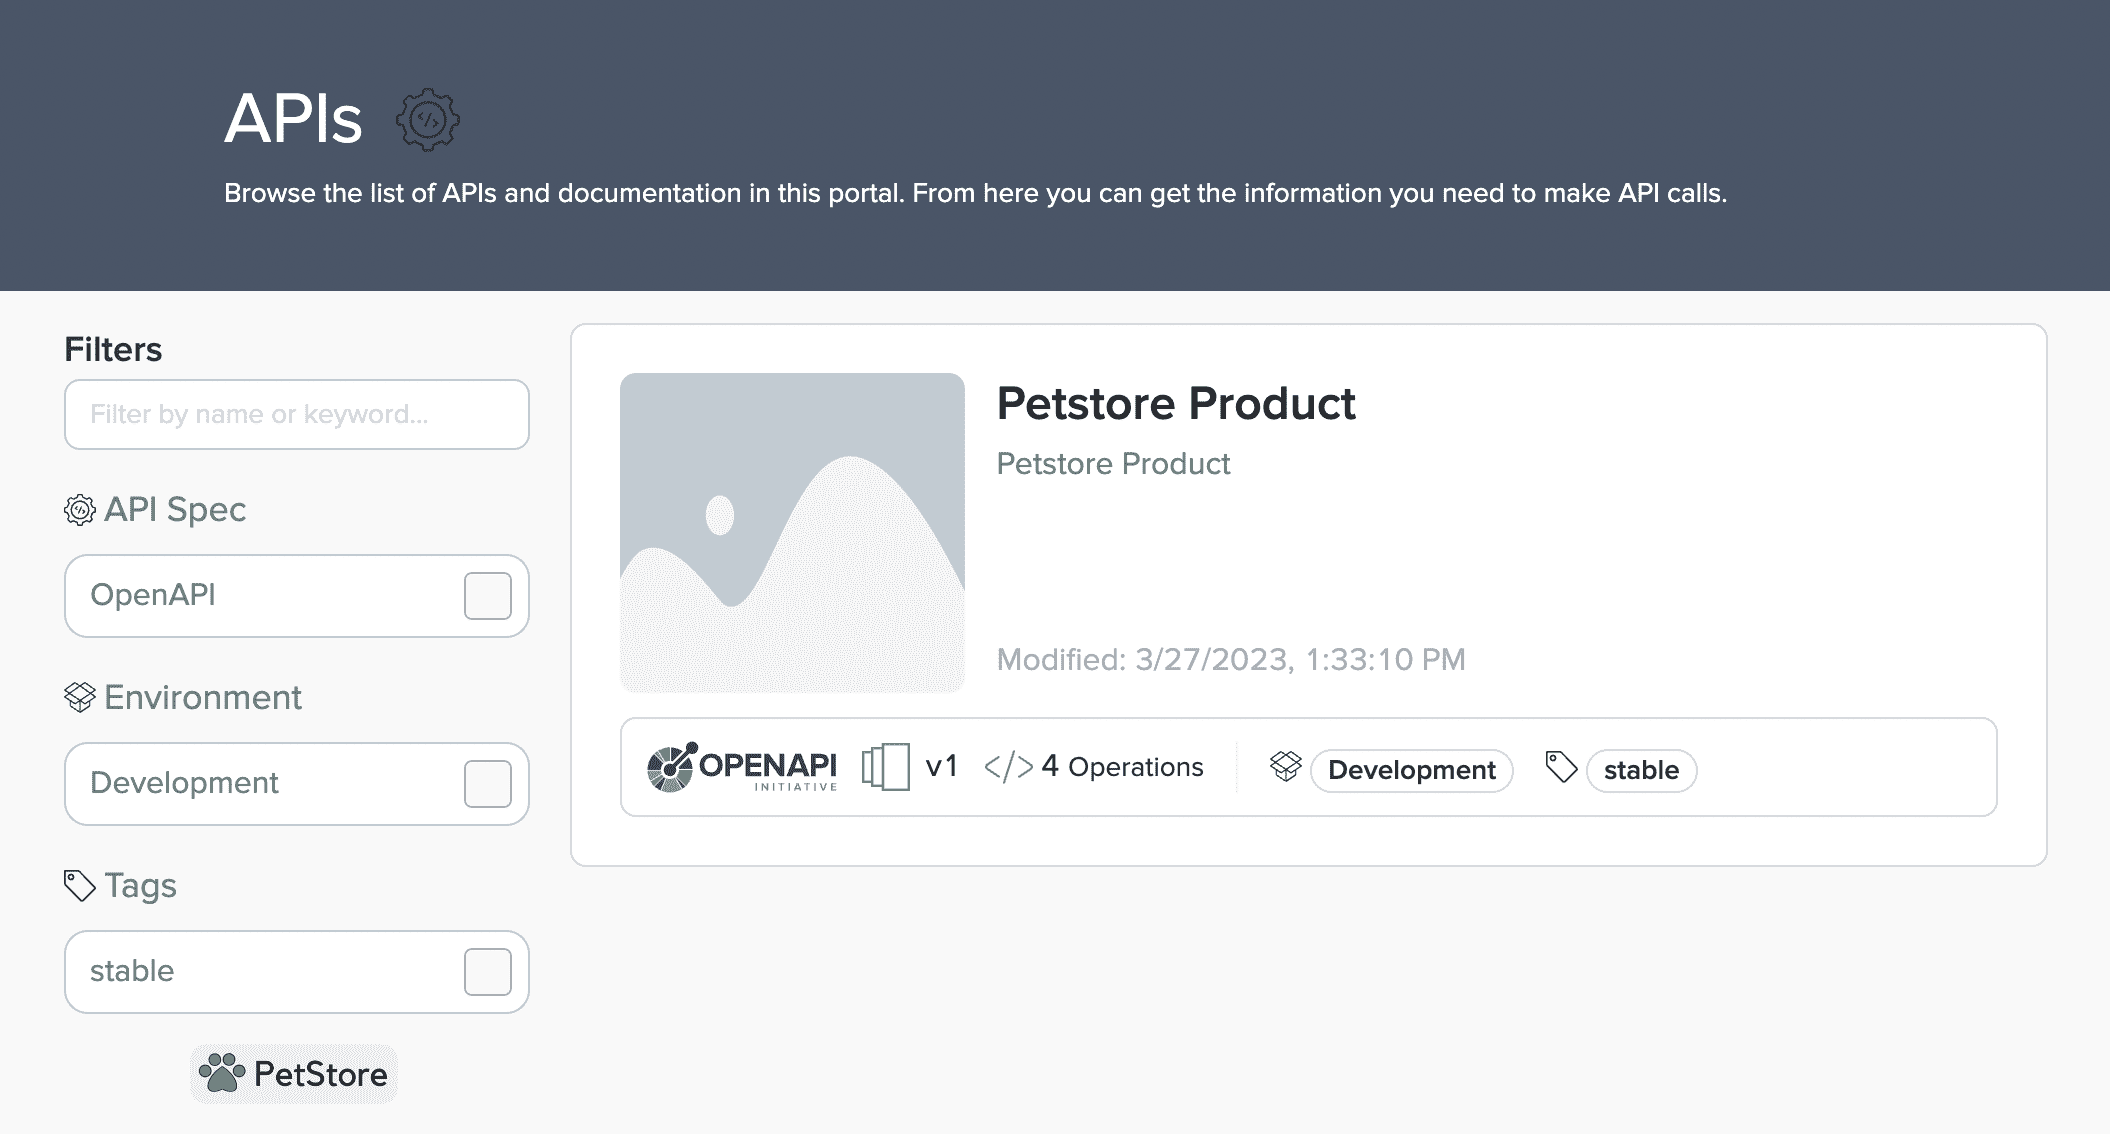
Now that we're logged in, we can see the APIs that are available through the portal.
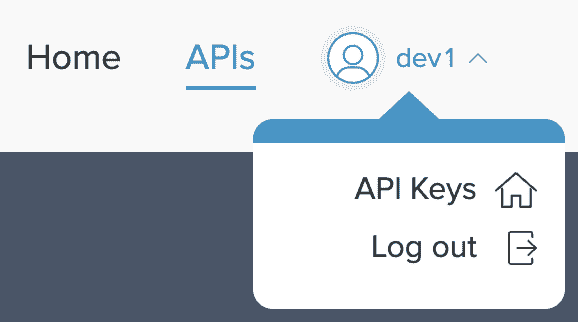
Before we try and test the APIs, let's procure an API Key. To do this, we can click the down arrow next to the dev1 login badge and select API Keys.
This will take you to the authentication page, where you can generate API Keys for any plan that has been assigned to you.
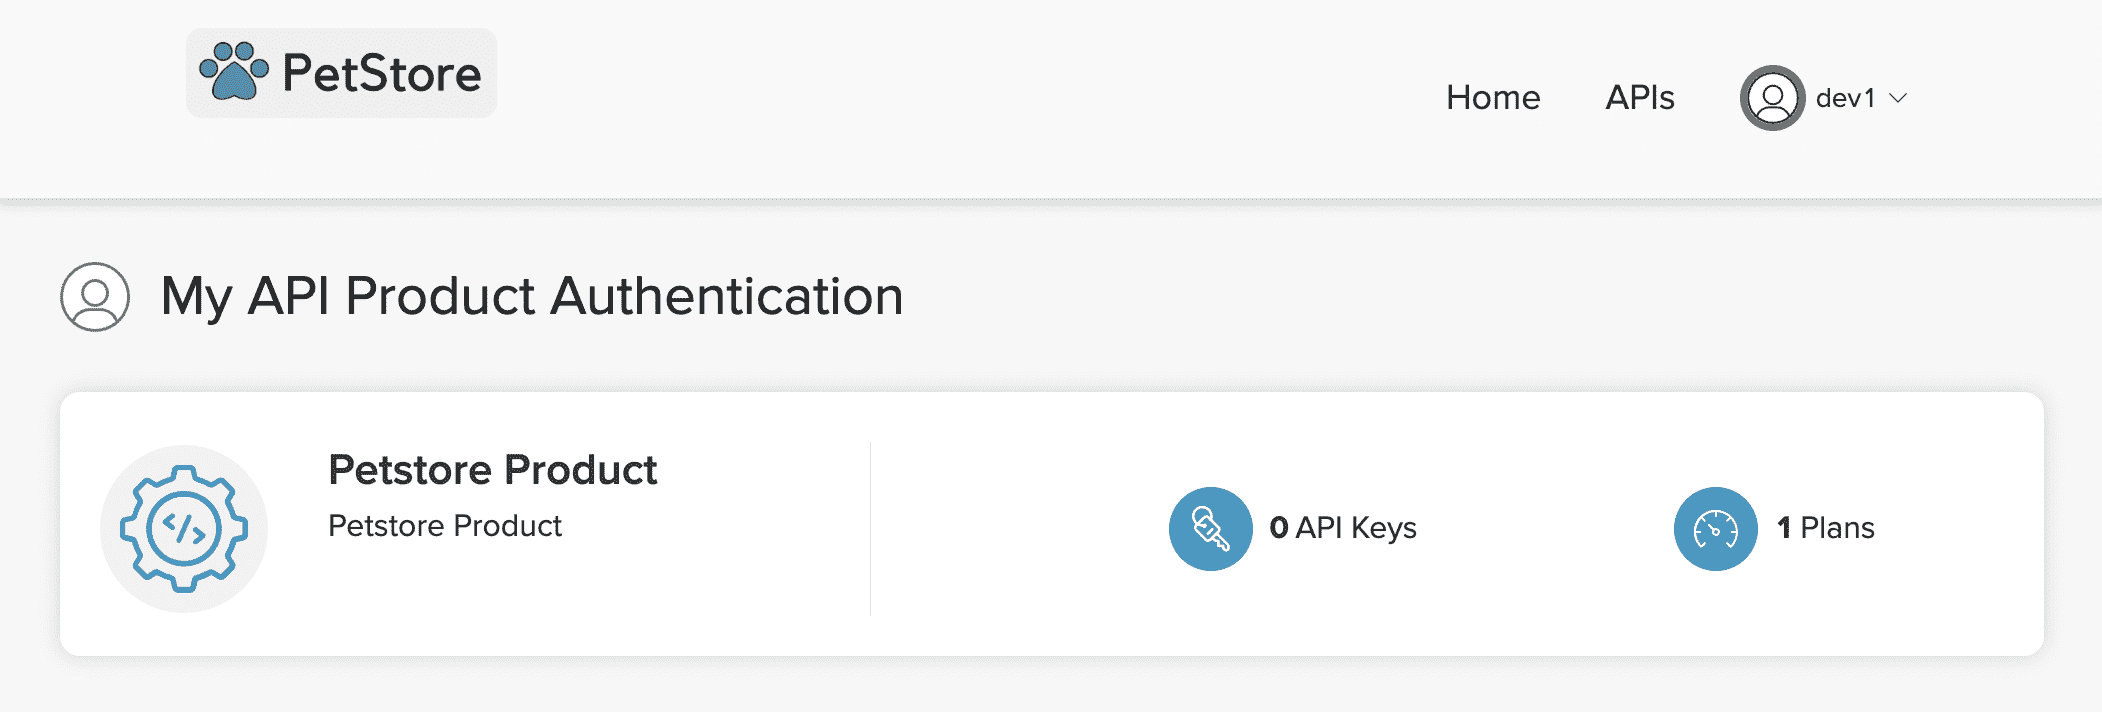
First click on the API Keys icon to expand the area below it. In our case, the Basic plan has been assigned for the Petstore Product API Product in the Development Environment.
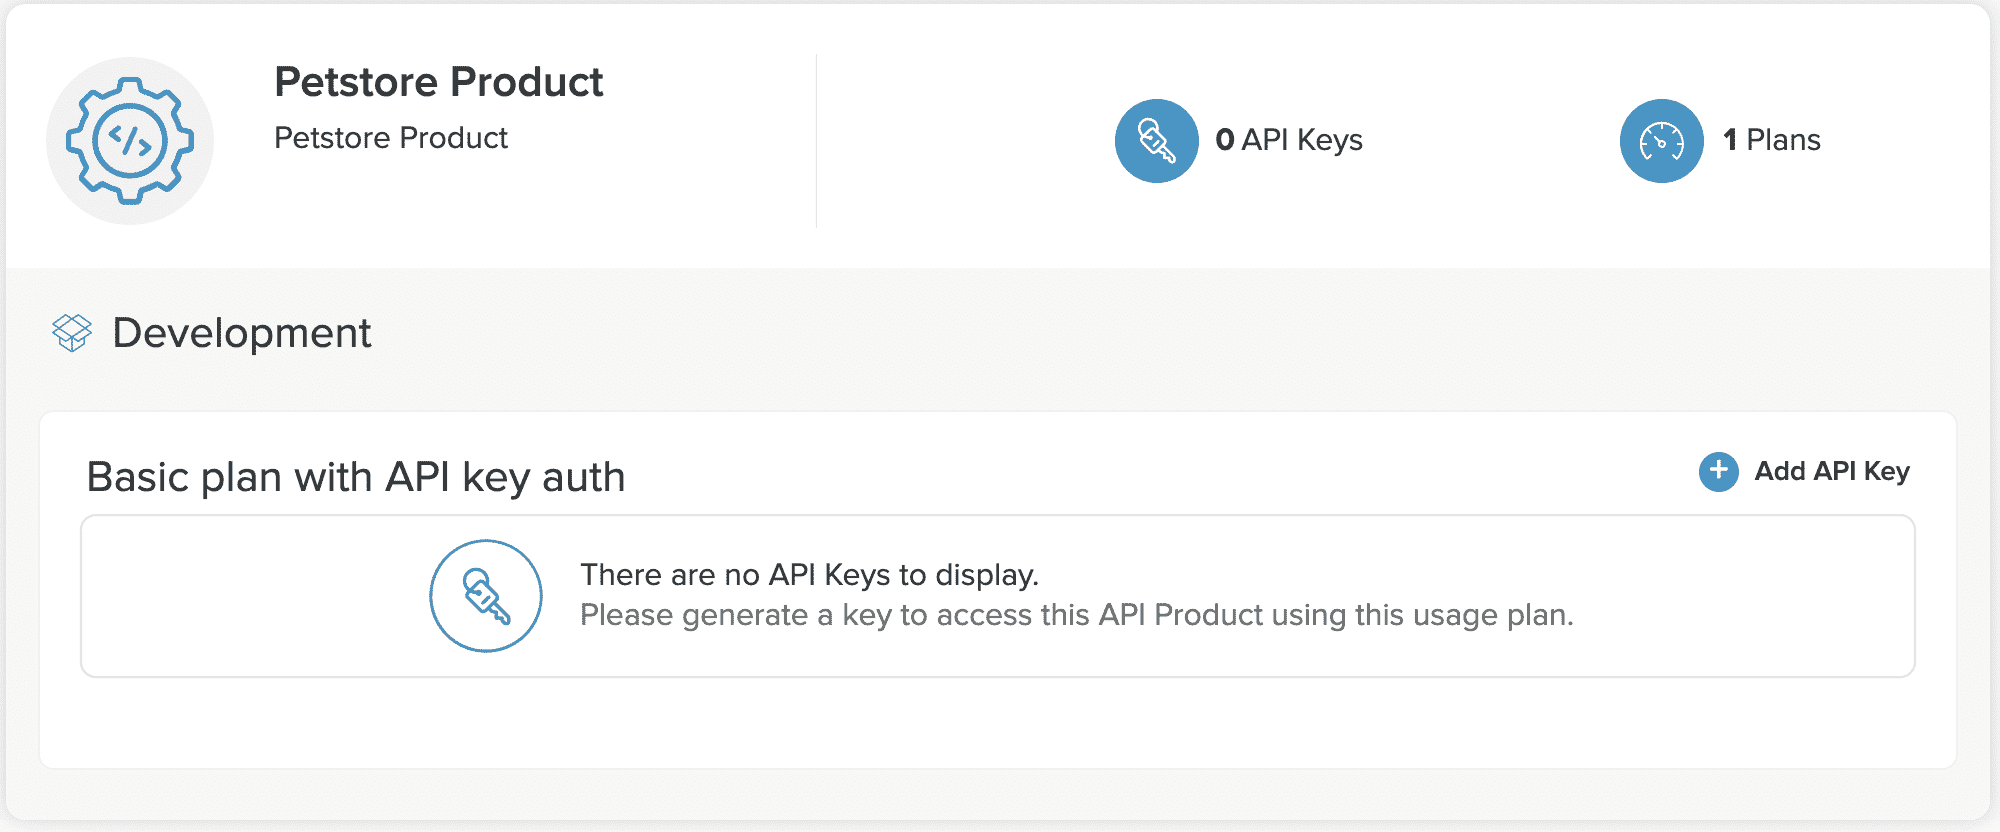
Click on Add API Key to generate a new key, and then click on Generate Key to confirm.
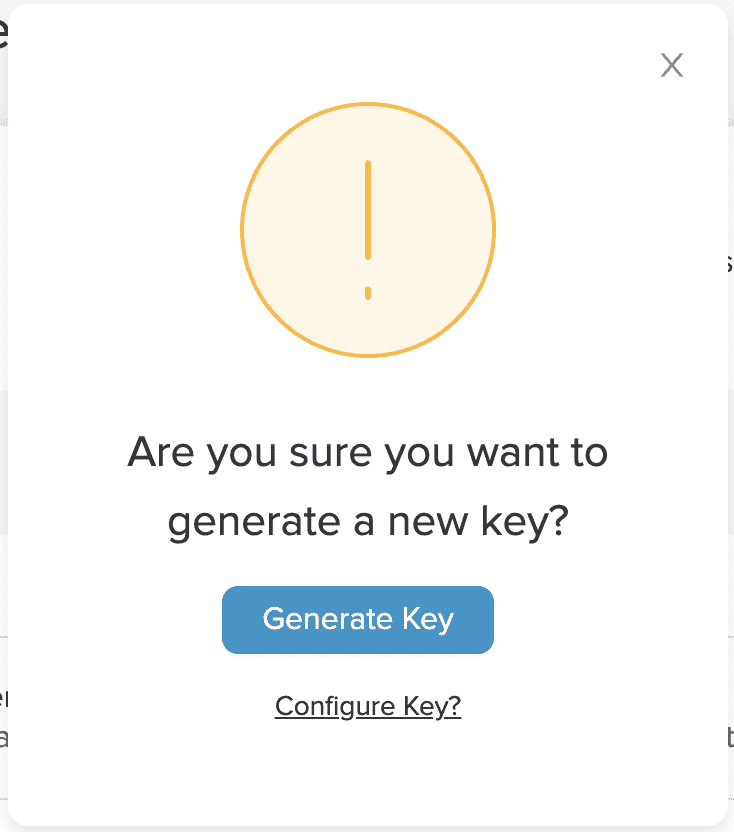
A new API Key will be generated, which you should copy for later use as we test the Petstore API.
Now we can go back to the APIs page and select the Petstore Product to test the API in the browser.
Click on the version of the API Product you want to test.
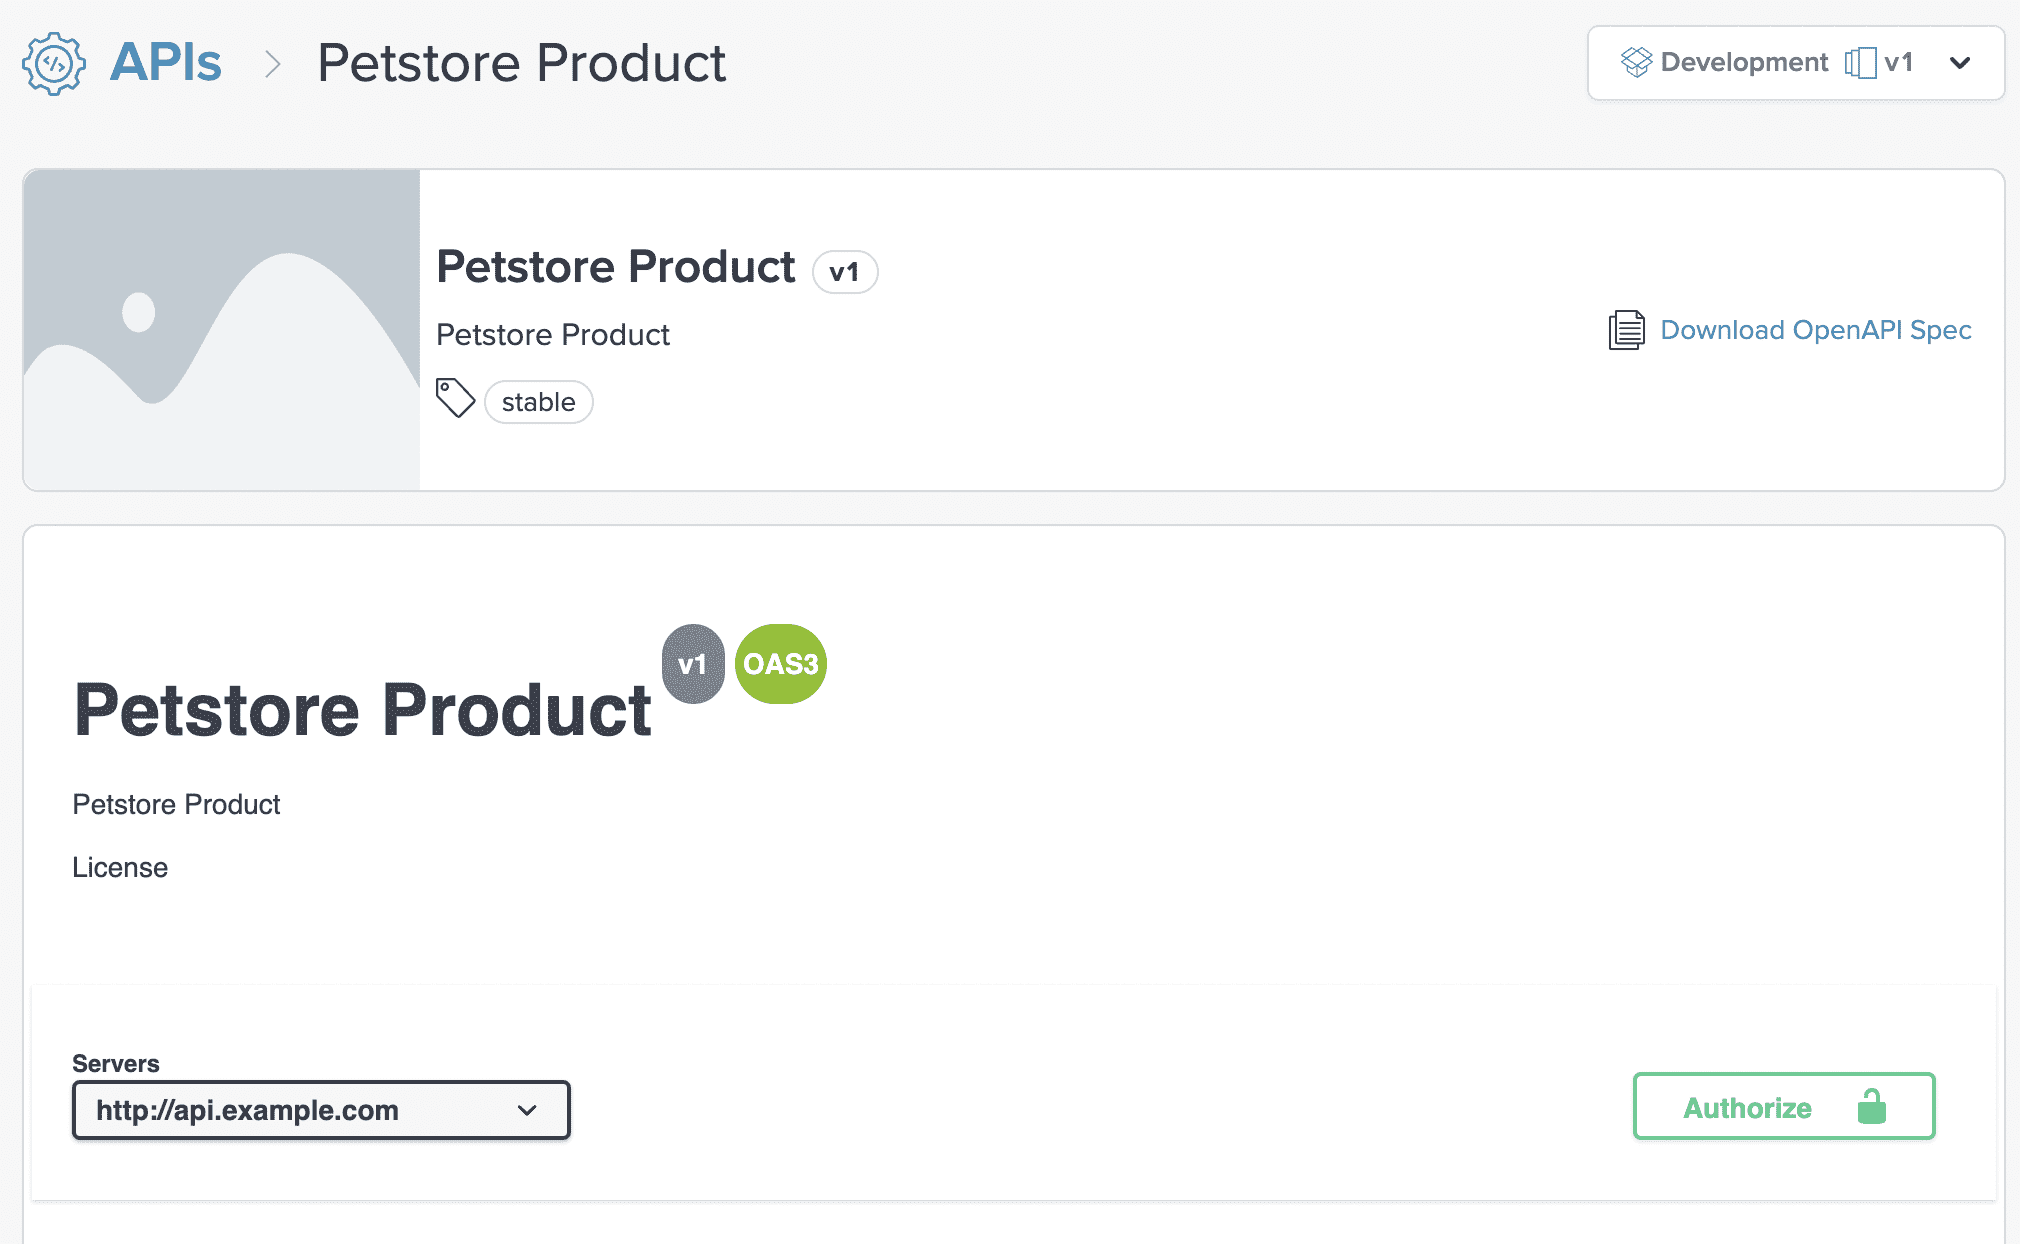
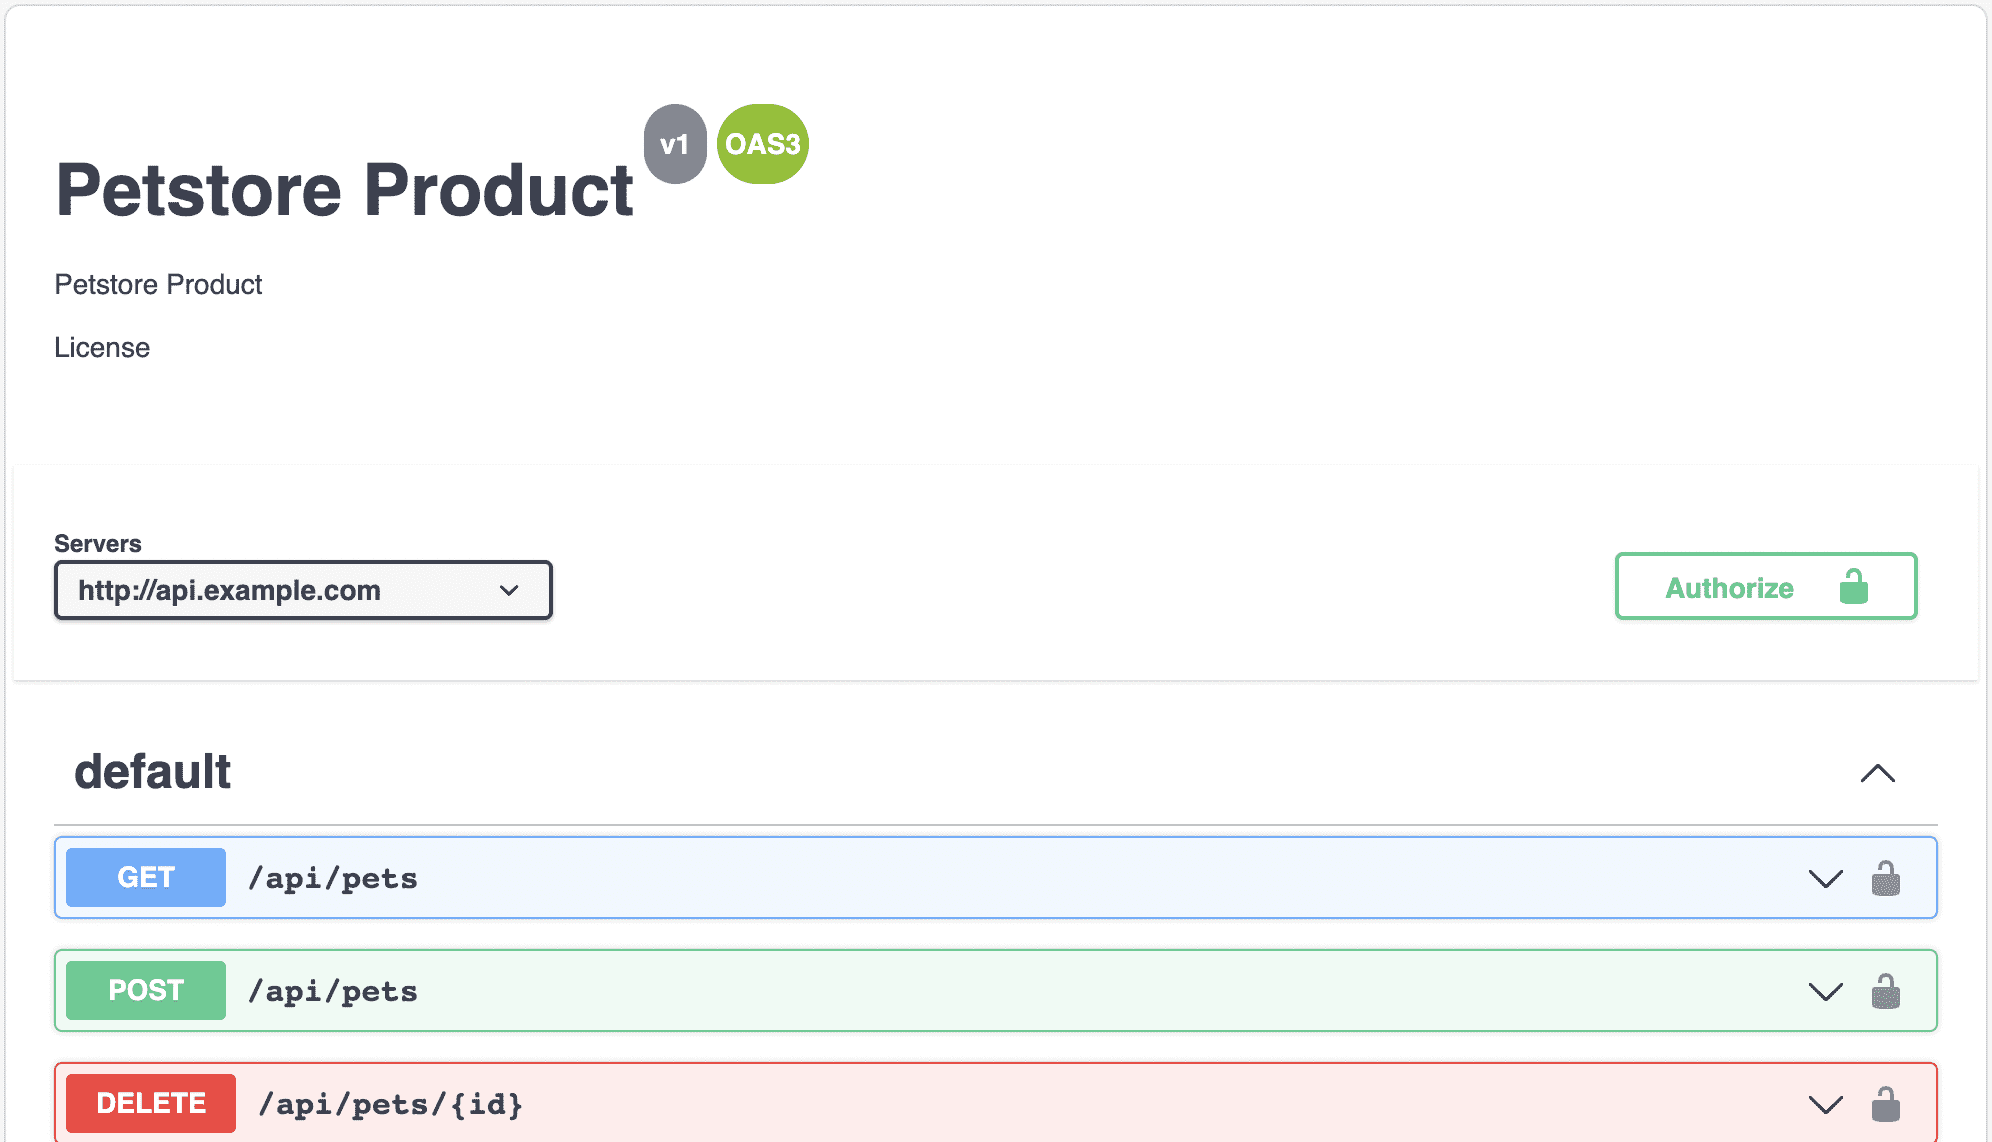
On the main API Product version page, you can view the different API commands and test them in the context of the browser. Since we have an API Key, we are first going to click on Authorize to add that key to the test commands.
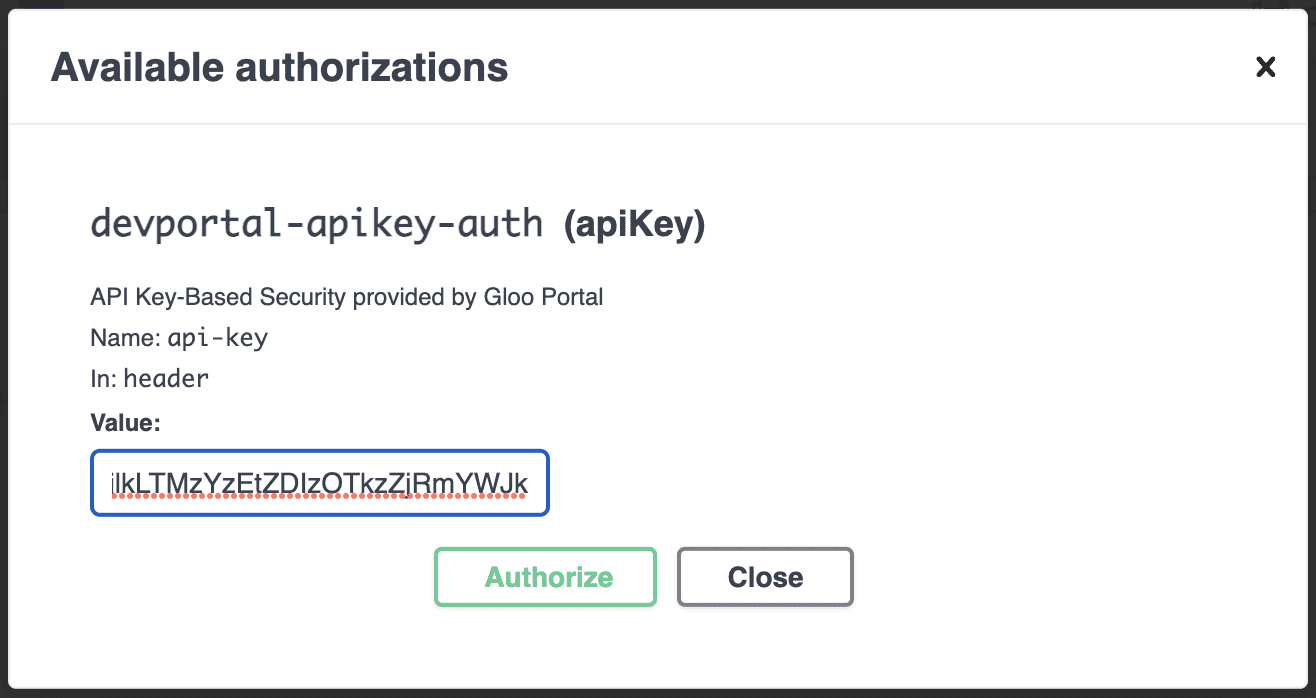
In the Available Authorizations pop-up, enter the API Key from earlier and click Authorize.
Now we are ready to test the API commands with an authorized key. Expand the GET /api/pets command and click on Try it out to try the command in the browser.
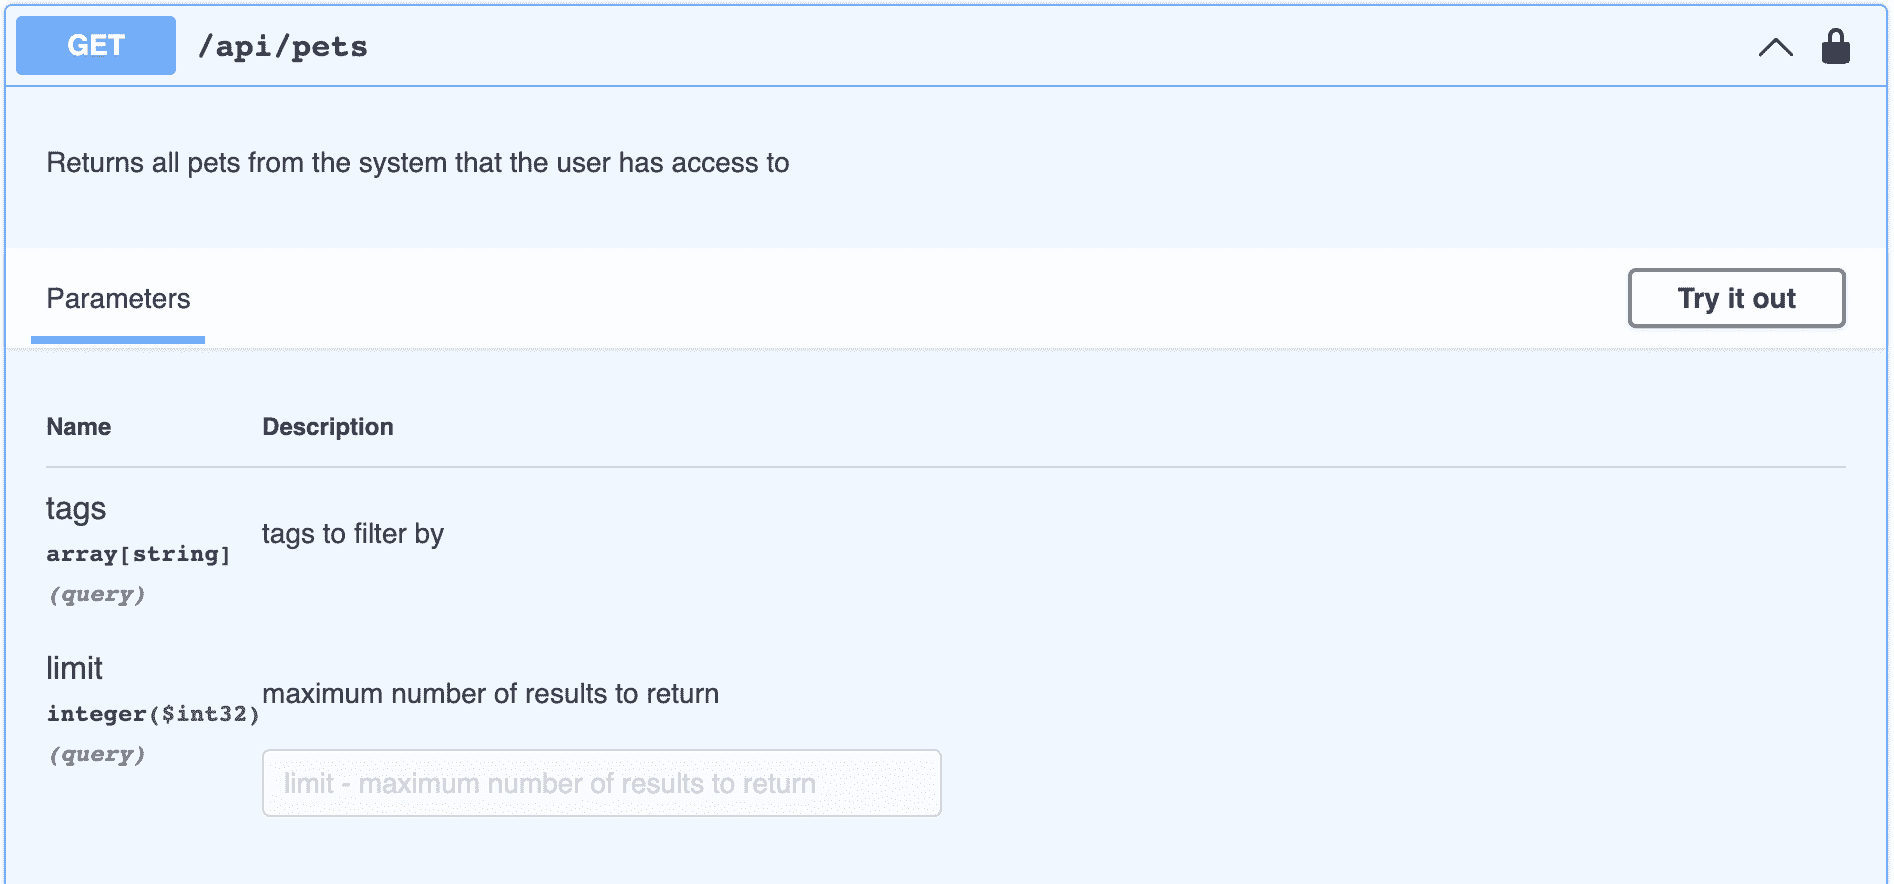
Click on the Execute button and you will see a response similar to the graphic below.
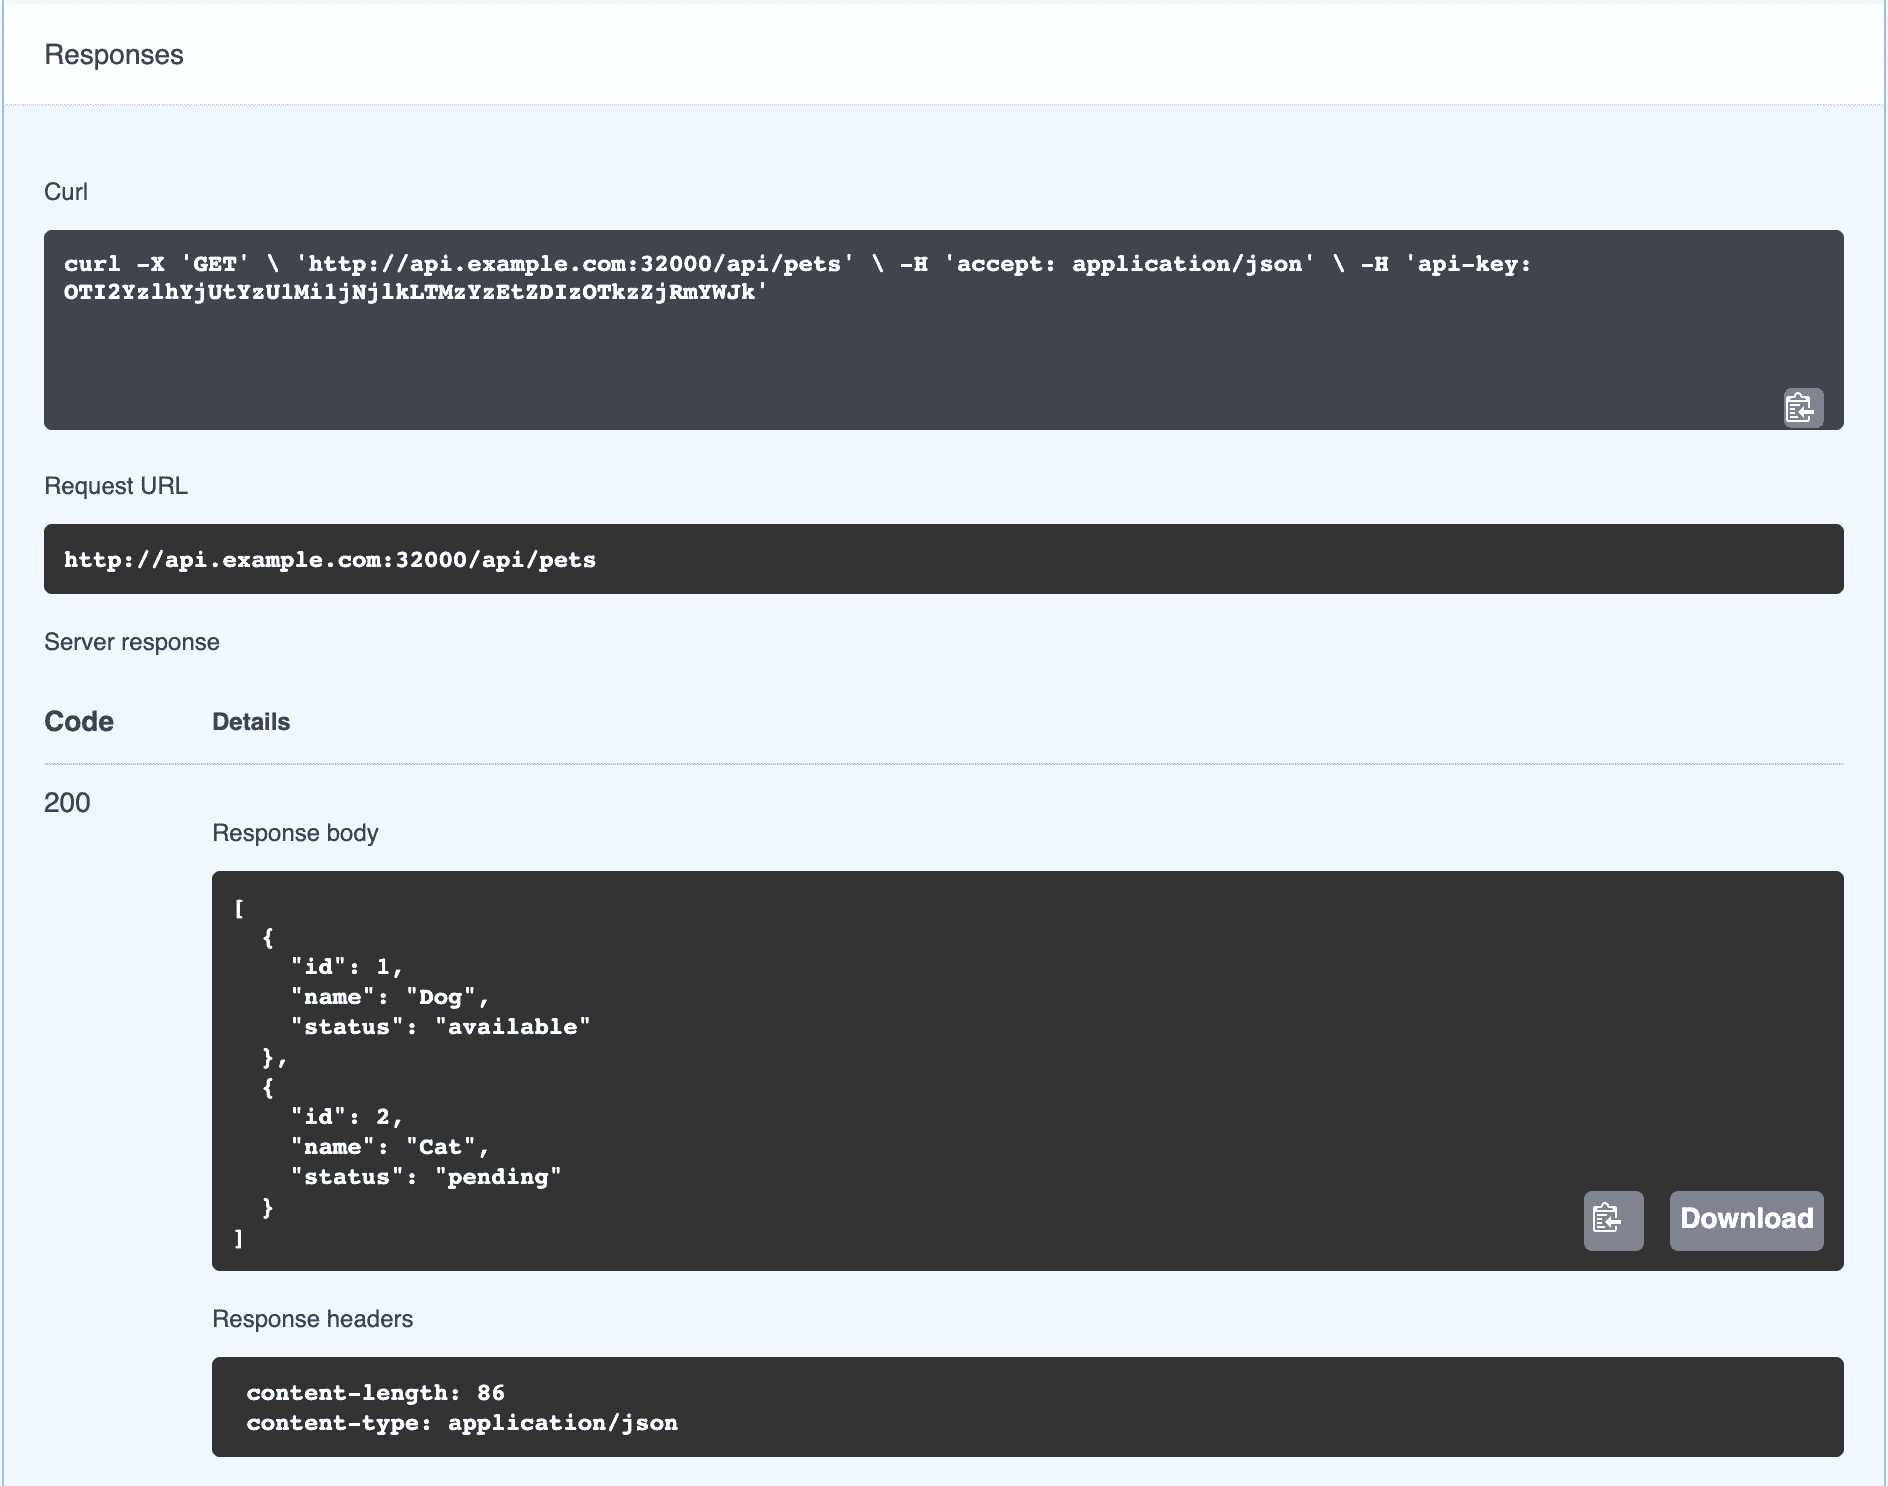
The request uses the header api-key with the value we set in the authorization section. The response code is 200, showing that the request was processed successfully.
INGRESS_PORT (for example api.example.com:32000), you will need to switch the Server you are testing against through the Servers dropdown.
Now that we have enabled a Usage Plan for the API Product, unauthenticated users will no longer be able to access the published operations. Let's try the curl command displayed by the Portal UI without the API key:
curl "http://api.example.com:${INGRESS_PORT}/api/pets" -H "accept: application/json" -v
We will get a response of Error: Unauthorized with a status code of 401.
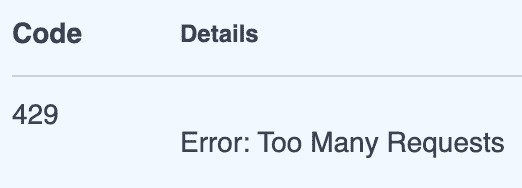
Likewise, we placed a rate limit of 5 operations per minute in our Usage Plan. If we execute an authenticated request 6 times in rapid succession, the sixth request will receive the message Error: Too Many Requests with a status code of 429.
Summary
In this guide you created a user, group, and usage plan. You made the user a member of the developers group, and granted the developers group access to the Petstore product and portal with the Basic usage plan. Finally, you logged into the Portal UI as the user, provisioned an API key and tested out the Petstore Product API.
Next steps
You may want to learn more about the concepts behind users, groups, plans, and portals. Check out the architecture page of our concepts section as an excellent jumping off point to better understand how all the pieces of Gloo Portal fit together.