Using the Admin Dashboard
The Gloo Portal can be managed by interacting directly with Custom Resources in Kubernetes or through the Admin Dashboard - an administrative user-interface running on the gloo-portal-admin-server pod. Interacting through Custom Resources is an excellent fit for automation workflows and programmatic control of Gloo Portal, but for simple tasks and quick assessments, the Admin Dashboard is preferred. In this guide, you will learn how to connect to the Admin Dashboard and the basic layout of the portal's contents.
About the Admin Dashboard
The Admin Dashboard runs on a pod in the Gloo Portal deployment and is exposed as a service. It does not have any authentication applied, so anyone with access to the Admin Dashboard can make changes to the resources managed by Gloo Portal. That bears repeating:
Access to the Admin Dashboard should be restricted to only those who need to administer Gloo Portal. The gloo-portal-admin-server
service is of the type ClusterIP, so it is not exposed outside of the cluster.
Connecting to the Admin Dashboard
The Admin Dashboard is served from the gloo-portal-admin-server service on port 8080. For this guide we are going to connect using
the port-forward feature of kubectl. The following command assumes that you have deployed Gloo Portal to the
namespace gloo-portal. From a command prompt, run the following to set up port-forwarding for the gloo-portal-admin-server service.
kubectl port-forward -n gloo-portal svc/gloo-portal-admin-server 8080:8080
Once the port-forwarding starts, you can open your browser and connect to http://localhost:8080. You will be taken to a webpage that looks similar to this:
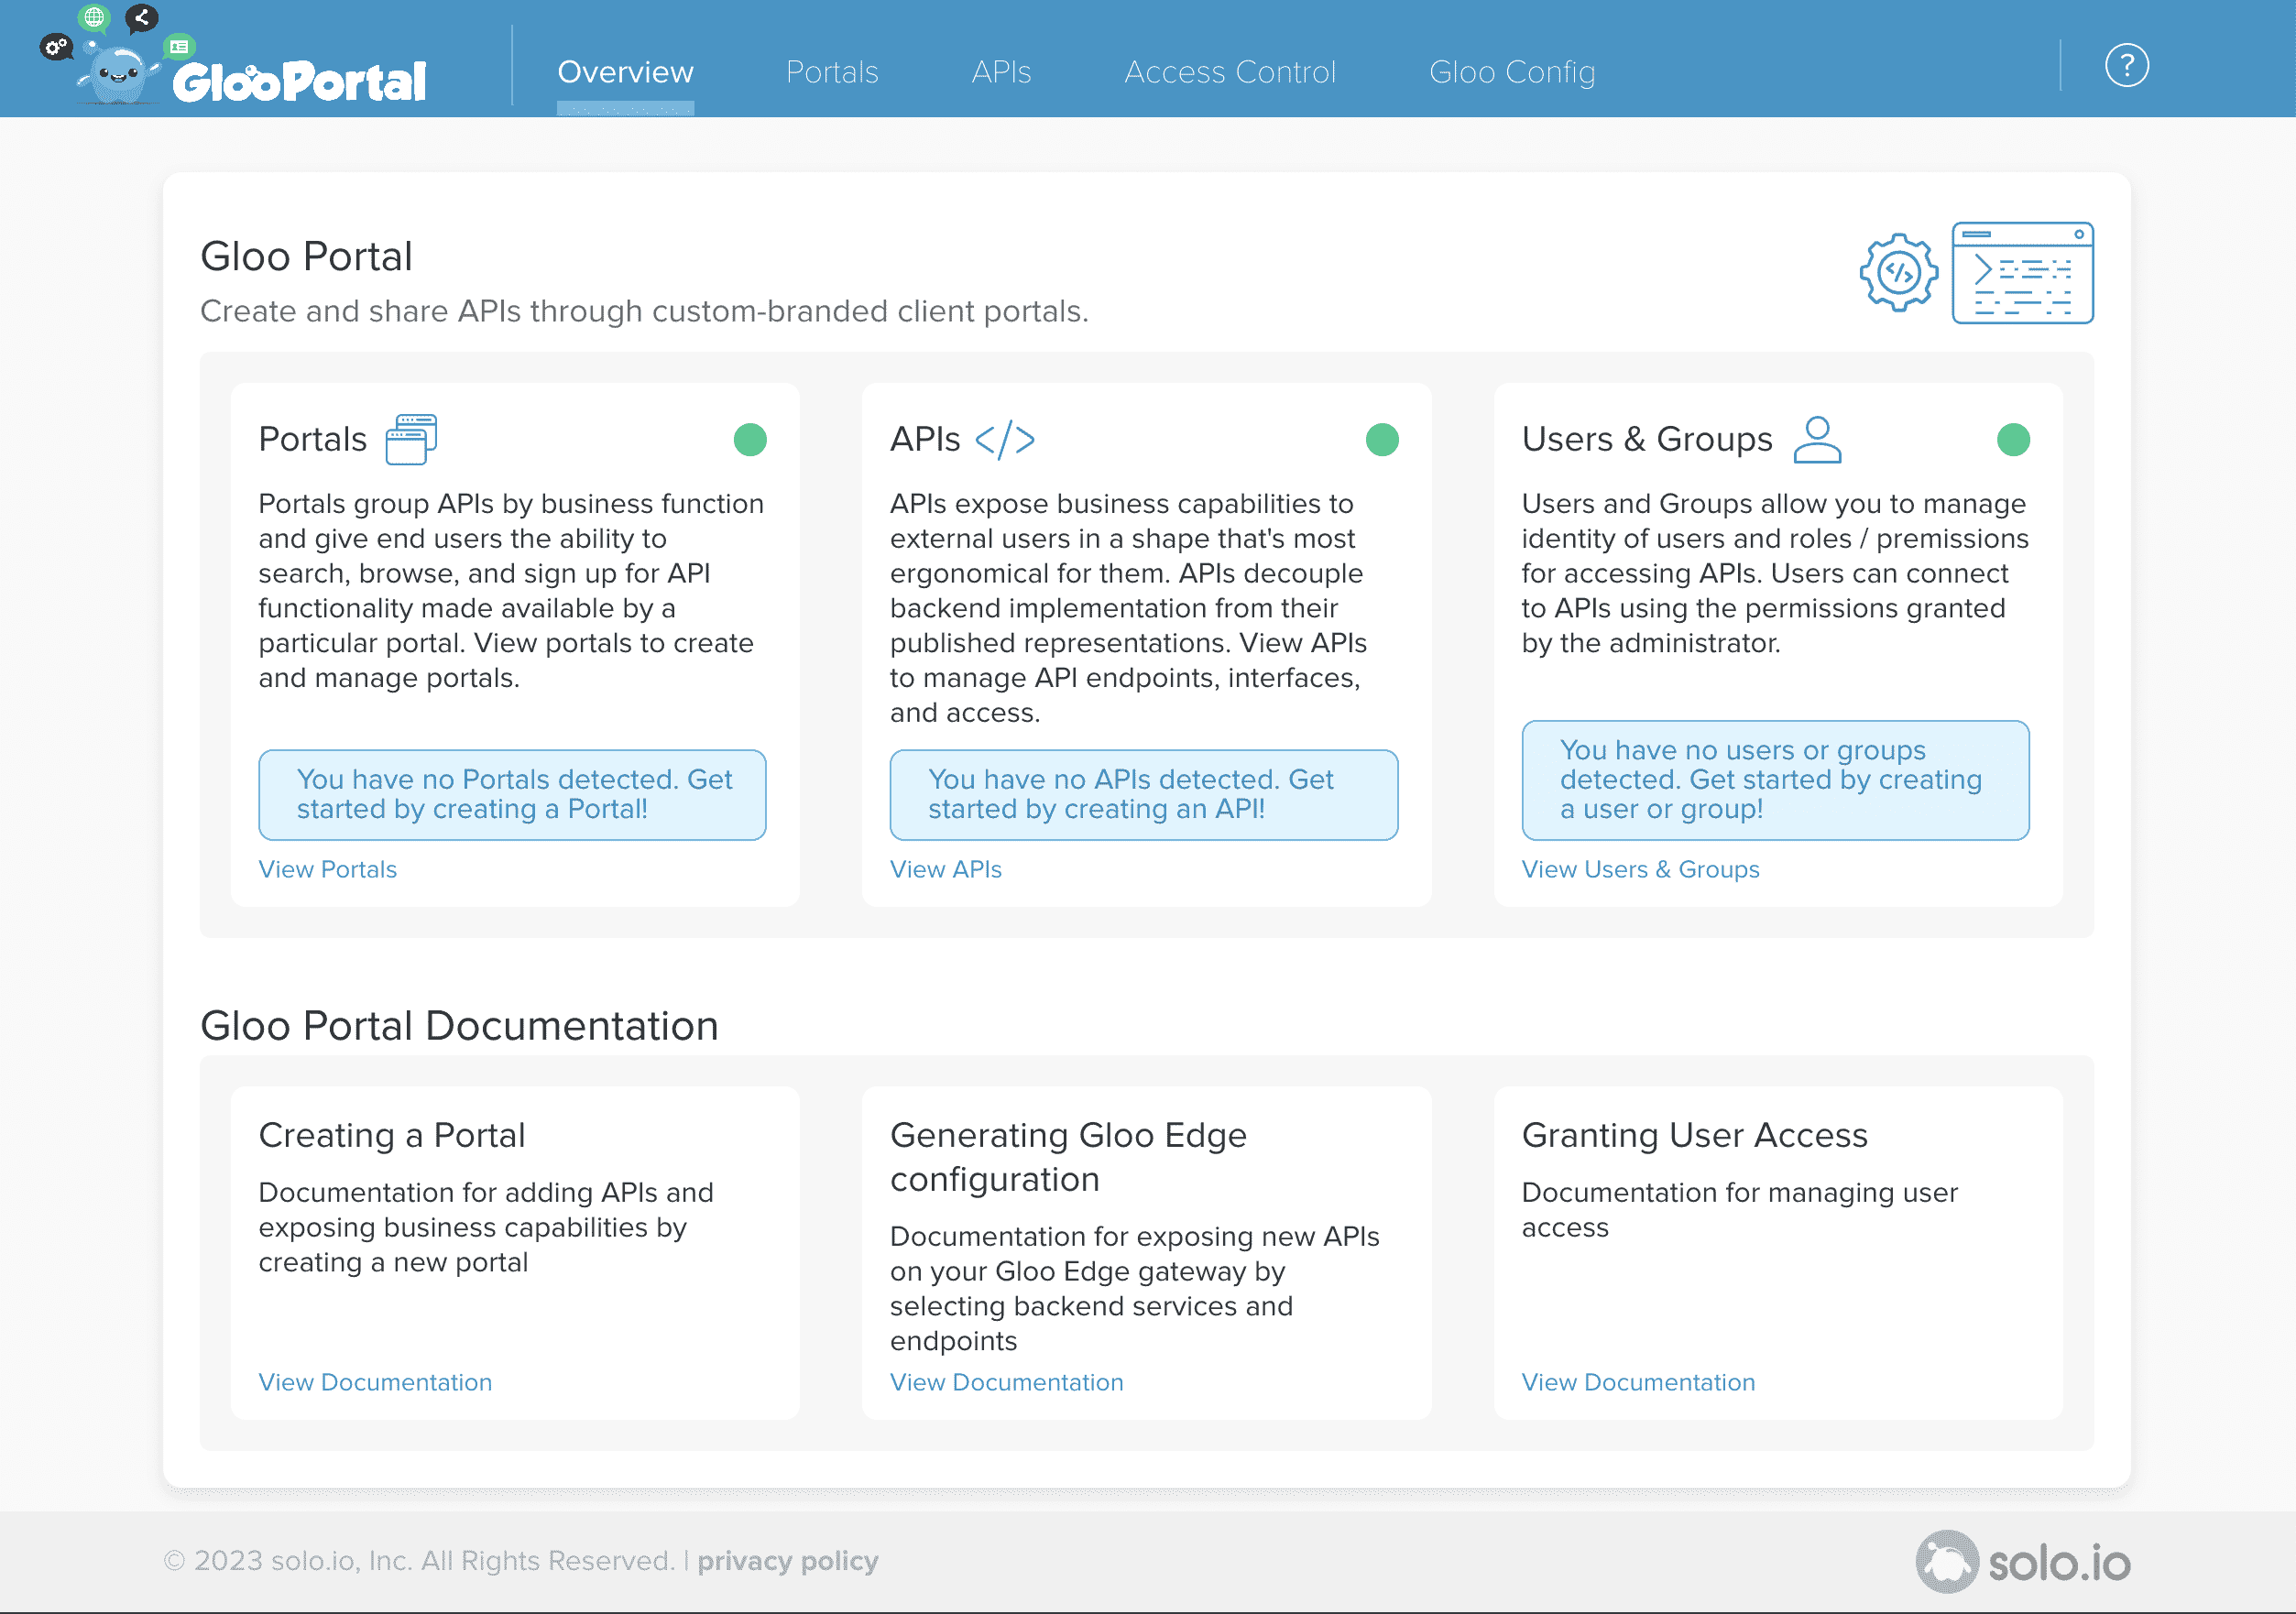
Now that you're connected, let's explore the UI.
Exploring the Admin Dashboard
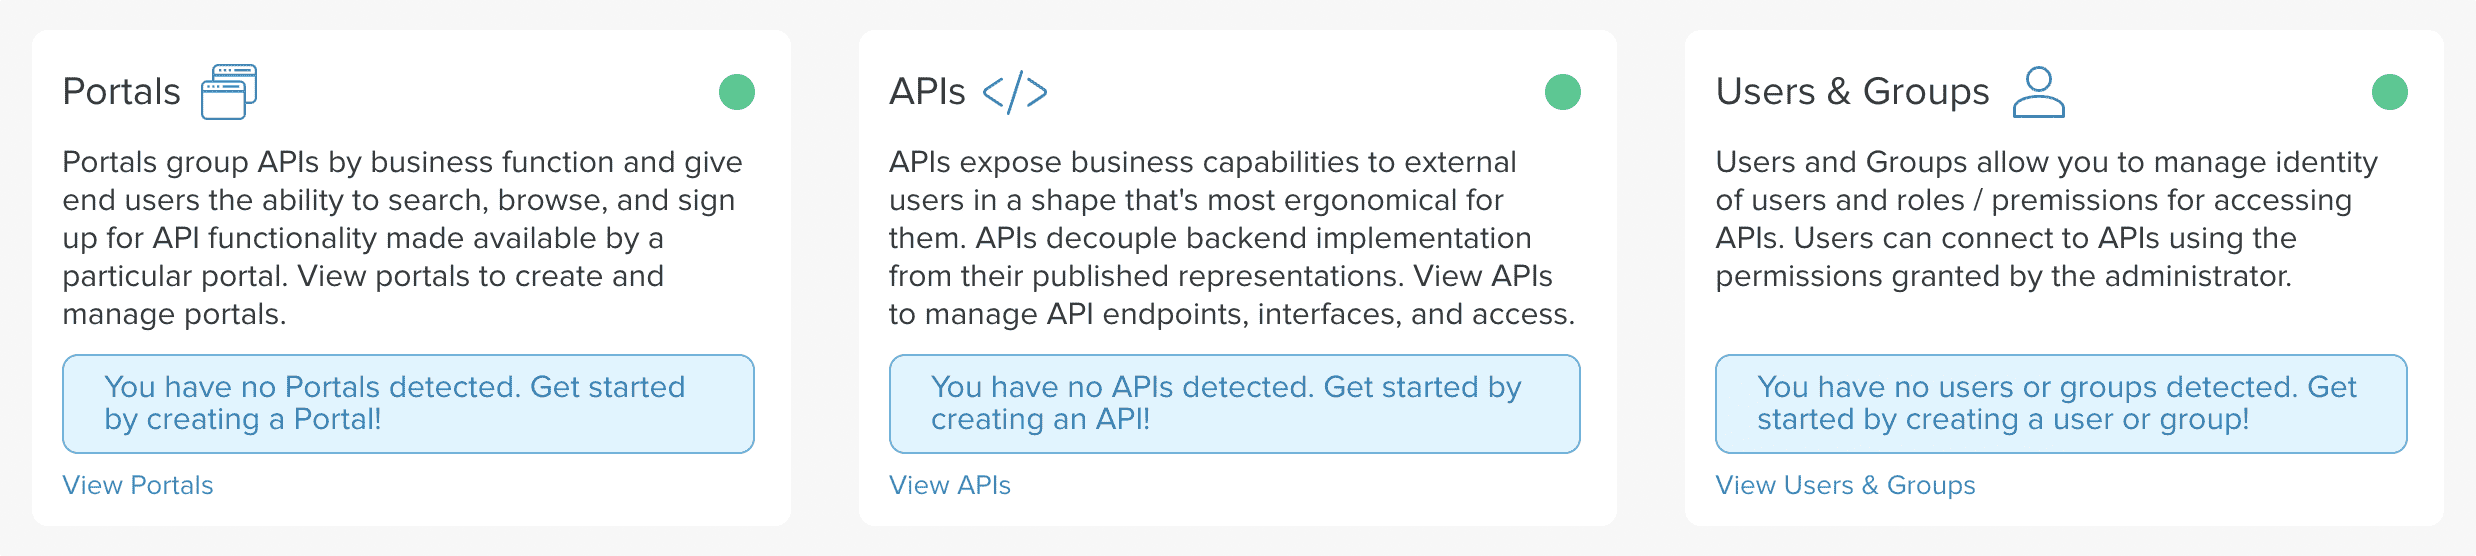
The main page of the Admin Dashboard provides a brief overview of the resources managed by Gloo Portal, including portals, APIs, and users and groups.
Across the top of the page is a navigation bar with five sections:

- Overview: Provides a high-level view of Gloo Portal
- Portal: Used for interacting with portals that are using API Products
- APIs: Used to manage API Products and API Documents
- Access Control: Used to manage users, groups, and API Keys
- Gloo Config: Used to view the Gloo Edge resources that have been generated by Gloo Portal. This section will be present only if Gloo Portal has been configured to integrate with Gloo Edge during installation.
A general workflow - the one described in the Getting Started guide - would be to create an API Doc and Product from the APIs section. Then create a Portal in Portals and associate API Products with it.
Next Steps
Now that you know how to connect to the Admin Dashboard and interact with some of its components, we suggest looking at some of the operational guides for the Admin Dashboard, like Creating an API Doc or Creating an Portal UI.