Create a Portal UI
Once a set of APIs have been bundled together in an API Product and exposed through an Environment, those product versions can be published in a user-friendly interface through which developers can discover, browse, request access to, and interact with APIs. This is done by defining Portals, a custom resource which tells Gloo Portal how to publish a customized website containing an interactive catalog of those products.
In this guide we are going to create a Portal UI using the Admin Dashboard.
Pre-requisites
You will also need the following items provisioned in Gloo Portal:
You can follow the guides linked above to perform the action through the Admin Dashboard or go through the Getting started guide to provision these resources using kubectl.
Create a Portal UI
We will start from the Overview page of Gloo Portal. First you will click on the Portals item in the navigation bar to manage Portals, API Products, and Access Control.

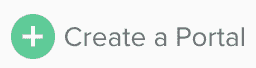
The page should load on the Portals category by default. Next click on the Create a Portal button to start the process.
On the General page, you will fill out the basic fields for the Portal.
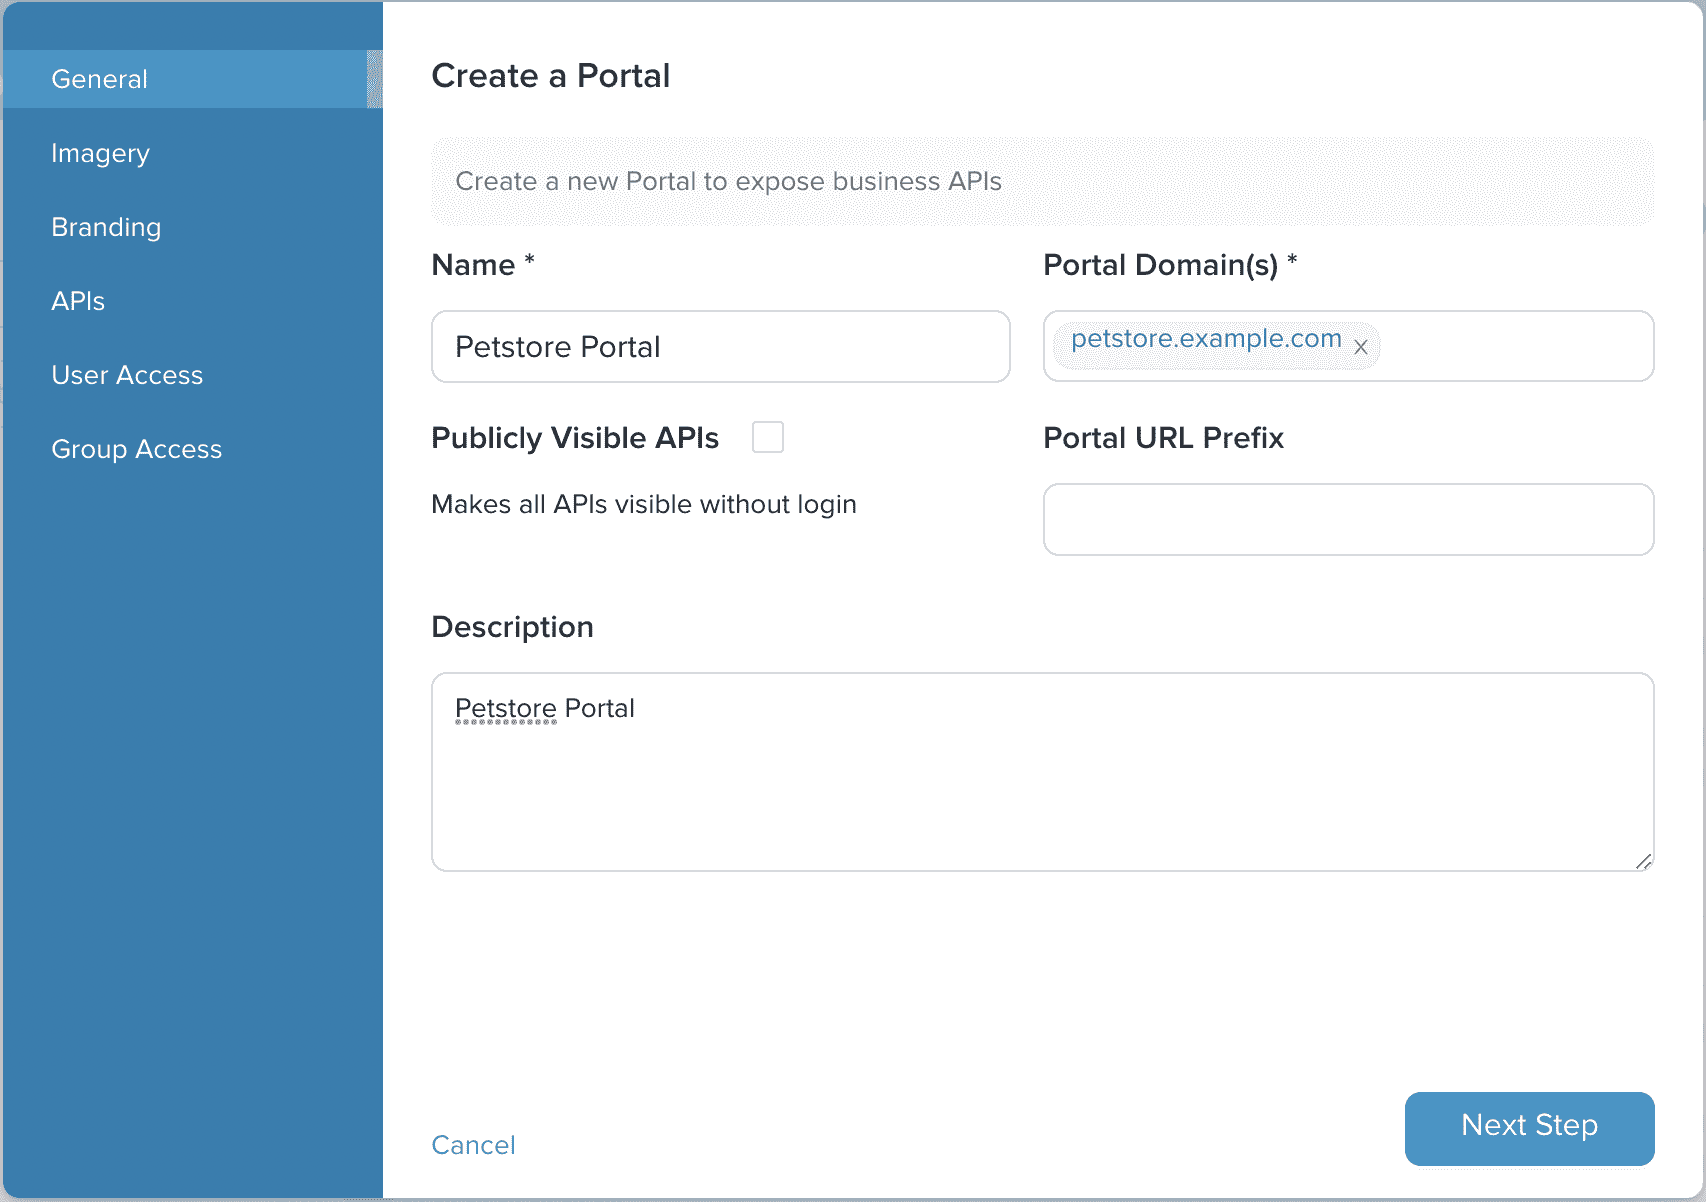
In our example we are going to use the following values:
- Name: Petstore Portal
- Portal Domains(s): petstore.example.com
- Description: Petstore Portal
INGRESS_PORT is not 80, you will need to add the port to the portal domain.
For example, if your INGRESS_PORT is 8080, you would set petstore.example.com:8080 as the portal domain.
The portal domain defines the domain name where the portal will be accessible.
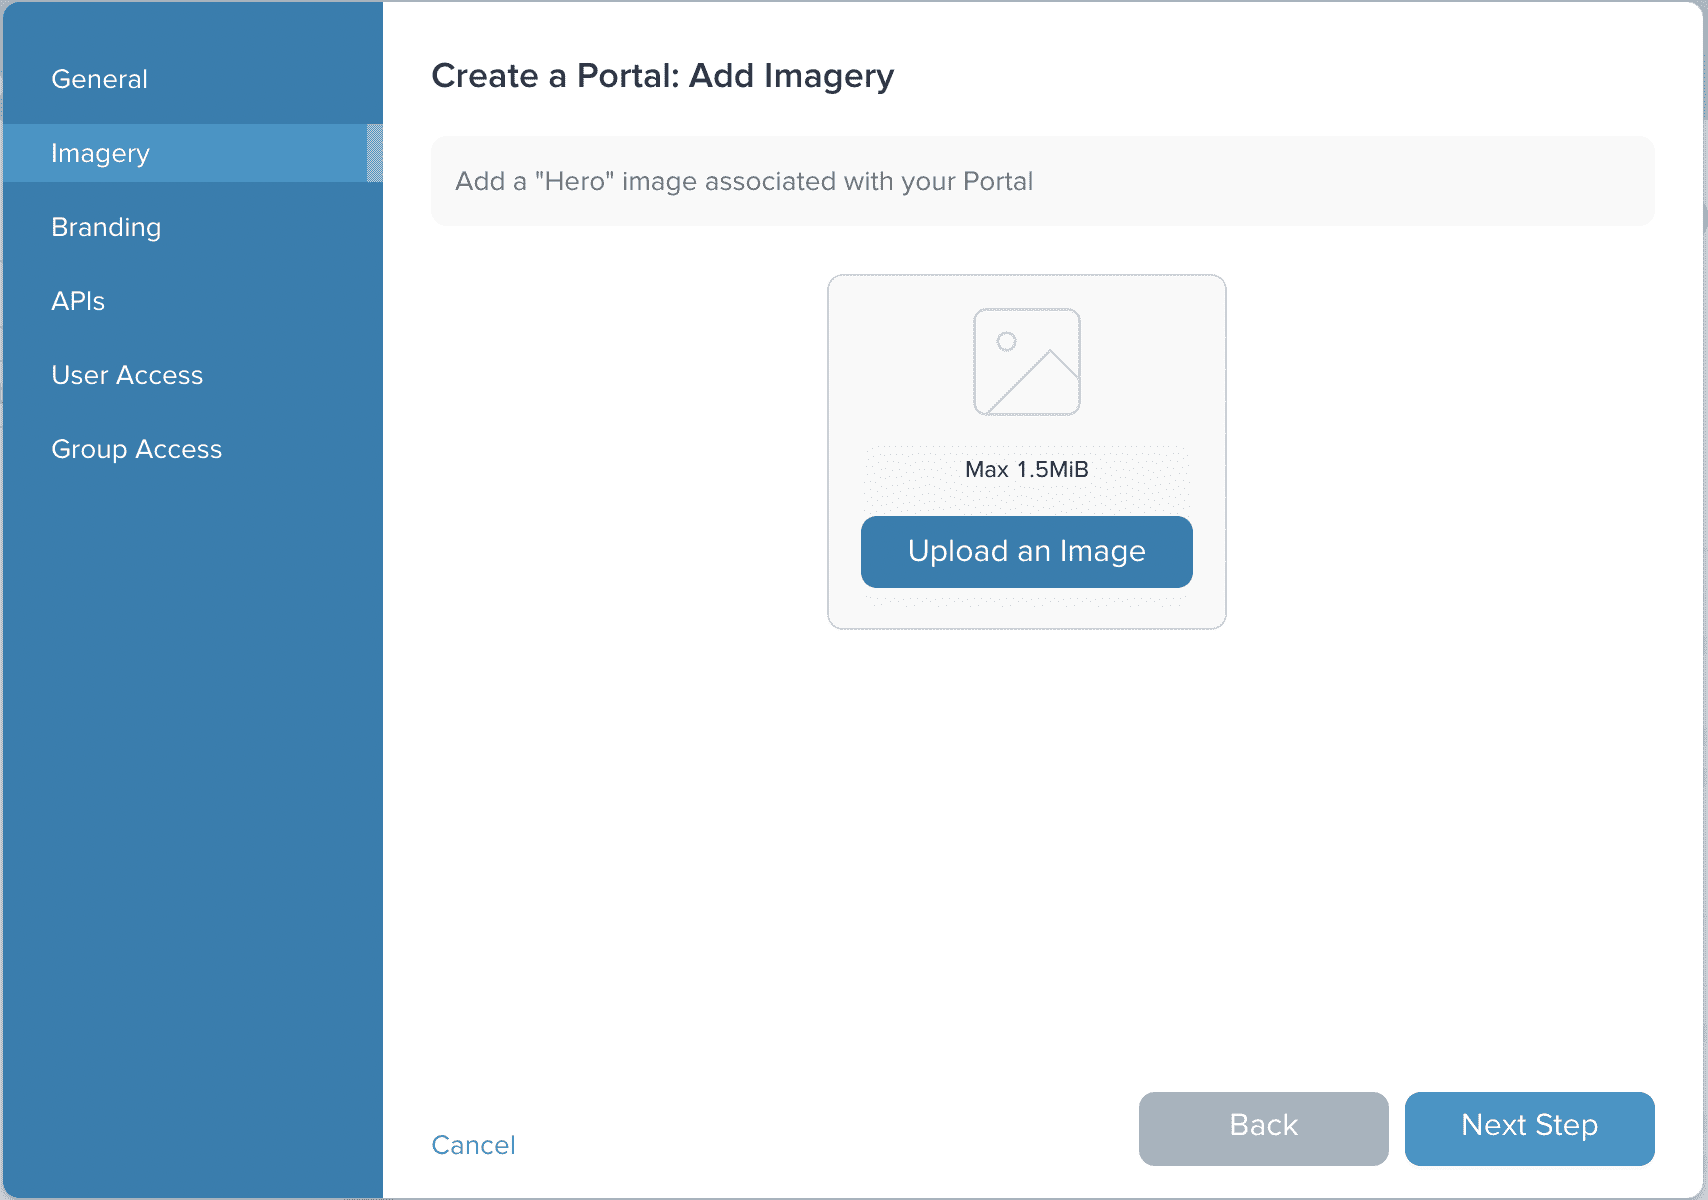
Then click on Next Step to move to the Imagery page. The imagery page allows you to add a graphic for the banner of the website.
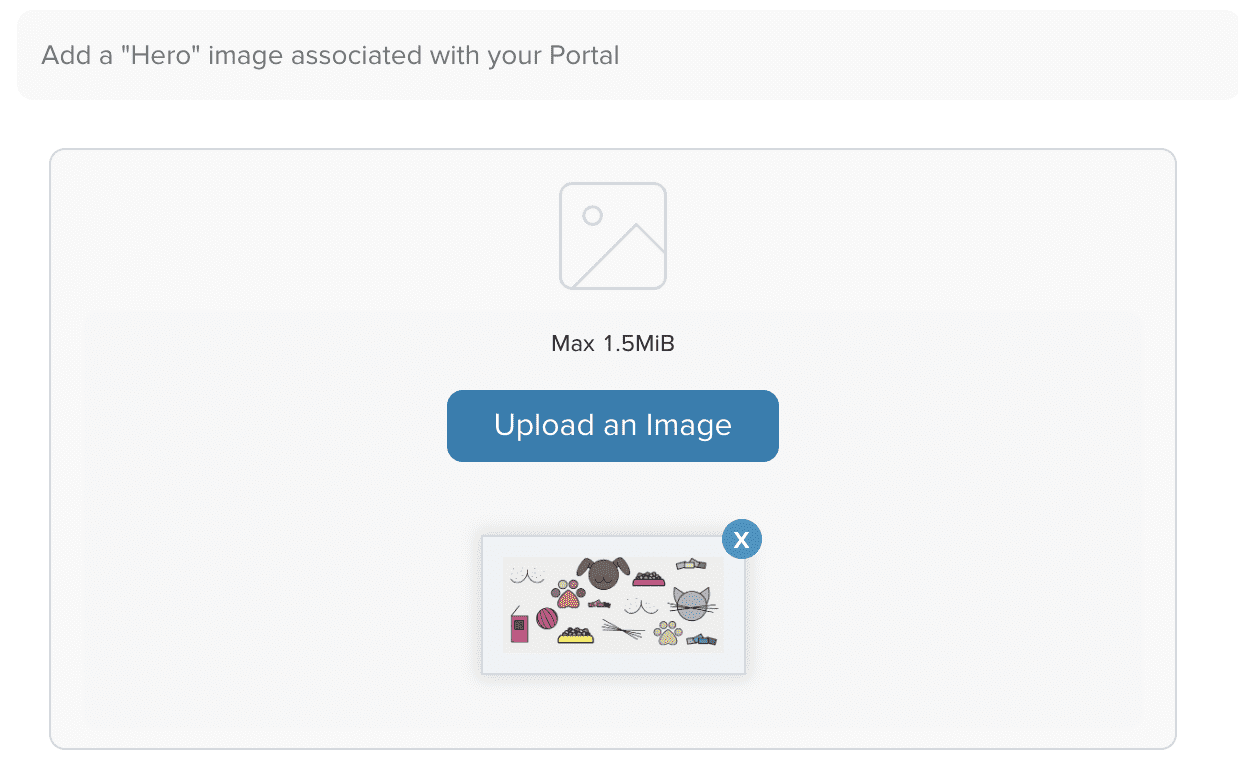
We are going to add an image from a URL. To do so, click on Upload an Image and paste in the image from the url: https://raw.githubusercontent.com/solo-io/gloo/main/docs/content/img/portal/banner.png then click on OK in the file dialog box. The downloaded image will appear on the screen.
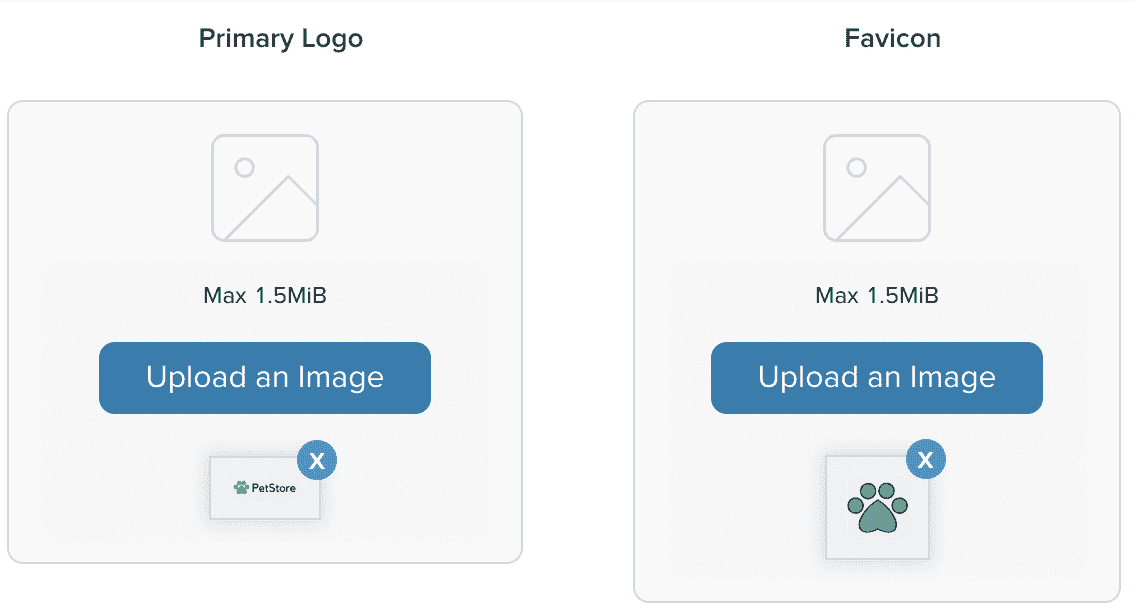
Then click on Next Step to move to the Branding page. On this page you can set the primary logo and favicon for the Portal UI site.
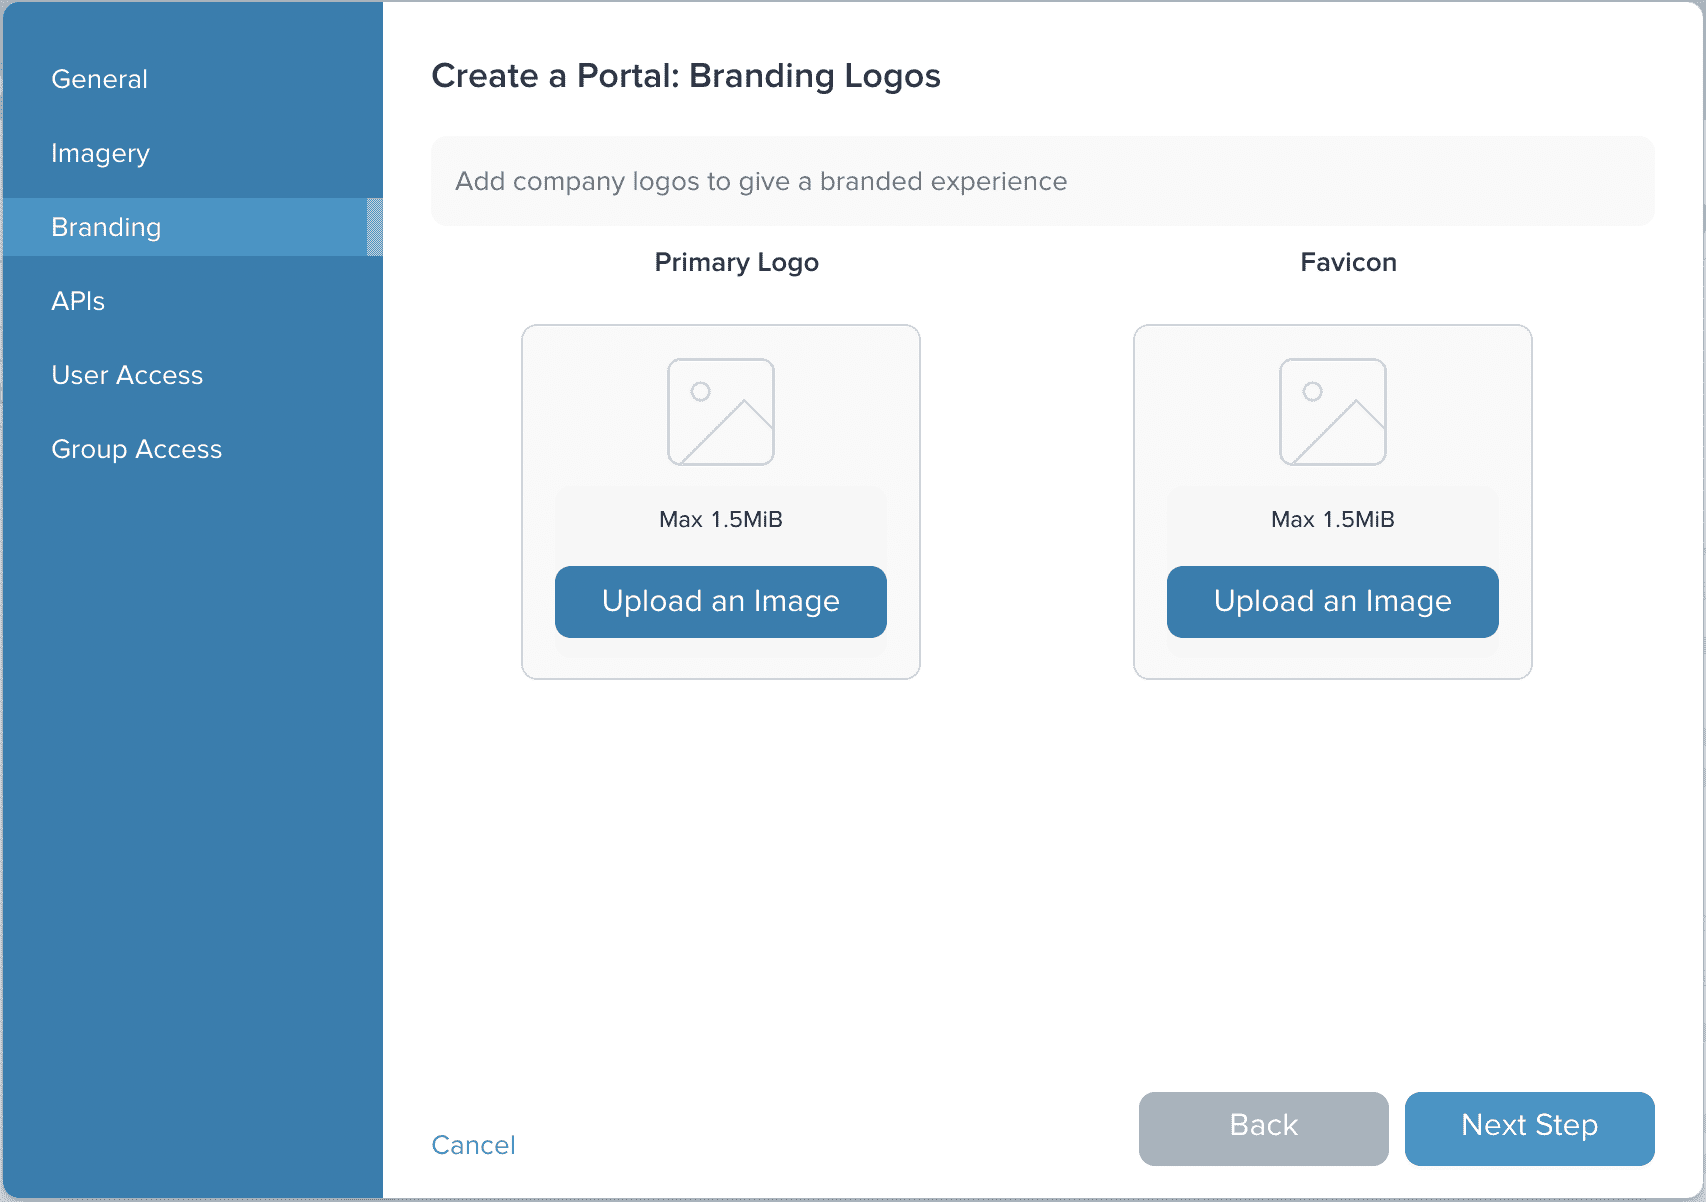
Following the same process as the imagery page, use the following values:
- Primary logo: https://raw.githubusercontent.com/solo-io/gloo/main/docs/content/img/portal/primaryLogo.png
- Favicon: https://raw.githubusercontent.com/solo-io/gloo/main/docs/content/img/portal/favicon.png
The downloaded images will appear on the screen.
Then click on Next Step to move to the APIs page. This page allows you to select which Environments and API Products to make available through the portal.
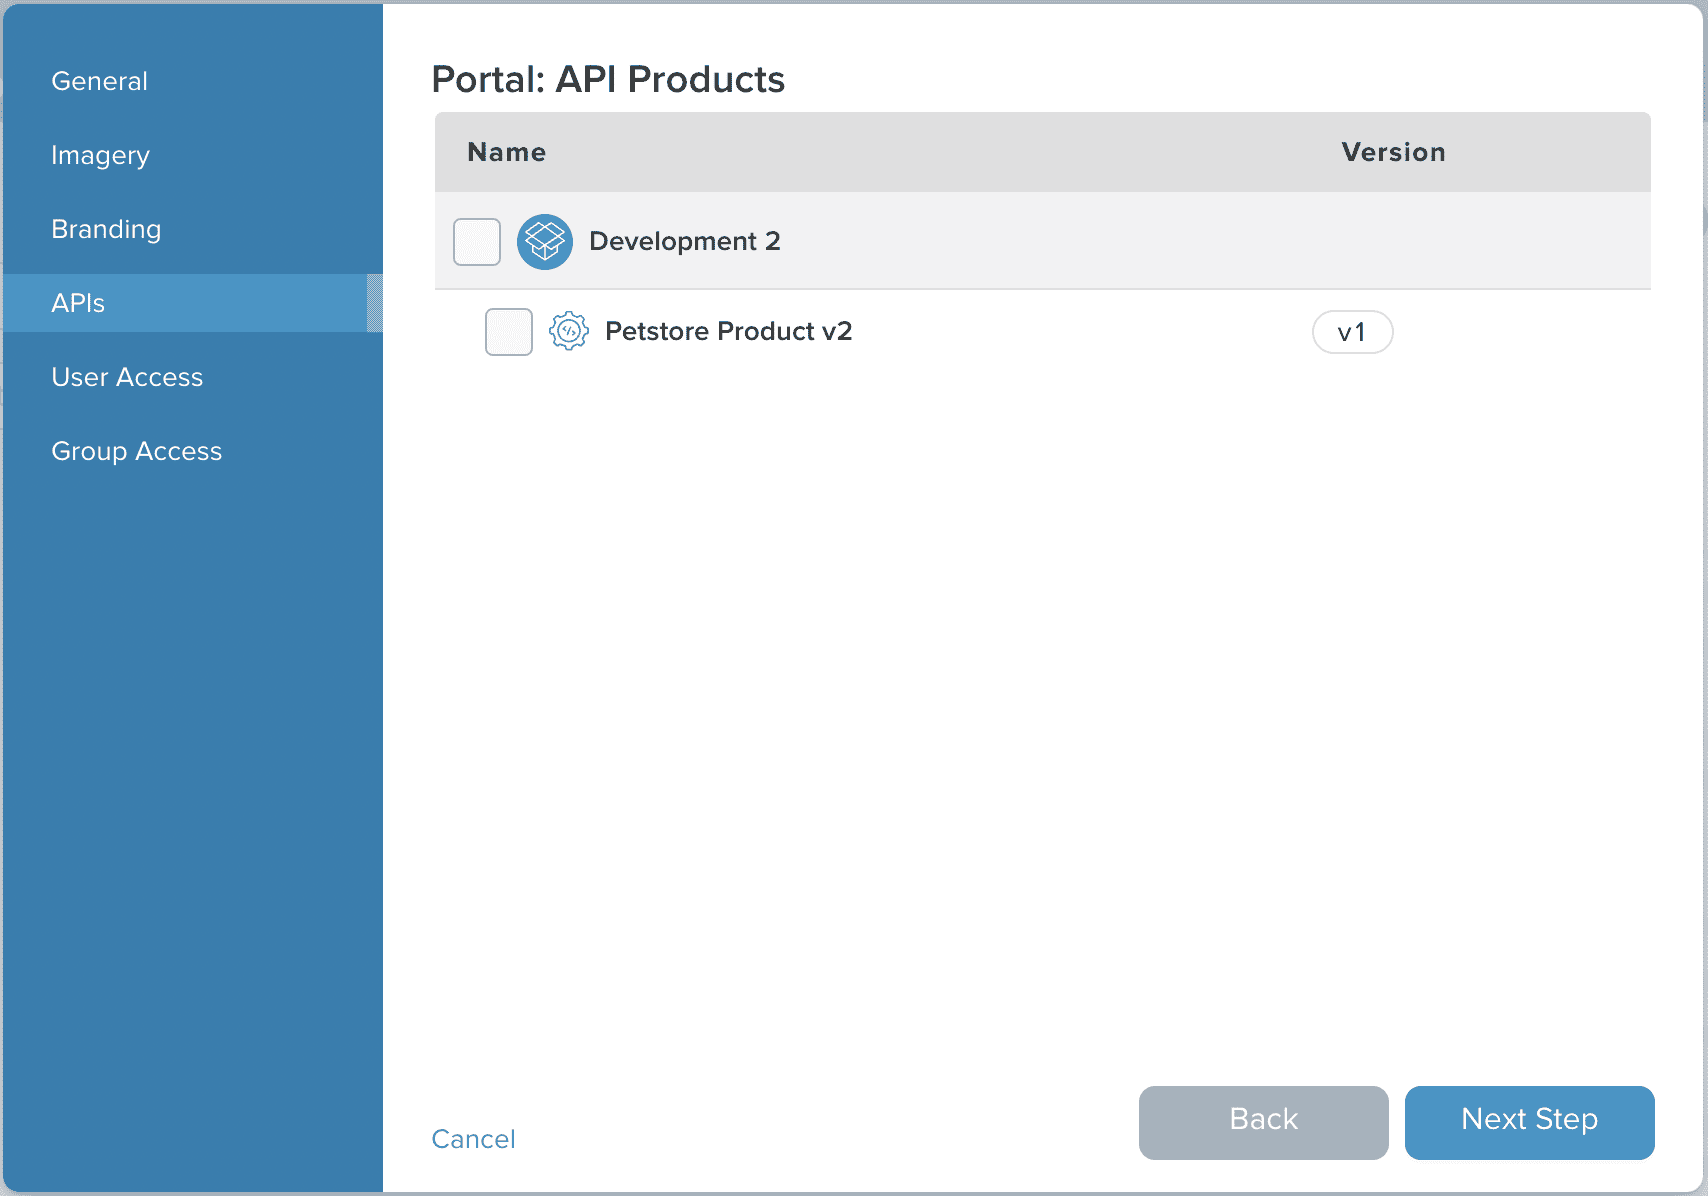
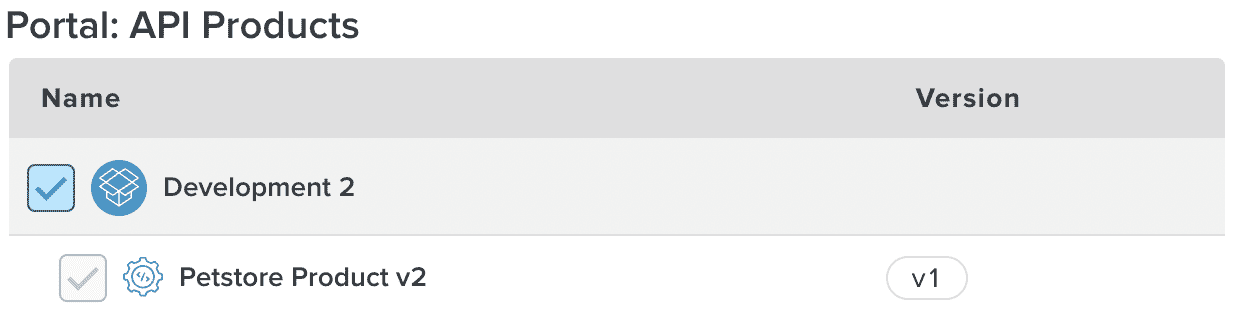
From the Portal: API Products list select the Development 2 check box to select the entire Environment and all associated API Product versions.
Then click on Next Step to move to the User Access page.
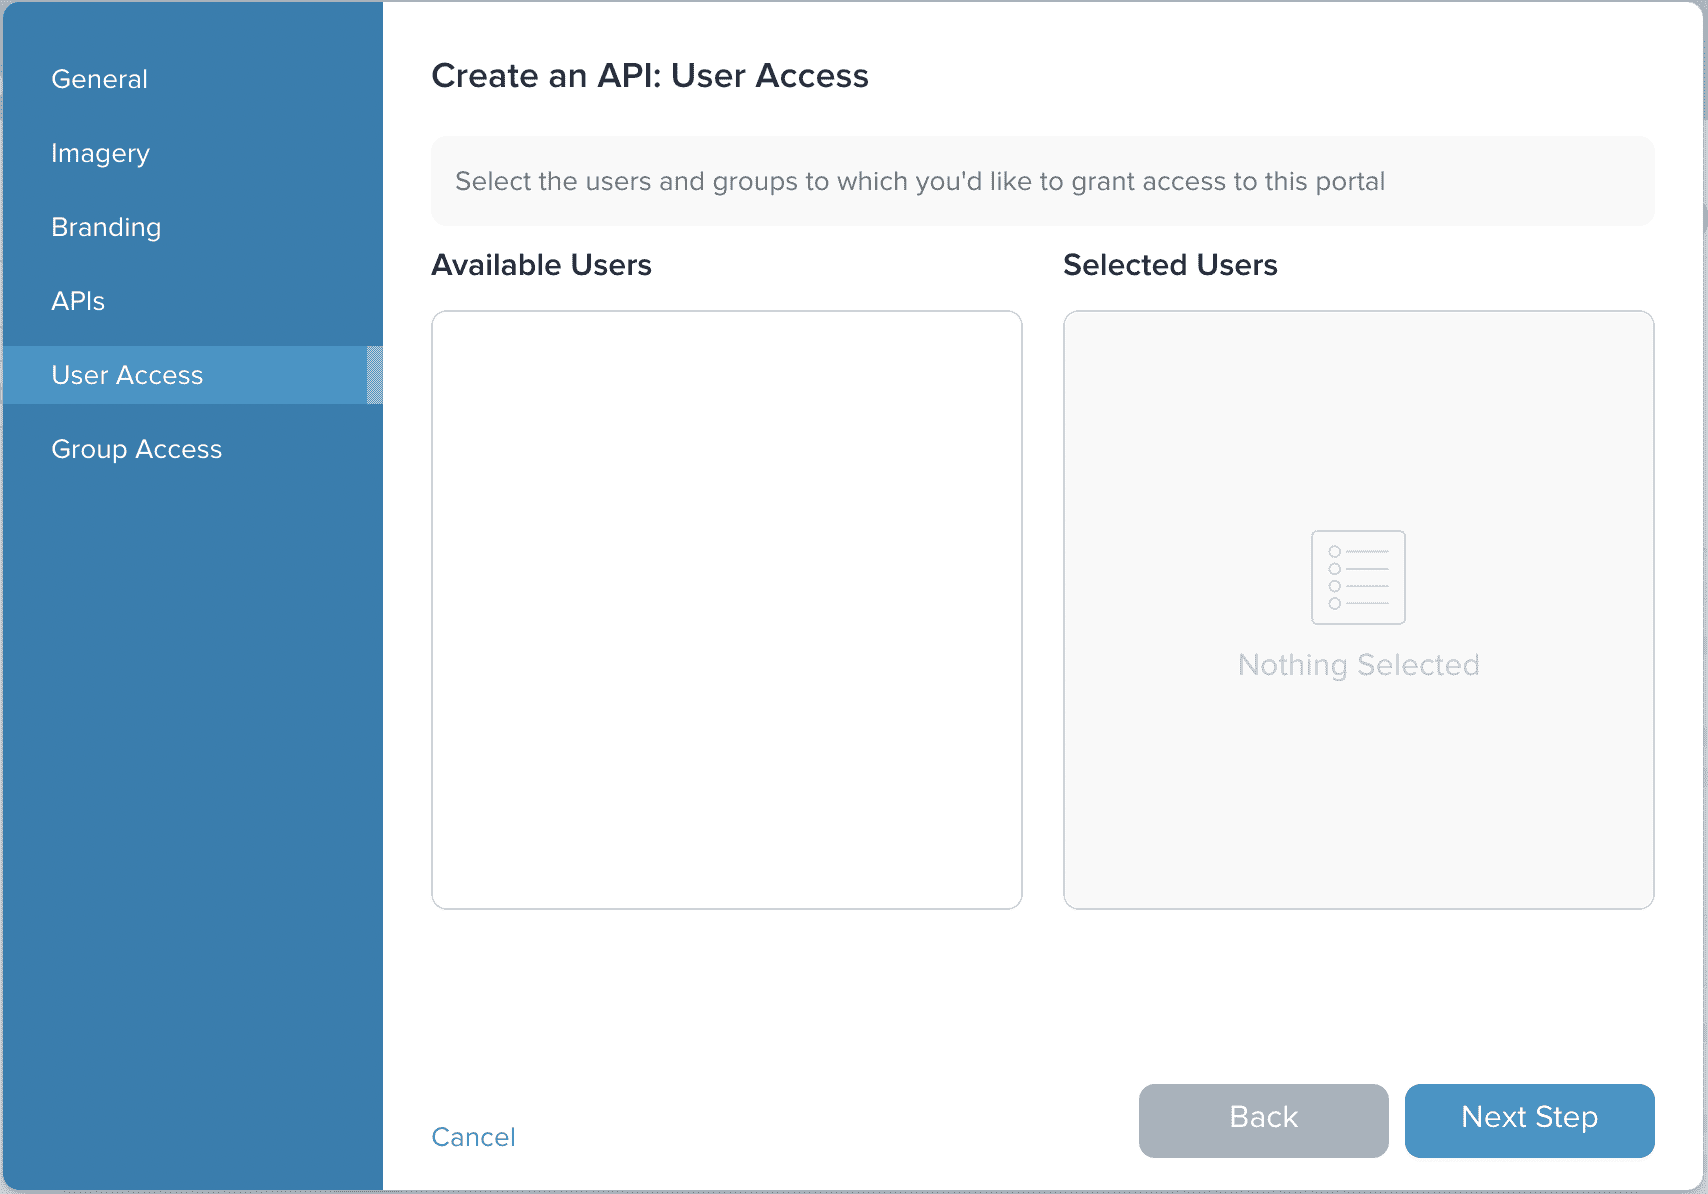
At this point we do not have any users to add, so simply click on the Next Step button to move to the Group Access page.

We also do not have any groups to add, so click the Create Portal button to complete the process.
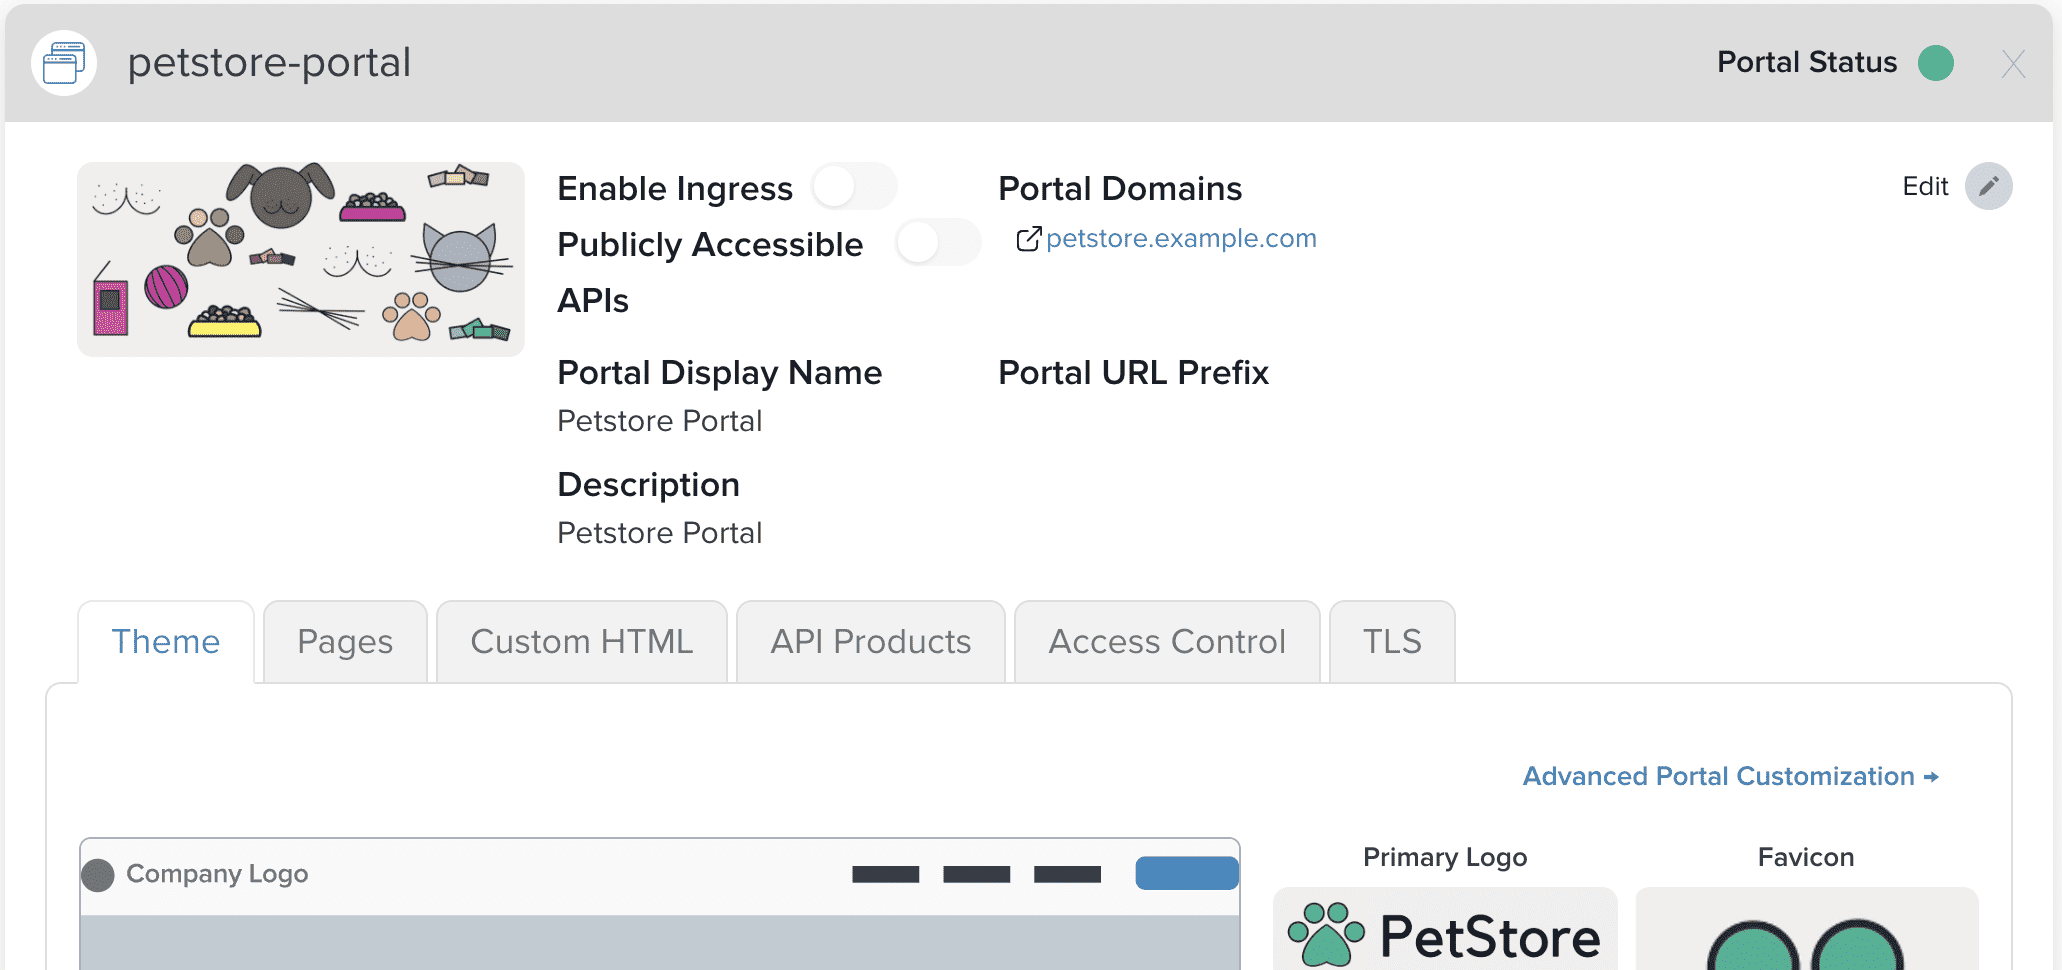
The portal should now show as available from within the Admin Dashboard.
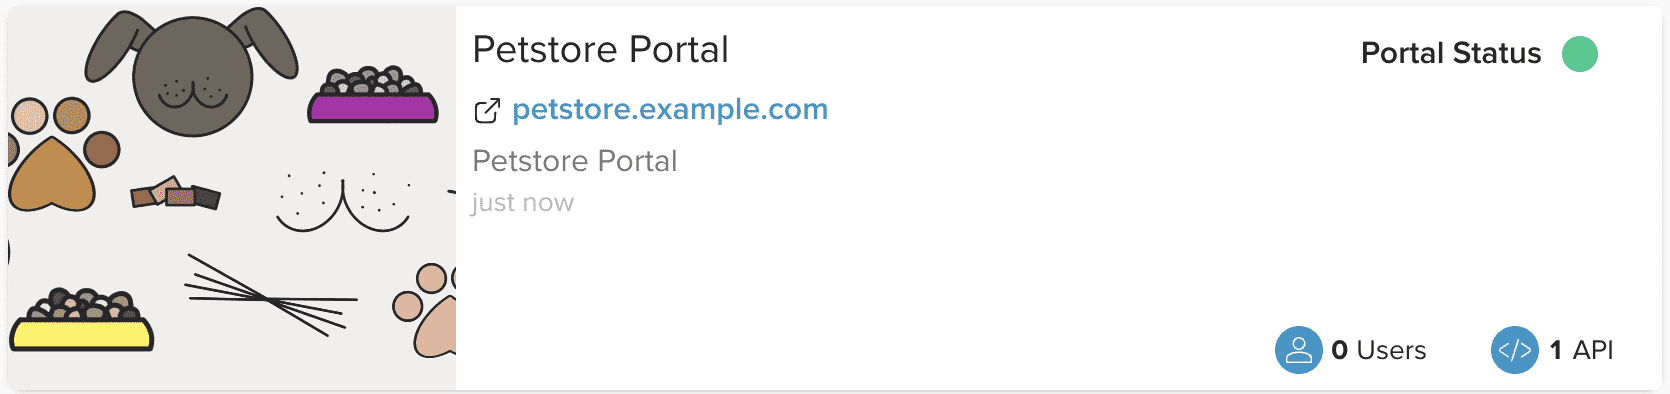
To make the portal available, we will need to Enable Ingress from the properties of the Petstore Portal. Click on the newly created portal to view its details.
Click on the Edit button to make the details editable. Then toggle Enable Ingress to the right to enable access to the portal through your ingress controller.
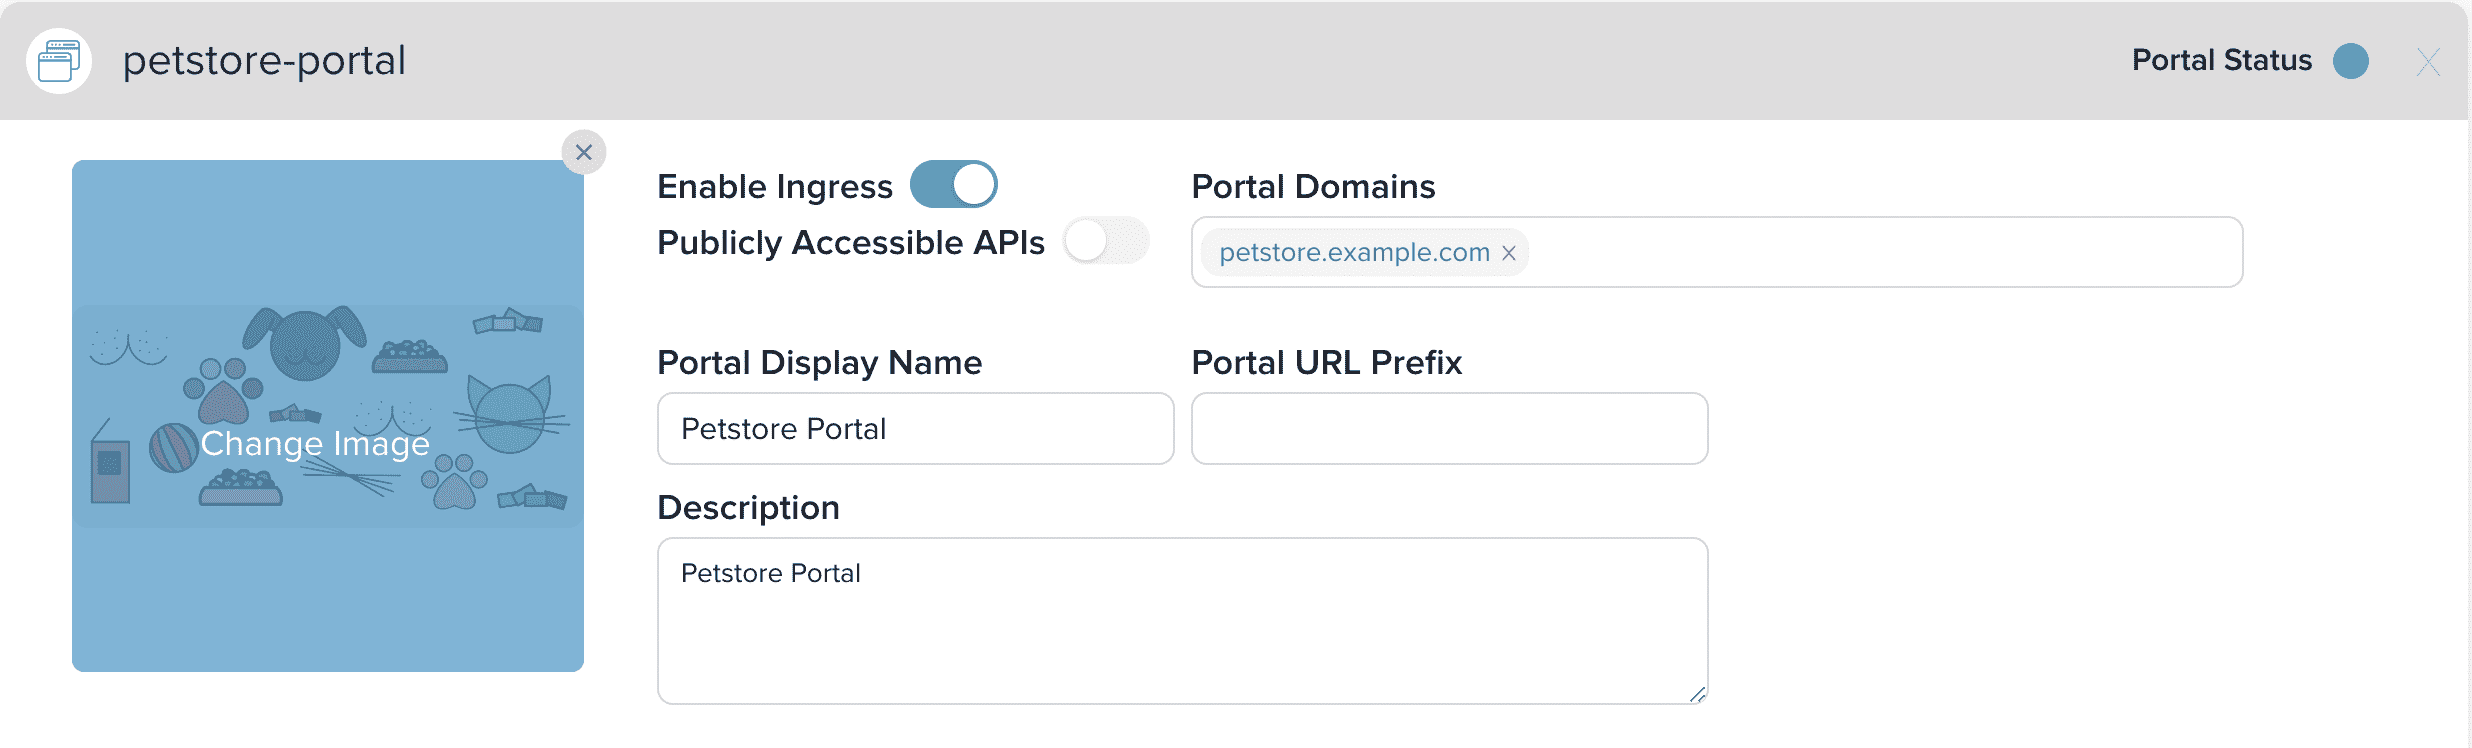
Finally click on Save Changes at the bottom of the page to update the configuration.

Your portal is ready for action! The next step is to connect to the Petstore Portal in a browser.
Connect to the Portal UI
Now that the Portal has been created, we are going to connect to it using the browser.
Setting up DNS for the Browser
In order to visit the Portal being served at our domain petstore.example.com, we'll need to make sure a DNS rule exists that will resolve that domain to that address.
There are many ways to set up DNS rules for the domains defined in our API Products and Portals. In production environments, you will probably want to use your Cloud Provider's DNS solution.
For the purposes of this setup, modifying your local /etc/hosts file with an entry to manually resolve the API Product and Portal domains will be sufficient.
Let's add entries for the api.example.com and petstore.example.com domains. Make sure you've got the INGRESS_HOST and INGRESS_PORT environment variables set before running:
cat <<EOF | sudo tee -a /etc/hosts

# Added for the Gloo Portal Guides
${INGRESS_HOST} api.example.com
${INGRESS_HOST} petstore.example.com
EOF
Verify the Portal UI
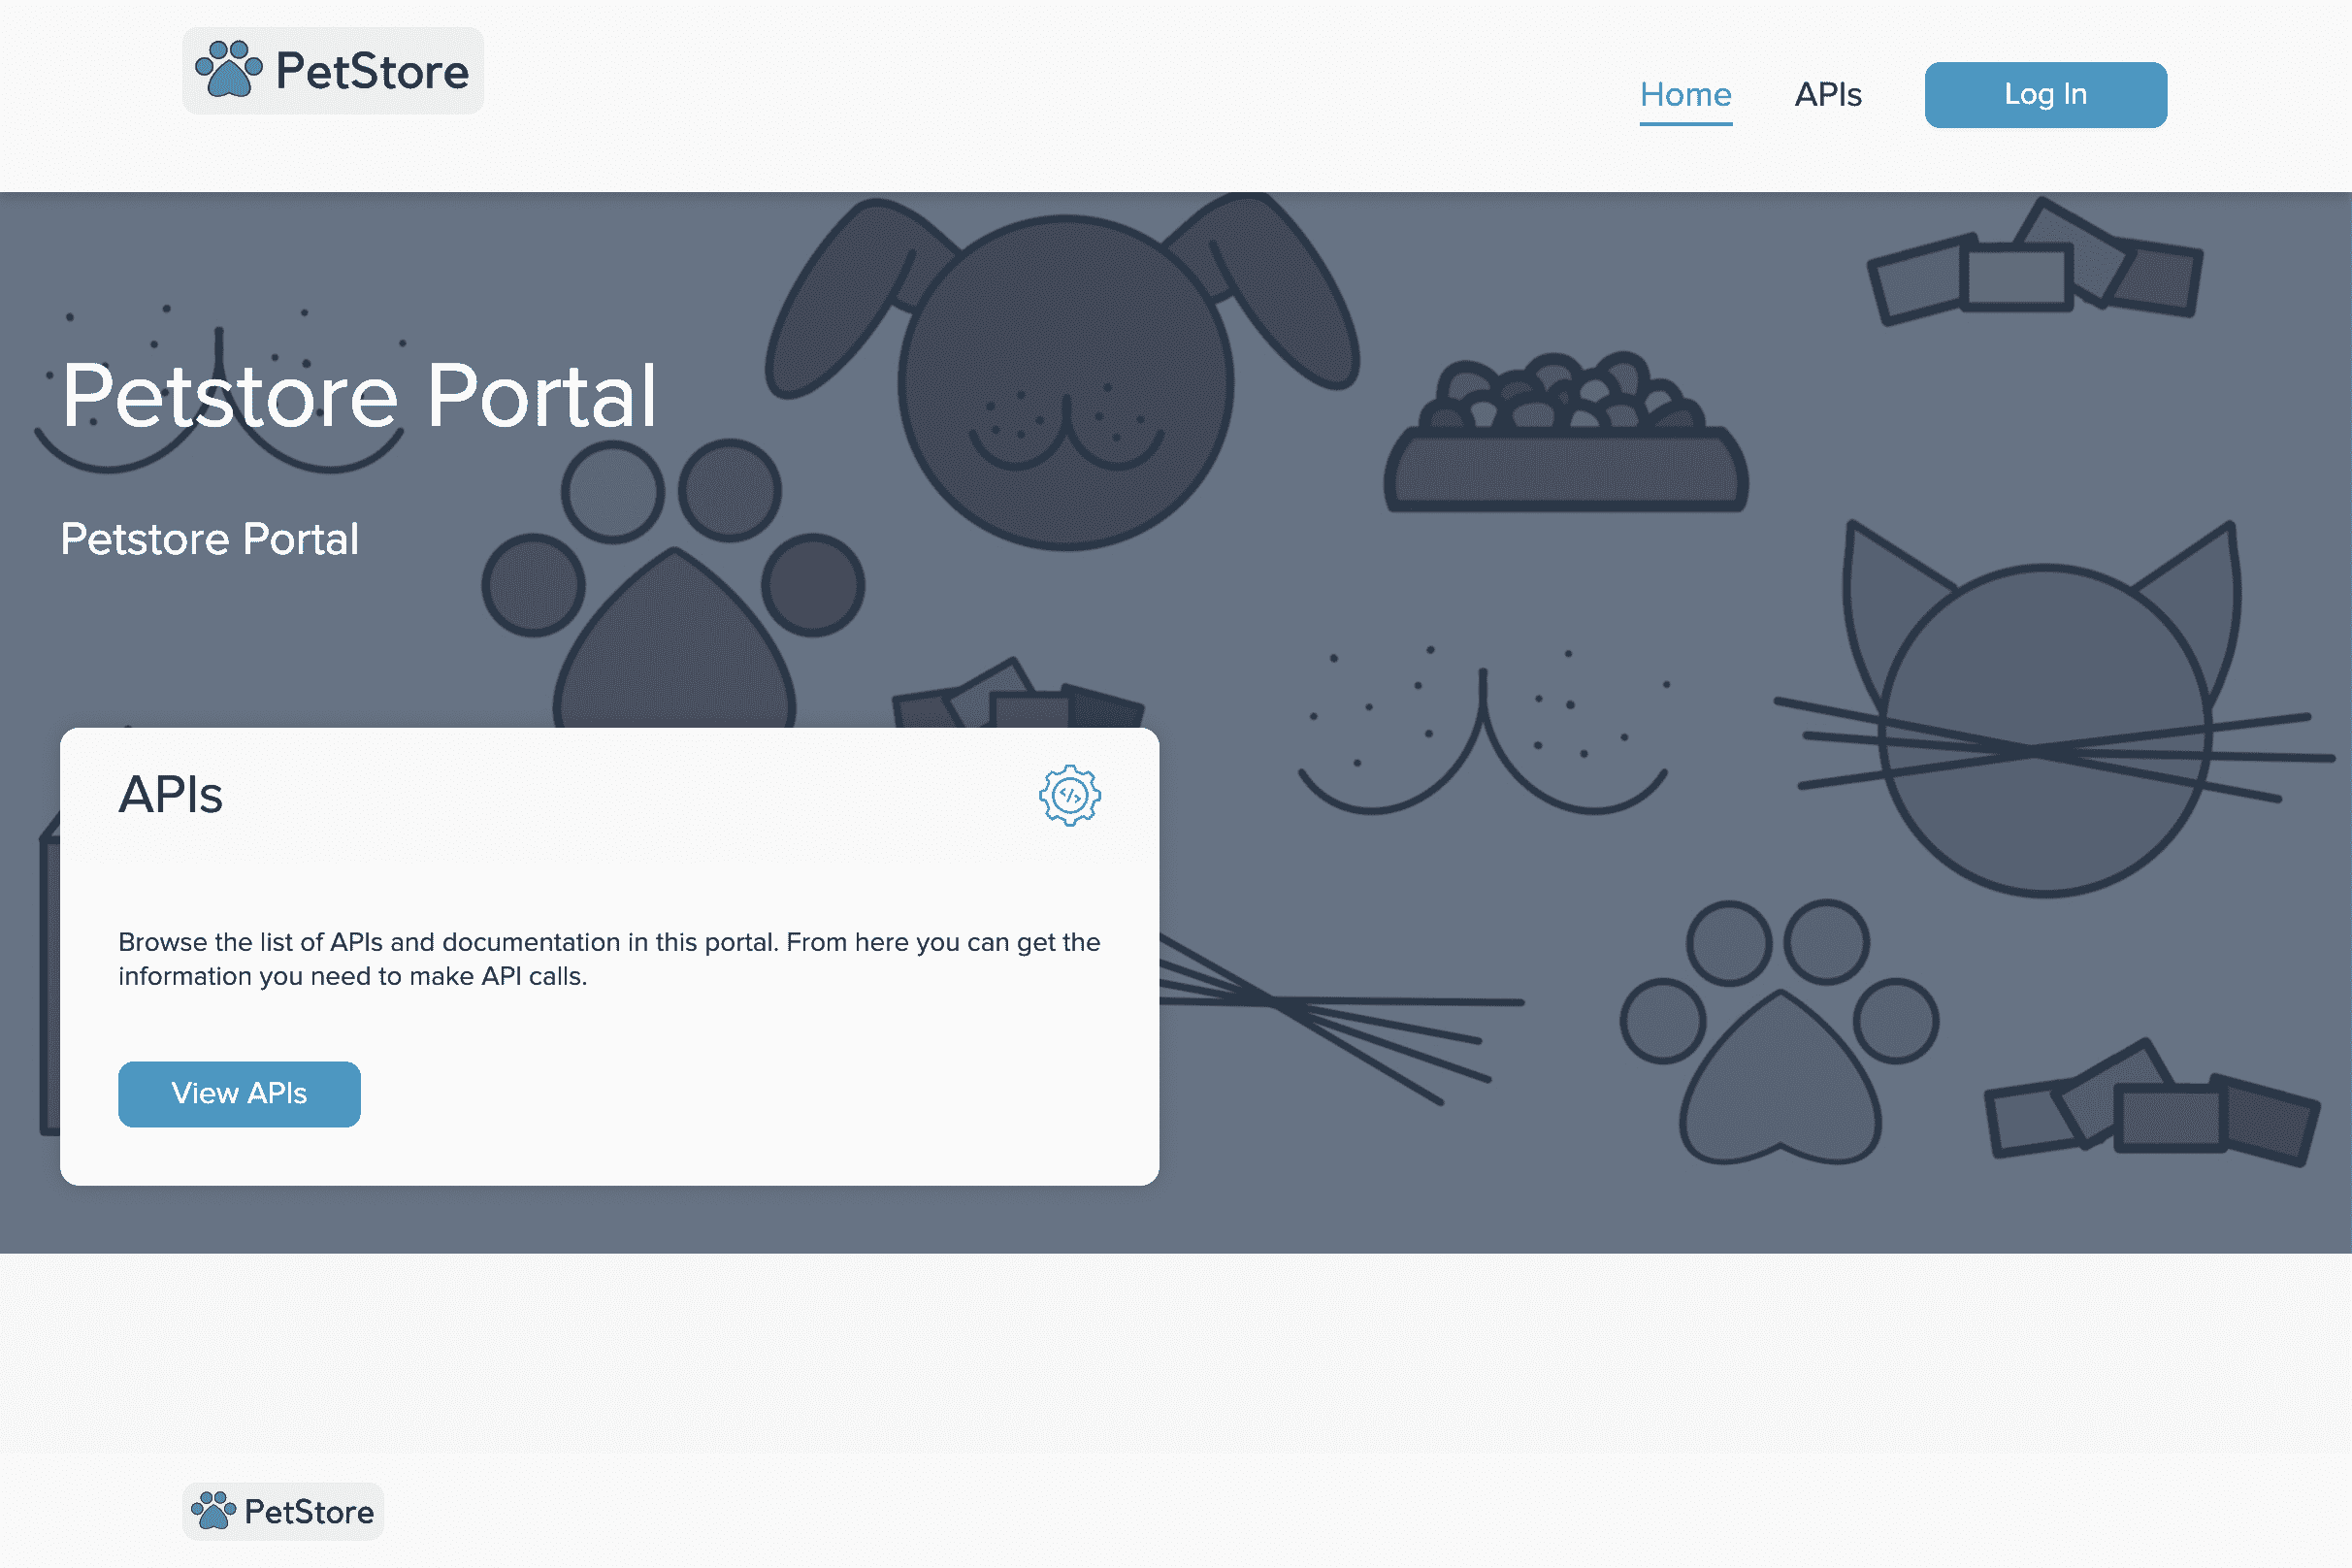
Now that DNS is set up for our domains, we should be able to access the portal directly in the browser at http://petstore.example.com:${INGRESS_PORT}. Try typing this address into your browser with the correct INGRESS_PORT:
open $(echo http://petstore.example.com:${INGRESS_PORT})
Once the browser opens you should see a page that looks something like this.
If we click on View APIs, we will find that there are no APIs to display.
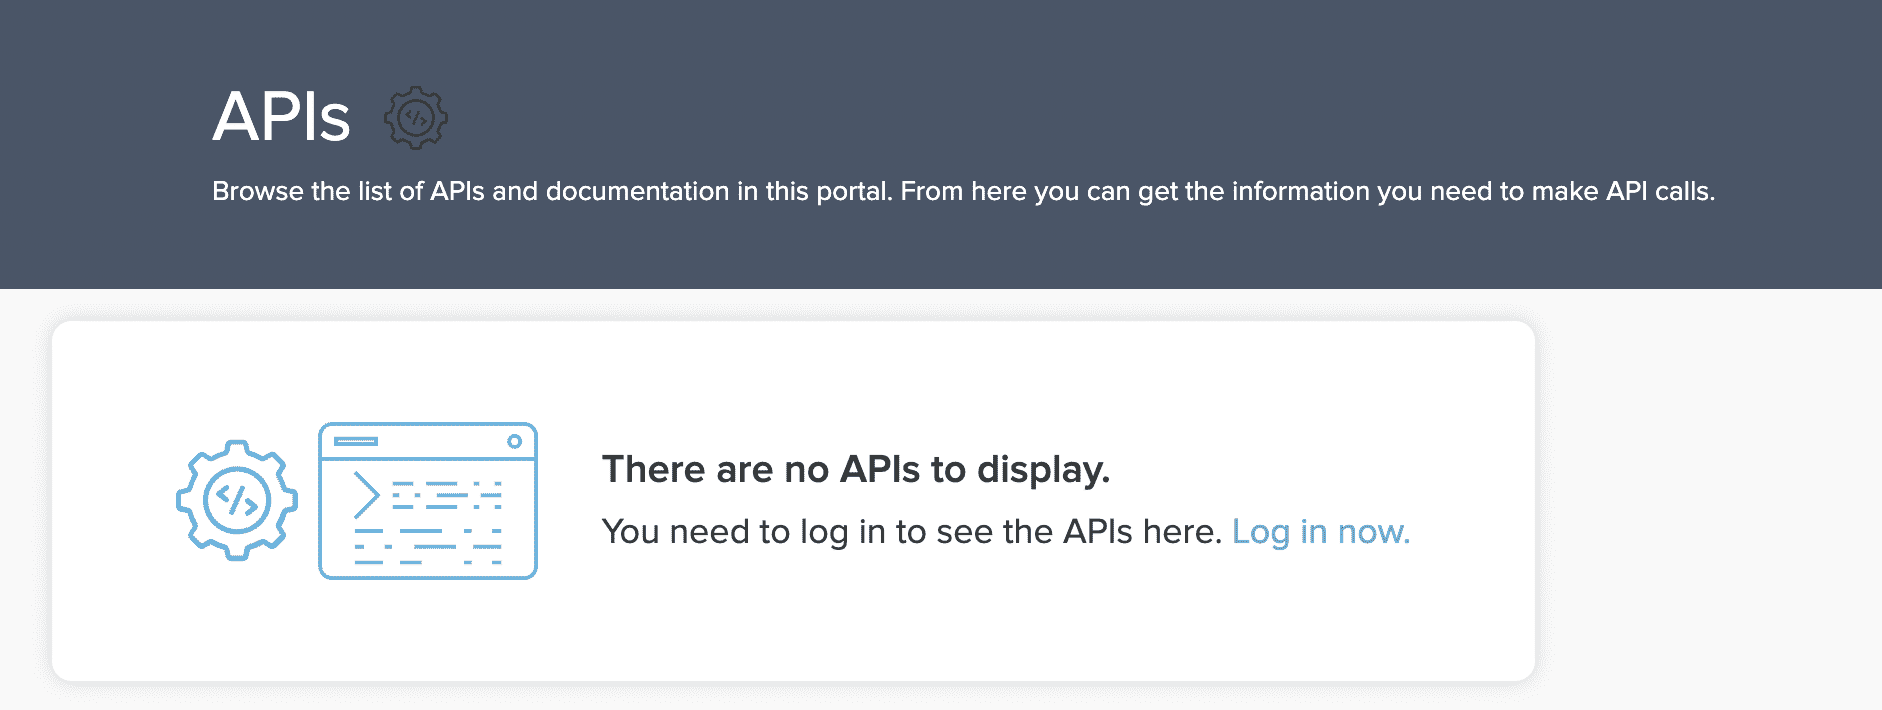
In order to access and use the Portal UI, you will need to create users and groups for the site.
Using kubectl
If you wanted to create the same Portal UI using kubectl you could do so with the following two commands.
The first command creates the Portal Custom Resource:
cat <<EOF | kubectl apply -f -
apiVersion: portal.gloo.solo.io/v1beta1
kind: Portal
metadata:
  name: petstore-portal
  namespace: gloo-portal
spec:
  displayName: Petstore Portal
  description: Petstore Portal
  banner:
    fetchUrl: https://raw.githubusercontent.com/solo-io/gloo/main/docs/content/img/portal/banner.png
  favicon:
    fetchUrl: https://raw.githubusercontent.com/solo-io/gloo/main/docs/content/img/portal/favicon.png
  primaryLogo:
    fetchUrl: https://raw.githubusercontent.com/solo-io/gloo/main/docs/content/img/portal/primaryLogo.png
  customStyling: {}
  staticPages: []
  enableIngress: true
  domains:
  - petstore.example.com
  publishApiProducts:
    matchLabels:
      portals.portal.gloo.solo.io/gloo-portal.petstore-portal: "true"
EOF
The second command applies a label to the Petstore Product v2 Custom Resource to associate it with the Portal.
kubectl label apiproduct -n gloo-portal petstore-product-v2 portals.portal.gloo.solo.io/gloo-portal.petstore-portal="true"
Next steps
The Portal UI isn't much use without users and groups. You can follow our guide for creating users and groups through kubectl or through the Admin Dashboard.