Create an API Product
API Products are a Kubernetes Custom Resource which bundles the APIs defined in API Docs into Versions. The API Product can have multiple versions defined, each with their own references to API Docs and APIs selected from those API Docs.
In this guide, you will create an API Product and add operations from an API Doc using the Admin Dashboard.
Pre-requisites
You will need to have Gloo Portal deployed on a Kubernetes cluster, and a connection to the Admin Dashboard as described in the Using the Admin Dashboard guide. You will also need an API Doc created through the Create an API Doc guide.
Finally, you will need an instance of the Petstore application deployed on Kubernetes. If you don't already have an instance created, go ahead and run the following command:
kubectl apply -n default -f \
  https://raw.githubusercontent.com/solo-io/gloo/v1.16.0/example/petstore/petstore.yaml
kubectl -n default rollout status deployment petstore
Create an API Product
We will start from the Overview page of Gloo Portal. First you will click on the APIs item in the navigation bar to manage API Docs, Products, Routes, and more.

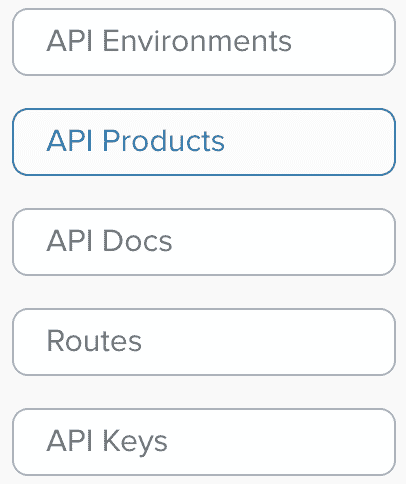
The page should load on the API Environments category by default. Select API Products from the left-side menu. Next click on the Create an API button to start the process.

On the General page, you will fill out the basic fields for the API Product.
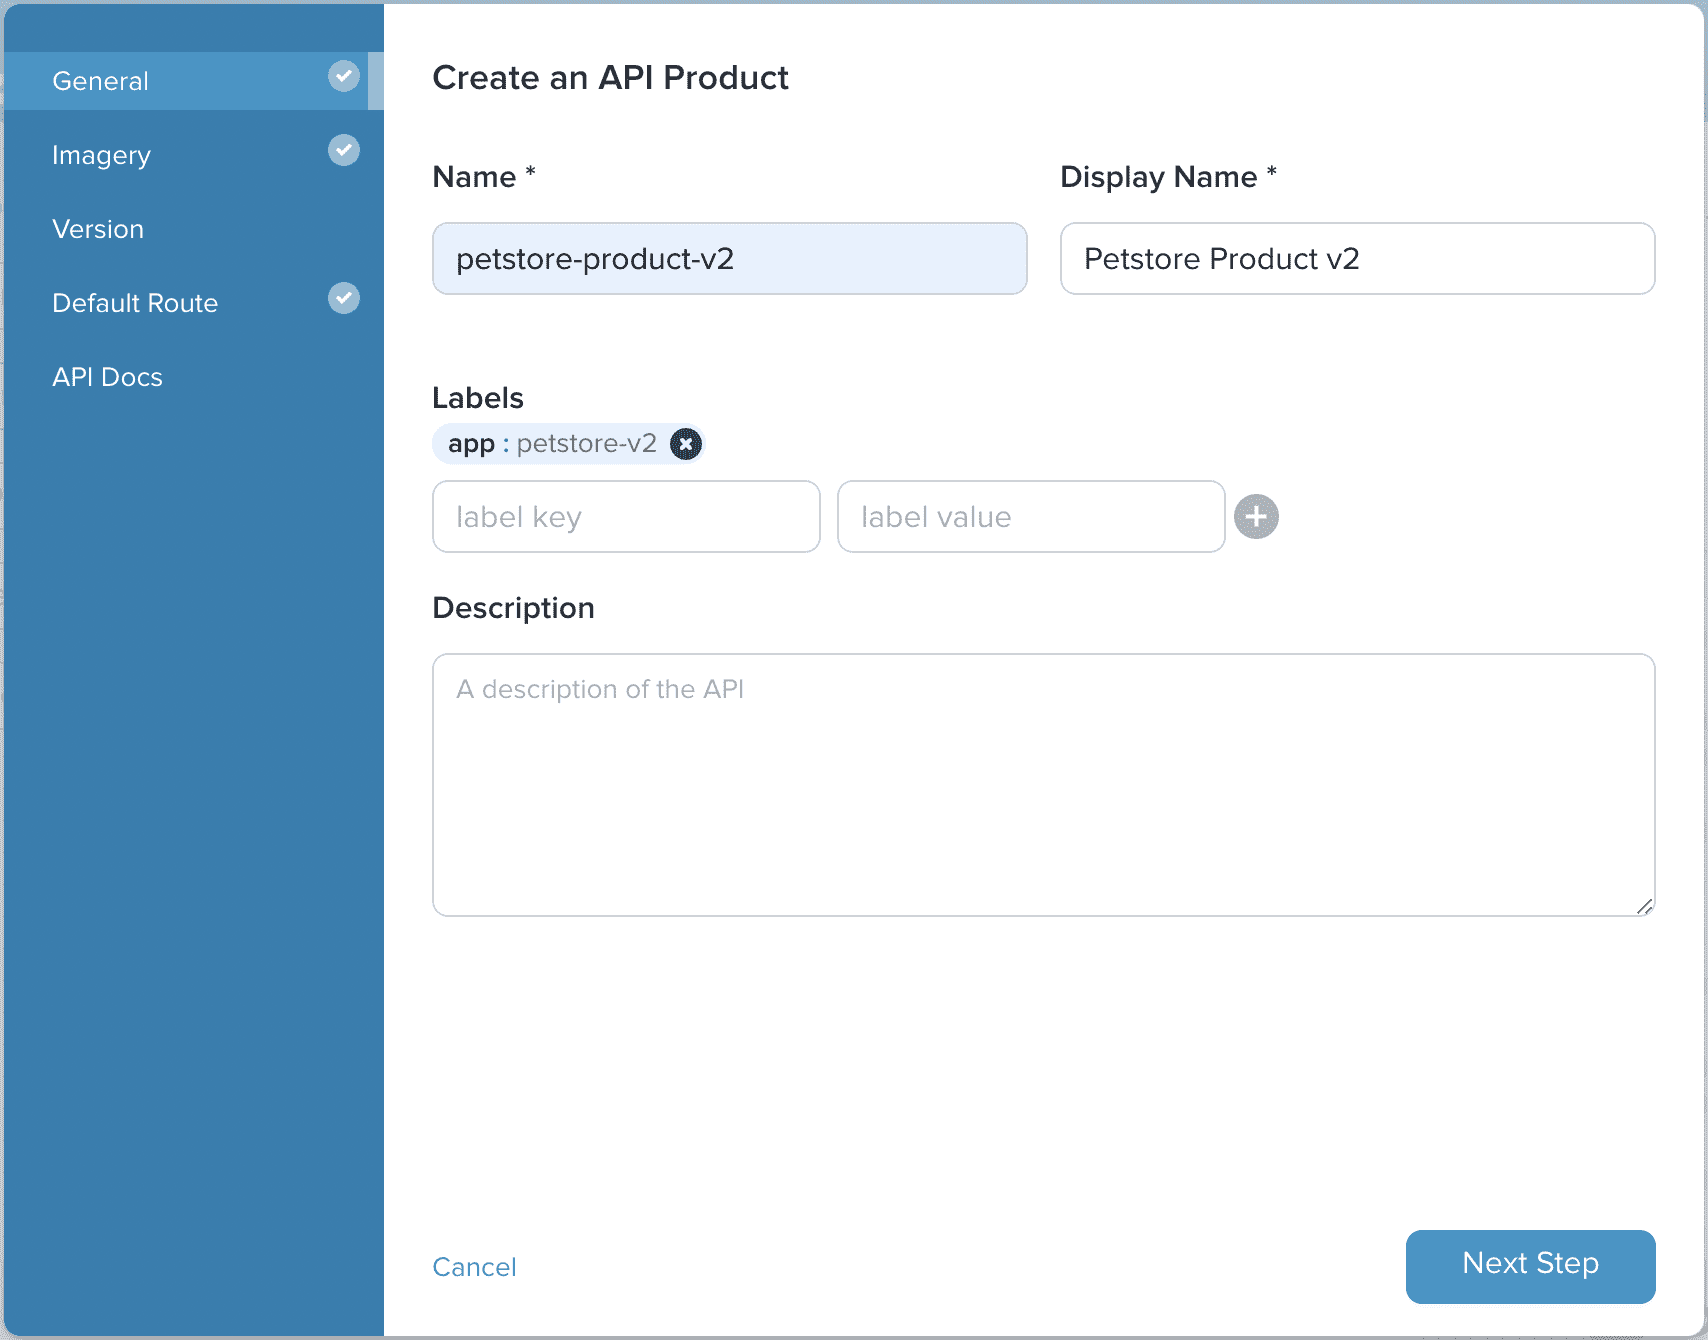
In our example we are going to use the following values:
- Name: petstore-product-v2
- Display Name: Petstore Product v2
- Labels: A single label with the key
appand the valuepetstore-v2
To add a label, enter the values for both the key and value in their respective text inputs, then click on the plus sign on their right.
Then click on Next Step to move to the Imagery page. The is the image that will be displayed in the Portal UI alongside the API Product.
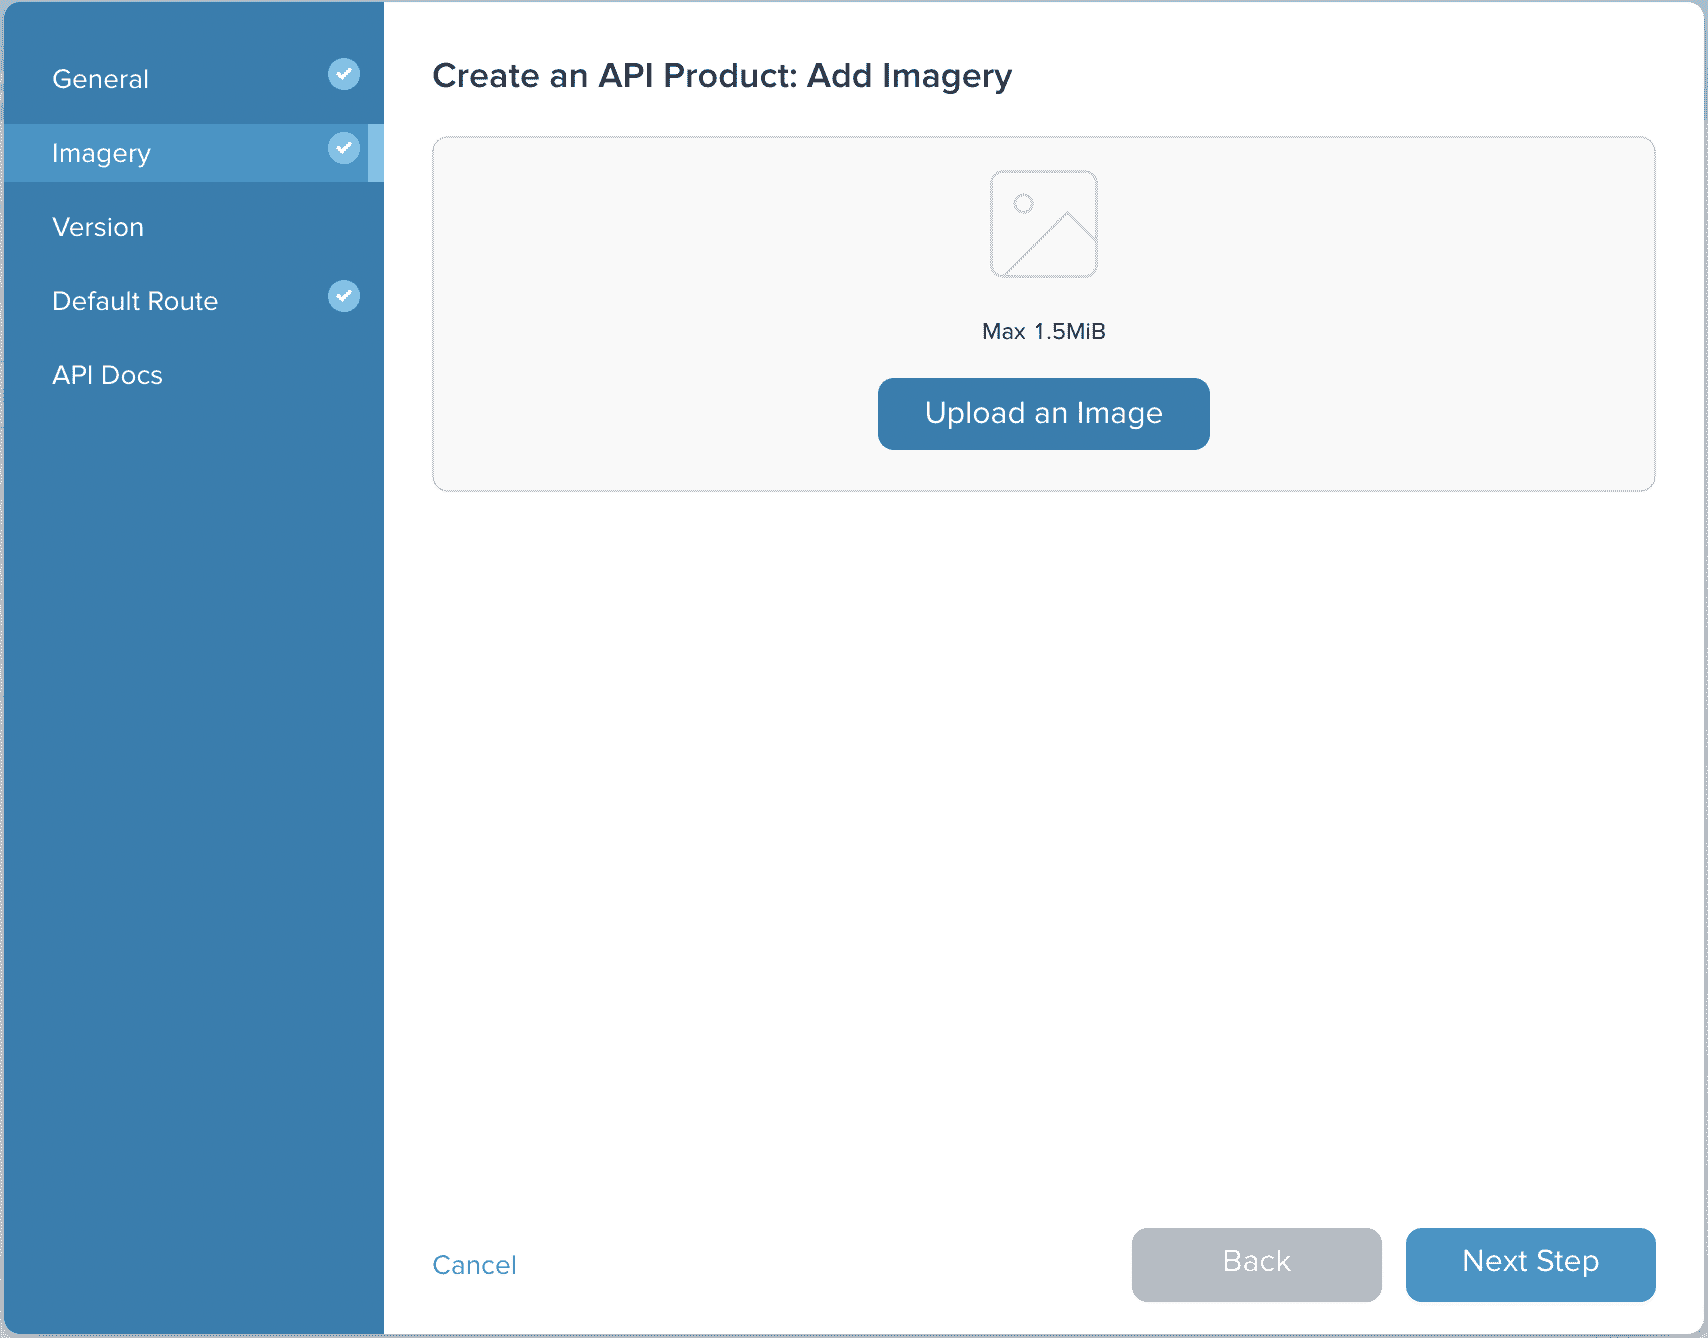
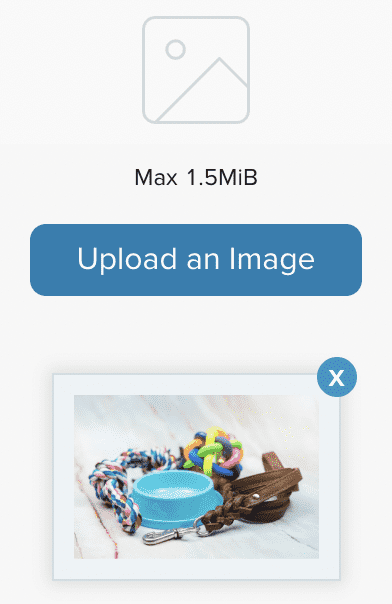
We are going to add an image from a URL. To do so, click on Upload an Image and paste in the image from the following URL: https://i.imgur.com/Co2A5lK.png then click on OK in the file dialog box. The downloaded image will appear on the screen.
Click on Next Step to move to the Version page. On this page you can give the API Product a version name, a default route, and any tags you'd like associated with this version of the API Product.
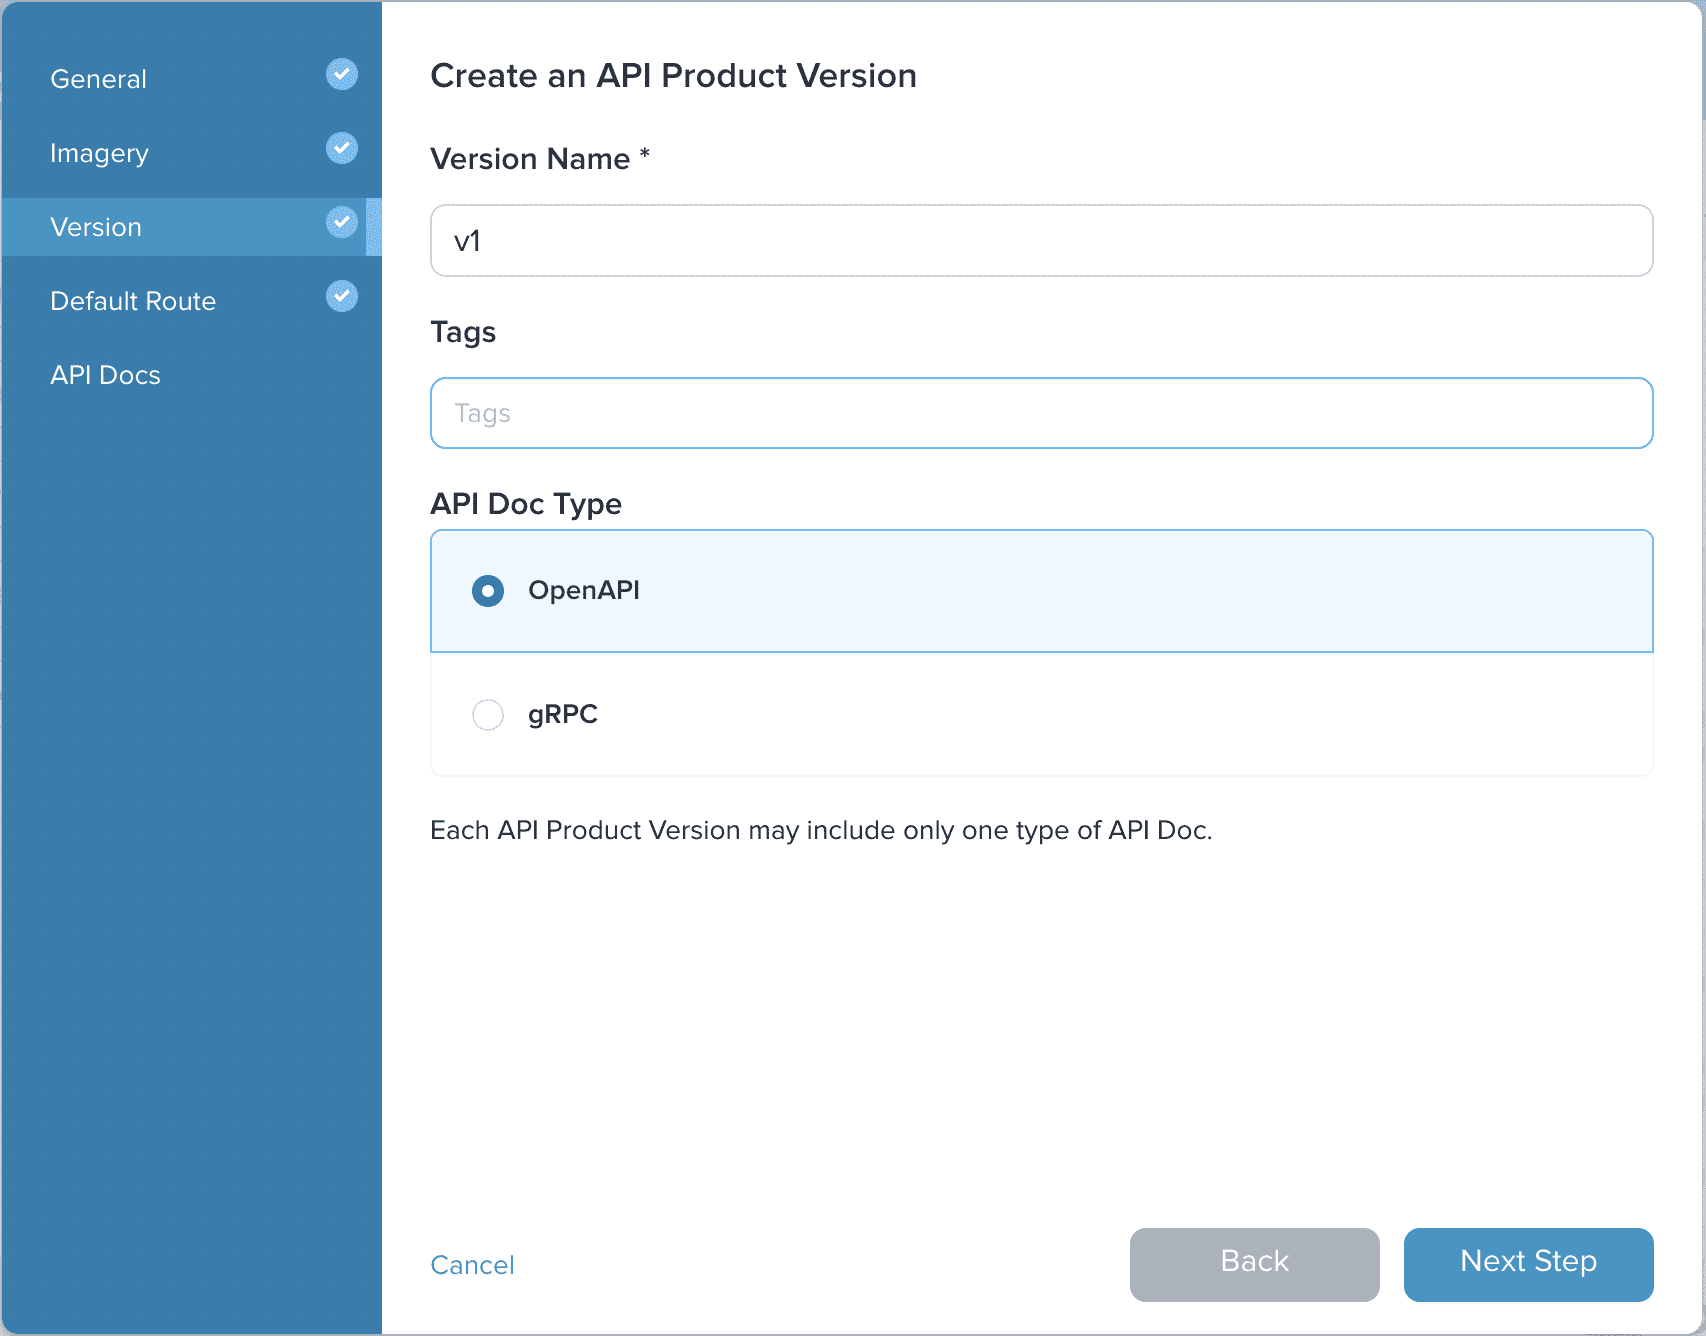
In our example we are going to use the value v1 for our Version Name and leave the other fields to their default values.
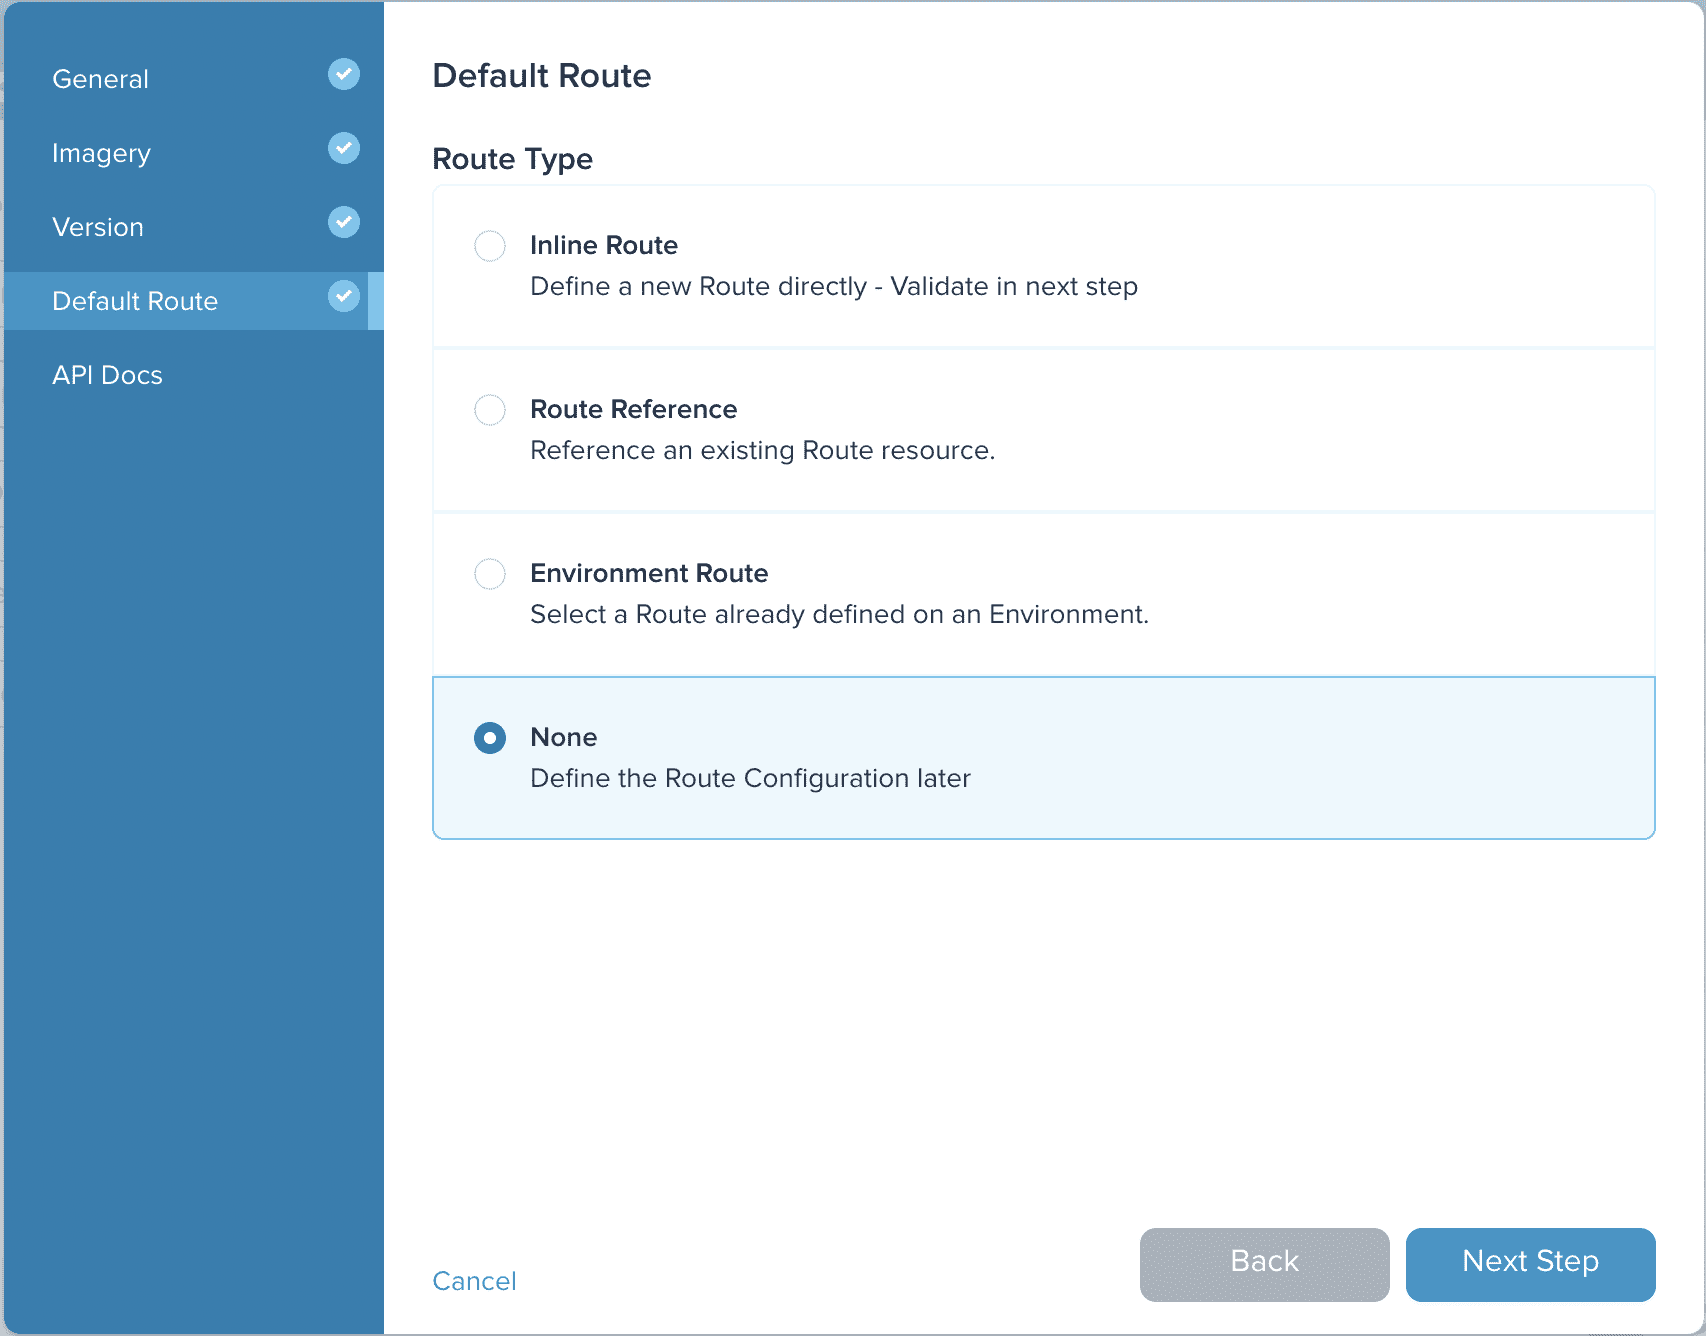
Click on Next Step and leave the Route Type set to None, as we will set the route later in this guide.
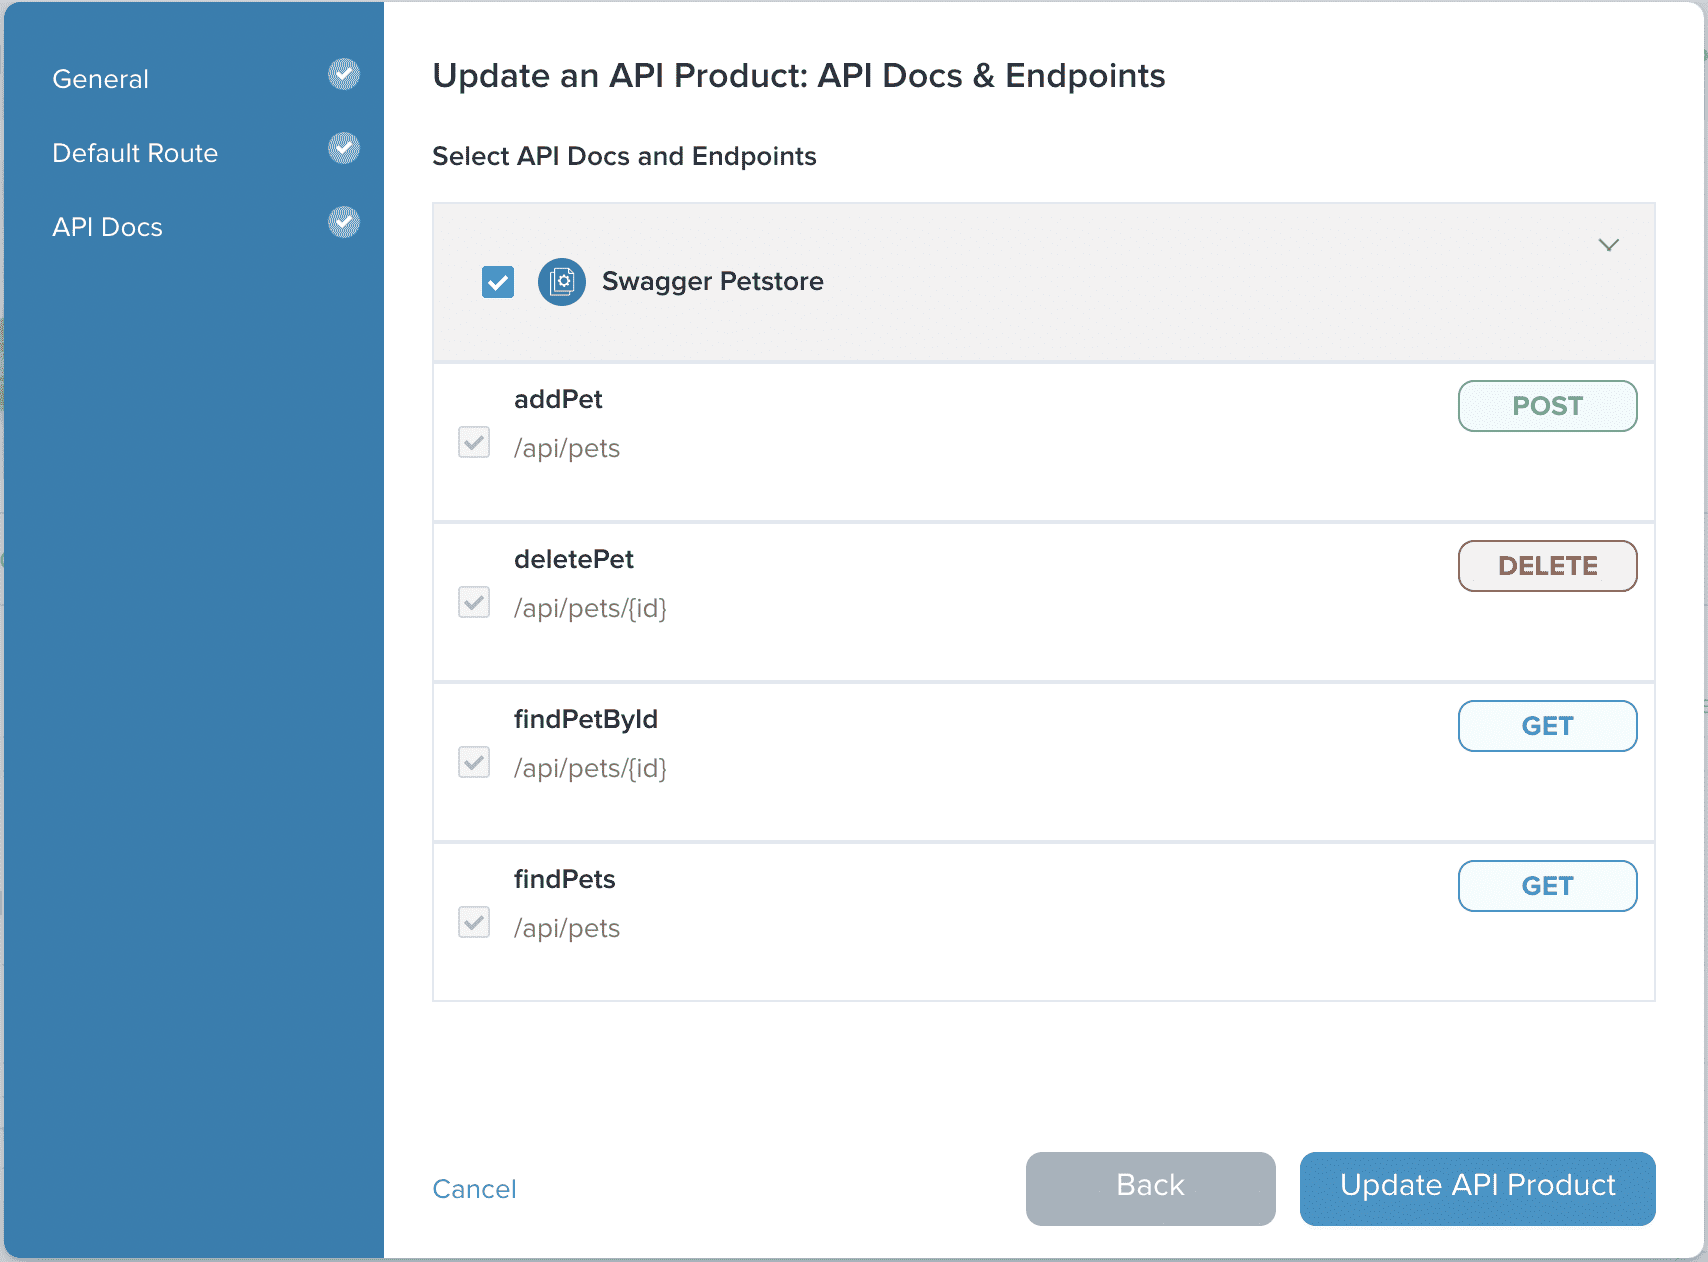
Click on Next Step to move to the API Docs page. On this page you can select which API Docs to include in the API Product, as well as any specific operations from the API Doc.
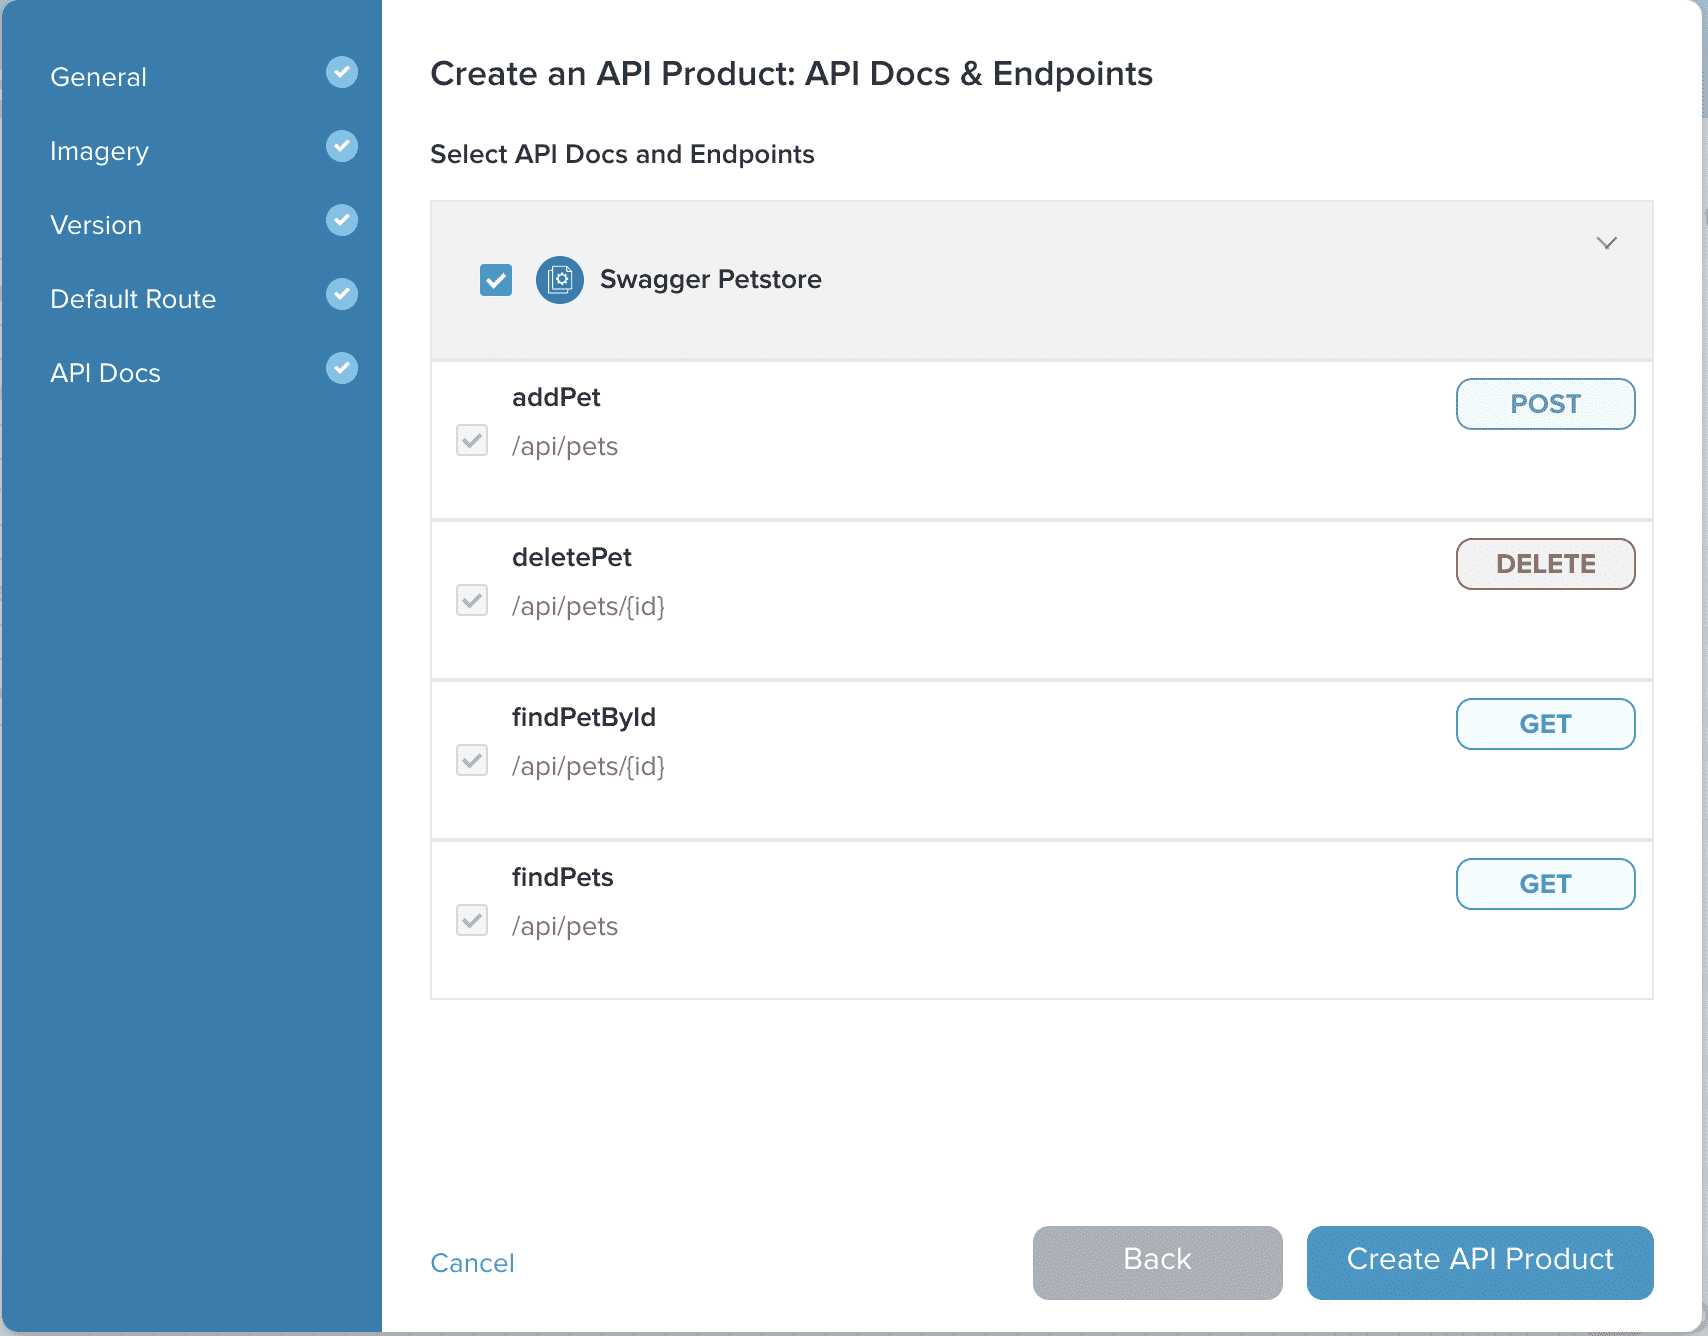
For our example, click on the box next to Swagger Petstore to select all of the operations.
And finally click Create API Product to complete the process.
Create a route
In the Getting Started example, we used the following code snippet in the API Product YAML to associate the product with a default route to the service:
gatewayConfig:
  route:
    inlineRoute:
      backends:
      - kube:
          name: petstore
          namespace: default
          port: 8080
When creating the API Product through the UI, we did not yet have a route to associate with the operations selected from the API Doc(s). In this portion of the guide, we will create a route to our Pet Store service and associate with version v1 of our API Product.
We can either choose to set a default route for the entire API Product version - as we did in the Getting Started example - or set individual routes for each operation from the API Doc(s). For our example, you are going to create a default route for the entire API Product version and apply it.
First select the Routes category from the left-side menu.

Next you will click on the Create a Route button to start the route creation wizard.

On the General page of the New Route wizard you will fill out the Name of the route and set the destination(s) for the route.
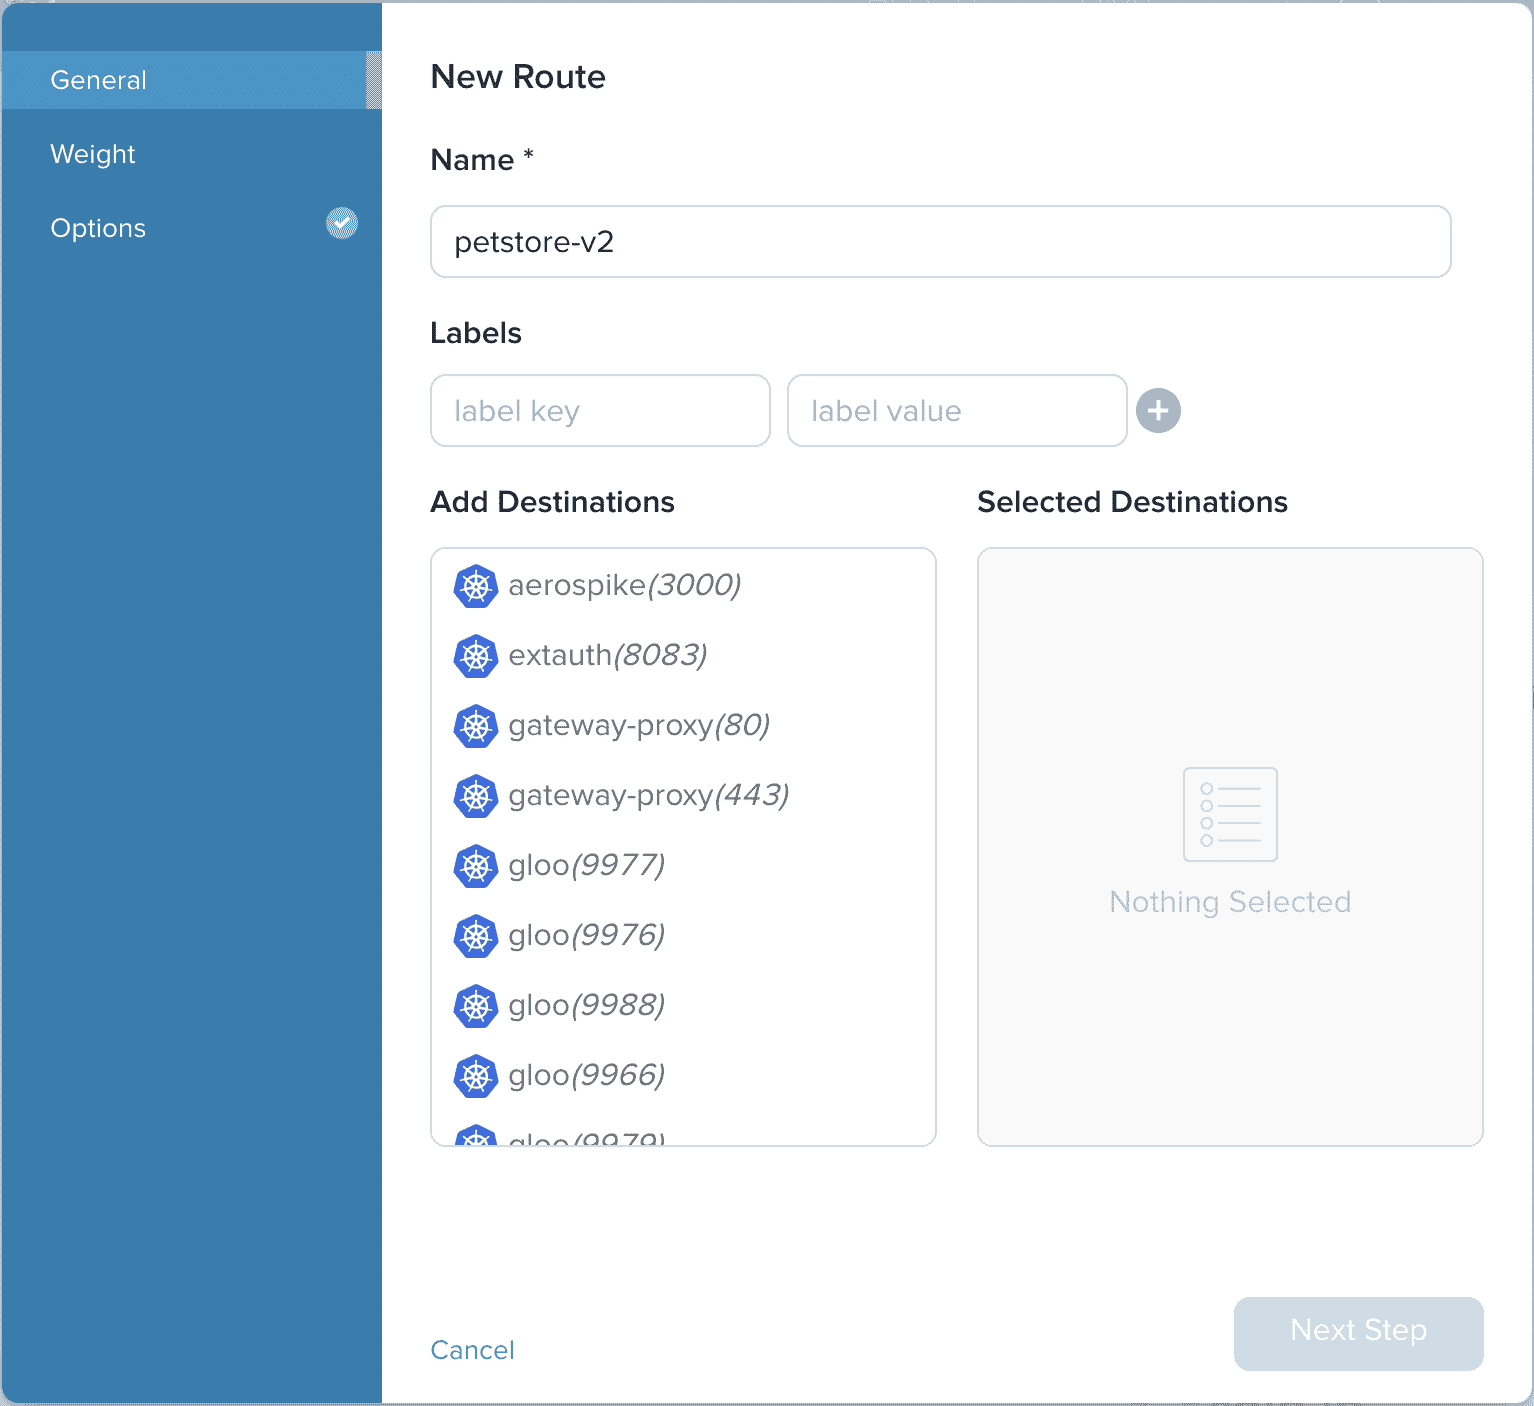
In our example, we will use the name petstore-v2.
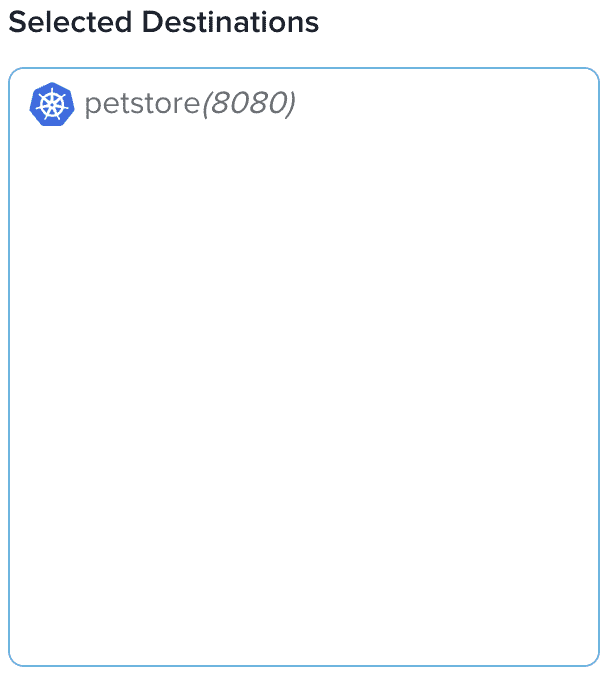
From the Add Destinations list on the left, find the petstore (8080) destination.
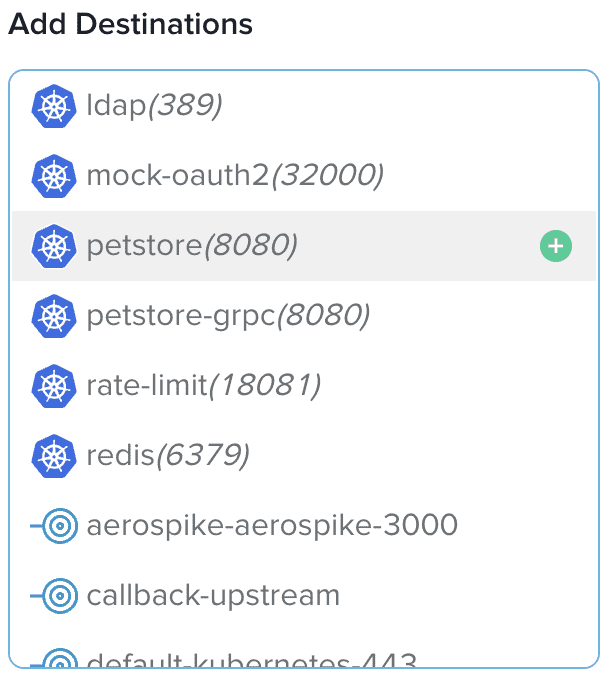
Click on the item to add it to the Selected Destinations list.
Click on Next Step to move to the Weight page.
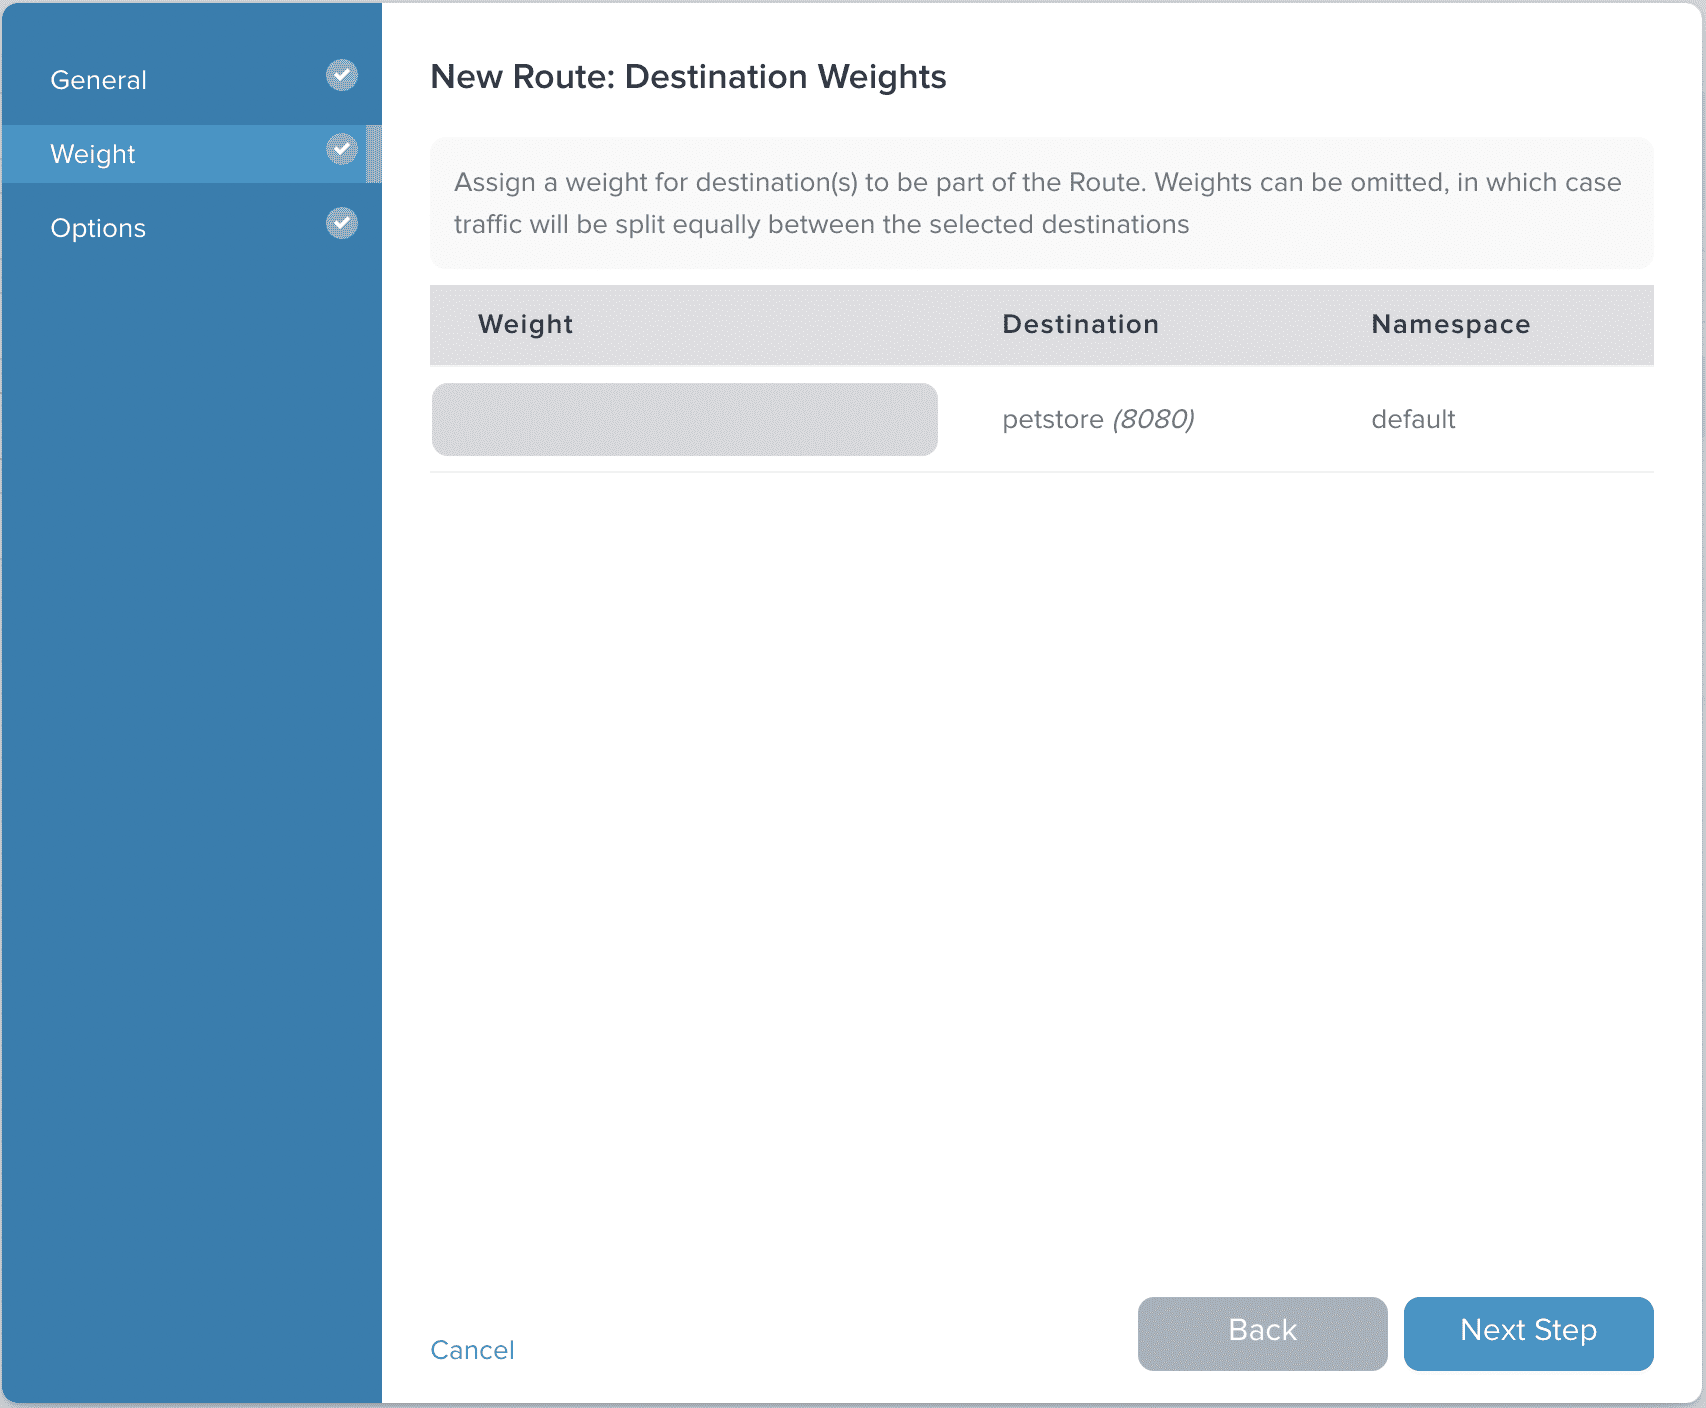
Had we selected multiple destinations on the previous page, we could assign different weights to each destination. There is only one destination in our example, so there is no need to set a weight.
Click on Next Step to move to the Options page.
Here you can set route options as defined in our spec, but we will leave this blank for this tutorial.
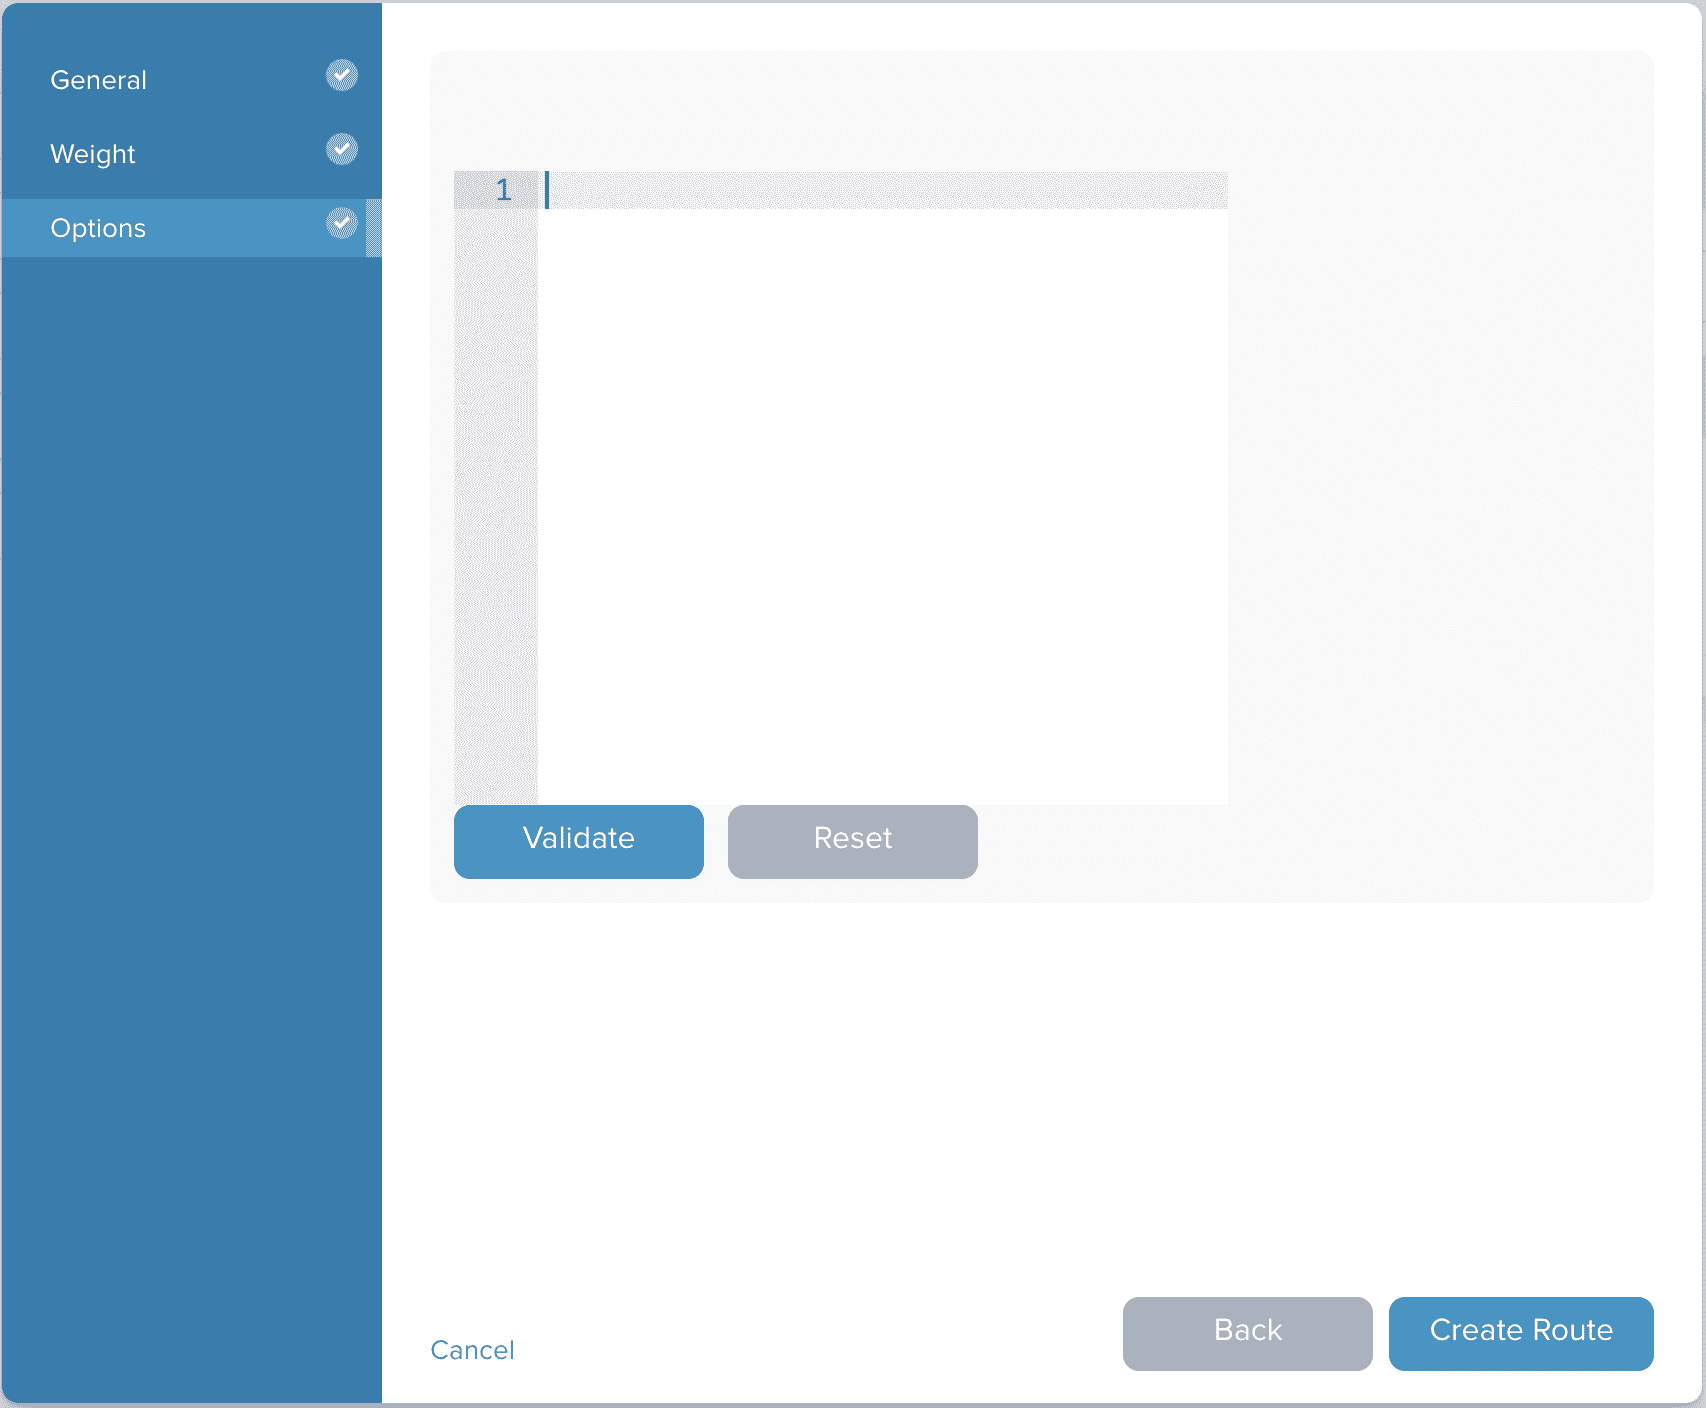
Click on Create Route to complete the route creation process.
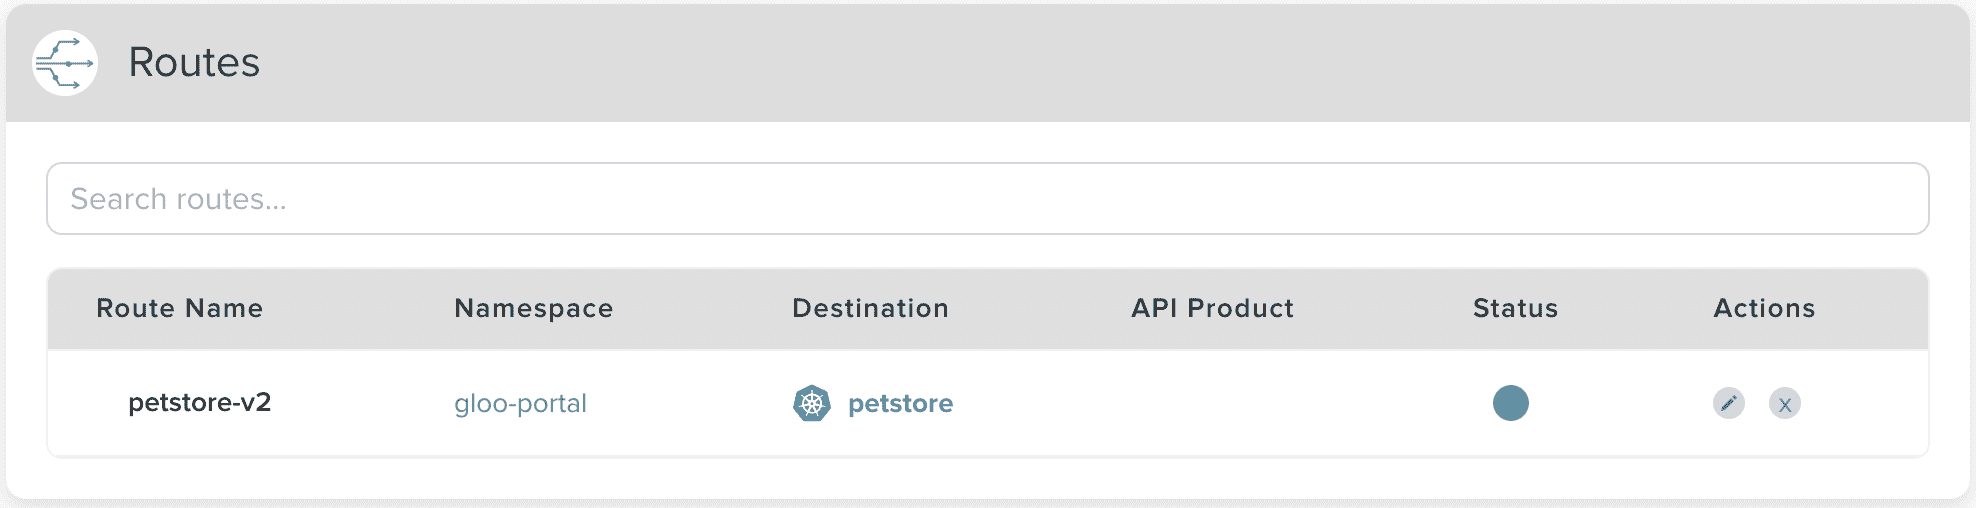
The next step is to associate this route as the default route for the Petstore Product v2 API Product version v1.
Associate the route
We are going to go back into the API Product area to edit the existing Petstore Product v2 API product. Click on the API Products category in the left-side menu.
Then select Petstore Product v2 from the API Products list.
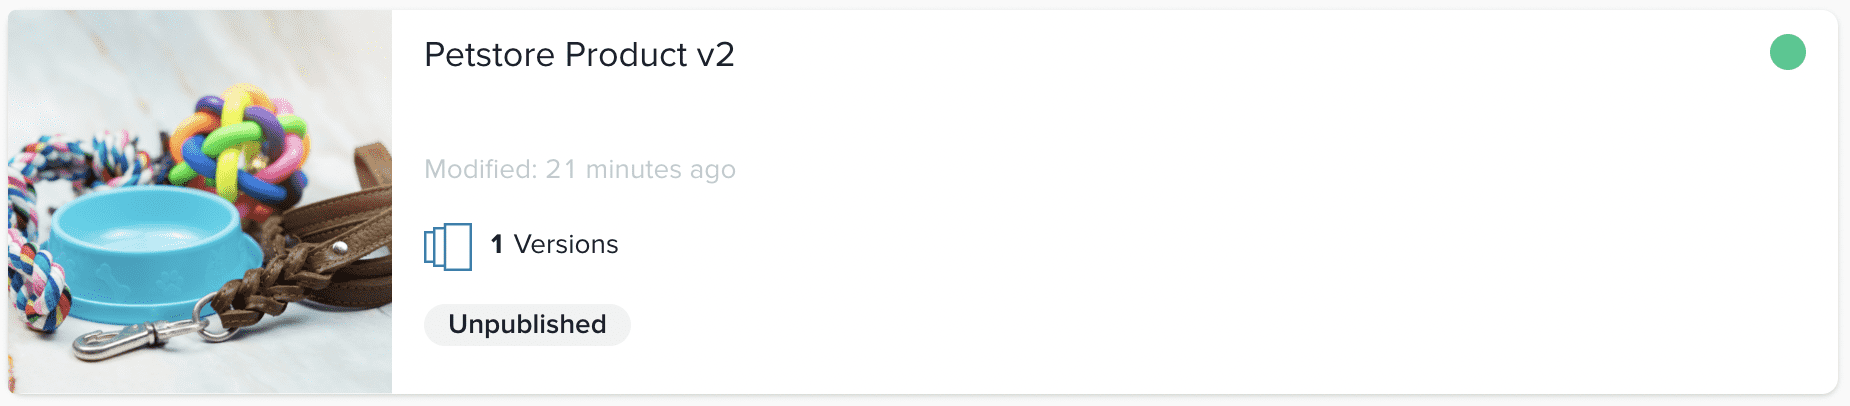
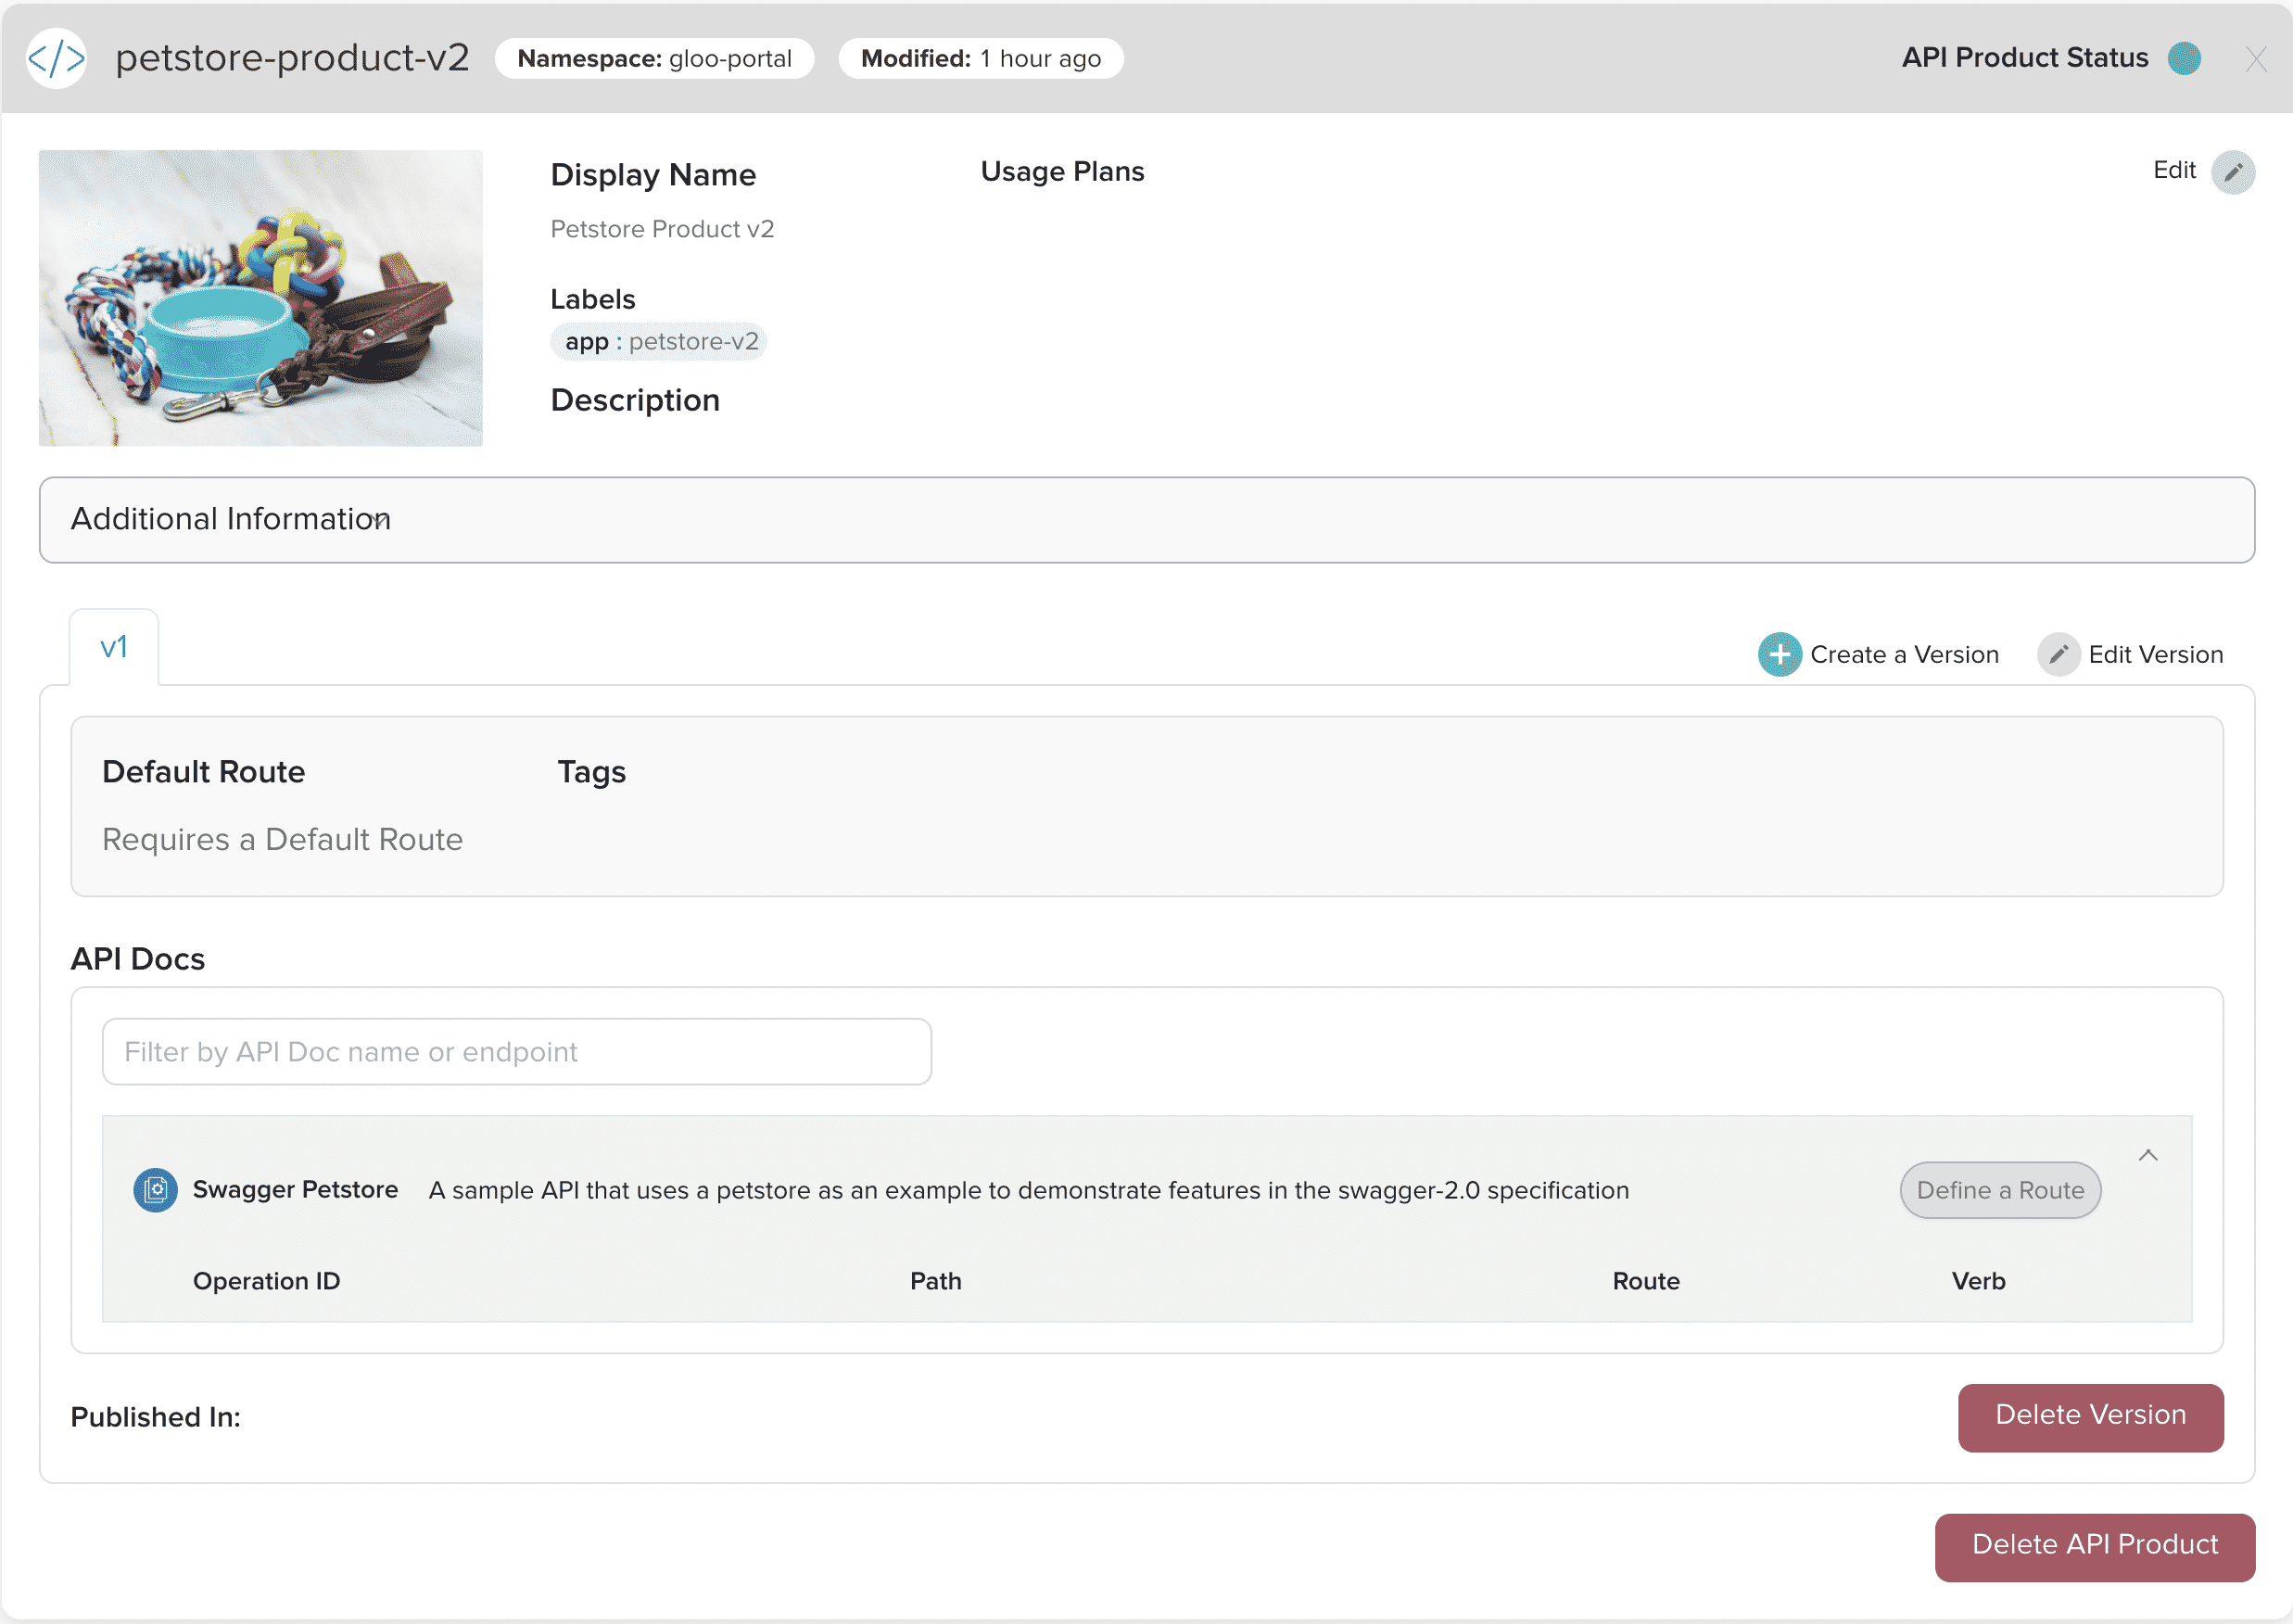
On the product page we can see the general information about the API Product and any versions that have been created. We want to edit version v1, so you will click on the Edit Version icon to edit the properties of the version.
Under Default Route, select Route Reference as the Route Type. Then, from the Route section that appears below, click on the dropdown list and select petstore-v2.
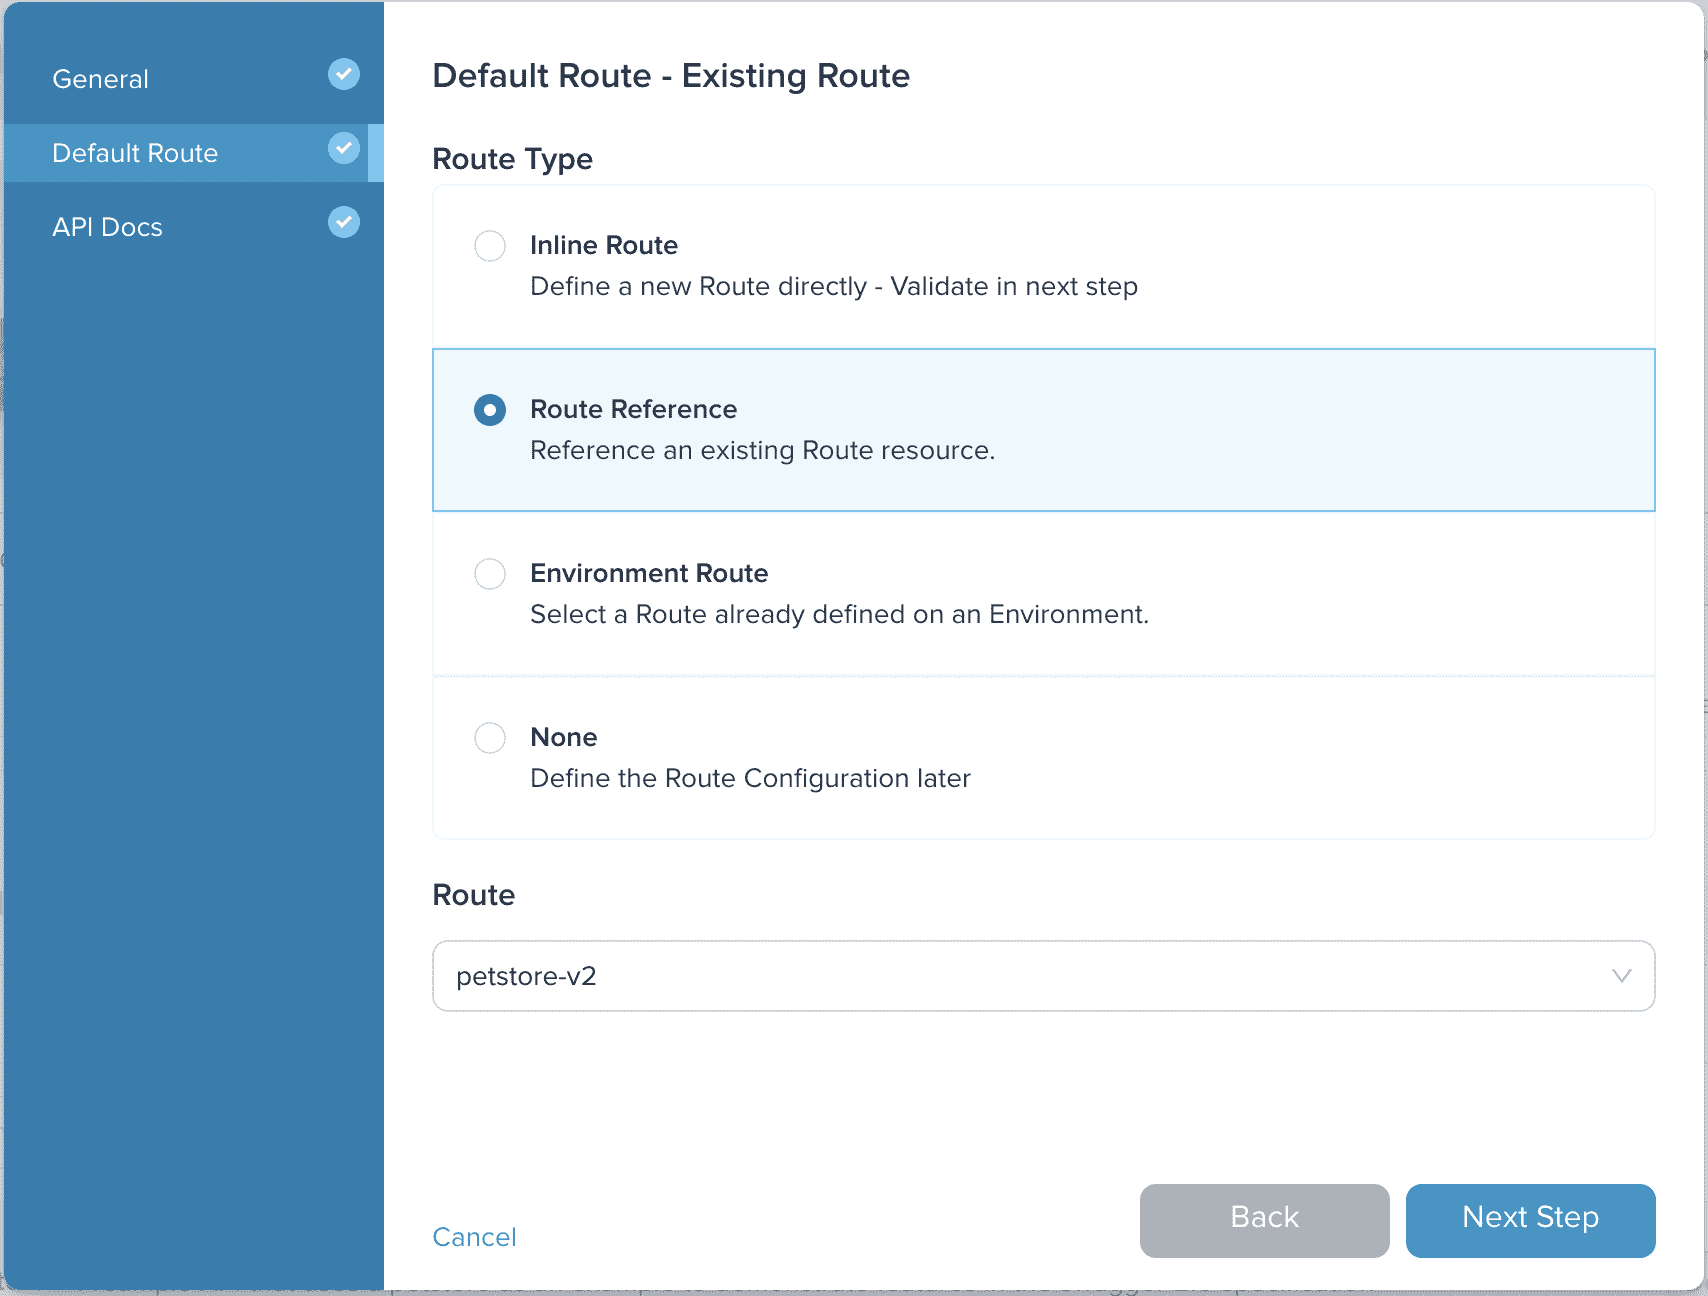
Then click on the Next Step button to go to the API Docs page. We are not going to change anything on this page, but you could set a different default route for each action if you wanted to.
Click on Update API Product to complete the update process.
Now our v1 version of the API Product is all ready to go! In order to expose out API Product version to the consumers, we will need to create an API Environment linking the API Product to one or more domains.
Using kubectl
If you wanted to create the same API Product and route using kubectl you could do so by submitting two new Custom Resources.
First you would create the route CR with the following command:
cat <<EOF | kubectl apply -f -
apiVersion: portal.gloo.solo.io/v1beta1
kind: Route
metadata:
  name: petstore-v2
  namespace: default
spec:
  backends:
  - kube:
      name: petstore
      namespace: default
      port: 8080
    weight: 1
EOF
Then you could create the API Product with the following command:
cat << EOF | kubectl apply -f-
apiVersion: portal.gloo.solo.io/v1beta1
kind: APIProduct
metadata:
  name: petstore-product-v2
  namespace: gloo-portal
spec:
  versions:
  - name: v1
    apis:
    - apiDoc:
        name: swagger-petstore
        namespace: gloo-portal
    gatewayConfig:
      route:
        routeRef:
          name: petstore-v2
          namespace: default
  displayInfo:
    description: Petstore Product v2
    title: Petstore Product v2
    image:
      fetchUrl: https://i.imgur.com/Co2A5lK.png

EOF
Next Steps
Now that you've created an API Product, you're going to want to associate it with an API Environment. In the next guide, we will do exactly that using the Admin Dashboard.