Portal OIDC Authentication
The Portal Web Application can be configured to use OIDC to authenticate users who access the Portal.
OIDC authentication can be used as alternative to, or in addition to Managed User Authentication for integration with existing identity providers.
This guide details the process of setting up Portal OIDC Auth with Google Developer Credentials, but the same workflow should support any standard OIDC provider.
Pre-requisites
-
Gloo Portal installed to a Kubernetes cluster alongside either Gloo Edge or Istio.
- See the installation instructions to see how to set up a cluster.
-
Set the
INGRESS_PORTenvironment variable set in case your ingress (Gloo Edge or Istio) is listening on a port other than80.- If you are using port 80 to serve ingress traffic, you can omit
:$INGRESS_PORTfrom all URIs used in this tutorial.
- If you are using port 80 to serve ingress traffic, you can omit
-
A set of OIDC client credentials with which to configure the Portal.
To set up a set of OIDC credentials to test OIDC with Gloo Portal:
-
Go to https://console.developers.google.com/apis/credentials/consent and write an Application name.
-
Then, go to https://console.developers.google.com/apis/credentials/ and:
- Click ‘Create credentials’, and then ‘OAuth client ID’.
- In this example, we will select ‘Web Application’ as the type if the client (as we are only going to use it for demonstration purposes) and click ‘Create’.
- Ensure the correct Redirect URI
http://petstore.example.com:$INGRESS_PORT/callbackis registered: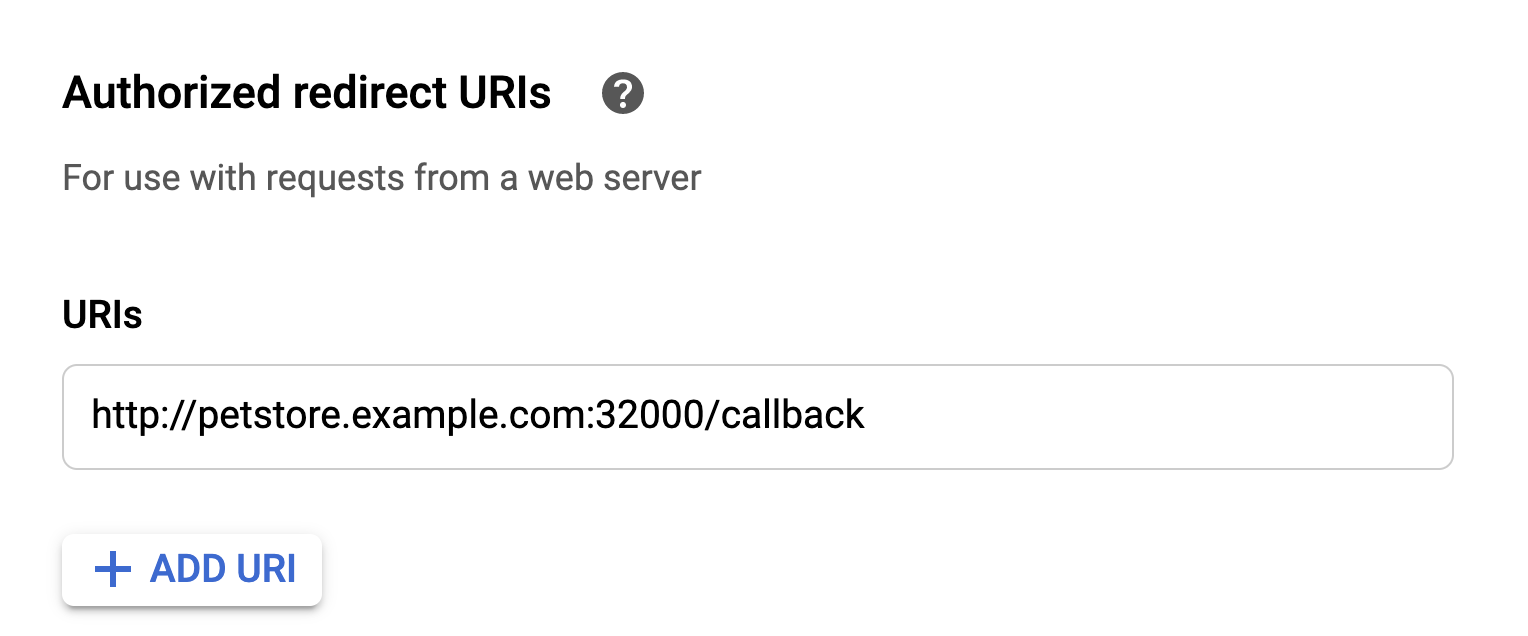
-
Note: your credentials must be accessible from a hosted G-suite domain email for the purposes of this demo. Note that if this is not the case, you will want to select a different
GROUPS_CLAIM_KEYthanhd.
-
-
For demo purposes, you may need to set up your local DNS to resolve
petstore.example.comto your ingress host.
Create a Portal with OIDC Auth Enabled
Create the Client Secret
First, let's create a Kubernetes secret to store our OIDC client secret.
For convenience, set the CLIENT_SECRET environment variable:
export CLIENT_SECRET=CCh...lmT
Next, create the Kubernetes Secret containing the client_secret:
cat <<EOF | kubectl apply -f -
apiVersion: v1
kind: Secret
metadata:
  name: petstore-portaloidc-secret
  namespace: default
data:
  client_secret: "$(echo $CLIENT_SECRET | base64)"
EOF
Create the OIDC Portal
When a user is authenticated to a Portal over OIDC, the Portal will then use Groups to authorize actions taken by the OIDC-authenticated user.
OIDC Users are mapped to Portal Groups by the claims present in an OIDC Identity Token.
To authorize OIDC users to interact with a Portal, administrators must specify the name of a claim which will be mapped to one or more Groups. If supported by your OIDC provider, it is recommended to use the groups claim to map to the Groups for your Portal.
For convenience, set the OIDC parameters as env variables:
export CLIENT_ID=825...imq.apps.googleusercontent.com
export GROUPS_CLAIM_KEY=hd
export ISSUER=https://accounts.google.com
export CALLBACK_URL_PREFIX=http://petstore.example.com:$INGRESS_PORT/
Next, we'll create a new OIDC Portal, or add the highlighted oidcAuth to an existing Portal:
cat << EOF | kubectl apply -f -
apiVersion: portal.gloo.solo.io/v1beta1
kind: Portal
metadata:
  name: petstore-portal
  namespace: default
spec:
  description: The Gloo Portal for the Petstore API
  displayName: Petstore Portal
  domains:
  - petstore.example.com
  portalUrlPrefix: $CALLBACK_URL_PREFIX
  oidcAuth:
    clientId: $CLIENT_ID
    clientSecret:
      name: petstore-portaloidc-secret
      namespace: default
      key: client_secret
    groupClaimKey: $GROUPS_CLAIM_KEY
    issuer: $ISSUER
  publishedEnvironments:
  - name: dev
    namespace: default
EOFOur portal is now configured to use OIDC to authenticate users. However we still need to grant access to authenticated users within our Portal. For that we'll need to create a Group for our OIDC user.
Create the OIDC Group
In order to gain access to the Portal, we'll need to create an authorized Group granting access to our OIDC user.
Groups are mapped to OIDC Portals by the content of the claims key present in the Identity Token provided by the OIDC provider. In this case, the claim we've chosen hd will contain the hosted domain of our G-suite email.
When Gloo Portal processes the chosen claim in the identity token, it will attempt to parse it at first as a JSON array of Group names, then as a space-separated list of Group names. In this case, the claim will have the value solo.io, to go with the author's G-suite user. Make sure to export the hosted domain correlating with the user you've selected:
export OIDC_GROUP_NAME=solo.io
We'll need to create a Group with this OIDC group name to provide authorized access to Portals and API Products:
cat << EOF | kubectl apply -f -
apiVersion: portal.gloo.solo.io/v1beta1
kind: Group
metadata:
  name: oidc-group
  namespace: default
spec:
  accessLevel:
    portals:
    - name: petstore-portal
      namespace: default
    apis:
    - environments:
        names:
        - dev
        namespaces:
        - default
      products:
        names:
        - petstore-product
        namespaces:
        - default
      usagePlans:
      - '*'
  oidcGroup:
    groupNames:
    - $OIDC_GROUP_NAME
EOF
Now that our group has been created, we should now be able to visit the portal page as an authenticated user:
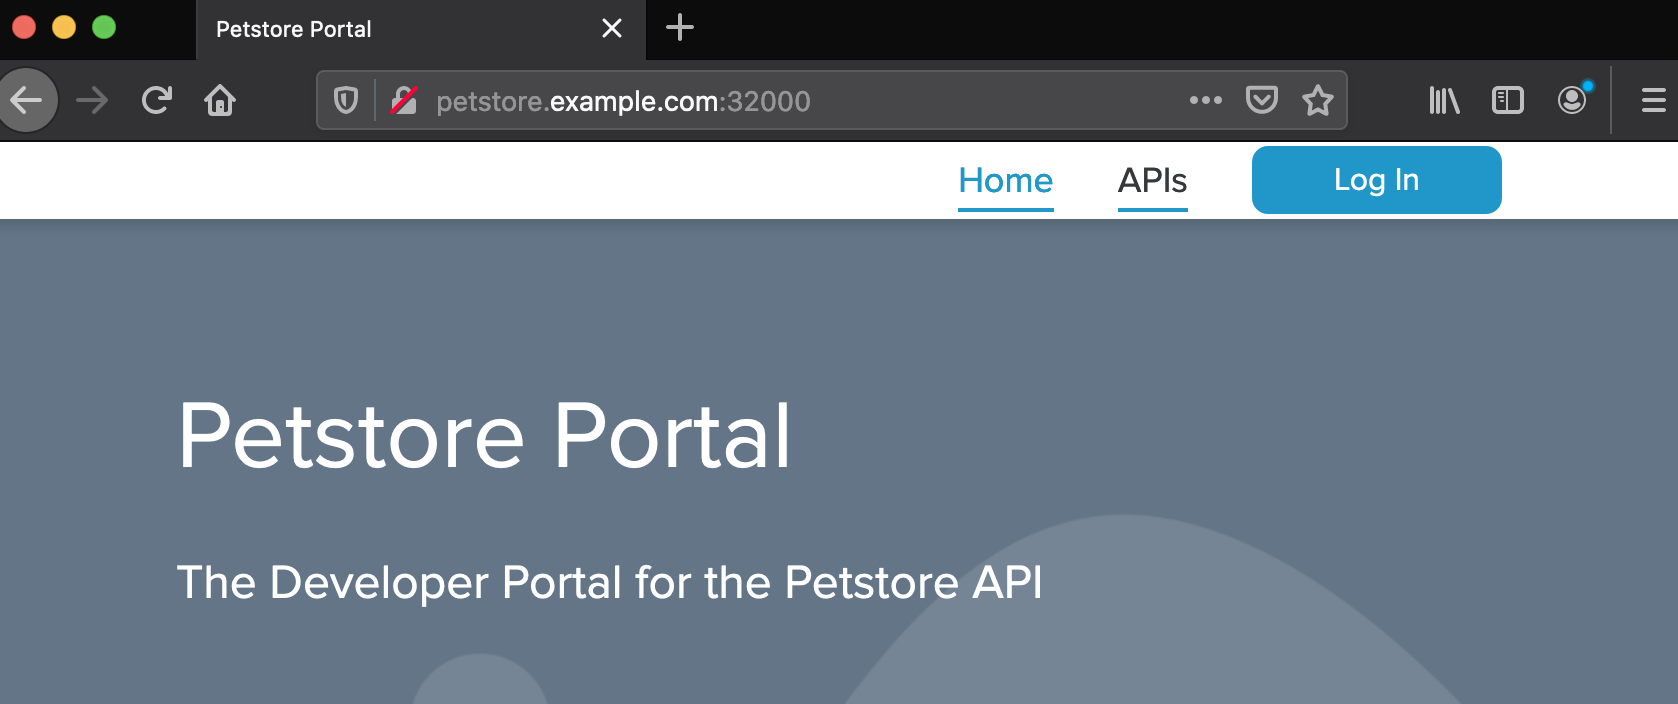
Our portal is now configured to use OIDC to authenticate users. We can test this by visiting the Portal UI at http://petstore.example.com:
Click the Log In button at the top right:
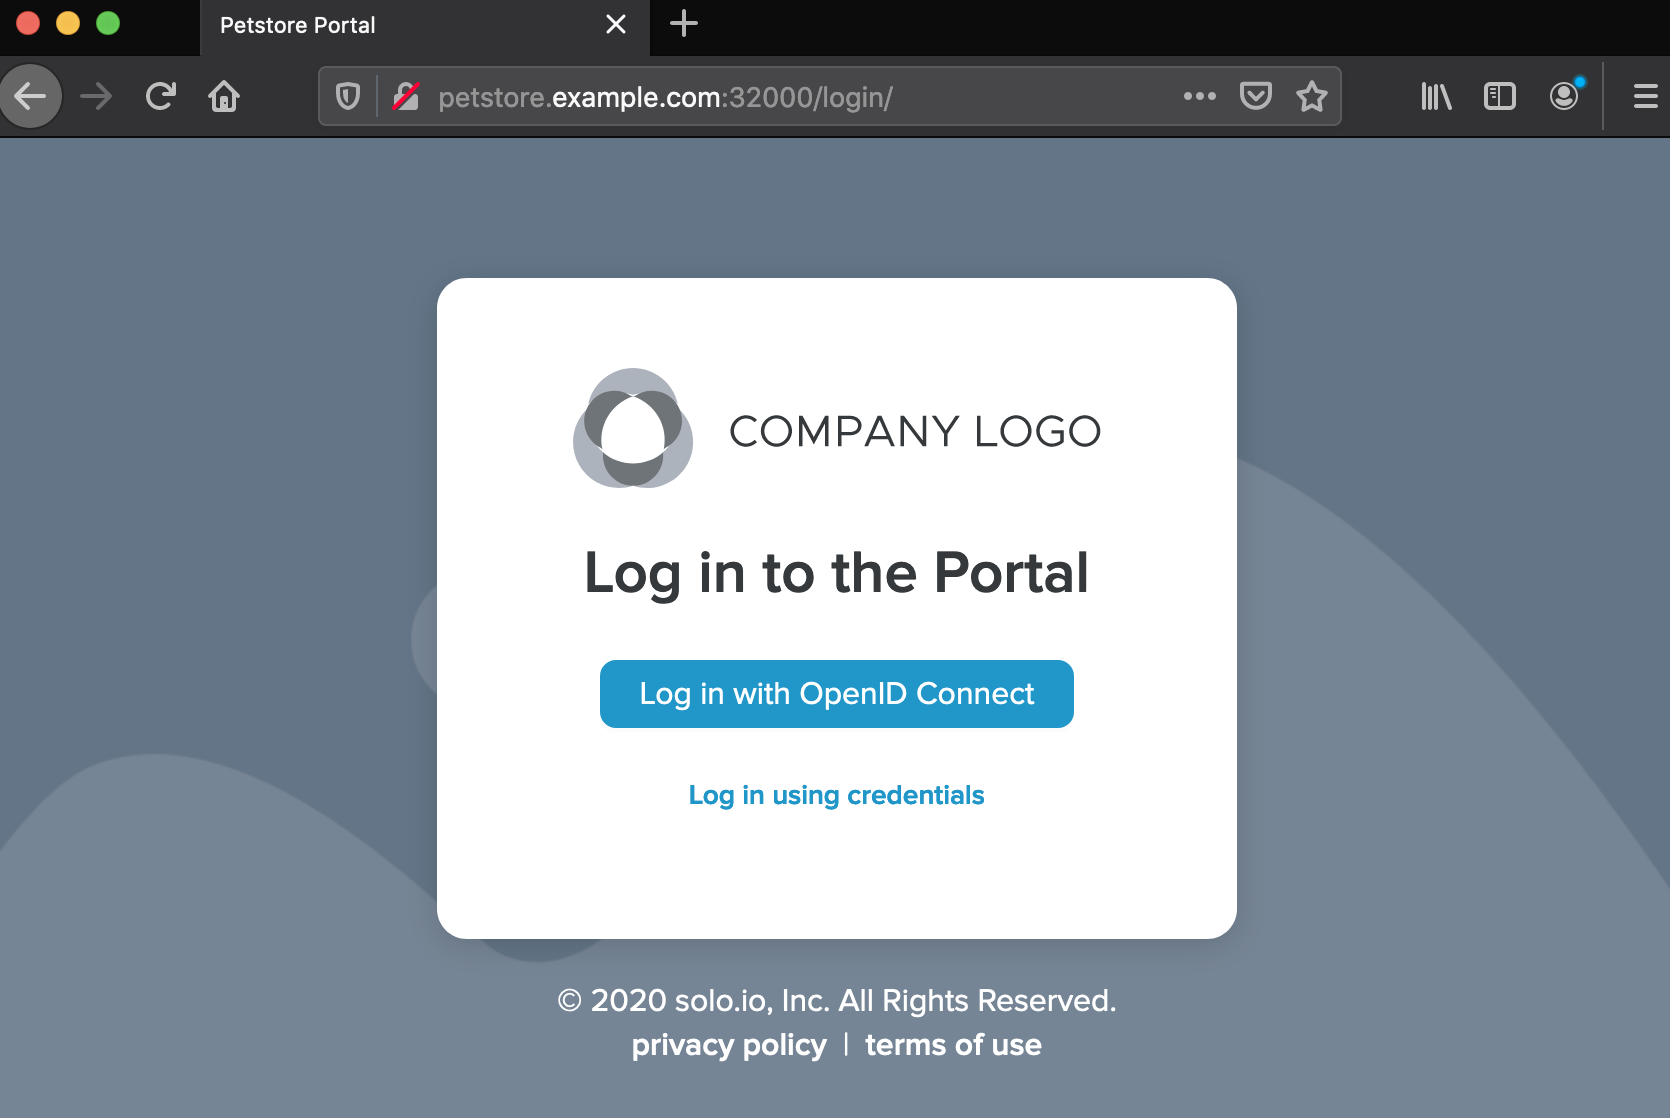
Click the Log in with OpenID Connect button:
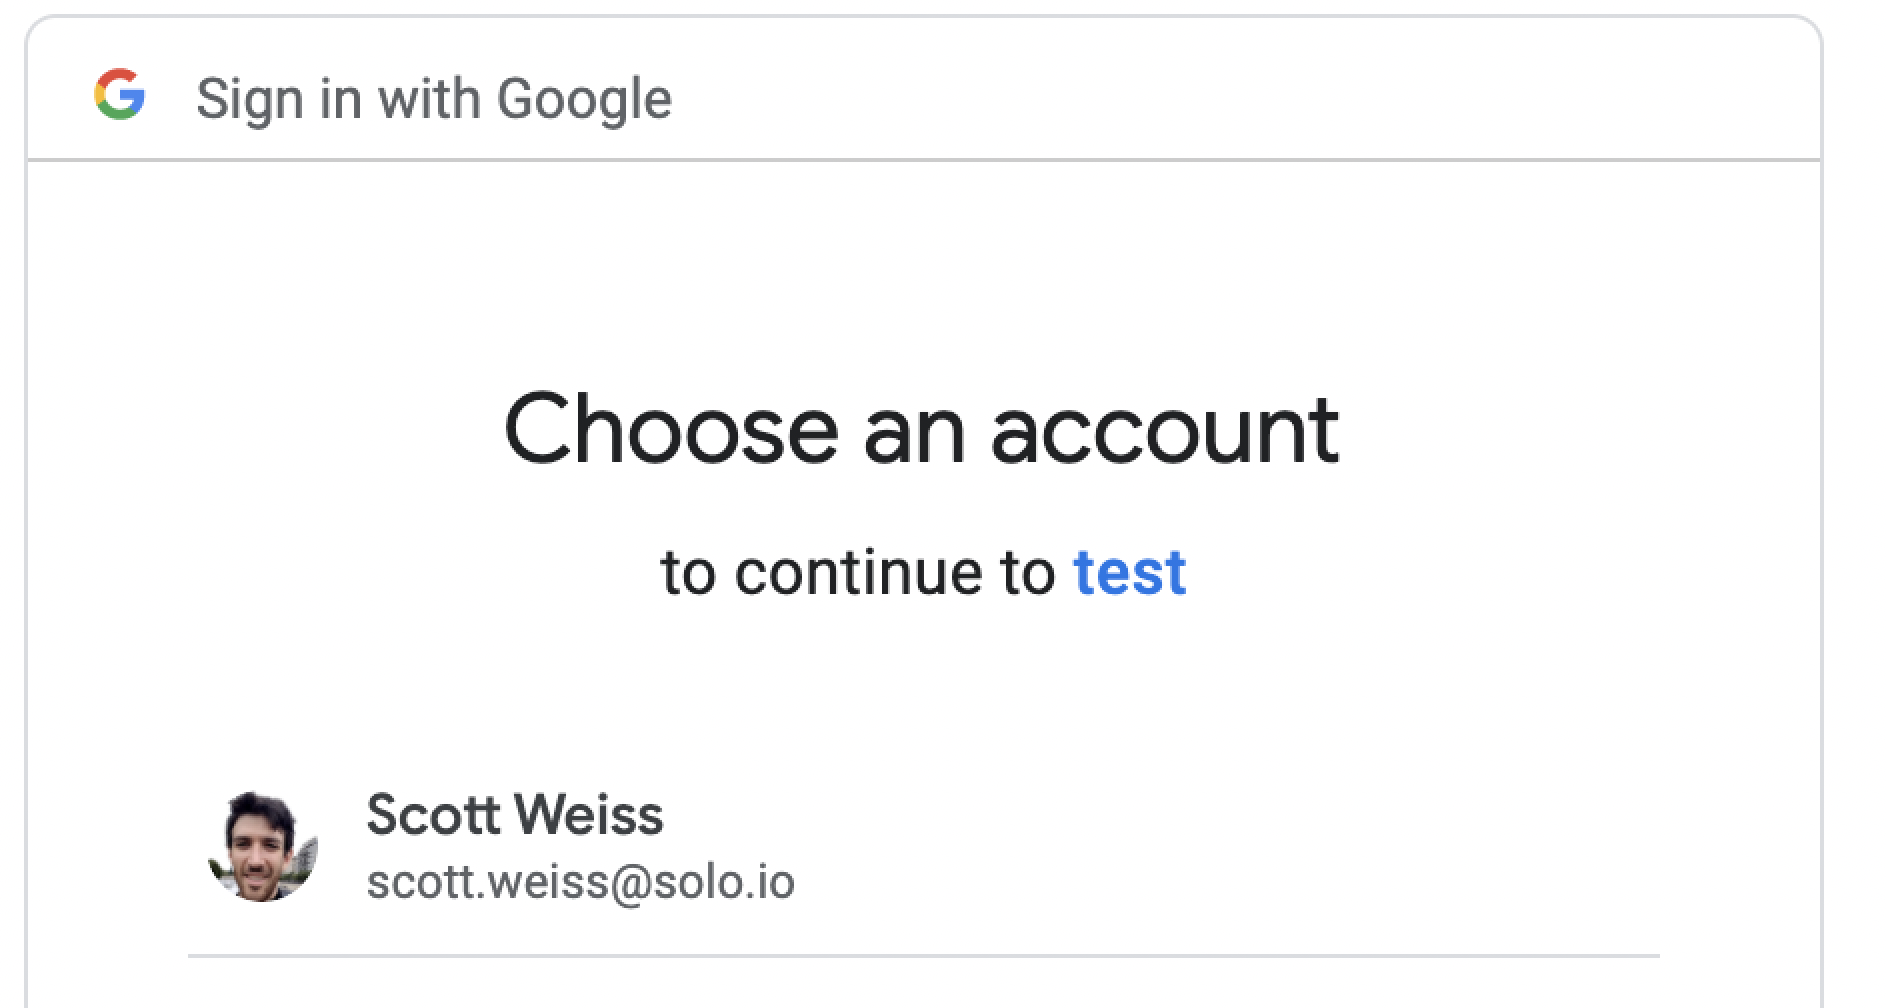
Sign in with your OIDC provider account:
You should get redirected back to the Portal App, with your OIDC provider email showing that you're now logged in:
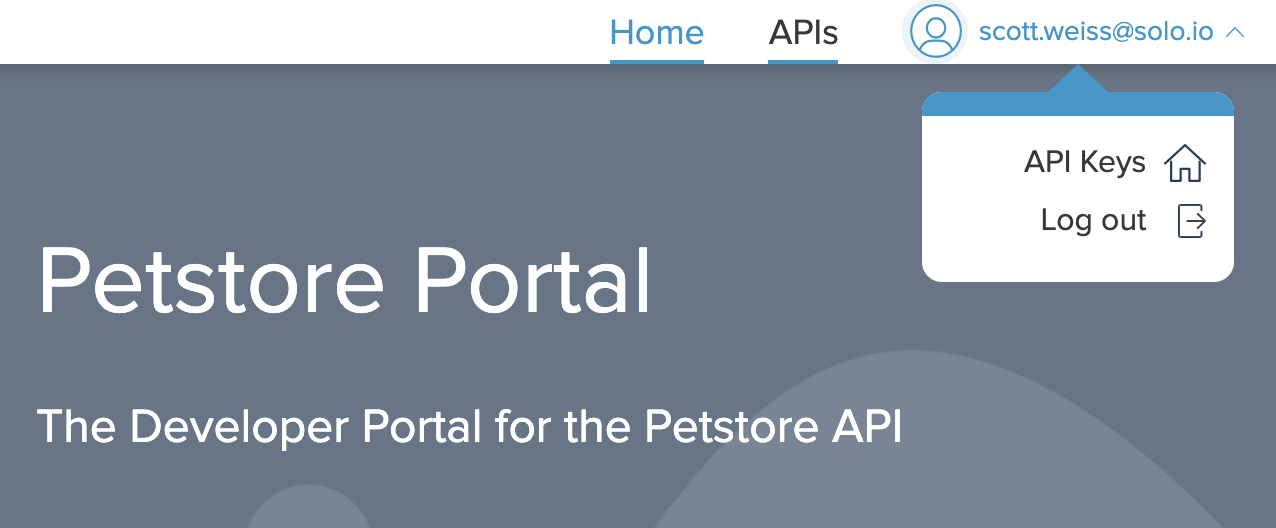
Great! Now you've learned how to set up Gloo Portal to use OIDC to authenticate users. OIDC Users will be able to browse interactive API Products and provision API keys.