Create a Usage Plan
Each instance of an API Product in an Environment defines Usage Plans specifying the tiers of access given to API clients, including how clients are authenticated and rate limited to the APIs they consume.
In this guide we are going to create a Usage Plan for an existing API Product version through the Admin Dashboard. Users and groups will be associated with the Usage Plan in a separate guide.
Pre-requisites
You will need to have Gloo Portal deployed on a Kubernetes cluster, and a connection to the Admin Dashboard as described in the Using the Admin Dashboard guide.
You will also need the following items provisioned in Gloo Portal:
You can follow the guides linked above to perform the actions through the Admin Dashboard or go through the Getting started guide to provision these resources using kubectl.
Create a Usage Plan
Usage Plans are created for Environments. We will open an existing API Environment and create the plan from the Plans tab in the Environment's properties.
We will start from the Overview page of Gloo Portal. First you will click on the APIs item in the navigation bar to manage API Docs, Products, Routes, and more.

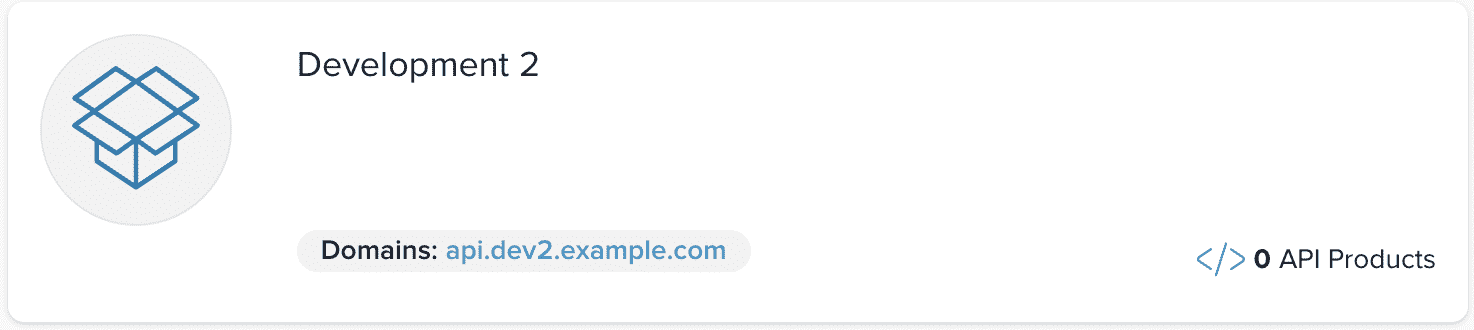
The page should load on the API Environments category by default. Select the Development 2 API Environment you created in an earlier guide, or another existing Environment you have available.
In the properties of the Environment, select the Plans tab and click on Create a Plan.
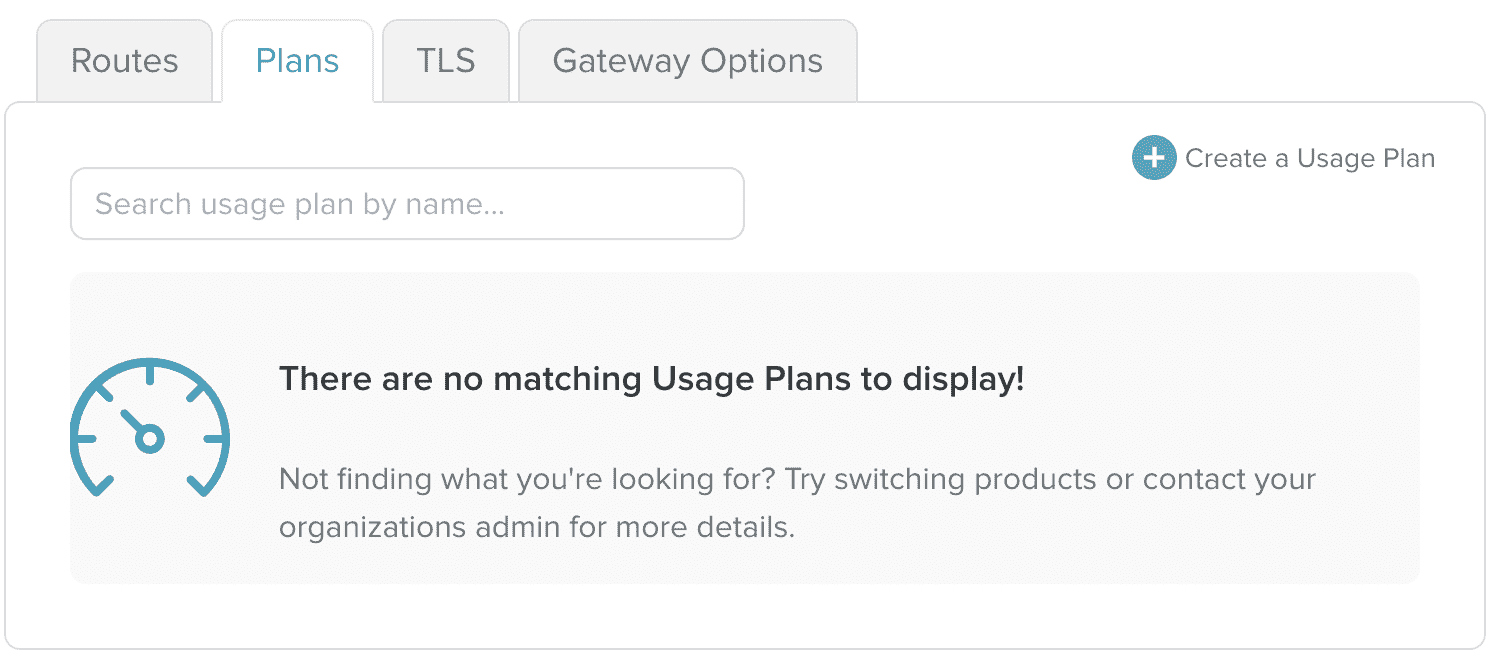
In the dialog box that pops up, we can fill out the necessary fields.
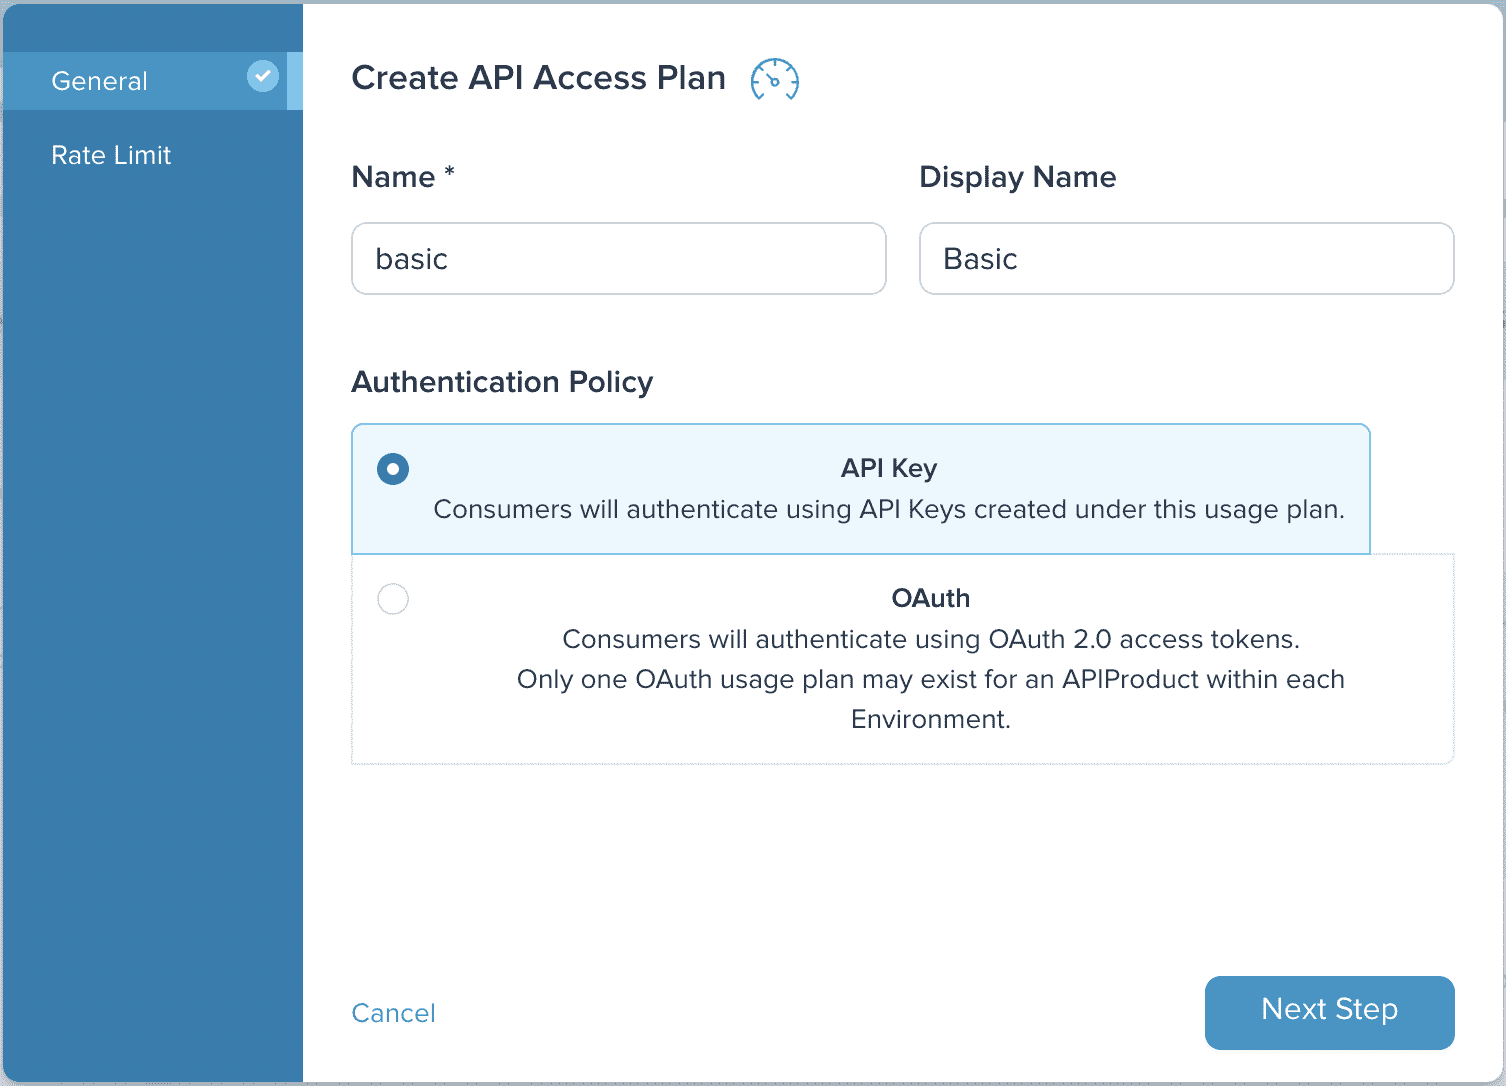
In our example we are going to use the following values:
- Name: basic
- Display Name: Basic
- Authentication Policy: API Key
Then click on Next Step to continue on to the Rate Limit page.
For the Rate Limit page, we will use the following values:
- Rate Limit Type: Rate Limited
- Rate Limit:
- Requests: 5
- Time: Minute
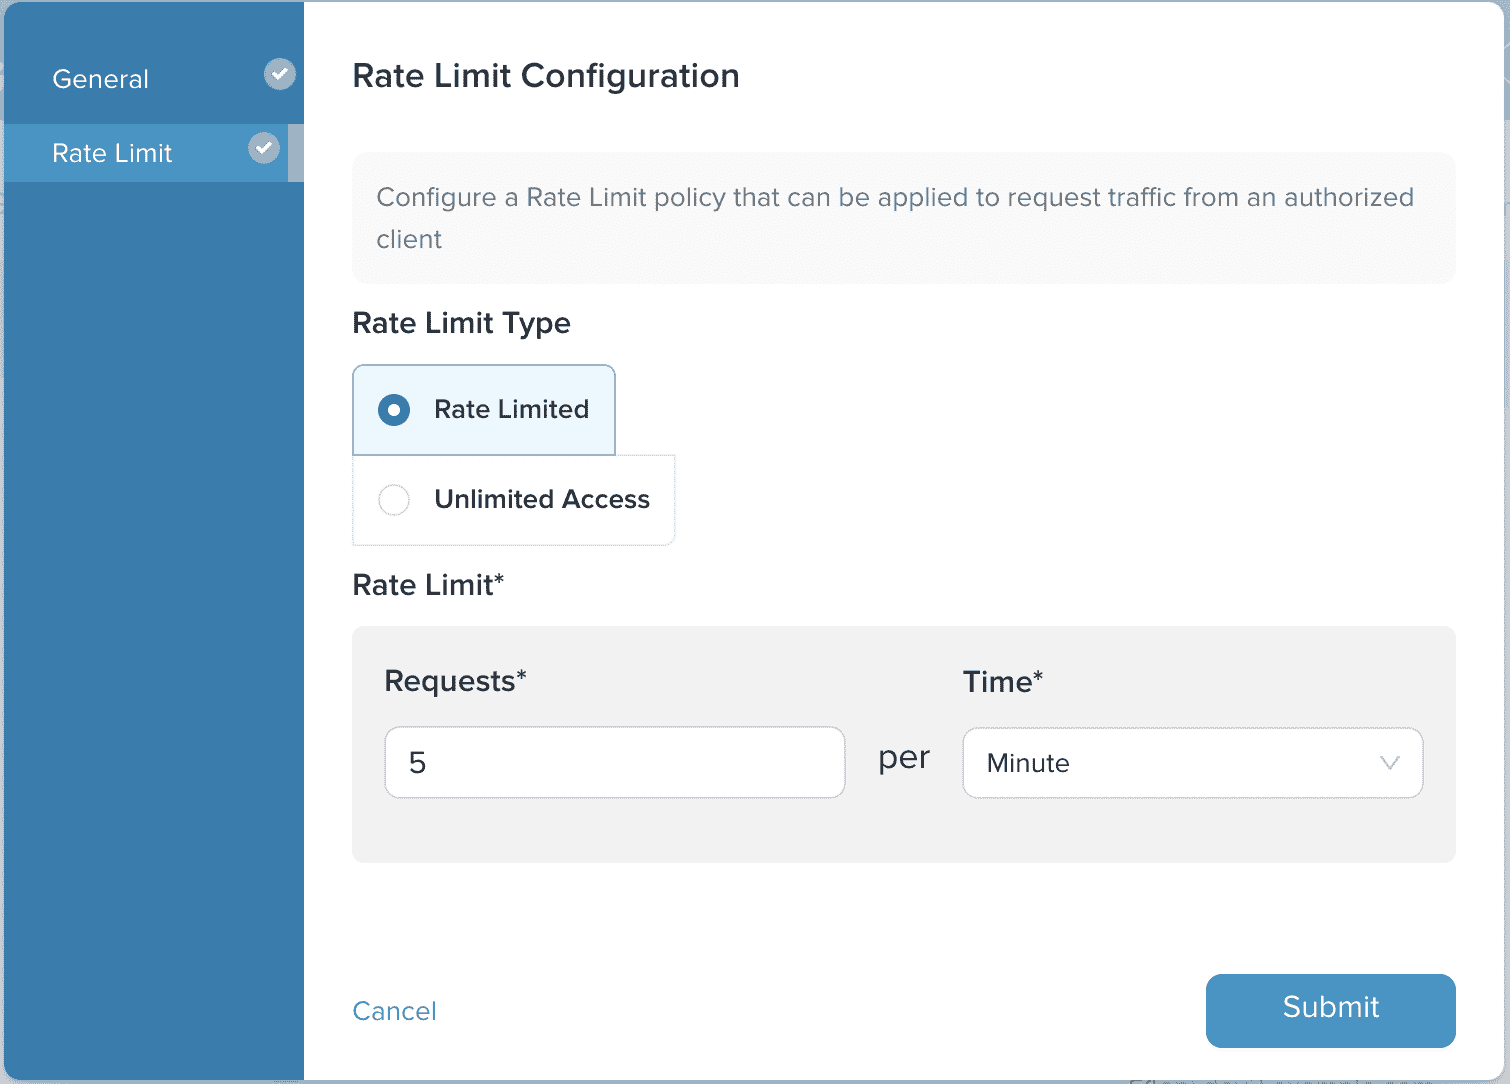
Click on Submit to complete the process. The Usage Plan will now appear under the Plans tab.
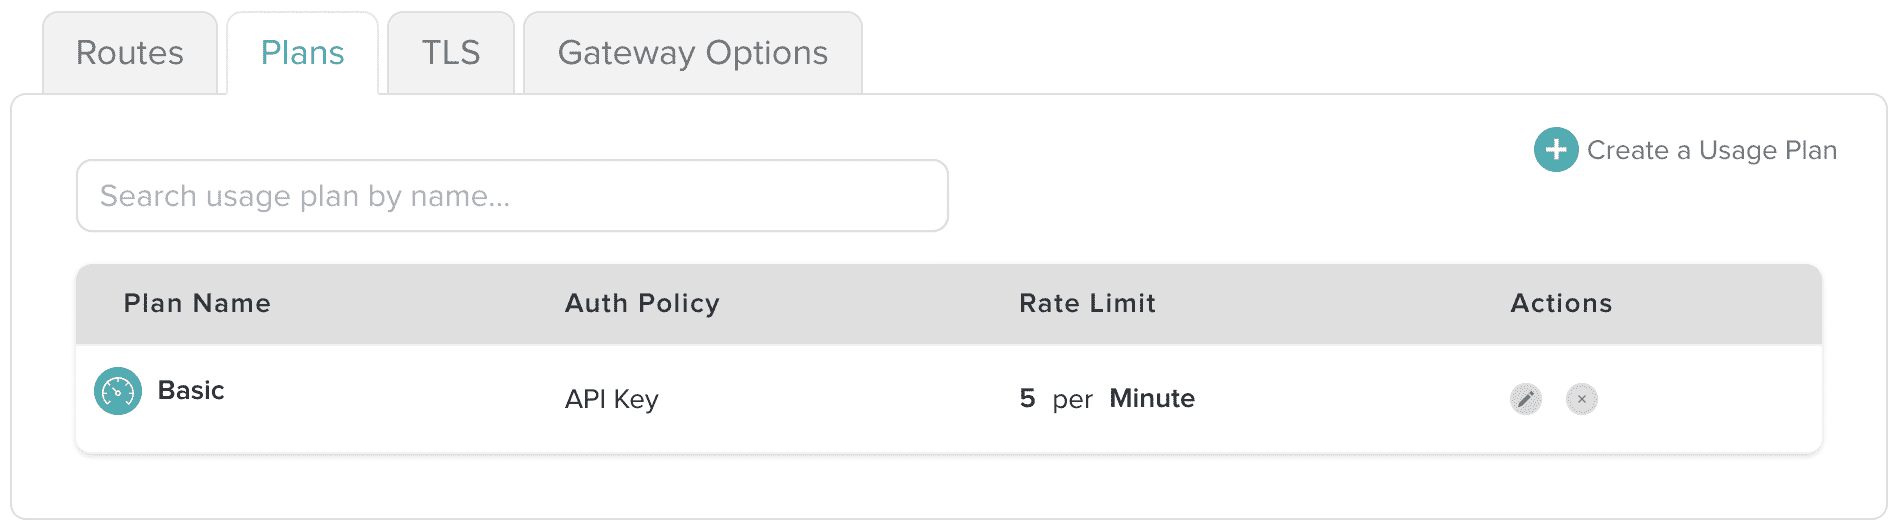
We created a Usage Plan that uses the API Key authentication policy and limits requests to five per minute. Once a user or group is associated with this plan, they will be able to provision an API Key and access the API Product version in this Environment.
Set the Usage Plan on an API Product
Now that we have created a Usage Plan, we can set it on an API Product.
We will open the existing API Product by clicking on the APIs item in the navigation bar.
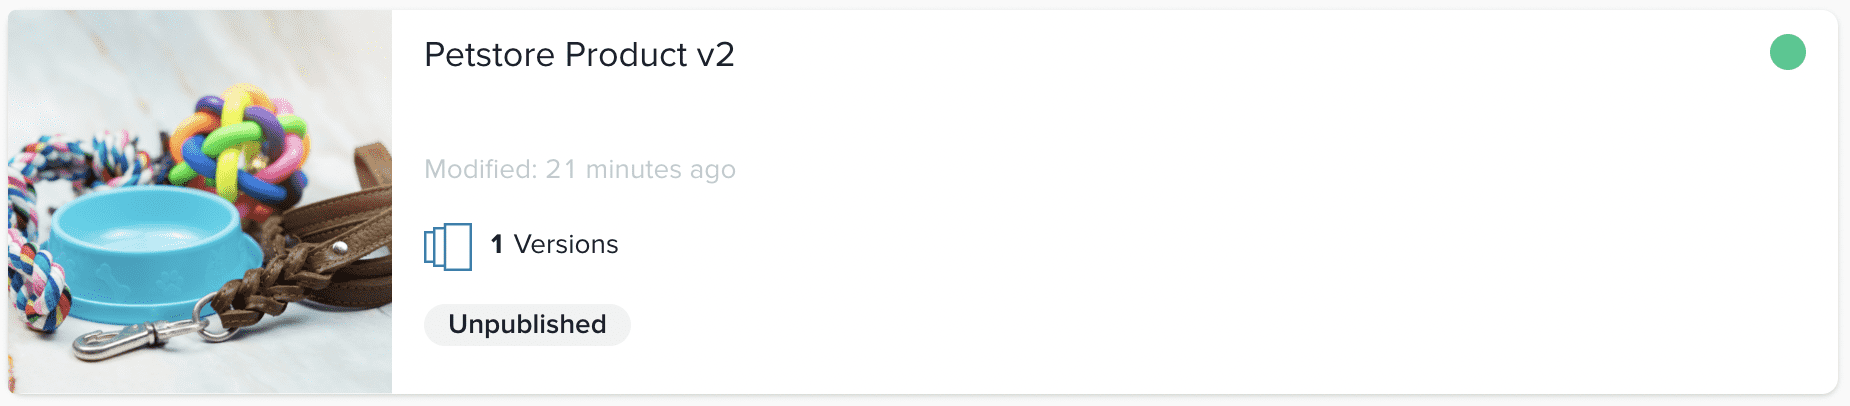
The page should load on the API Environments category by default. Select API Products from the left-side menu, then select the Petstore Product v2 API Product created in an earlier guide.
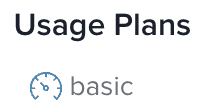
From the properties of the API Product, click on Edit and add the previously-created basic Usage Plan to the Usage Plans field.

Next, click on Save Changes to save the changes to the API Product.

After the changes have been saved, the Usage Plan will appear under the Usage Plans field.
Next steps
Now that you have successfully created a Usage Plan for an API Product, the next step in the process is to associate users and groups with the Usage Plan and test their access.