Create a Portal
The second part of the guide demonstrates connecting the Environment to a Gloo Portal User Interface.
In this guide we'll create a Portal for our Environment.
Prerequisites
Make sure you've completed part one of the Getting Started Guide before proceeding with this guide.
Create a Portal
The Portal is a resource which tells Gloo Portal how to generate and publish a static site which enables developers to interact with API Products published through an Environment.
Let's create a Portal now for our dev Environment:
cat <<EOF | kubectl apply -f -
apiVersion: portal.gloo.solo.io/v1beta1
kind: Portal
metadata:
  name: petstore-portal
  namespace: default
spec:
  displayName: Petstore Portal
  description: The Gloo Portal for the Petstore API
  # Image formats PNG, JPG and GIF are supported. SVG format is NOT supported at this time.
  banner:
    fetchUrl: https://raw.githubusercontent.com/solo-io/gloo/main/docs/content/img/portal/banner.png
  favicon:
    fetchUrl: https://raw.githubusercontent.com/solo-io/gloo/main/docs/content/img/portal/favicon.png
  primaryLogo:
    fetchUrl: https://raw.githubusercontent.com/solo-io/gloo/main/docs/content/img/portal/primaryLogo.png
  customStyling: {}
  staticPages: []

  domains:
  - petstore.example.com

  # This will include all API product of the environment in the portal
  publishedEnvironments:
  - name: dev
    namespace: default

  # This allows users to view APIs without needing to log in
  allApisPublicViewable: true
EOF
cat <<EOF | kubectl apply -f -
apiVersion: portal.gloo.solo.io/v1beta1
kind: Portal
metadata:
  name: petstore-portal
  namespace: default
spec:
  displayName: Petstore Portal
  description: The Gloo Portal for the Petstore API
  # Image formats PNG, JPG and GIF are supported. SVG format is NOT supported at this time.
  banner:
    fetchUrl: https://raw.githubusercontent.com/solo-io/gloo/main/docs/content/img/portal/banner.png
  favicon:
    fetchUrl: https://raw.githubusercontent.com/solo-io/gloo/main/docs/content/img/portal/favicon.png
  primaryLogo:
    fetchUrl: https://raw.githubusercontent.com/solo-io/gloo/main/docs/content/img/portal/primaryLogo.png
  customStyling: {}
  staticPages: []

  domains:
  # If you are using Gloo Edge and the Gateway is listening on a port other than 80,
  # you need to include a domain in this format: <DOMAIN>:<INGRESS_PORT> as we do below
  - petstore.example.com:${INGRESS_PORT}
  - petstore.example.com

  # This will include all API product of the environment in the portal
  publishedEnvironments:
  - name: dev
    namespace: default

  # This allows users to view APIs without needing to log in
  allApisPublicViewable: true
EOF
Once the Portal has been created, we can verify that Gloo Portal has processed it by checking its status:
kubectl get portal -n default petstore-portal -oyaml
apiVersion: portal.gloo.solo.io/v1beta1
kind: Portal
# ...
status:
  observedGeneration: 1
  publishedEnvironments:
  - apiProducts:
    - name: petstore-product
      namespace: default
    name: dev
    namespace: default
  state: Succeeded
You can also create a Portal UI by using the Admin Dashboard.
The Portal UI is all set to serve up the API Product version and can now be accessed via the browser. Let's try reaching it now.
Setting up DNS for the Browser
In order to visit the Portal being served at our domain petstore.example.com, we'll need to make sure a DNS rule exists that will resolve that domain to that address.
There are many ways to set up DNS rules for the domains defined in our Environment and Portals. In production environments, you will probably want to use your Cloud Provider's DNS solution.
For the purposes of this setup, modifying your local /etc/hosts file with an entry to manually resolve the Environment and Portal domains will be sufficient.
Let's add entries for the api.example.com and petstore.example.com domains. Make sure you've got the INGRESS_HOST and INGRESS_PORT environment variables set before running:
cat <<EOF | sudo tee -a /etc/hosts

# Added for the Solo.io Gloo Portal Guides
${INGRESS_HOST} api.example.com
${INGRESS_HOST} petstore.example.com
EOF
We should now be able to directly curl our API Product without needing to set the Host header:
curl "http://api.example.com:${INGRESS_PORT}/api/pets"
We should see the output:
[{"id":1,"name":"Dog","status":"available"},{"id":2,"name":"Cat","status":"pending"}]
Verify the Portal UI
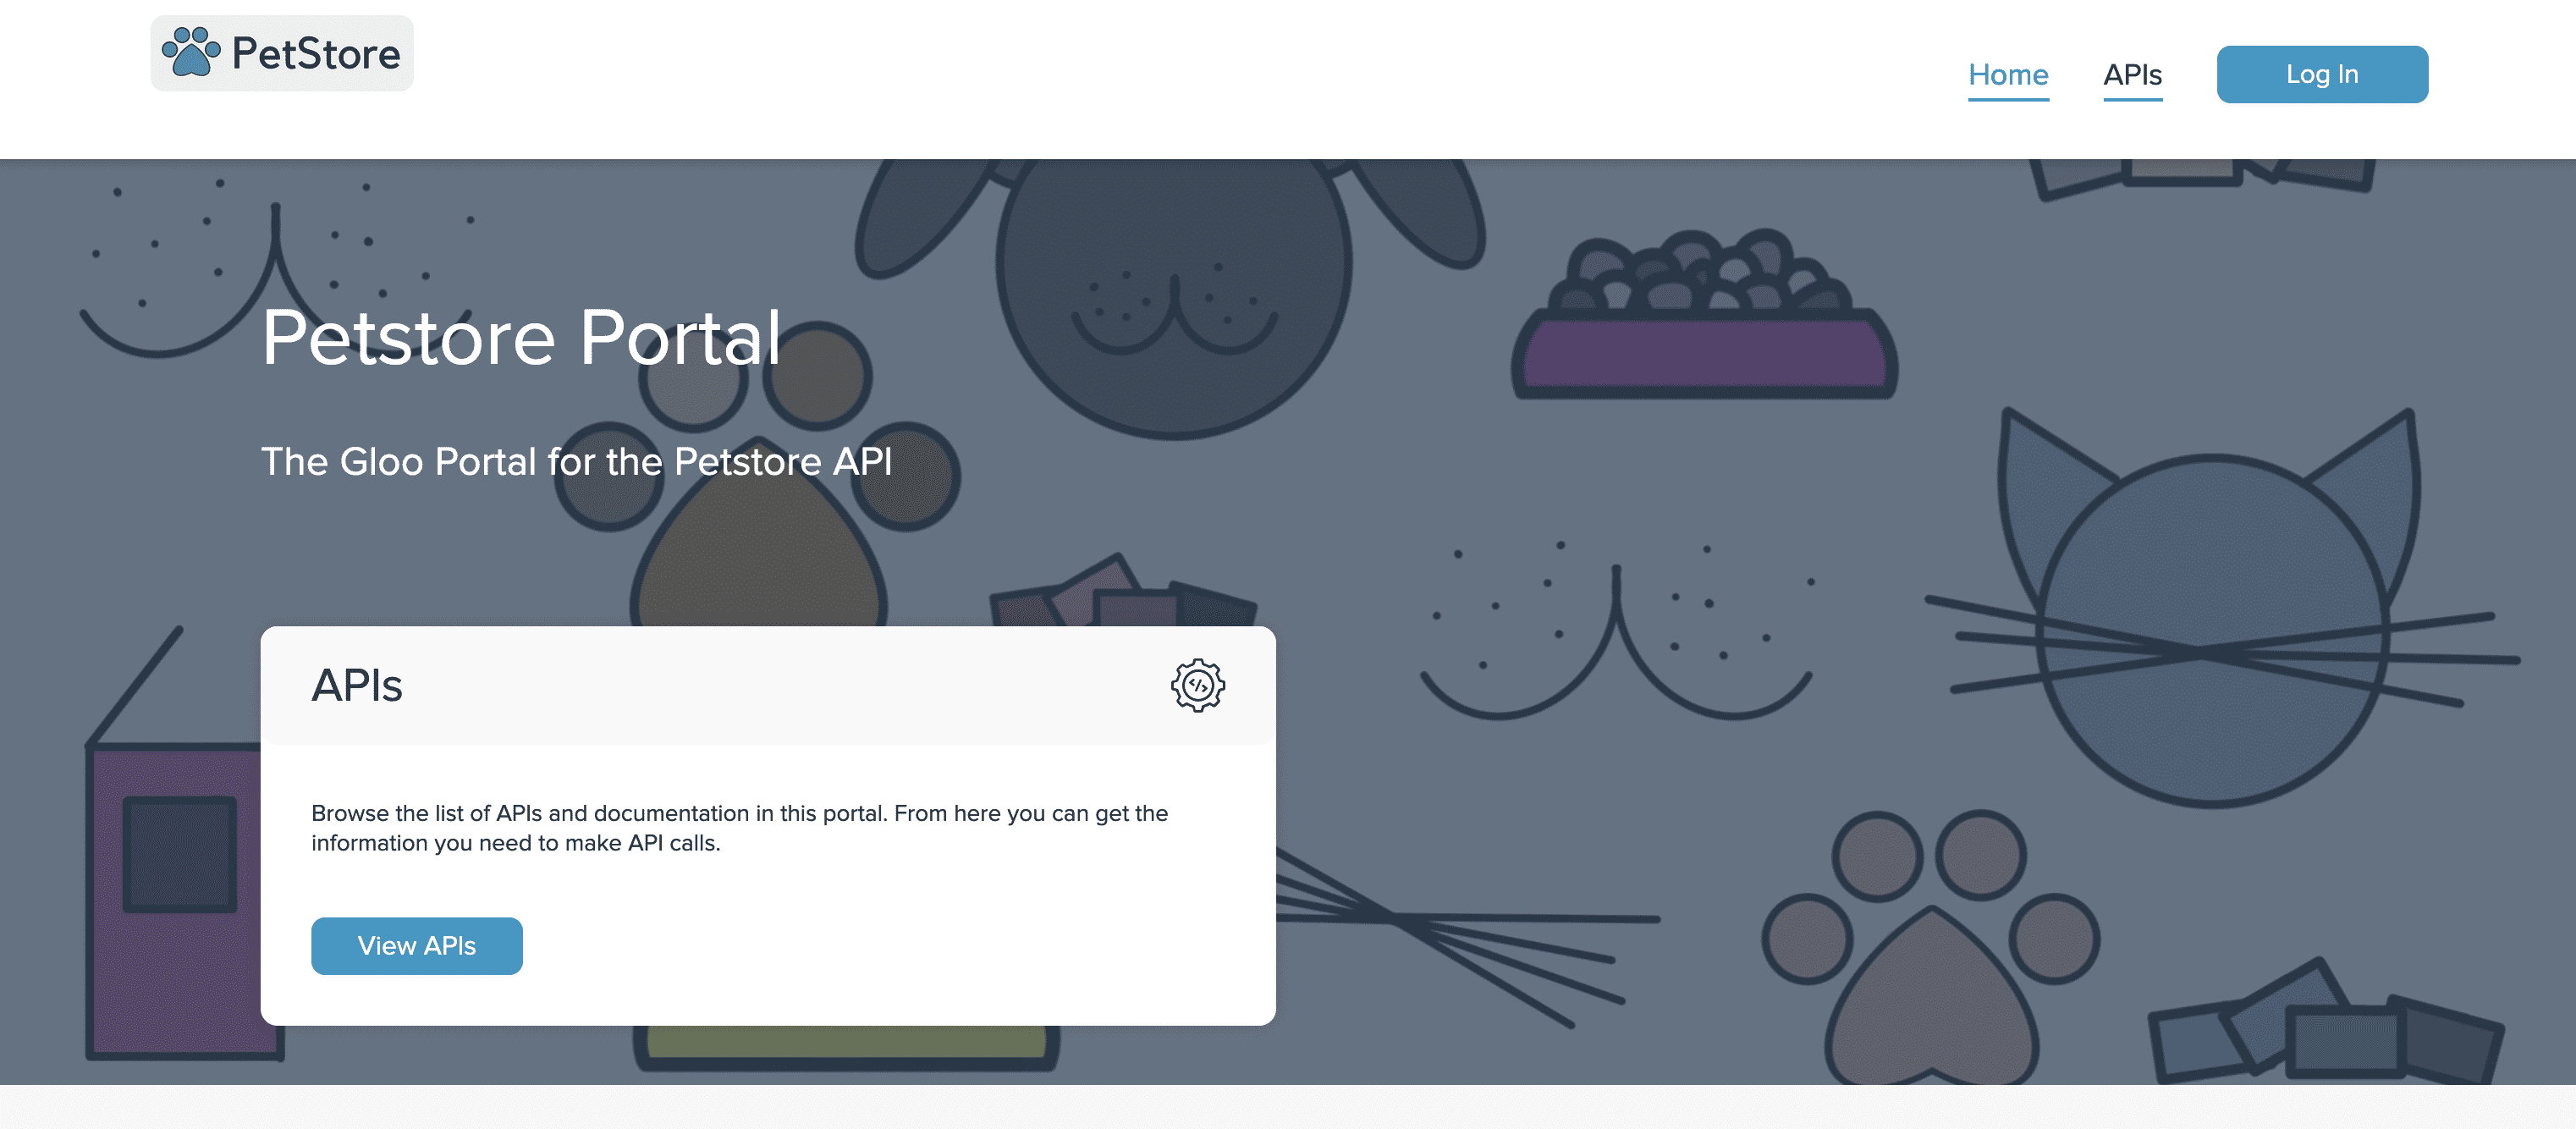
Now that DNS is set up for our domains, we should be able to access the portal directly in the browser at
http://petstore.example.com:${INGRESS_PORT}. Try typing this address into your browser with the correct INGRESS_PORT:
open $(echo http://petstore.example.com:${INGRESS_PORT})
Once the browser opens you should see a page that looks something like this.
The Portal UI is available without any authentication because we set the Portal's allApisPublicViewable field to true. To secure the portal you will need to create and assign users and groups to the site. More information can be found in our guide Adding Users to the Portal
Next steps
Continue on to part 3 of the Getting Started guide to see how you can customize Gloo Portal using the Admin UI.
The Getting Started guide has covered the workflow for only the most basic of use cases. More advanced features are accessible to Gloo Portal users including authentication, rate limiting, canary traffic routing, and more. Please see the guides section for guides on using more advanced features of Gloo Portal.
Questions
For any questions using the Gloo Portal, please visit the Solo.io slack channel at https://slack.solo.io.
If you'd like to report an issue or bug, please see the Gloo Portal Issues Repository on GitHub.