Create an API Environment
An Environment represents information about a set of domains that serve a set of API Product versions. Environments control route creation and route-level configuration (e.g. rate limits, user access), which will be exposed to ingress traffic as well as published on a Portal UI.
In this guide, you will create and configure an API Environment using the Admin Dashboard.
Pre-requisites
You will need to have Gloo Portal deployed on a Kubernetes cluster, and a connection to the Admin Dashboard as described in the Using the Admin Dashboard guide. You will also need an API Doc created through the Create an API Doc guide and an API Product version created through the Create an API Product guide.
Create an API Environment
We will start from the Overview page of Gloo Portal. First you will click on the APIs item in the navigation bar to manage API Docs, Products, Routes, and more.

The page should load on the API Environments category by default. Next click on the Create an API Environment button to start the process.

On the General page, you will fill out the basic fields for the API Environment.
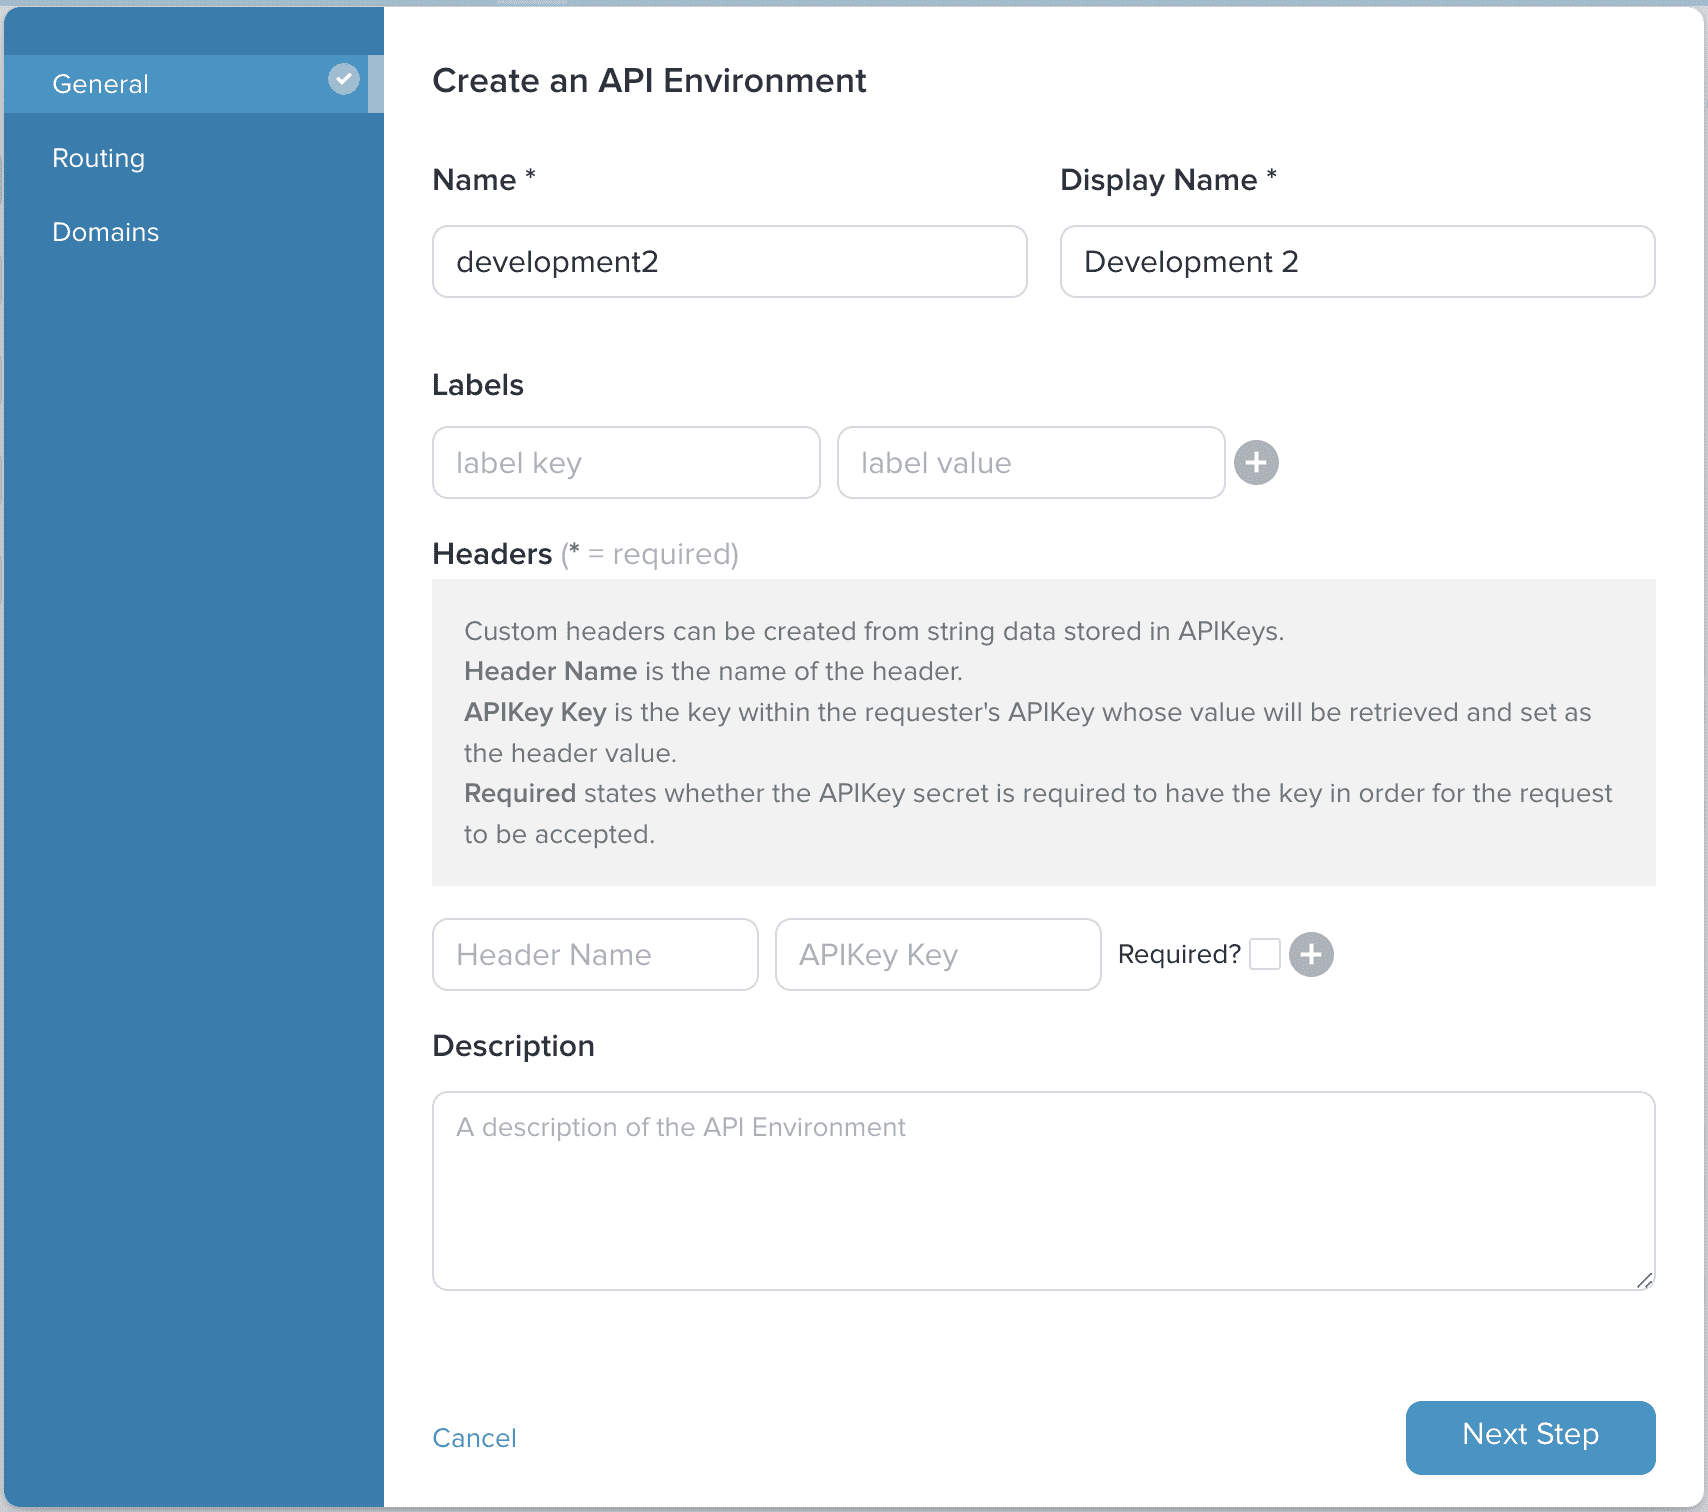
In our example we are going to use the following values:
- Name: development2
- Display Name: Development 2
Click on Next Step to move to the Routing page. Here you can configure the routing for the API Environment. For this guide, we will leave the default values.
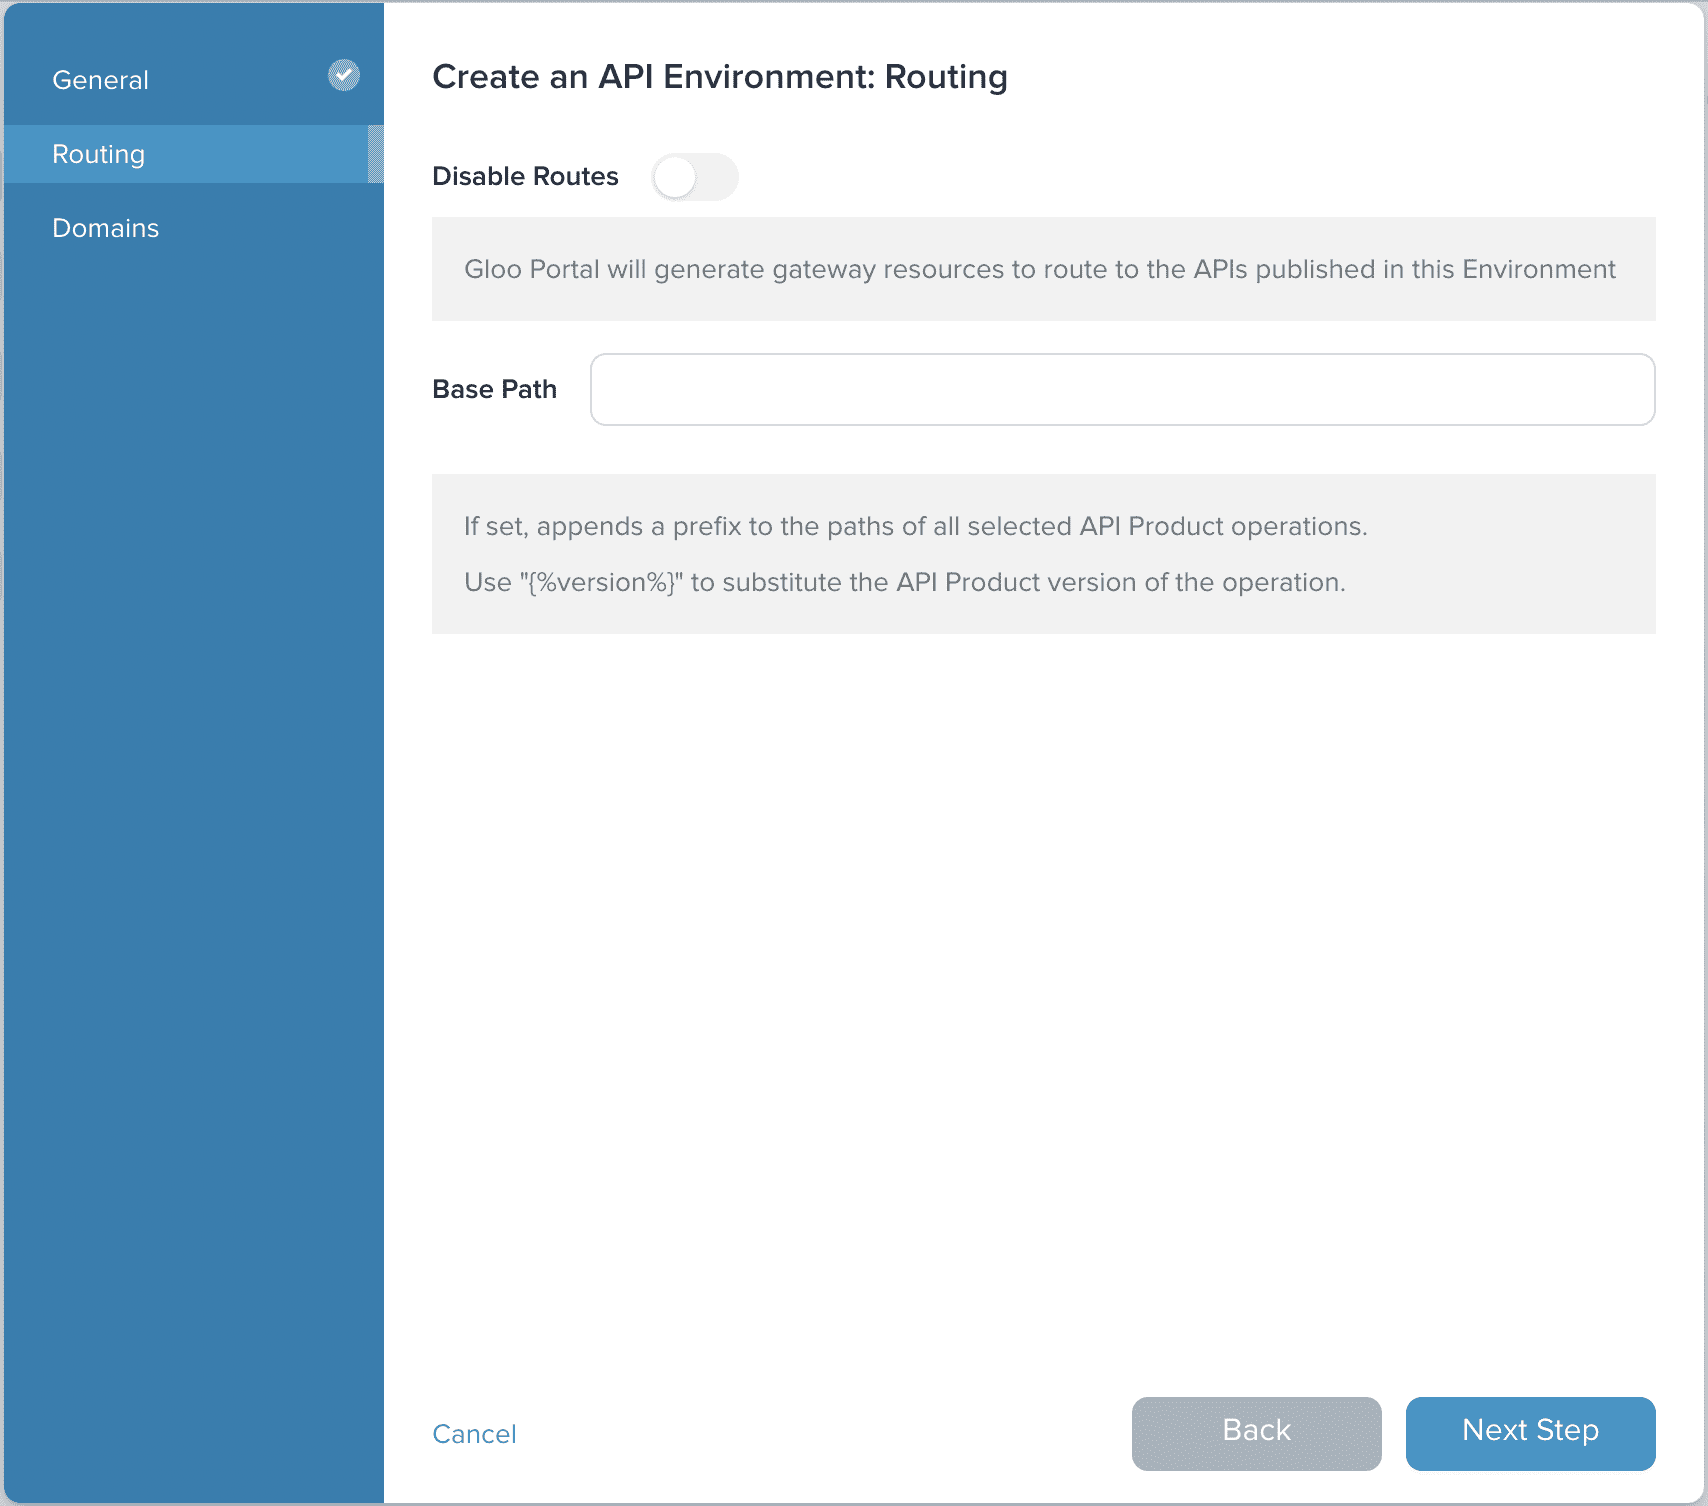
Then click on Next Step to move to the Domains page. These are the domains that will be used to access the API Environment.
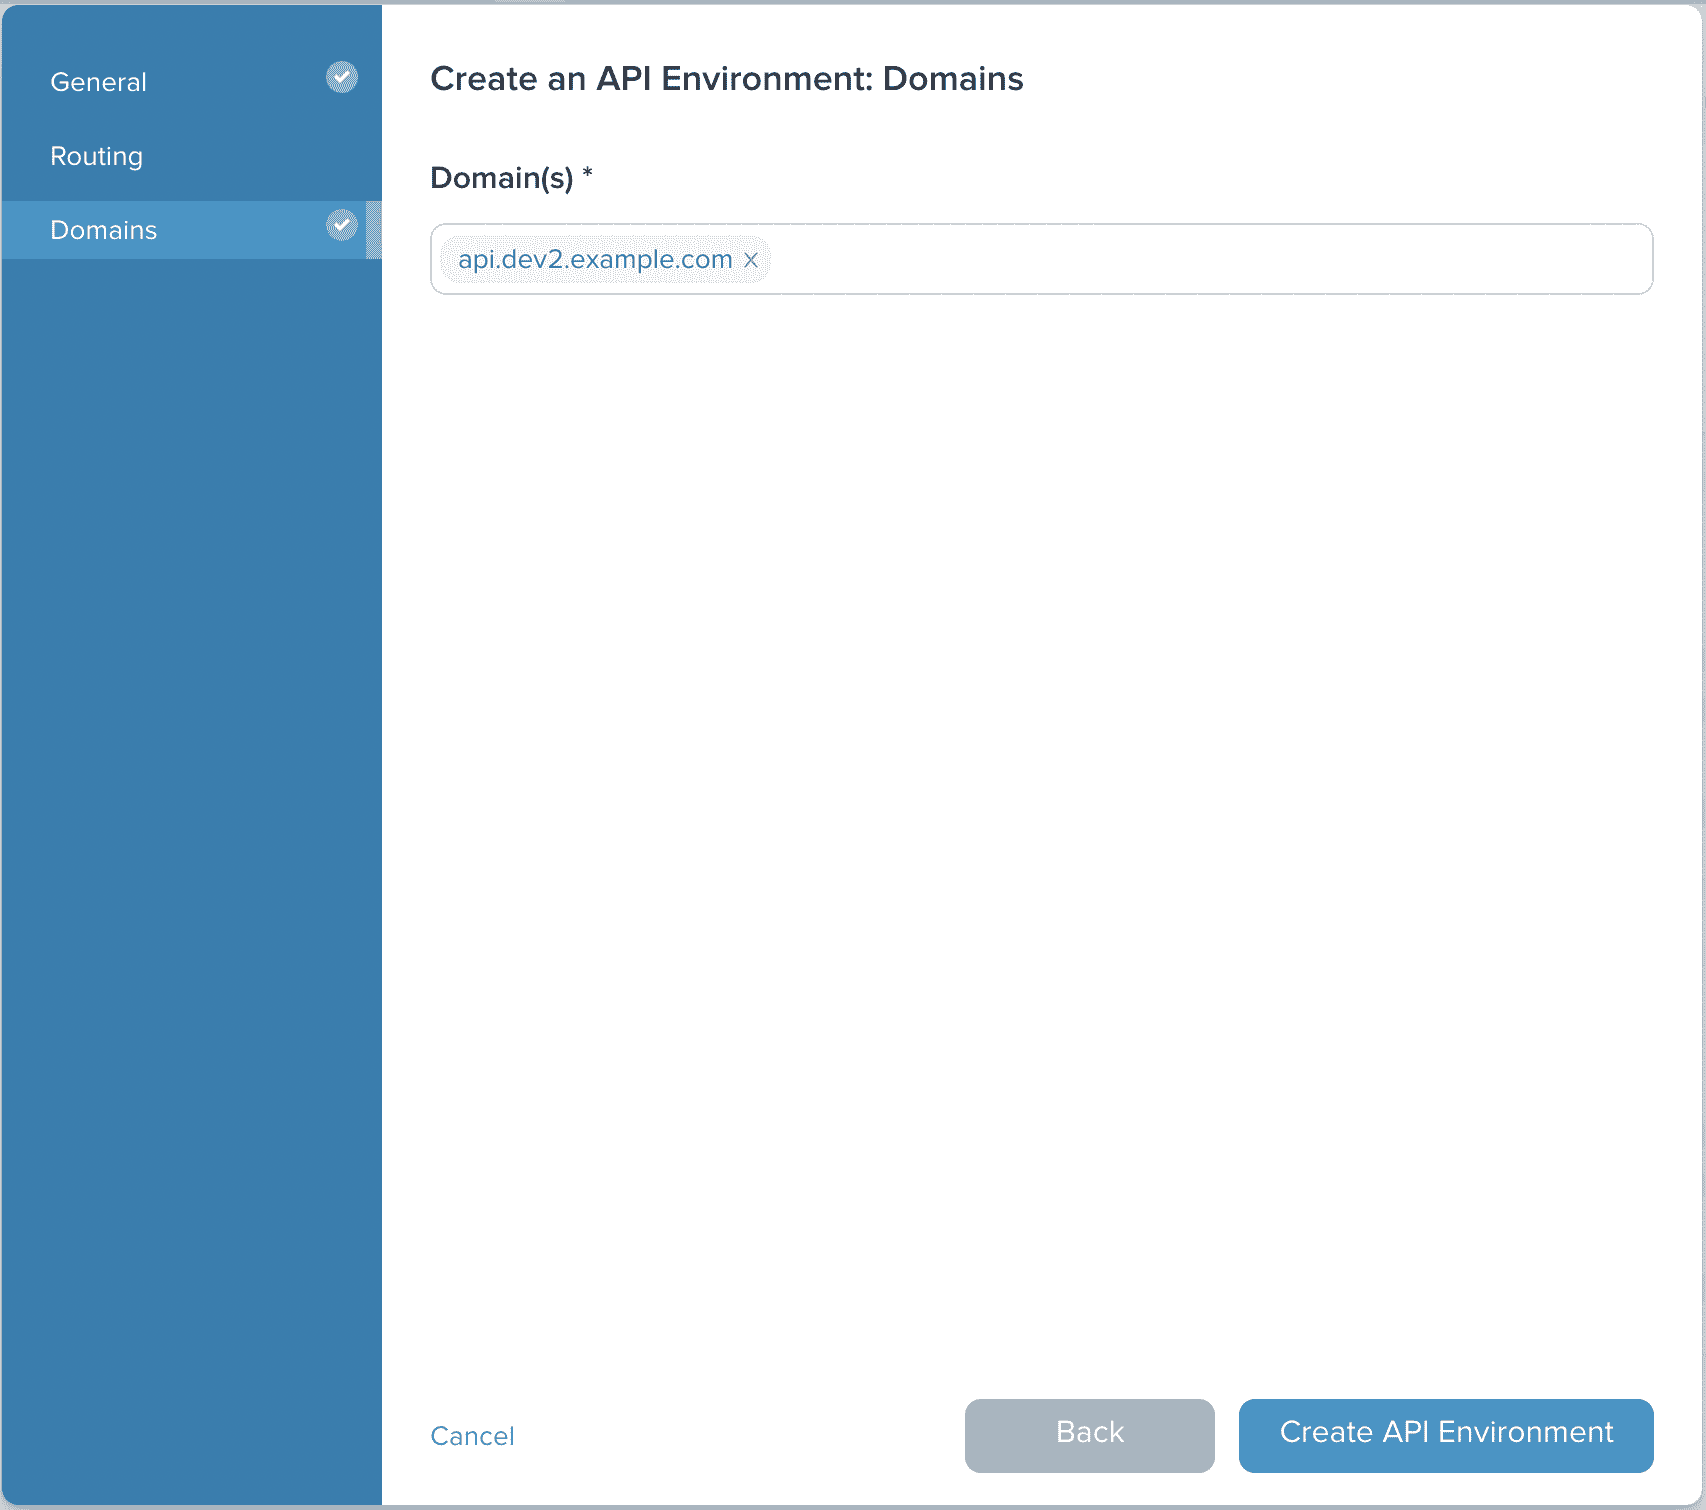
We will use the value api.dev2.example.com for our domain. Then click on Create API Environment to finish the creation process.
INGRESS_PORT is not 80, you will also need to add the port to the domain.
For example, if your INGRESS_PORT is 8080, you would add api.dev2.example.com:8080 to the domains.
Add API Products to the Environment
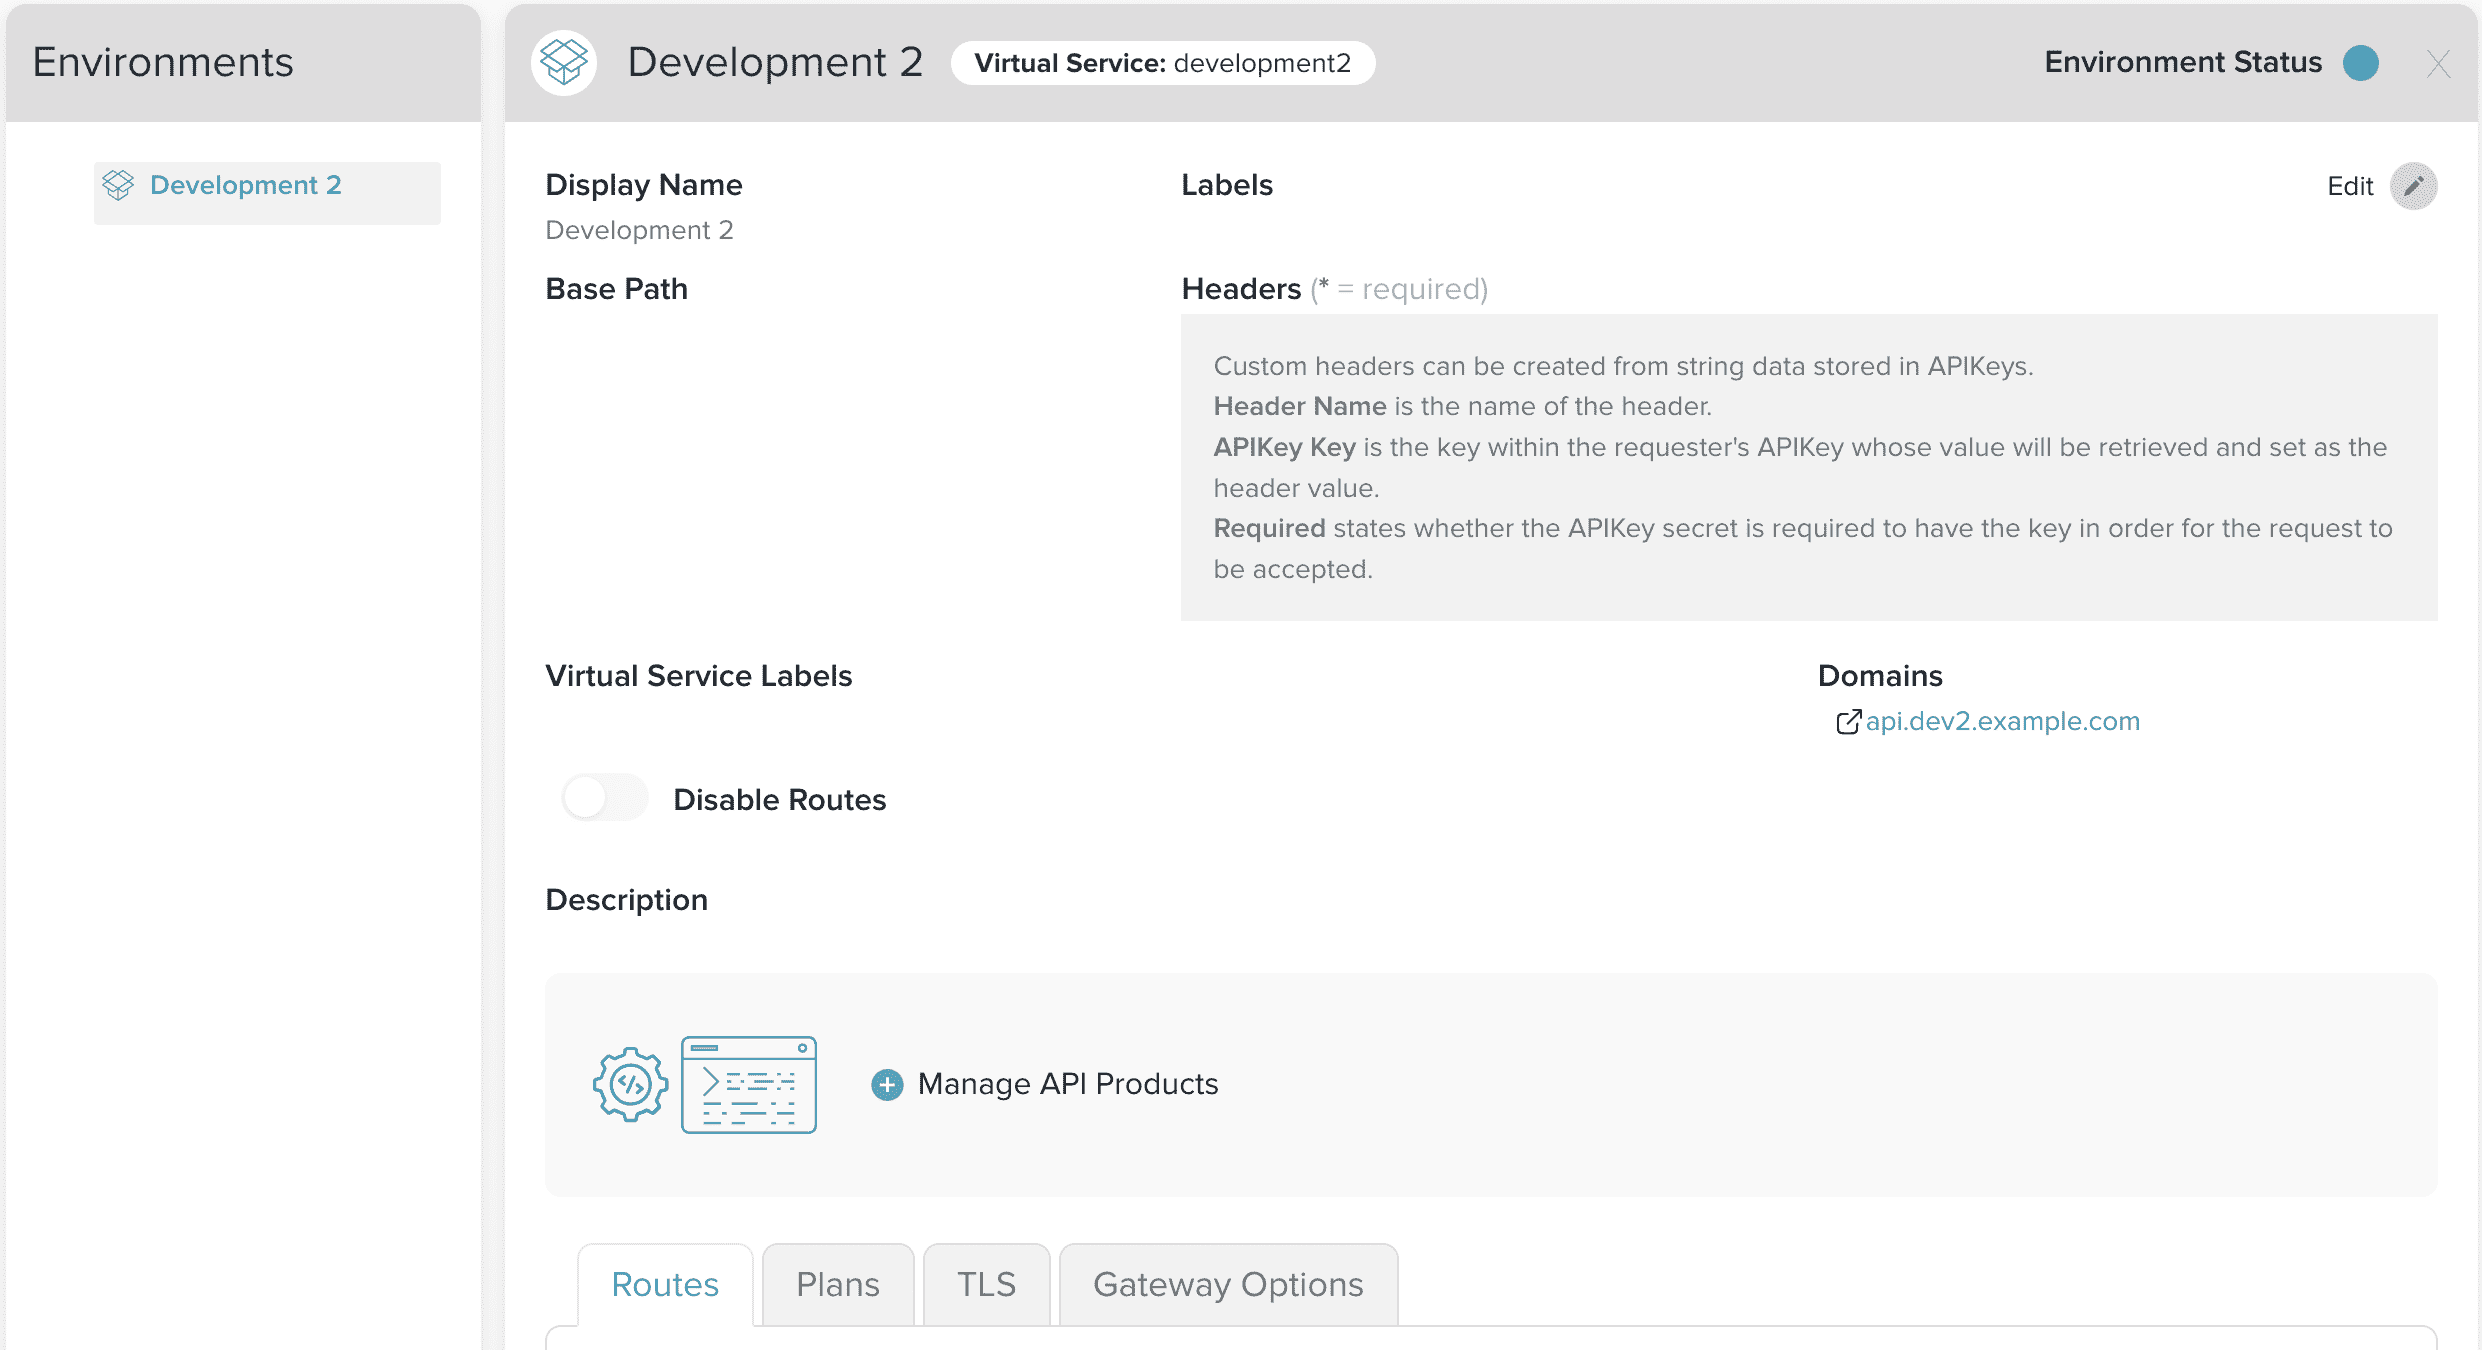
Now that we have an API Environment, we can add API Products. Starting from the API Environments general view, we can click on our Development 2 environment.
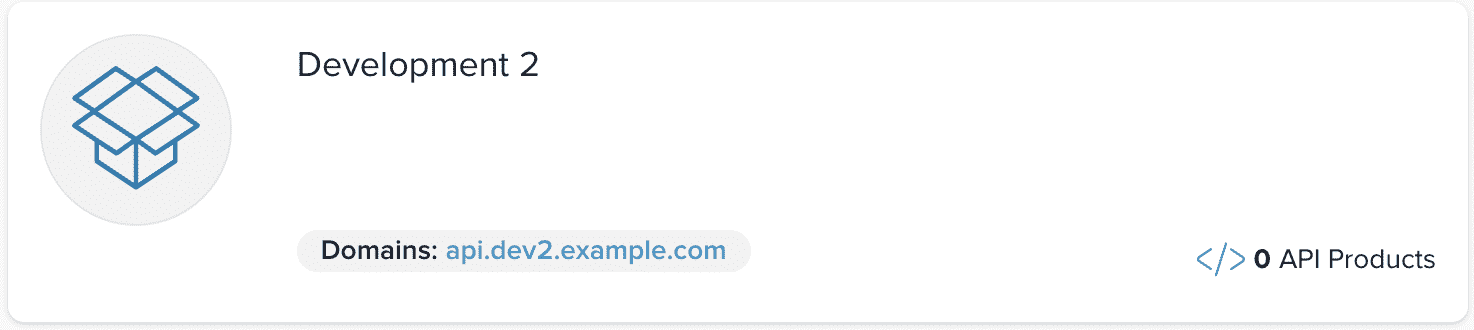
On the main view of the environment, we can see that there are no API Products associated with the environment. We will add an API Product by clicking on Manage API Products to begin the process.
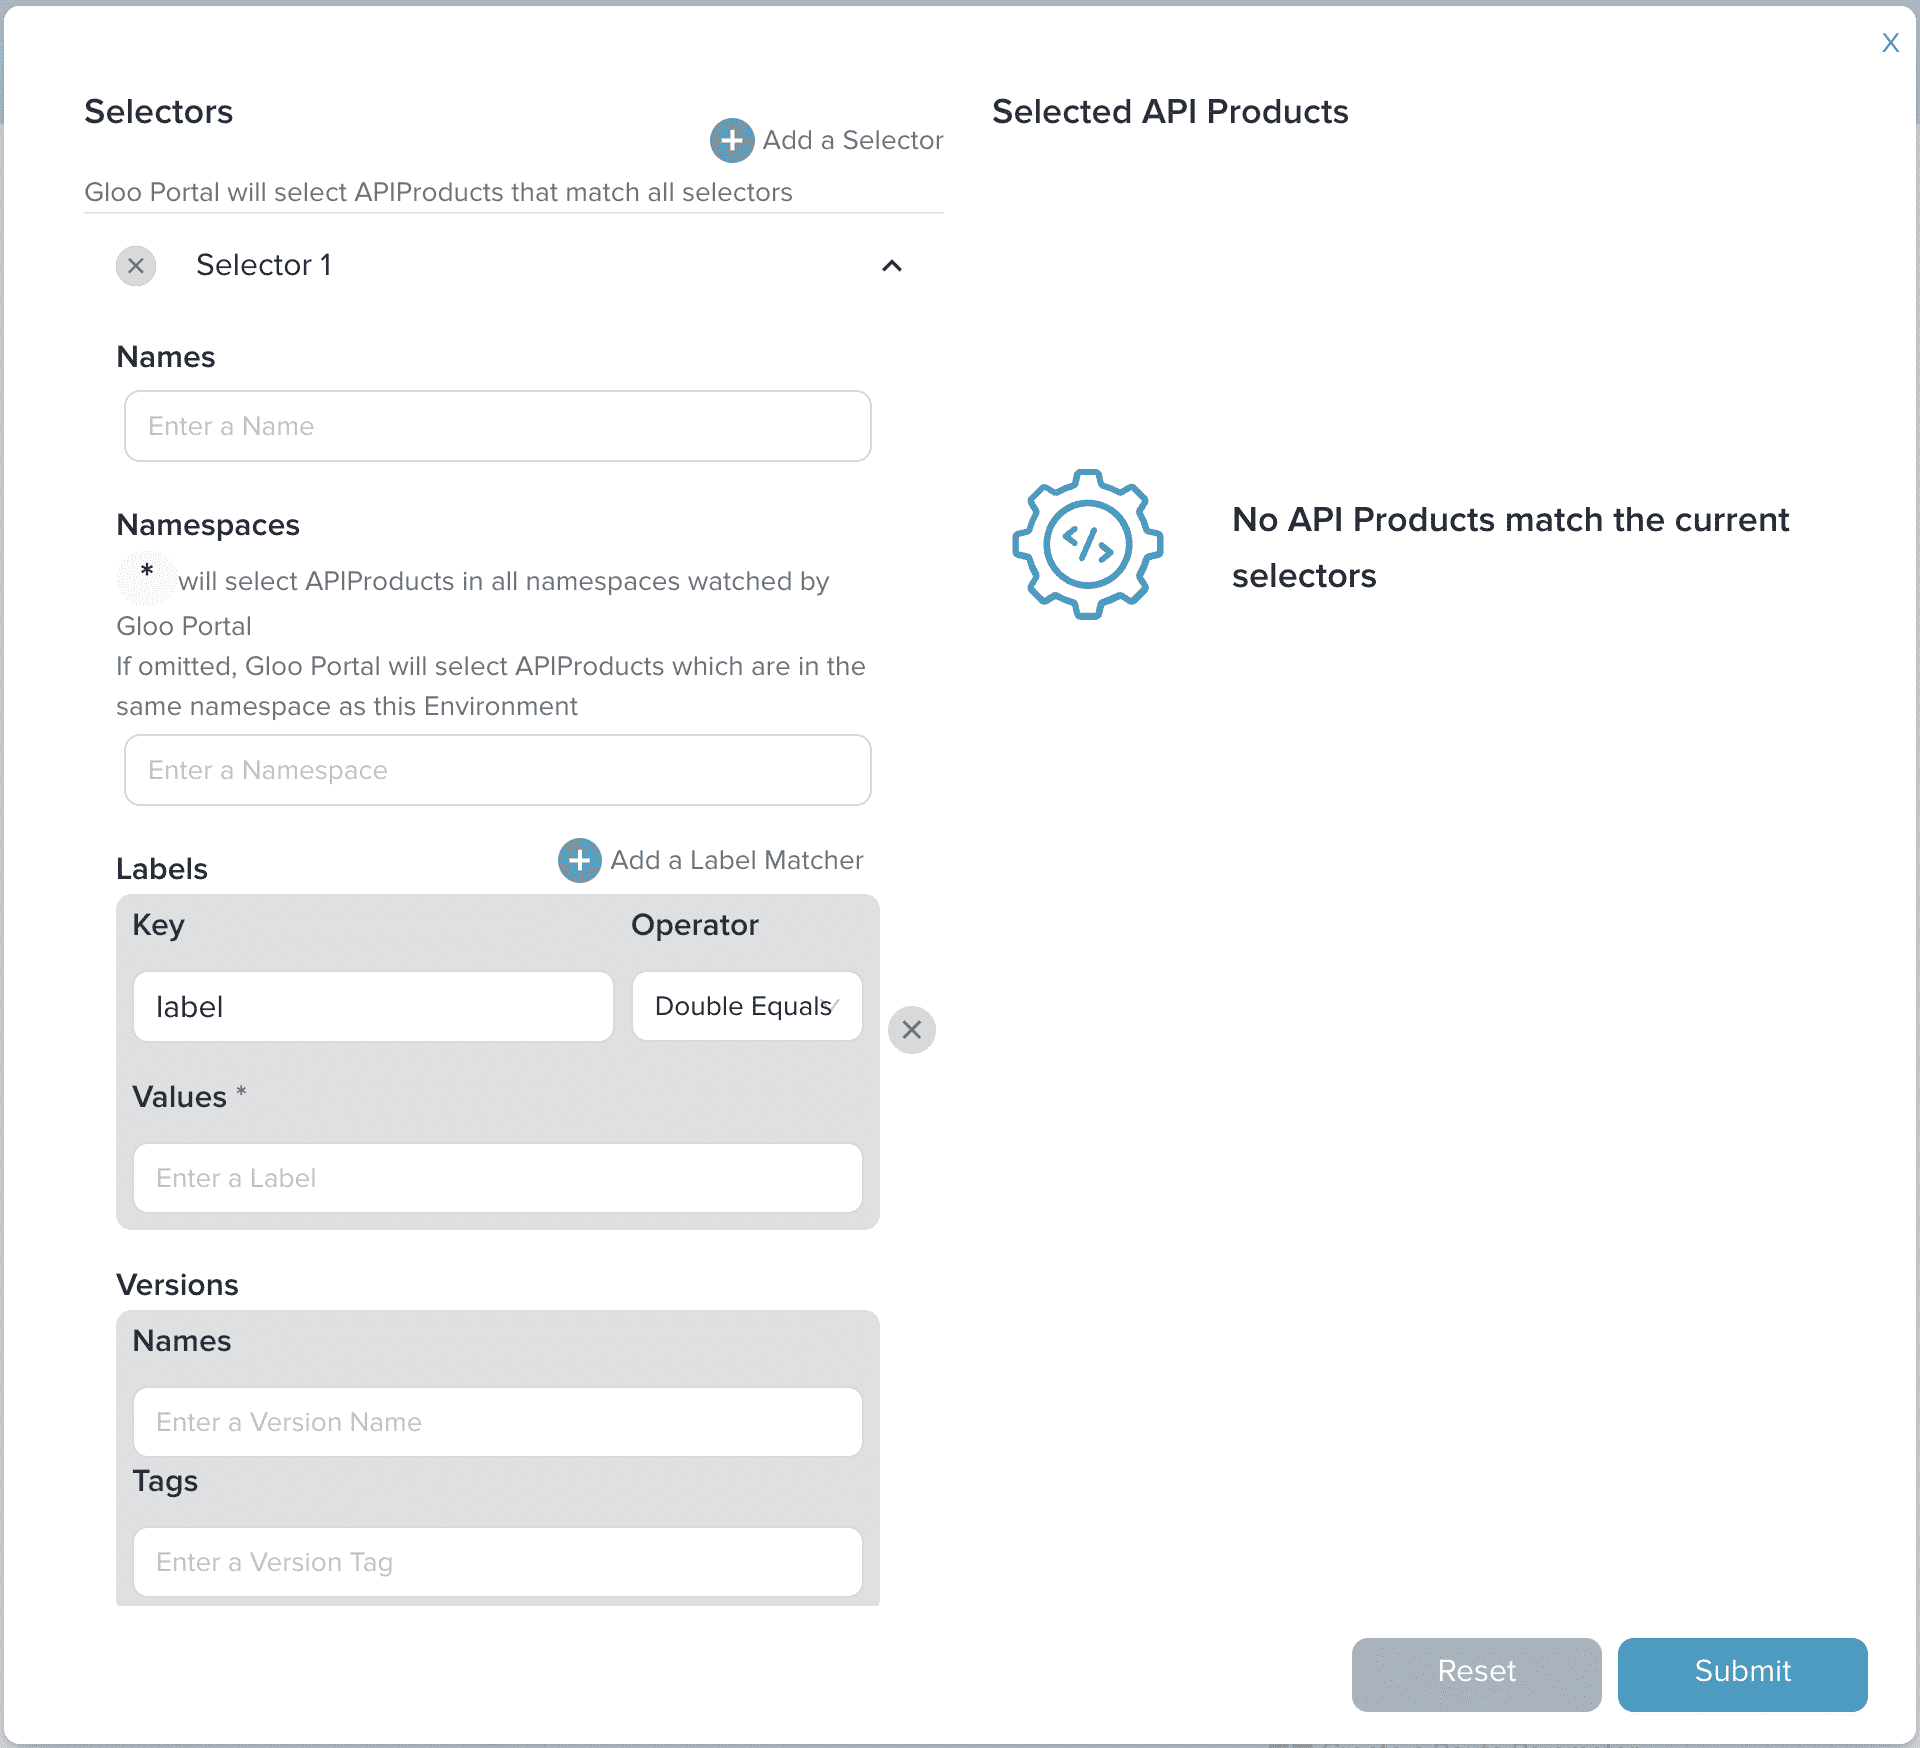
You will be presented with a modal that allows you to add API Products using selectors.
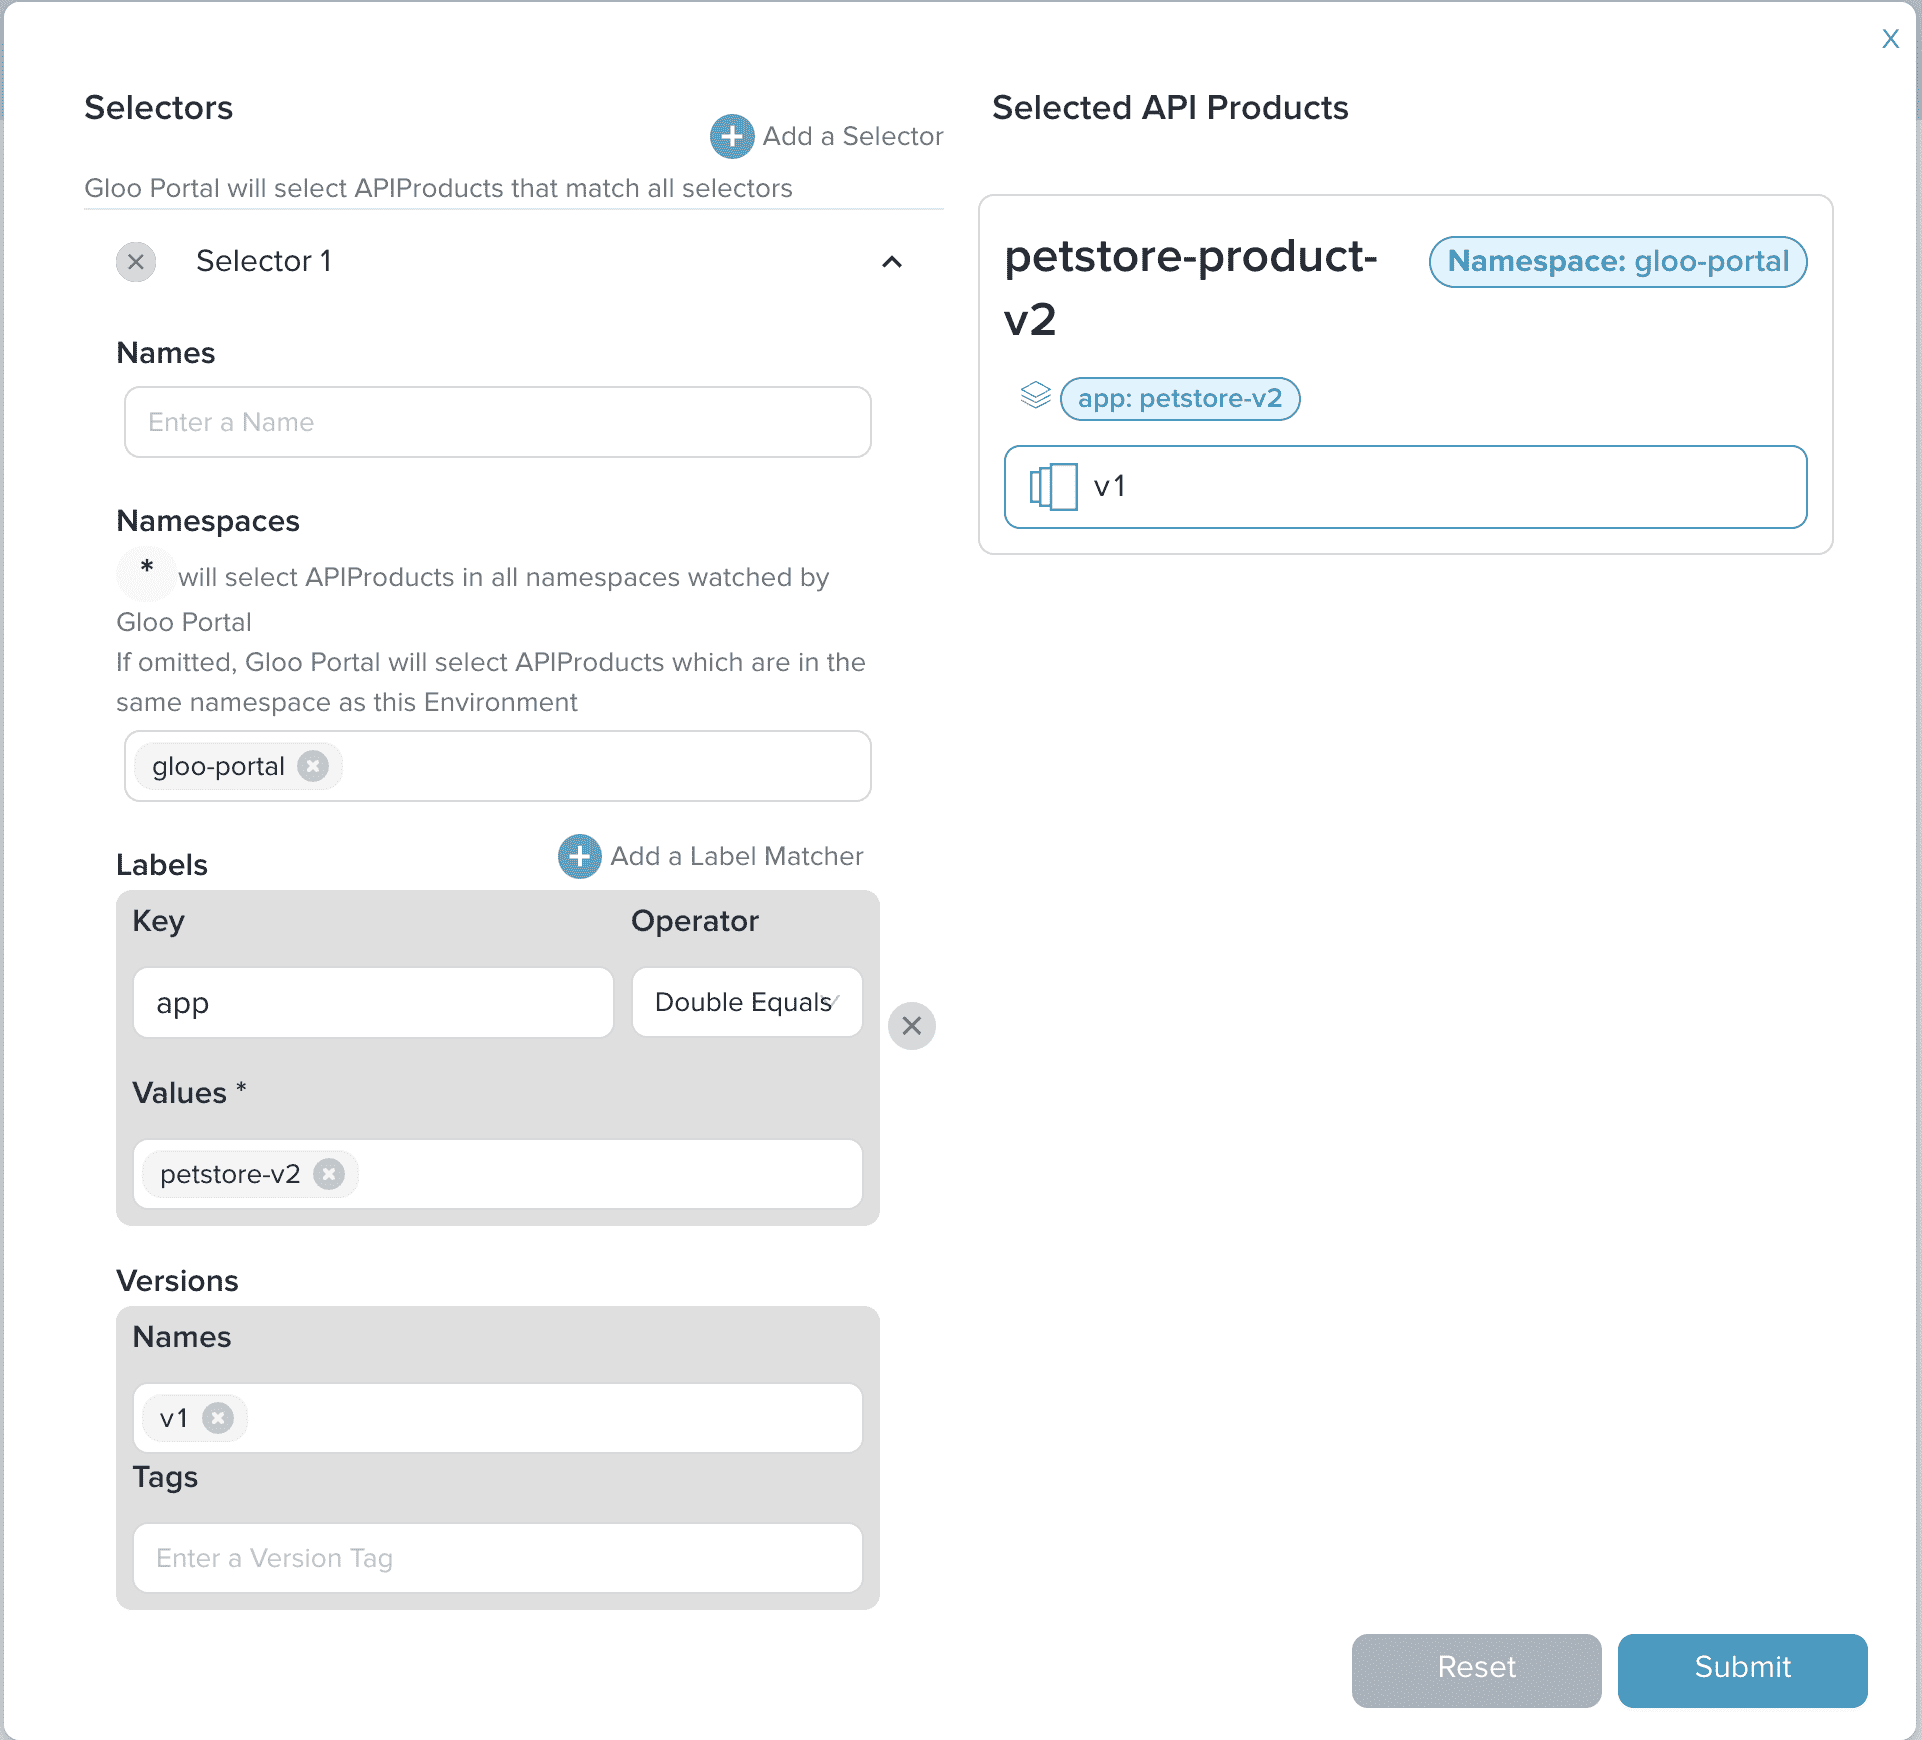
Since we want to add our petstore-product-v2 API Product, we will use the following values:
- Namespaces: gloo-portal
- Labels:
- Key: app
- Value: petstore-v2
- Versions:
- Names: v1
With the values set, the API Product will appear on the right side of the modal, under Selected API Products.
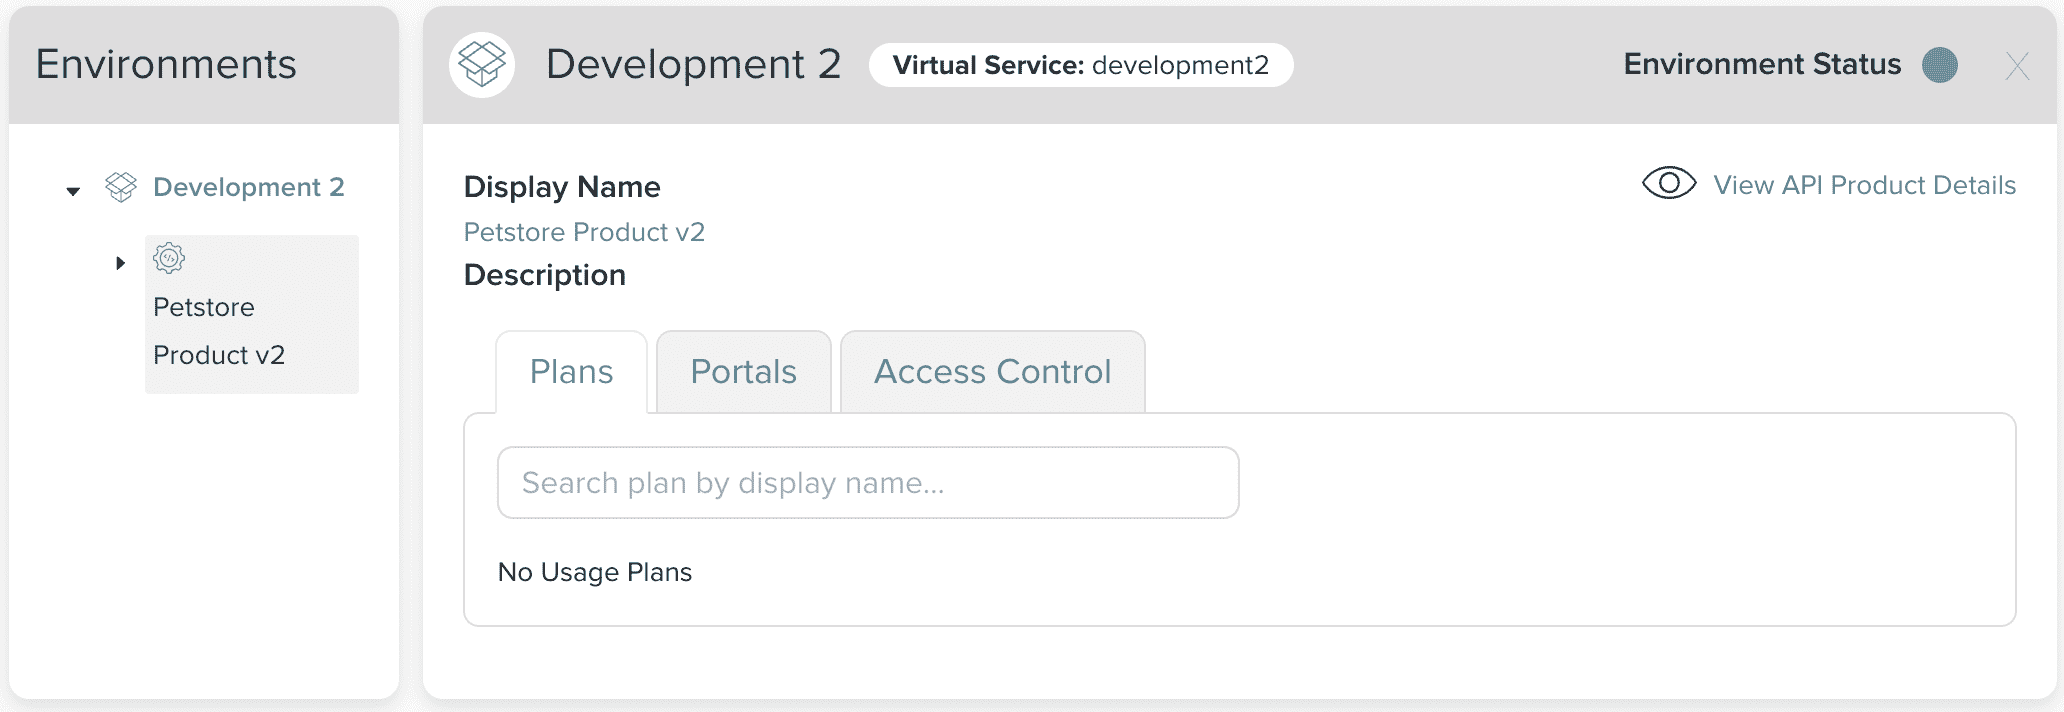
Then click on Submit to complete the process. The Petstore Product v2 is added to the environment. You can view the API Product by expanding the Development 2 listing on the left.
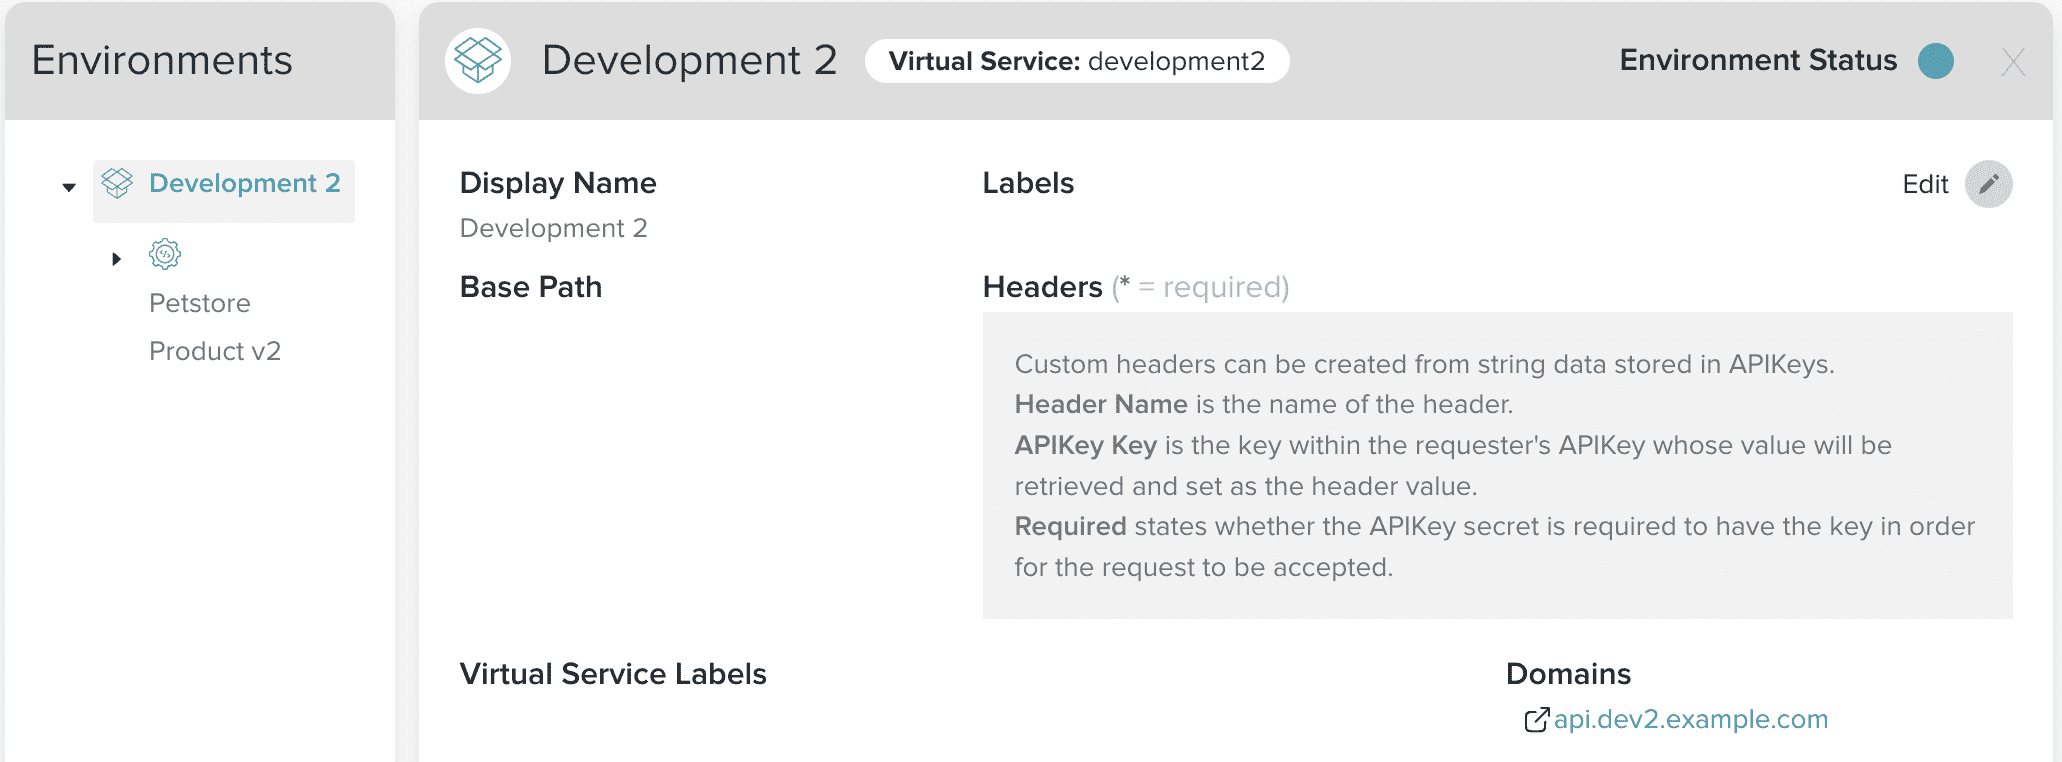
By clicking on Petstore Product v2, we can view more details about the API Product instance, including usage plans, portals, and access control.
We will update the usage plan and access control in a separate guide. At this point, we should be able to access our API Product using the domain api.dev2.example.com.
Test our API using cURL
Now that we have exposed our API Product through an Environment, we should be able to make client requests to the product APIs.
After making sure the INGRESS_HOST and INGRESS_PORT environment variables set
we can now try to call one of our published operations:
curl "http://${INGRESS_HOST}:${INGRESS_PORT}/api/pets" -H "Host: api.dev2.example.com"
We should see the output:
[{"id":1,"name":"Dog","status":"available"},{"id":2,"name":"Cat","status":"pending"}]
This means that the API Environment, API Products, and routing are configured correctly.
Using kubectl
If you wanted to create the same API Environment using kubectl you could do so by submitting a new Custom Resource.
cat << EOF | kubectl apply -f -
apiVersion: portal.gloo.solo.io/v1beta1
kind: Environment
metadata:
  name: development2
  namespace: gloo-portal
spec:
  domains:
  - api.dev2.example.com
  # If you are using Gloo Edge and the Gateway is listening on a port other than 80,
  # you need to include a domain in this format: <DOMAIN>:<PORT>.
  # In this example we expect the Gateway to listen on port 32000.
  - api.dev2.example.com:32000
  displayInfo:
    description: This environment is meant for developers to deploy and test their APIs.
    displayName: Development 2
  apiProducts:
  - names:
    - petstore-product-v2
    namespaces:
    - gloo-portal
    versions:
      names:
      - "1.0"
EOF
Next Steps
Now that you have successfully created an API Environment, there are a few options. You can create users and groups and grant them access to the Environment through a Usage Plan, or you can create a Portal UI and add the Environment to it.