OAuth
Require users to authenticate with an OpenID Connect provider for requests to your API products.
This guide includes steps for two common OIDC identity providers, Keycloak and Okta. For more information about this type of external auth, see OIDC and OAuth. You can adapt these steps for other providers.
You can also use the same OAuth policy for multiple API products. For example, you might want to let users authenticate once in the frontend portal.
Before you begin
Create your APIs, including the Gloo ApiDocs that describe the stitched schema.
Bundle your APIs into API products by using a route table.
Make sure that the external auth service is installed and running. If not, install the external auth service in your single or multicluster environment.
Get the labels of your routes to use to apply policies to, such as with the example query.
Example output:
- The
api-example-com-rtroute table does not have any route-level labels. To apply policies, you can add labels to those routes. - The
petstore-rtroute table has ausagePlans: dev-portallabel on itspets-api,users-api, andstore-apiroutes. - The
tracks-rtroute table has ausagePlans: dev-portallabel on itstracks-apiroute.
- The
Basic OAuth with Keycloak
Use Keycloak as the OIDC provider to enforce external auth policies.
Step 1: Install Keycloak
You might want to test how to restrict access to your applications to authenticated users, such as with external auth or JWT policies. You can install Keycloak in your cluster as an OpenID Connect (OIDC) provider.
The following steps install Keycloak in your cluster, and configure two user credentials as follows.
- Username:
user1, password:password, email:user1@example.com - Username:
user2, password:password, email:user2@solo.io
Install and configure Keycloak:
Create a namespace for your Keycloak deployment.
Create the Keycloak deployment.
Wait for the Keycloak rollout to finish.
Set the Keycloak endpoint details from the load balancer service.
Set the Keycloak admin token. If you see a parsing error, try running the
curlcommand by itself. You might notice that your internet provider or network rules are blocking the requests. If so, you can update your security settings or change the network so that the request can be processed.Use the admin token to configure Keycloak with the two users for testing purposes. If you get a
401 Unauthorizederror, run the previous command and try again.Open the Keycloak frontend.
Log in to the admin console, and enter
adminas the username andadminas your password.In the Keycloak admin console, go to Users, and verify that the users that created earlier are displayed. You might need to click on View all users to see them.
In the Keycloak admin console, go to Clients, and verify that you can see a client ID that equals the output of
$KEYCLOAK_CLIENT.
Step 2: Configure Keycloak
Now that you installed Keycloak and set up clients to use, configure Keycloak for certain OAuth use cases. The following instructions assume that you are still logged into the Administration Console from the previous step.
You might integrate OIDC with your apps. In such cases, you might need particular details from the OIDC provider to fully set up your apps. To use Keycloak for OAuth protection of these apps, you need certain settings and information from Keycloak.
For authorization code OAuth: Confirm that you have the following environmental variables set. If not, refer to Step 1: Install Keycloak section.
If you plan to use access token validation: Get a JWKS URI to use for an inline OAuth policy.
- From the sidebar menu options, click Realm Settings.
- From the General tab, scroll down to the Endpoints section and open the OpenID Endpoint Configuration link. In a new tab, your browser opens to a URL similar to
http://$KEYCLOAK_URL:8080/realms/master/.well-known/openid-configuration. - In the OpenID configuration, search for the
token_endpointfield. Save the value as an environment variable, such as the following example. - In the OpenID configuration, search for the
jwks_urifield, and copy this value, similar tohttp://$KEYCLOAK_URL:8080/realms/master/protocol/openid-connect/certs. - In a new browser tab, open the
jwks_urithat you previously copied. - From the opened
jwks_uri, copy and save the entire value of the keys as an environment variable.
If you plan to use the developer portal: Configure your Keycloak client with the appropriate settings for the developer portal frontend authentication.
- From the Keycloak sidebar menu options, click Clients.
- Click the Client ID that matches the
$KEYCLOAK_CLIENTthat you previously set. - From the client Settings tab, find the Access settings and update the following fields.
- Valid redirect URIs field with
*wildcard or the domain that you want to use for redirects. - Valid post logout redirect URIs field with
*wildcard or the domain that you want to use for logout redirects. - Web origins field with
*wildcard to allow all origins.
- Valid redirect URIs field with
- Scroll down to the Capability config section and update the following sections:
- Toggle the Client authentication setting to
Offto enable public access. - In the Authentication flow section, enable the Standard flow and Direct access grants options.
- Toggle the Client authentication setting to
- At the bottom of the form, click Save. The
Client successfully updatedmessage pops up to confirm your settings are saved. - From the client Advanced tab, find the Advanced settings. Set the Proof Key for Code Exchange Code Challenge Method dropdown to
S256. For more information on PKCE, refer to RFC 7636. - Scroll down and click Save. The
Client successfully updatedmessage pops up to confirm your settings are saved.
If you plan to use the developer portal: Get the OIDC endpoint details.
- From the Keycloak sidebar menu options, click Realm Settings.
- From the General tab, scroll down to the Endpoints section and open the OpenID Endpoint Configuration link. In a new tab, your browser opens to a URL similar to
http://$KEYCLOAK_URL:8080/realms/master/.well-known/openid-configuration - In the OpenID configuration, search for the
token_endpointfield. Save the value as an environment variable, such as the following example. - In the OpenID configuration, search for the
authorization_endpointfield. Save the value as an environment variable, such as the following example. - In the OpenID configuration, search for the
end_session_endpointfield. Save the value as an environment variable, such as the following example.
Step 3: Create the external auth server
Create resources that you need for external auth, such as a Gloo external auth server and route table with a label that you can use to apply policies.
You can do the following steps in a different order, depending on when you want the policy to take effect. For example, you might want the policy to always take effect as soon as the route is created. To do so, you can create the policy before you add the route to the route table.
- Create a Kubernetes secret with the Keycloak OIDC secret.
- Create an external auth server to use for your policy. The example uses the default external auth server that you created when you installed Gloo Platform.
Step 4: Create an OAuth policy with access token validation
Create an external auth policy that uses access token validation. The following example YAML uses JWT validation and an inline JWKS server to provide the JWT.
- For more access token validation options, see the API reference docs for
AccessTokenValidation. - For more information about JWTs, see the JWT policy guide.
- Is your JWT in a custom header? By default, the JWT token is expected in the
Authorization: Bearer <token>header format. If you use a different header, apply a transformation policy. - For more JWT options such as to fetch the token from a remote JWKS instead of an inline JWKS, see the API reference docs for
JwtValidation.
| Setting | Description |
|---|---|
applyToRoutes | Use labels to configure which routes to apply the policy to. This example label matches the app and route from the example route table that you apply separately. If omitted and you do not have another selector such as applyToDestinations, the policy applies to all routes in the workspace. |
server | The external auth server to use for the policy. |
oauth2 | Configure the OAuth 2.0 protocol details to use to authenticate requests. The example uses Keycloak as the external identity provider and access token with JWT validation. |
inlineString | Replace $KEYCLOAK_CERT_KEYS with the value from your Keycloak OIDC provider at $KEYCLOAK_URL/realms/master/protocol/openid-connect/certs. For steps to retrieve this value, refer to the previous section about installing Keycloak. |
Basic OAuth with Okta
Use Okta as the OIDC provider to enforce external auth policies.
Step 1: Set up an Okta OIDC app
Configure an Okta OIDC app to get the information that you need to create external auth policies to secure your resources.
Open the Okta dashboard. If you don’t have an Okta account that you can use, sign up for an Okta developer account.
From the Applications menu, click Applications > Create New App. Note that you might see a Create App Integration button instead.
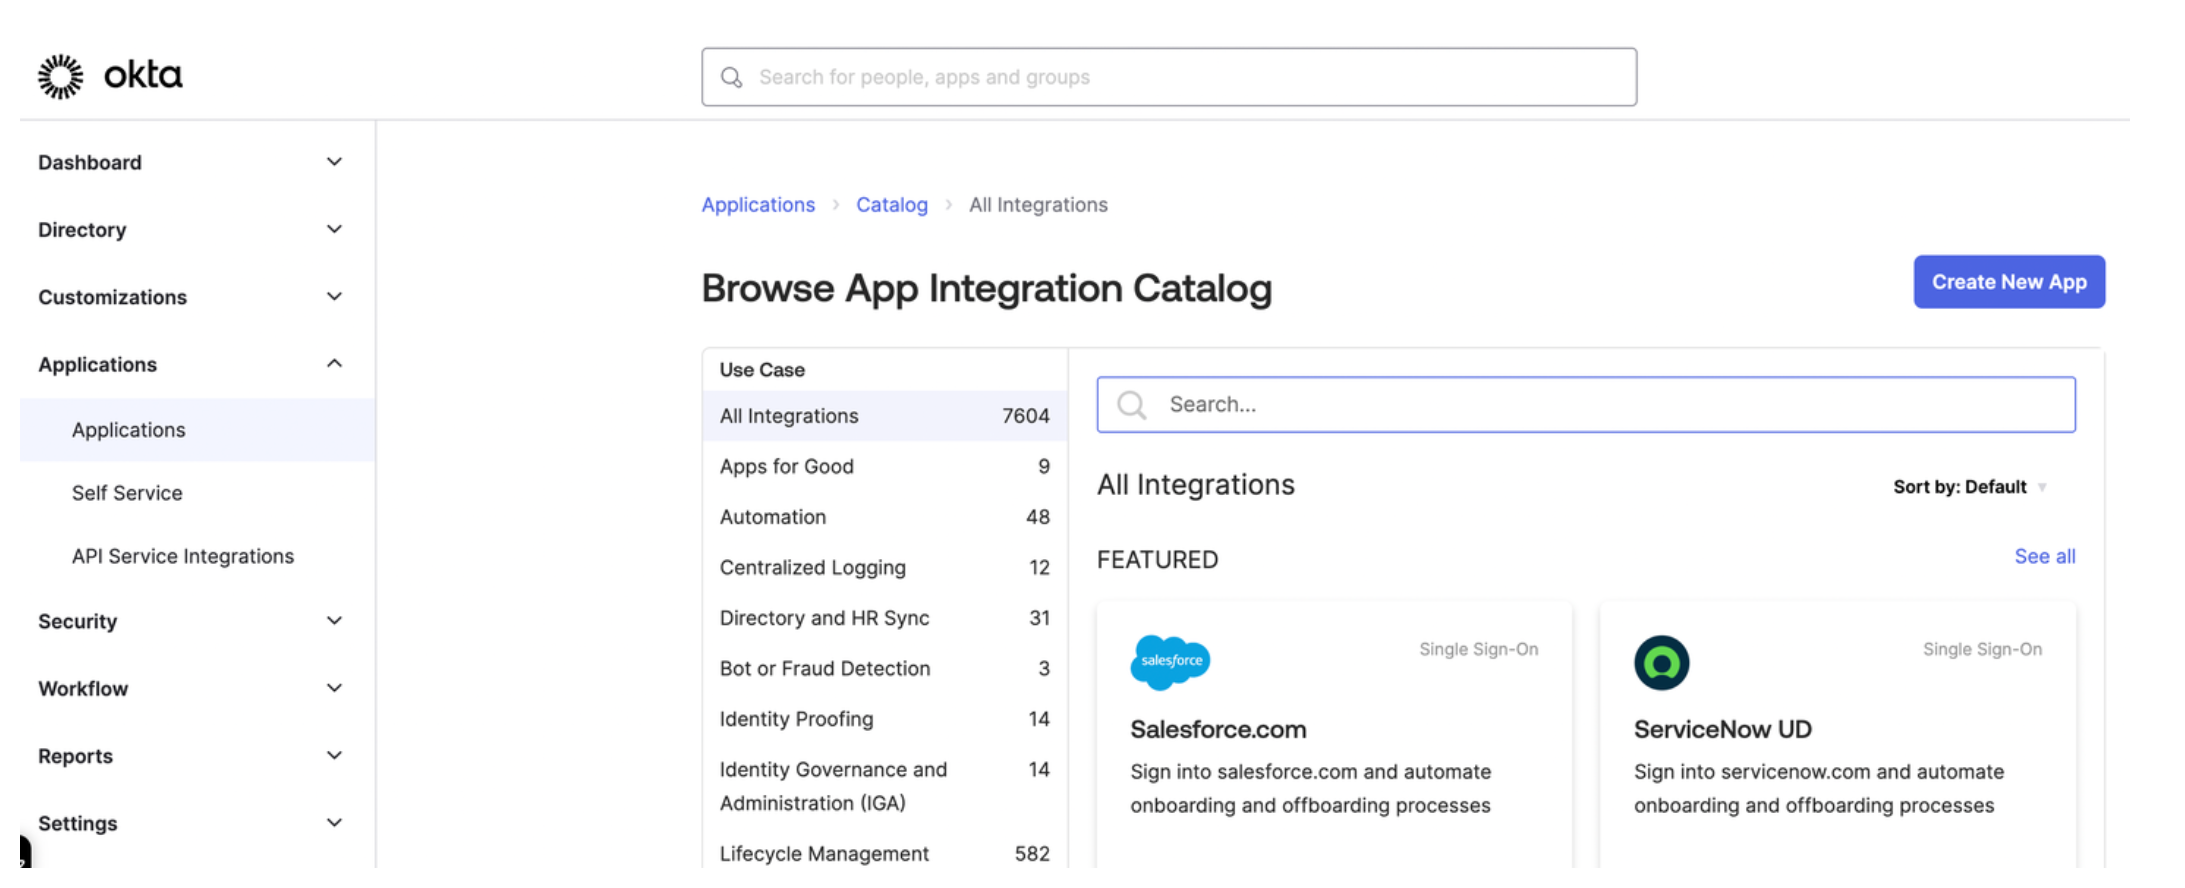
Figure: Okta application dashboard Figure: Okta application dashboard Select OIDC - OpenID Connect as the sign-in method for your app and Single-Page Application as your application type. Then, click Next.
Enter a name for your app and optionally upload a logo.
For Grant type, check both Authorization Code and Refresh Token.
For Sign-in redirect URIs, enter the location from which you want to allow users to log in. The URL is composed of hostname that you set up for your Portal resources and the
/callbackpath. For example, for the developer portal frontend app, you might enter:https://developer.example.comto let a user log in from the secured home page.- React starter app:
https://developer.example.com/apisto let a user log in from the APIs page. - Backstage frontend plug-in:
https://developer.example.com/gloo-platform-portalto let a user log in from the Gloo Portal Backstage plug-in page. https://developer.example.com/callbackfor the callback path.
For the Sign-out redirect URIs, enter the location to redirect the user after logging out, such as the following examples:
- React starter app:
https://developer.example.com/logout. - Backstage frontend plug-in:
https://developer.example.com/gloo-platform-portal/logout
- React starter app:
From the Assignments section, select Allow everyone in your organization to access. This way, you do not need to assign a user or group to this app. Instead, you can use your Okta developer account credentials to test the Okta authentication flow.
Click Save to save your changes. You are redirected to the Okta app details page.
From the General tab on the Okta app details page, note the Client ID.
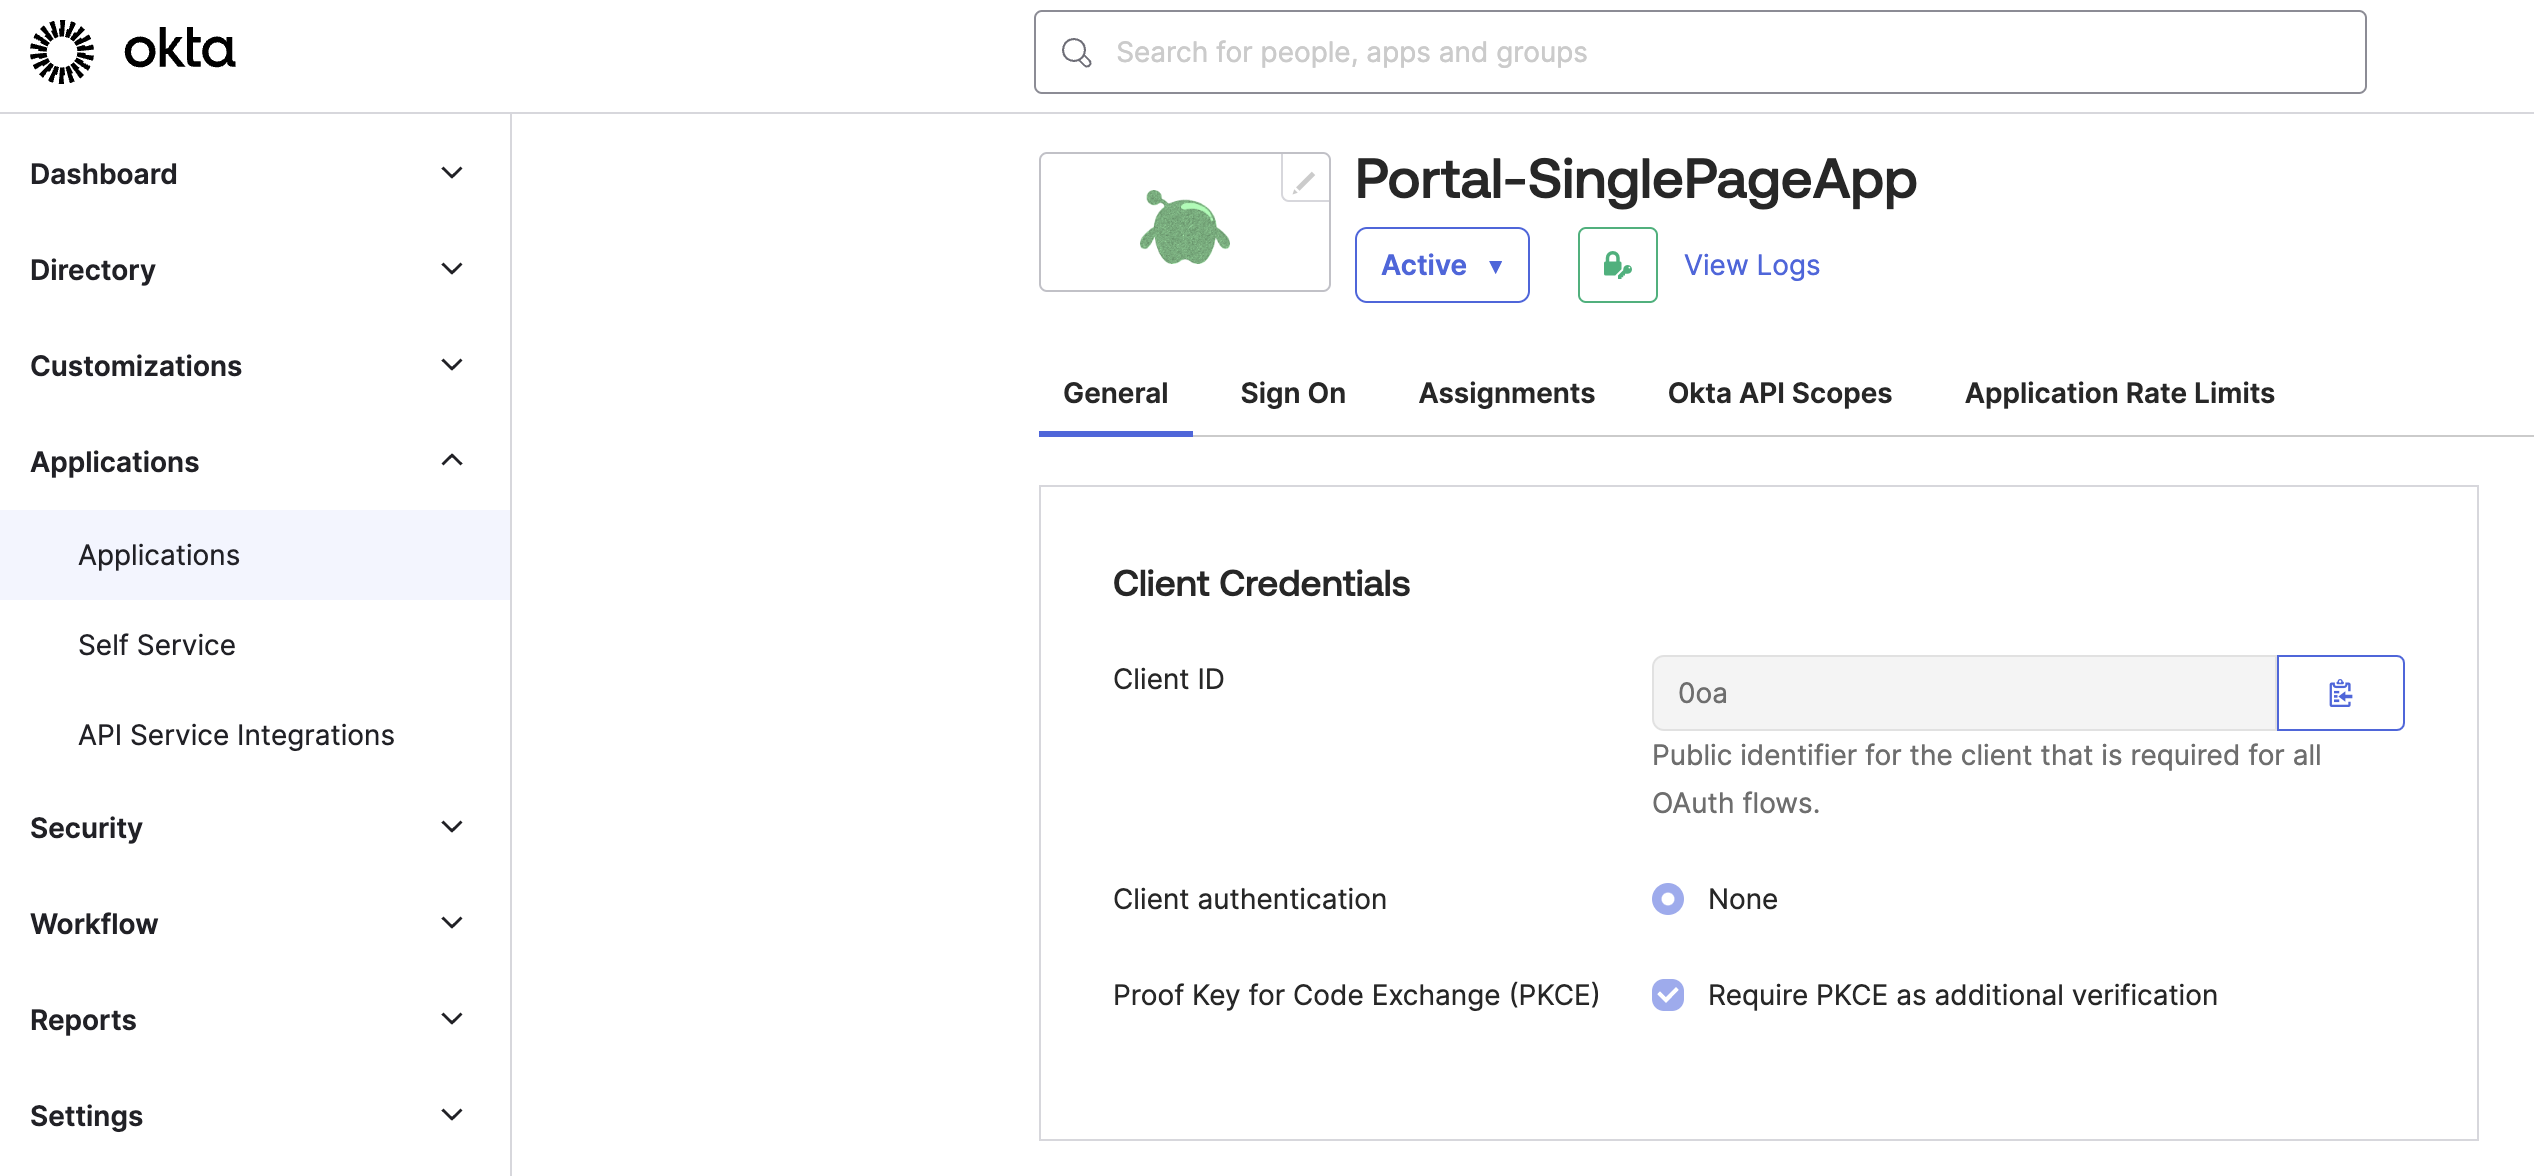
Figure: Okta General tab Figure: Okta General tab Store the Client ID as an environment variable.
Step 2: Configure other Okta account details
Configure other Okta account details, such as the claims that you want to include in the access token.
From the navigation menu, click Security > API.
Click the Authorization Server that you want to use, such as
default.From the Settings tab, click the Metadata URI. In a new tab, your browser opens to a URL similar to
https://dev-1234567.okta.com/oauth2/default/.well-known/oauth-authorization-server.From the metadata URI, search for and save the endpoints that you need as environment variables.
The
token_endpointis where to get the OAuth token.The
authorization_endpointis where to get the PKCE authorization code.The
end_session_endpointis where to end the session.
Get the JSON Web Key Set (JWKS) that you use later for an inline access token external auth policy.
From the metadata URI, find the
jwks_uriendpoint. In a new tab, open this endpoint, such ashttps://dev-1234567.okta.com/oauth2/default/v1/keys.Copy and save the entire value of these keys as an environment variable.
Return to the authorization server page in Okta.
From the Claims tab, click Add Claim to add any claims that you want the access token to include. Later, you can use these claims in your portal groups. For example, the portal group might require a member of
organization: solo.ioto access certain API products. For more information about claims, see JWT structure. For example, you might configure the following claims:- email: Return the user’s email as configured in the user’s profile.
- organization: Return the user’s organization as configured in the user’s profile.
- group: Include any group (match regex
*) for theopenidscope.
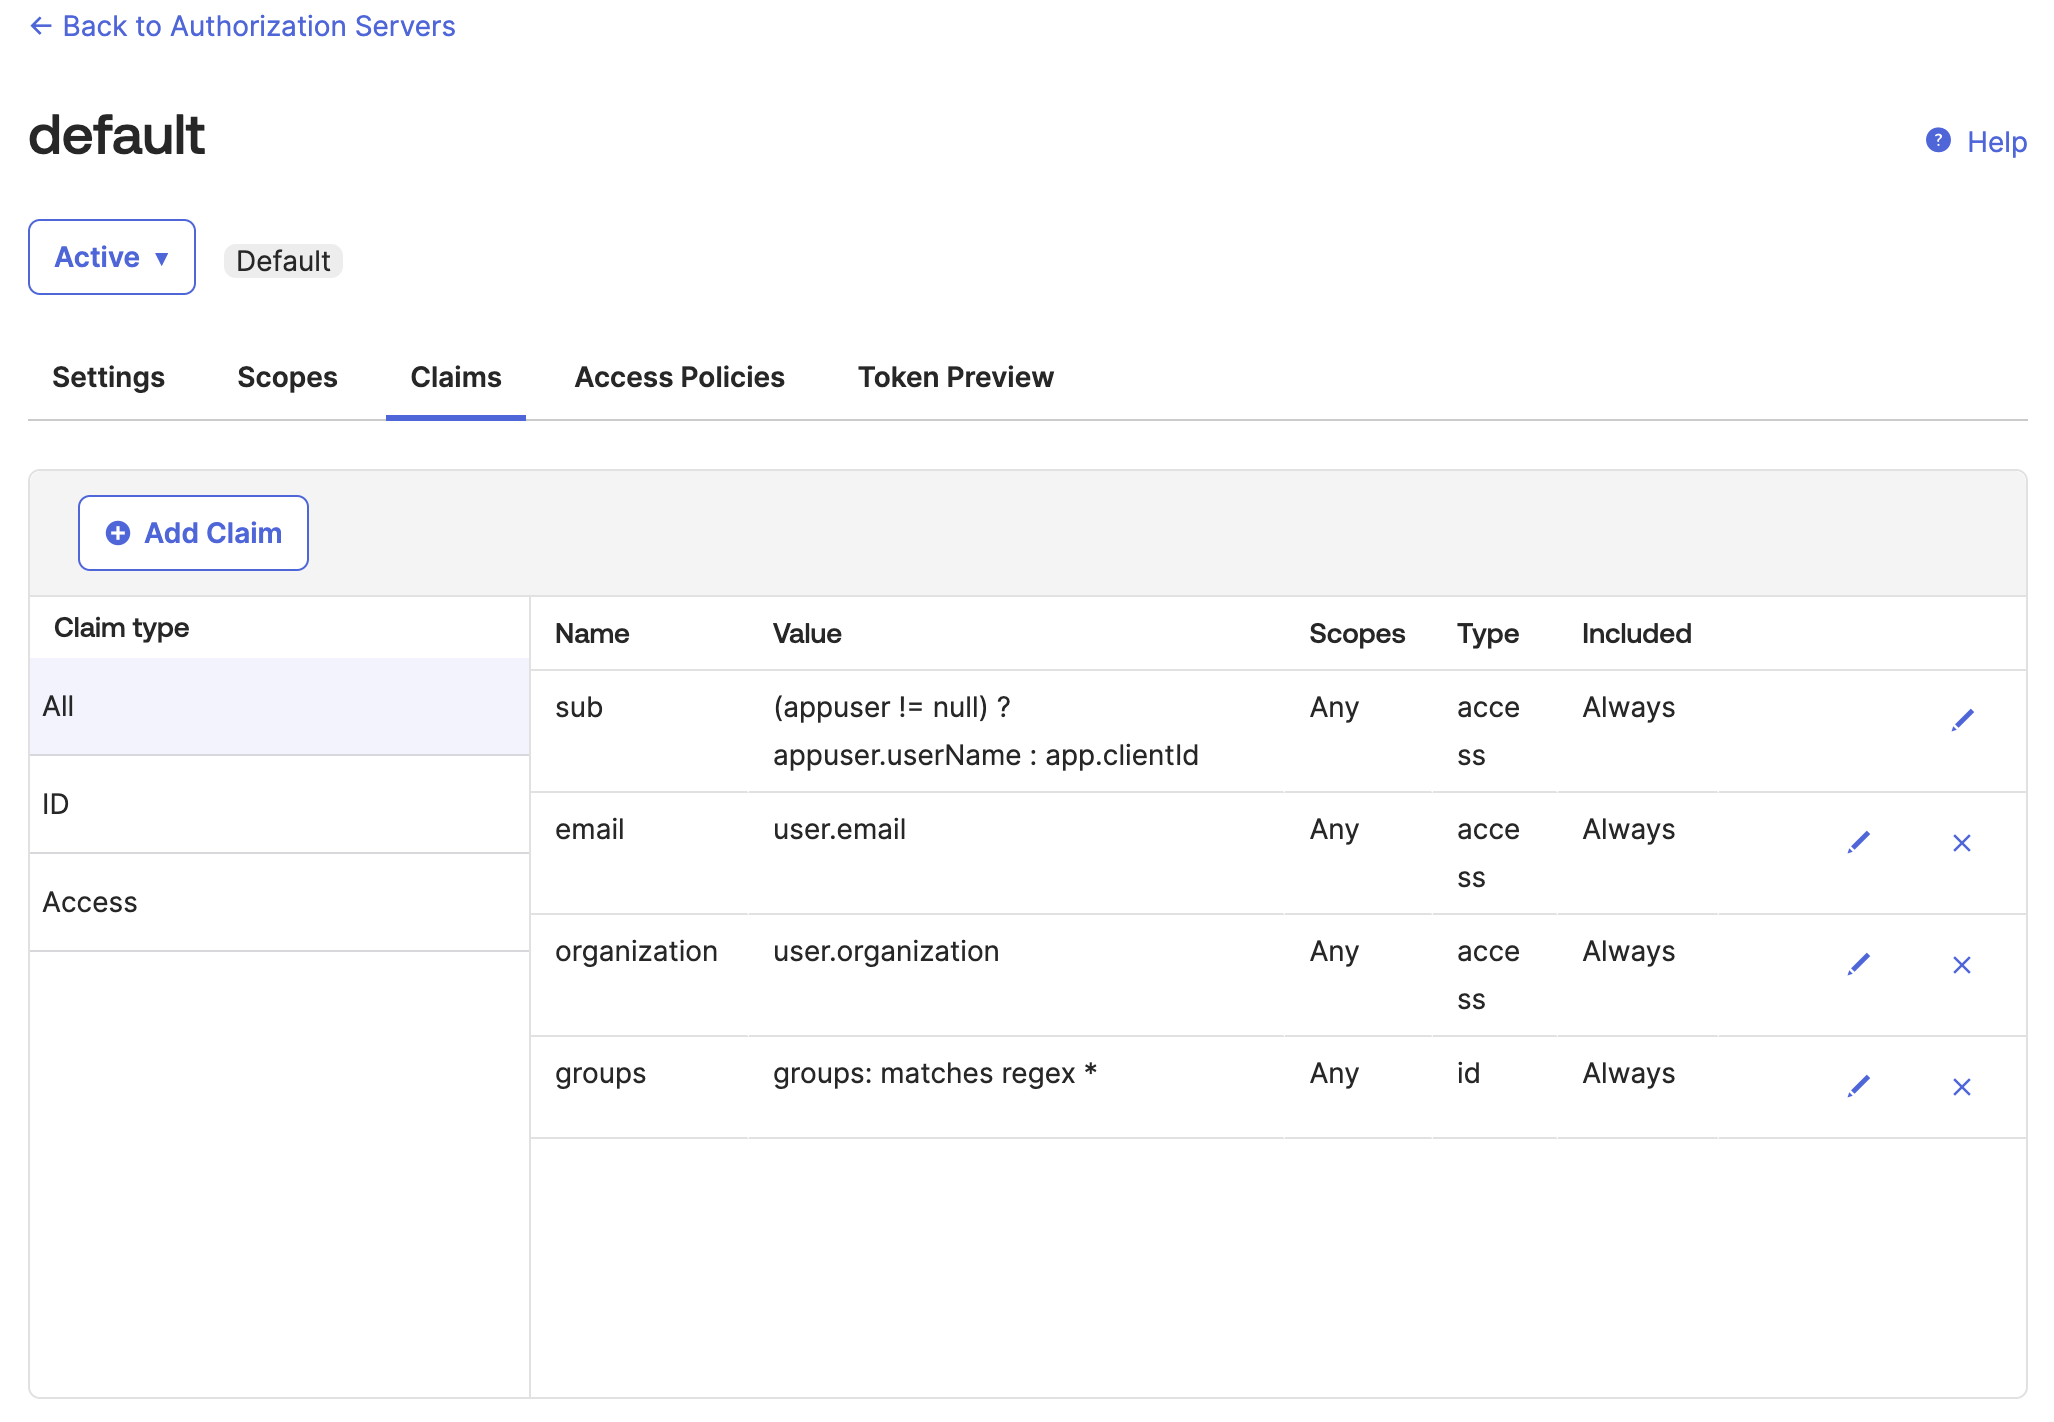
Figure: Okta default auth server Claims tab Figure: Okta default auth server Claims tab From the Token Preview tab, verify that the tokens return the information that you expect, such as the same
kidas$CERT_KEYSvalue that you previously saved and the claims that you configured.- In OAuth/OIDC client, enter the name of your app.
- In Grant type, select Authorization Code.
- In User, enter your username or the name of the user that you want to log in to the frontend developer portal.
- In Scopes, enter
openid. - Click Preview Token, then flip between the
id_tokenandtokenpreviews. - If you do not see the claim information that you expect, click your profile > My settings and review your personal information. For example, you might not have an
organizationorgroupset. You can edit your profile to include this information, then preview the token again.
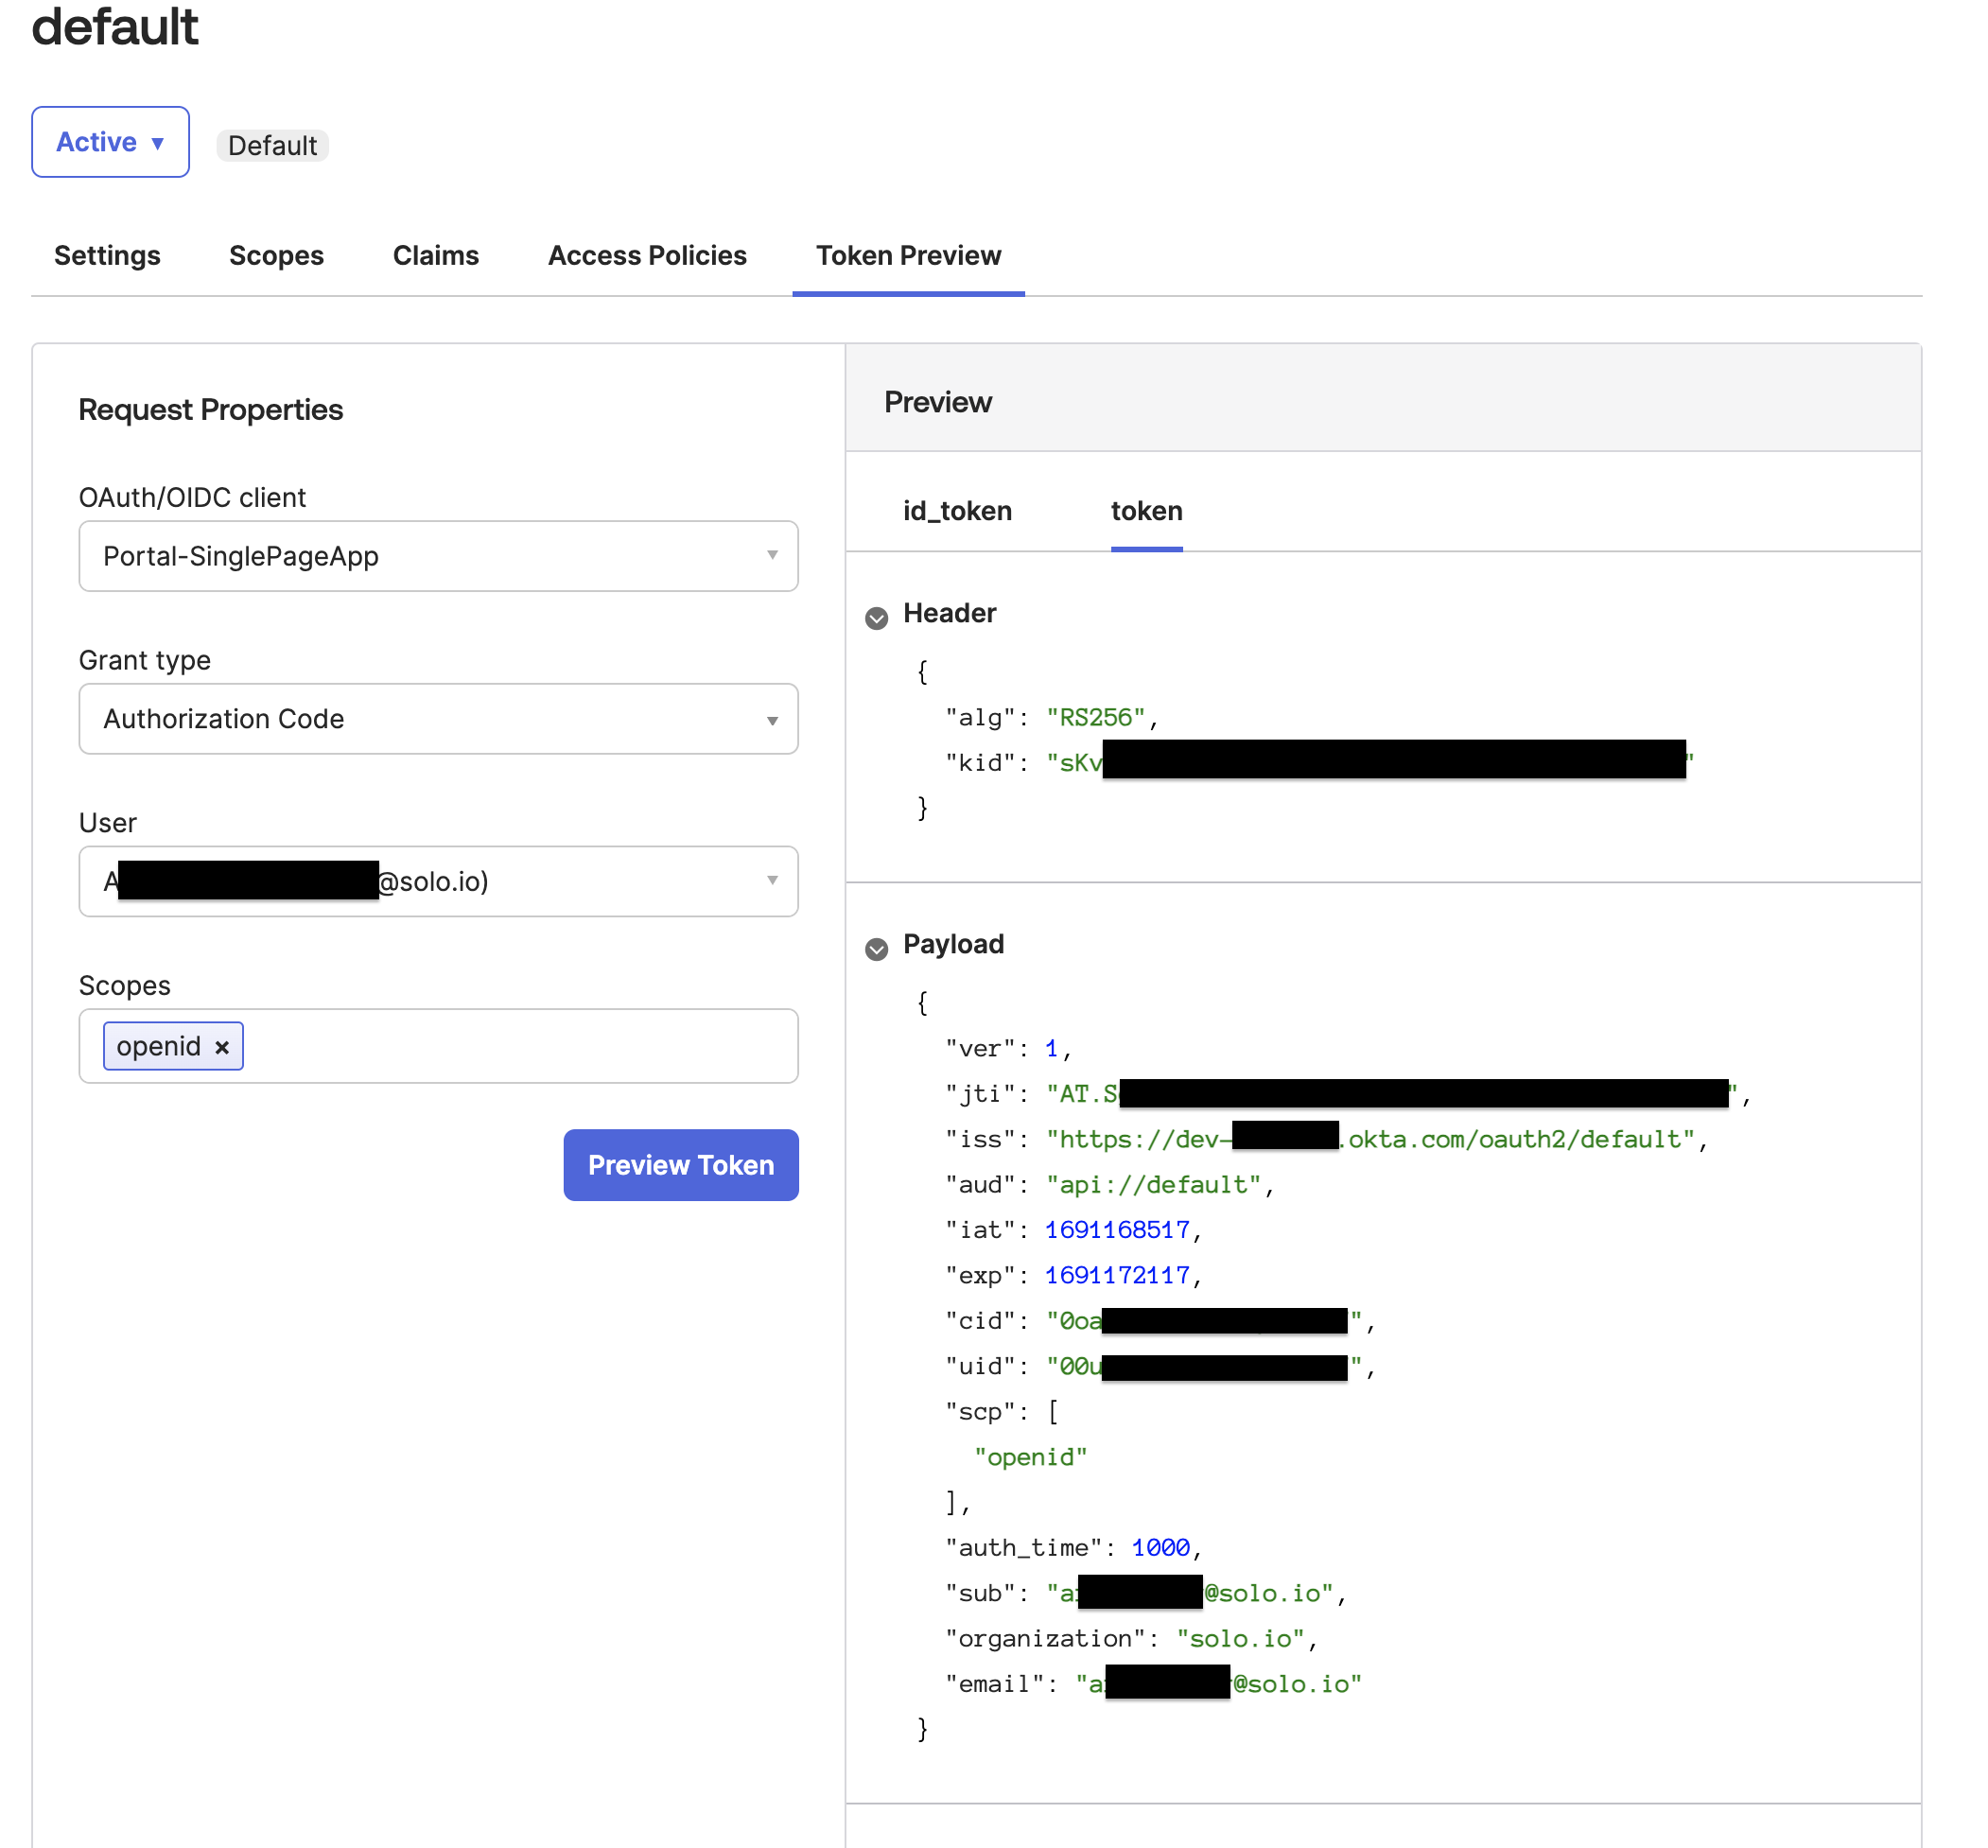
Figure: Okta Token Preview tab Figure: Okta Token Preview tab
Step 3: Create the OAuth policy
Set up external auth resources with Okta as the OIDC provider.
Create an external auth server that enforces your extauth policy.
Create an external auth policy for the
oauth: "true"routes to enforce authentication via an access token from the Okta OIDC provider that you set up. Make sure to replace$CERT_KEYSwith the entire{"keys":[{"kid":"_YYA...","kty":"RSA","alg":"RSA-OAEP","use":"enc","n":"r4AXlC9sR..."}]}value that you previously retrieved.Review the following table to understand this configuration. For more information, see the API docs.
Setting Description spec.applyToRoutes Select the routes that you want to apply this policy to. In this example, you want to require external authentication for all routes with the oauth: "true"label.spec.config.server The external auth server to use for the policy. glooAuth.configs.oauth2.accessTokenValidation.jwt Set up the policy to enforce authentication via an access token that conforms to the JWT specification. glooAuth.configs.oauth2.accessTokenValidation.jwt.localJwks Use the local JWKS that you provide inline to validate the JWT access token. glooAuth.configs.oauth2.accessTokenValidation.jwt.localJwks.inlineString Provide the JWKS keys that you retrieved from your OIDC provider inline. Verify that the external auth policy is applied successfully.
Review the status of the external auth policy and make sure that it shows
ACCEPTED.Get the authconfig resource that was created for your policy and make sure that it shows
ACCEPTED.If you see a
REJECTEDerror similar toinvalid character 'k' looking for beginning of object key string, try copying the$CERT_KEYSvalue manually again.
Verify OAuth
Verify that requests to your API products now require external authentication.
Get the external address of your ingress gateway. The steps vary depending on the type of load balancer that backs the ingress gateway.
Note: Depending on your environment, you might see
<pending>instead of an external IP address. For example, if you are testing locally in kind or minikube, or if you have insufficient permissions in your cloud platform, you can instead port-forward the service port of the ingress gateway:Send a
curlrequest to one of your APIs.Review the output of the previous step. The request does not succeed because you need to authenticate via OIDC.
Next steps
- If you haven’t already, set rate limits for your API products.
- Configure the developer portal.