Customize your Portal
There are three main methods of customizing your Gloo Portal: by adding a custom static markdown page, embedding a custom dynamic page, or by customizing the CSS in the generated Portal.
In this guide we'll:
- Create a new static markdown page and add it to the Portal UI.
- Embed your own custom page to your Portal which has access to portal data.
- Override the default CSS of your Portal.
Static Pages
The simplest way to customize your Portal is by adding Static Pages. These are markdown pages that you can add to your Portal and have them show up on the home page.
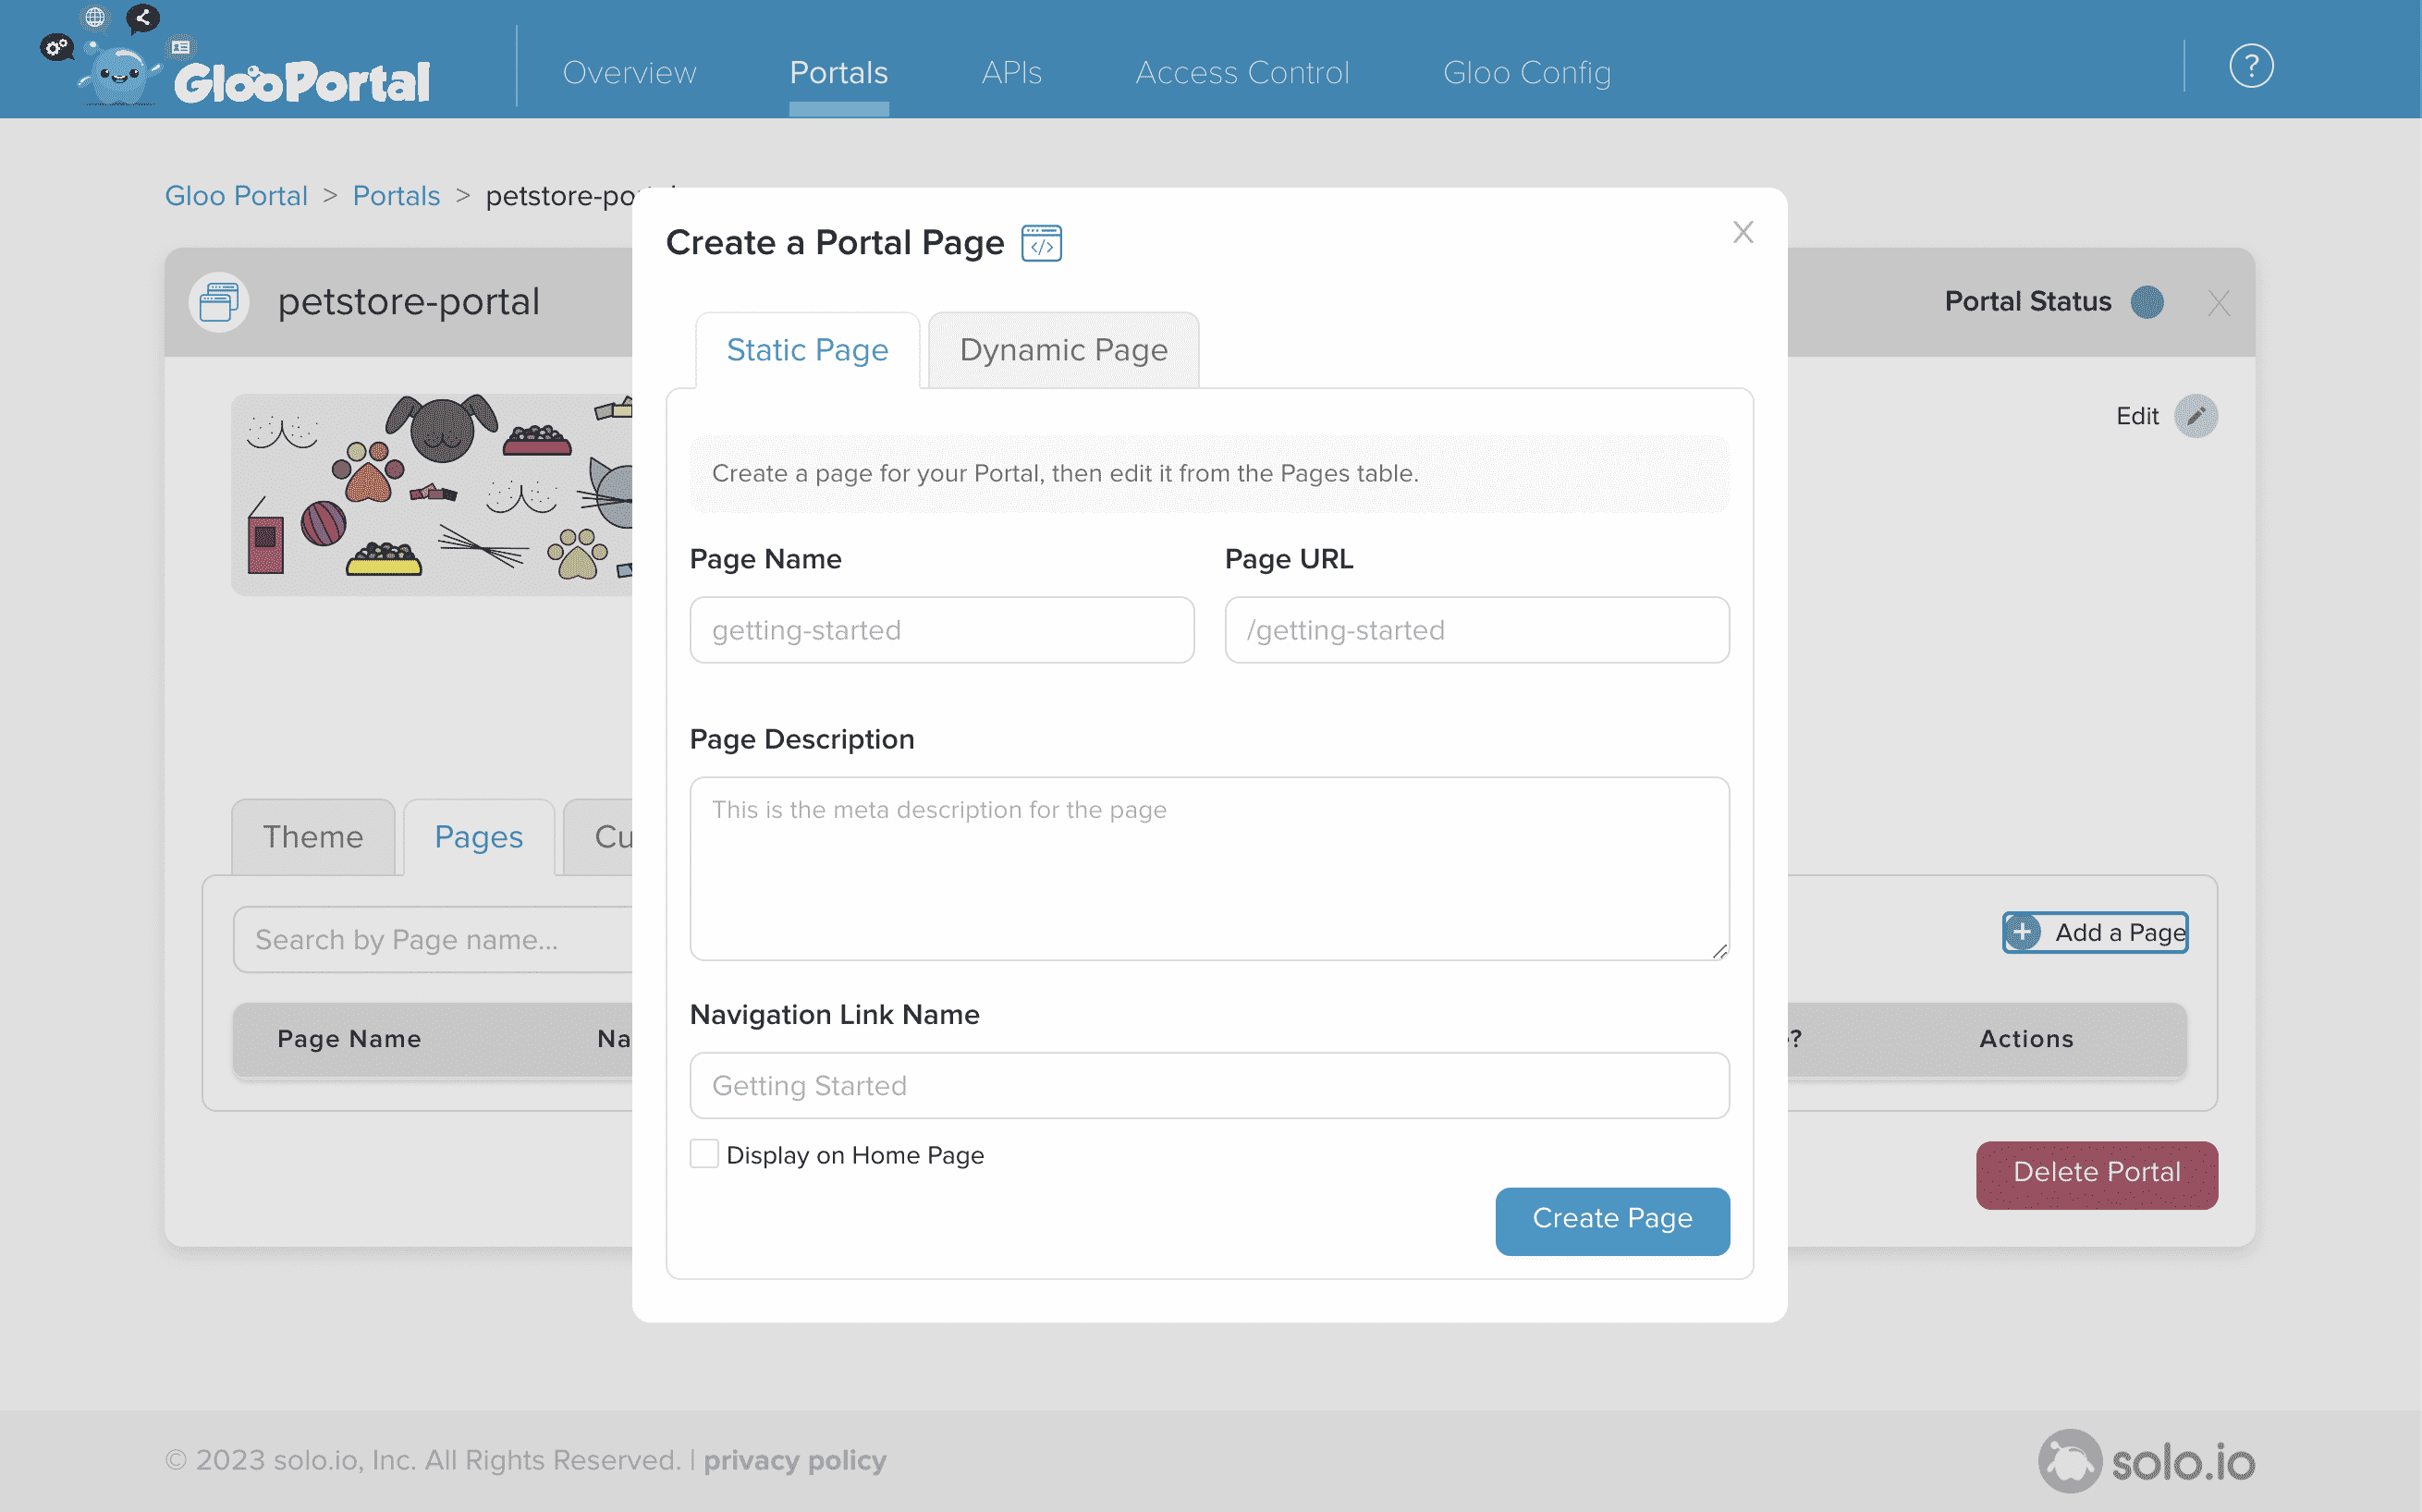
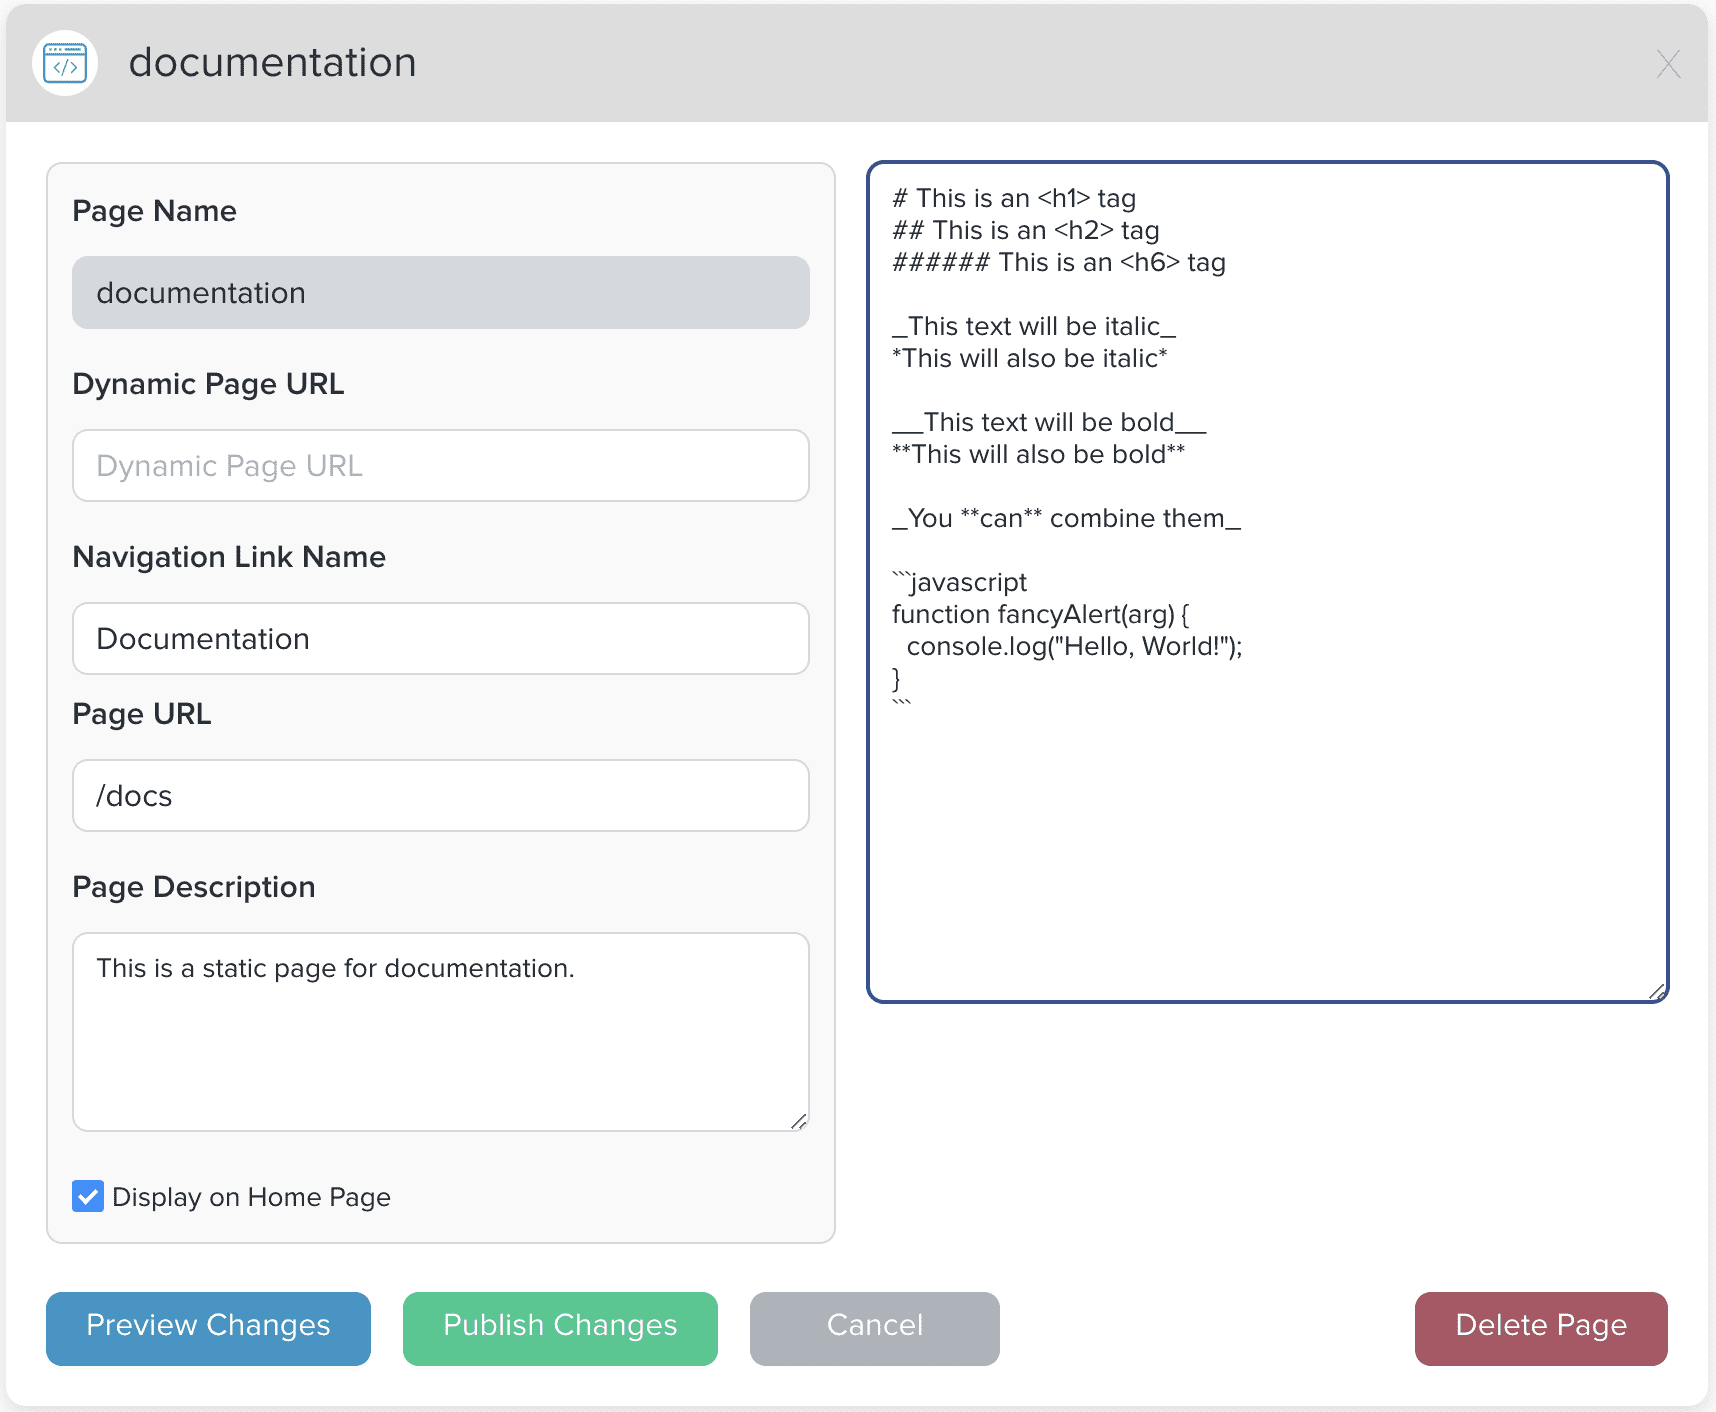
Once a page is created you can edit it using the Static Page editor. This editor supports basic markdown notation.
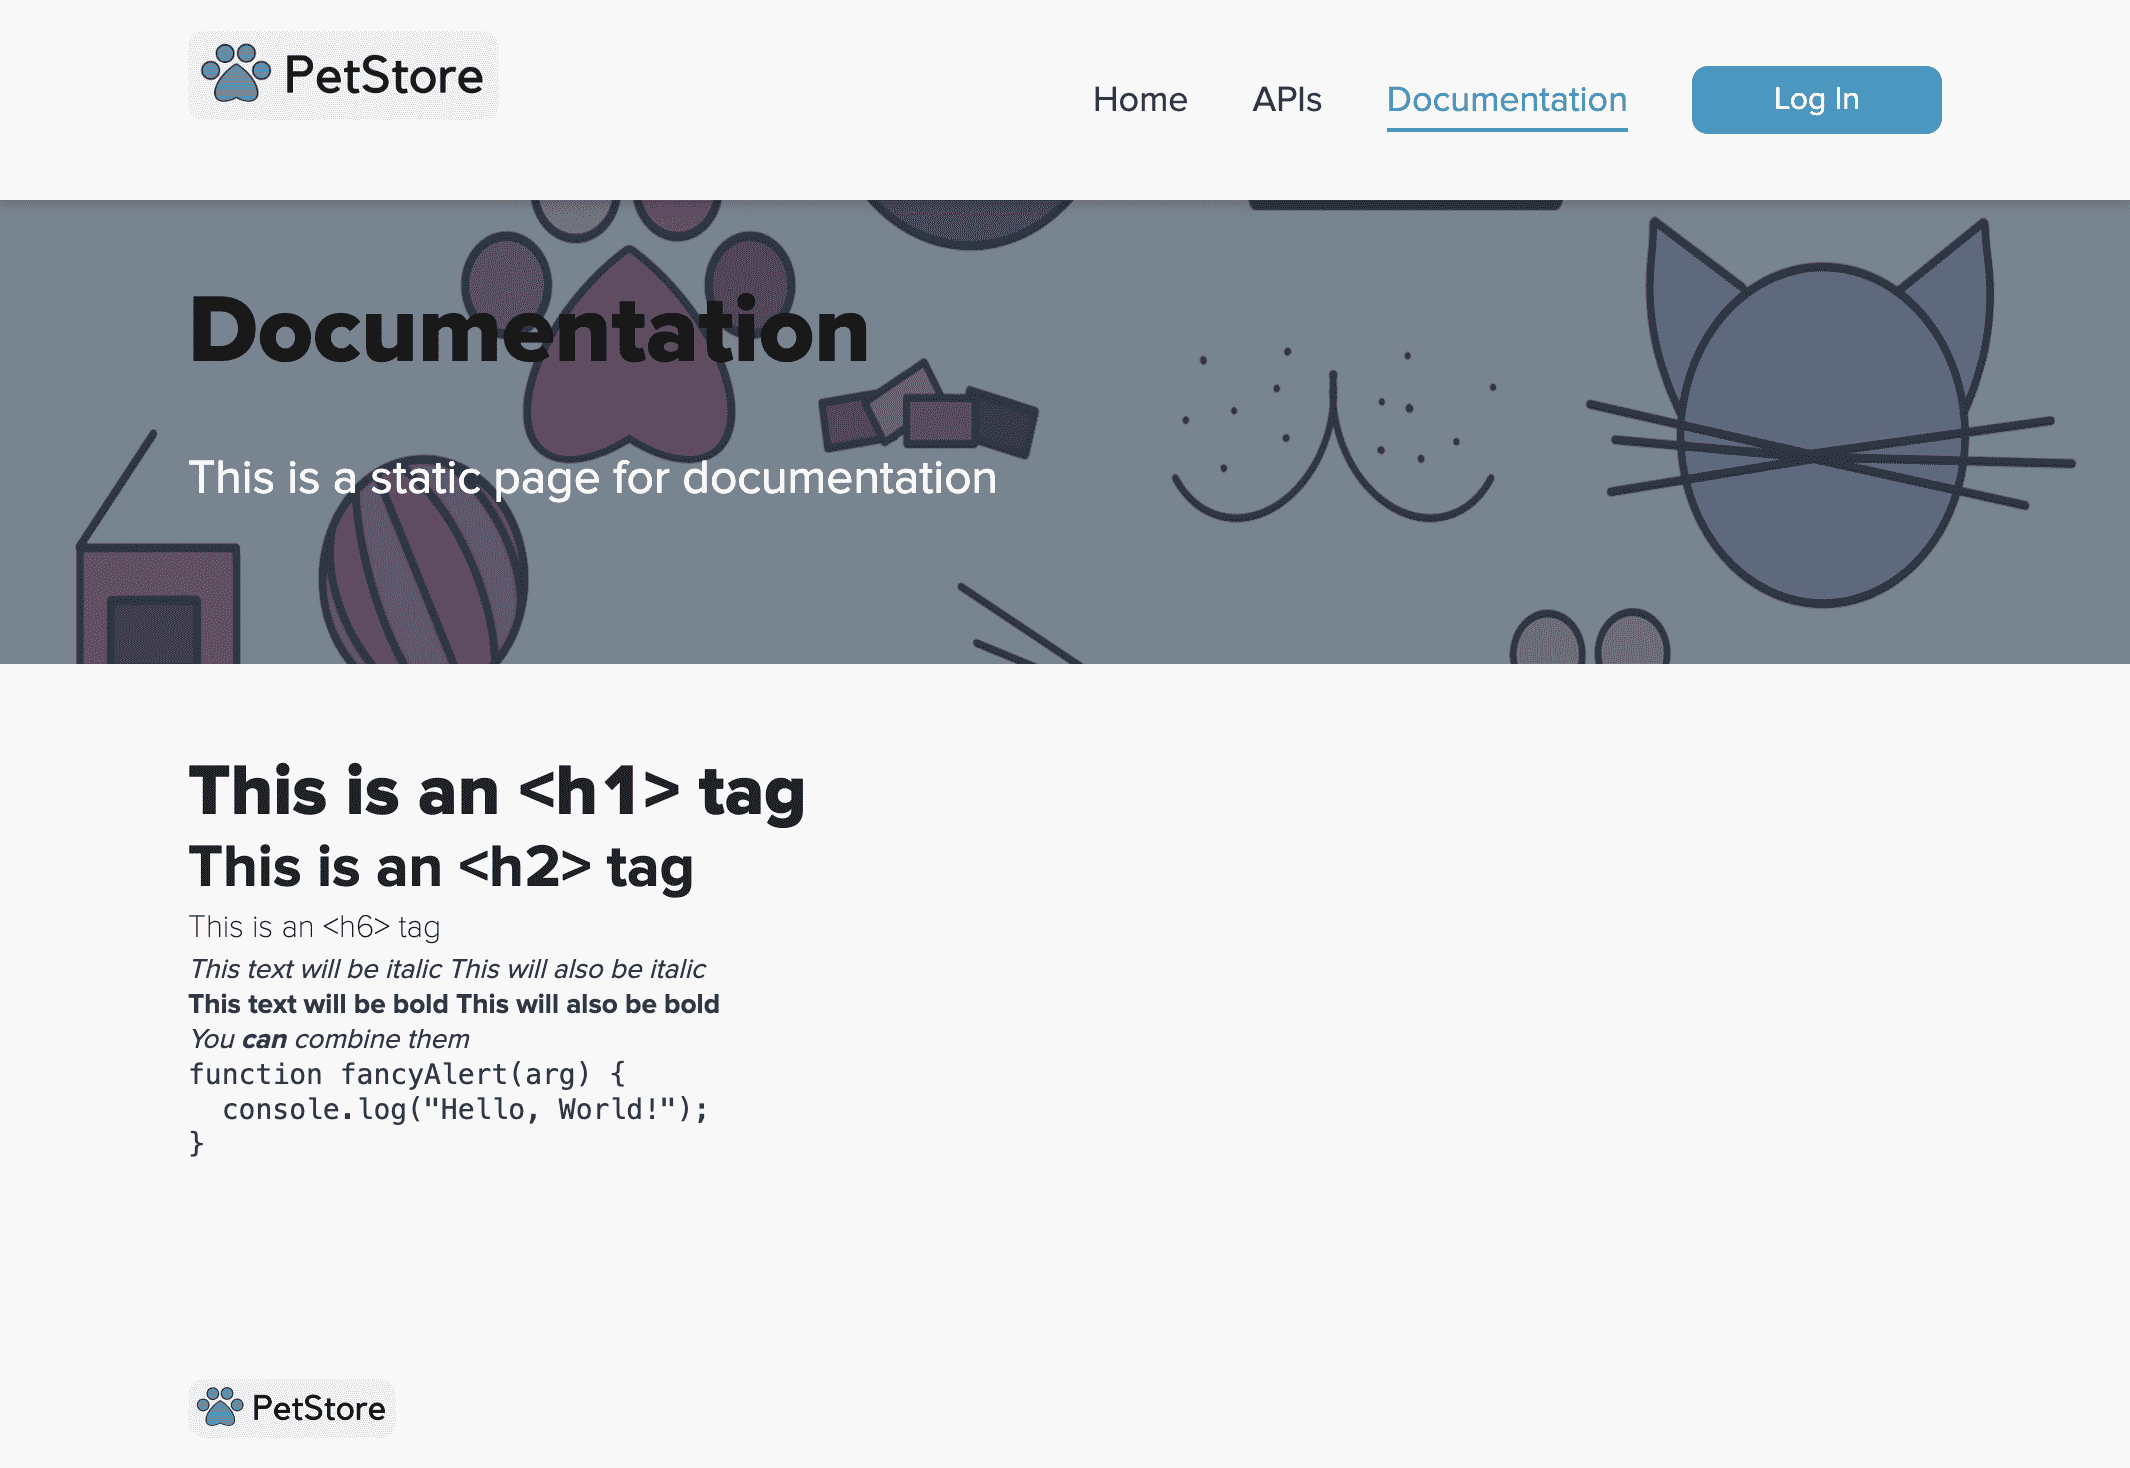
Once created the page will be immediately available using the Portal UI.
Dynamic Pages
You can embed your own custom page in the Portal either by specifying a URL or by uploading your own file. In this example we will be uploading our own custom file that contains html and javascript.
Create a file called dynamic.html and paste the following code:
<!DOCTYPE html>
<html lang="en">
  <head>
    <meta charset="UTF-8" />
    <meta name="viewport" content="width=device-width, initial-scale=1.0" />
    <title>Demo Page</title>
    <script>
      // the embedded page listens for a message event to receive data from the Portal
      window.addEventListener("message", function onMsg(msg) {
        // we must check the origin of the message to protect against XSS attacks
        if (msg.origin === "http://localhost:1234" && msg && msg.data) {
          let header = document.getElementById("user");
          let headerText = document.createTextNode(
            "Hello, " + msg.data.currentUser
          );
          header.replaceWith(headerText);

          let apiProductInfo = document.getElementById("api-products");
          const apiProducts = document.createDocumentFragment();
          if (msg.data.apiProductsList.length > 0) {
            let descriptionText = document.createTextNode(
              "API Products found:" + "\n"
            );
            apiProducts.appendChild(descriptionText);
            msg.data.apiProductsList.forEach((apiProduct) => {
              let apiProductEl = document.createElement("div");
              let apiProductText = document.createTextNode(
                "" +
                  apiProduct.displayName +
                  "\n with " +
                  apiProduct.versionsList.length +
                  " versions"
              );
              apiProductEl.appendChild(apiProductText);
              apiProducts.appendChild(apiProductEl);
            });
          }
          apiProductInfo.replaceWith(apiProducts);
        }
      });
    </script>
  </head>

  <body style="text-align: center">
    <h1 id="user"></h1>
    <br />
    <h1 id="api-products"></h1>
    <br />
  </body>
</html>
Dynamic pages use the postMessage API to receive the Portal information. In order to receive the message you will need to add an event listener and listen on the message event, as seen in dynamic.html.
The embedded page will have access to the Portal data in the form of the following object:
{
  currentUser : 'demo-user', // the username as a string, `undefined` when not logged in
  portalSummary, : {
    displayName: "Petstore Portal", // the portal's display name
    description: "The Gloo Portal for the Petstore API", // portal's description
  }
  apiProductsList: [{ // list of APIProductSummary objects
    metadata: {
      name: "petstore-product",
      namespace: 'gloo-portal',
      // unique id for referencing the APIProduct
      uid: '65dbbc22-017e-456f-8dd5-62a4c5754eda
    }
    displayName: "Petstore Product",
    description: "Petstore Product Description",
    versionsList: [{
      name: 'v1',
      // custom name for this API version
      externalName: 'v1.1.0',
      // the total number of API endpoints exposed in the published API Product
      operationsCount: 4
      // the list of environments where this API is available
      environmentsList: ['Development', 'Test'],
      // any tags added to ease searching
      tagsList: ['stable']
    }, {
      name: 'v2',
      externalName: '',
      operationsCount: 20,
      environmentsList: ['Development'],
      tagsList: ['beta'],
    }]
     // most recent date the APIProduct was updated
    modifiedDate: {
      nanos: 819090000,
      seconds: 1601392211
    },
   }]
}
This data will update whenever any of the following occurs:
- the url of the dynamic page changes, in this case
/dynamic - a new API Product is created or one is deleted
- the user logs in or out
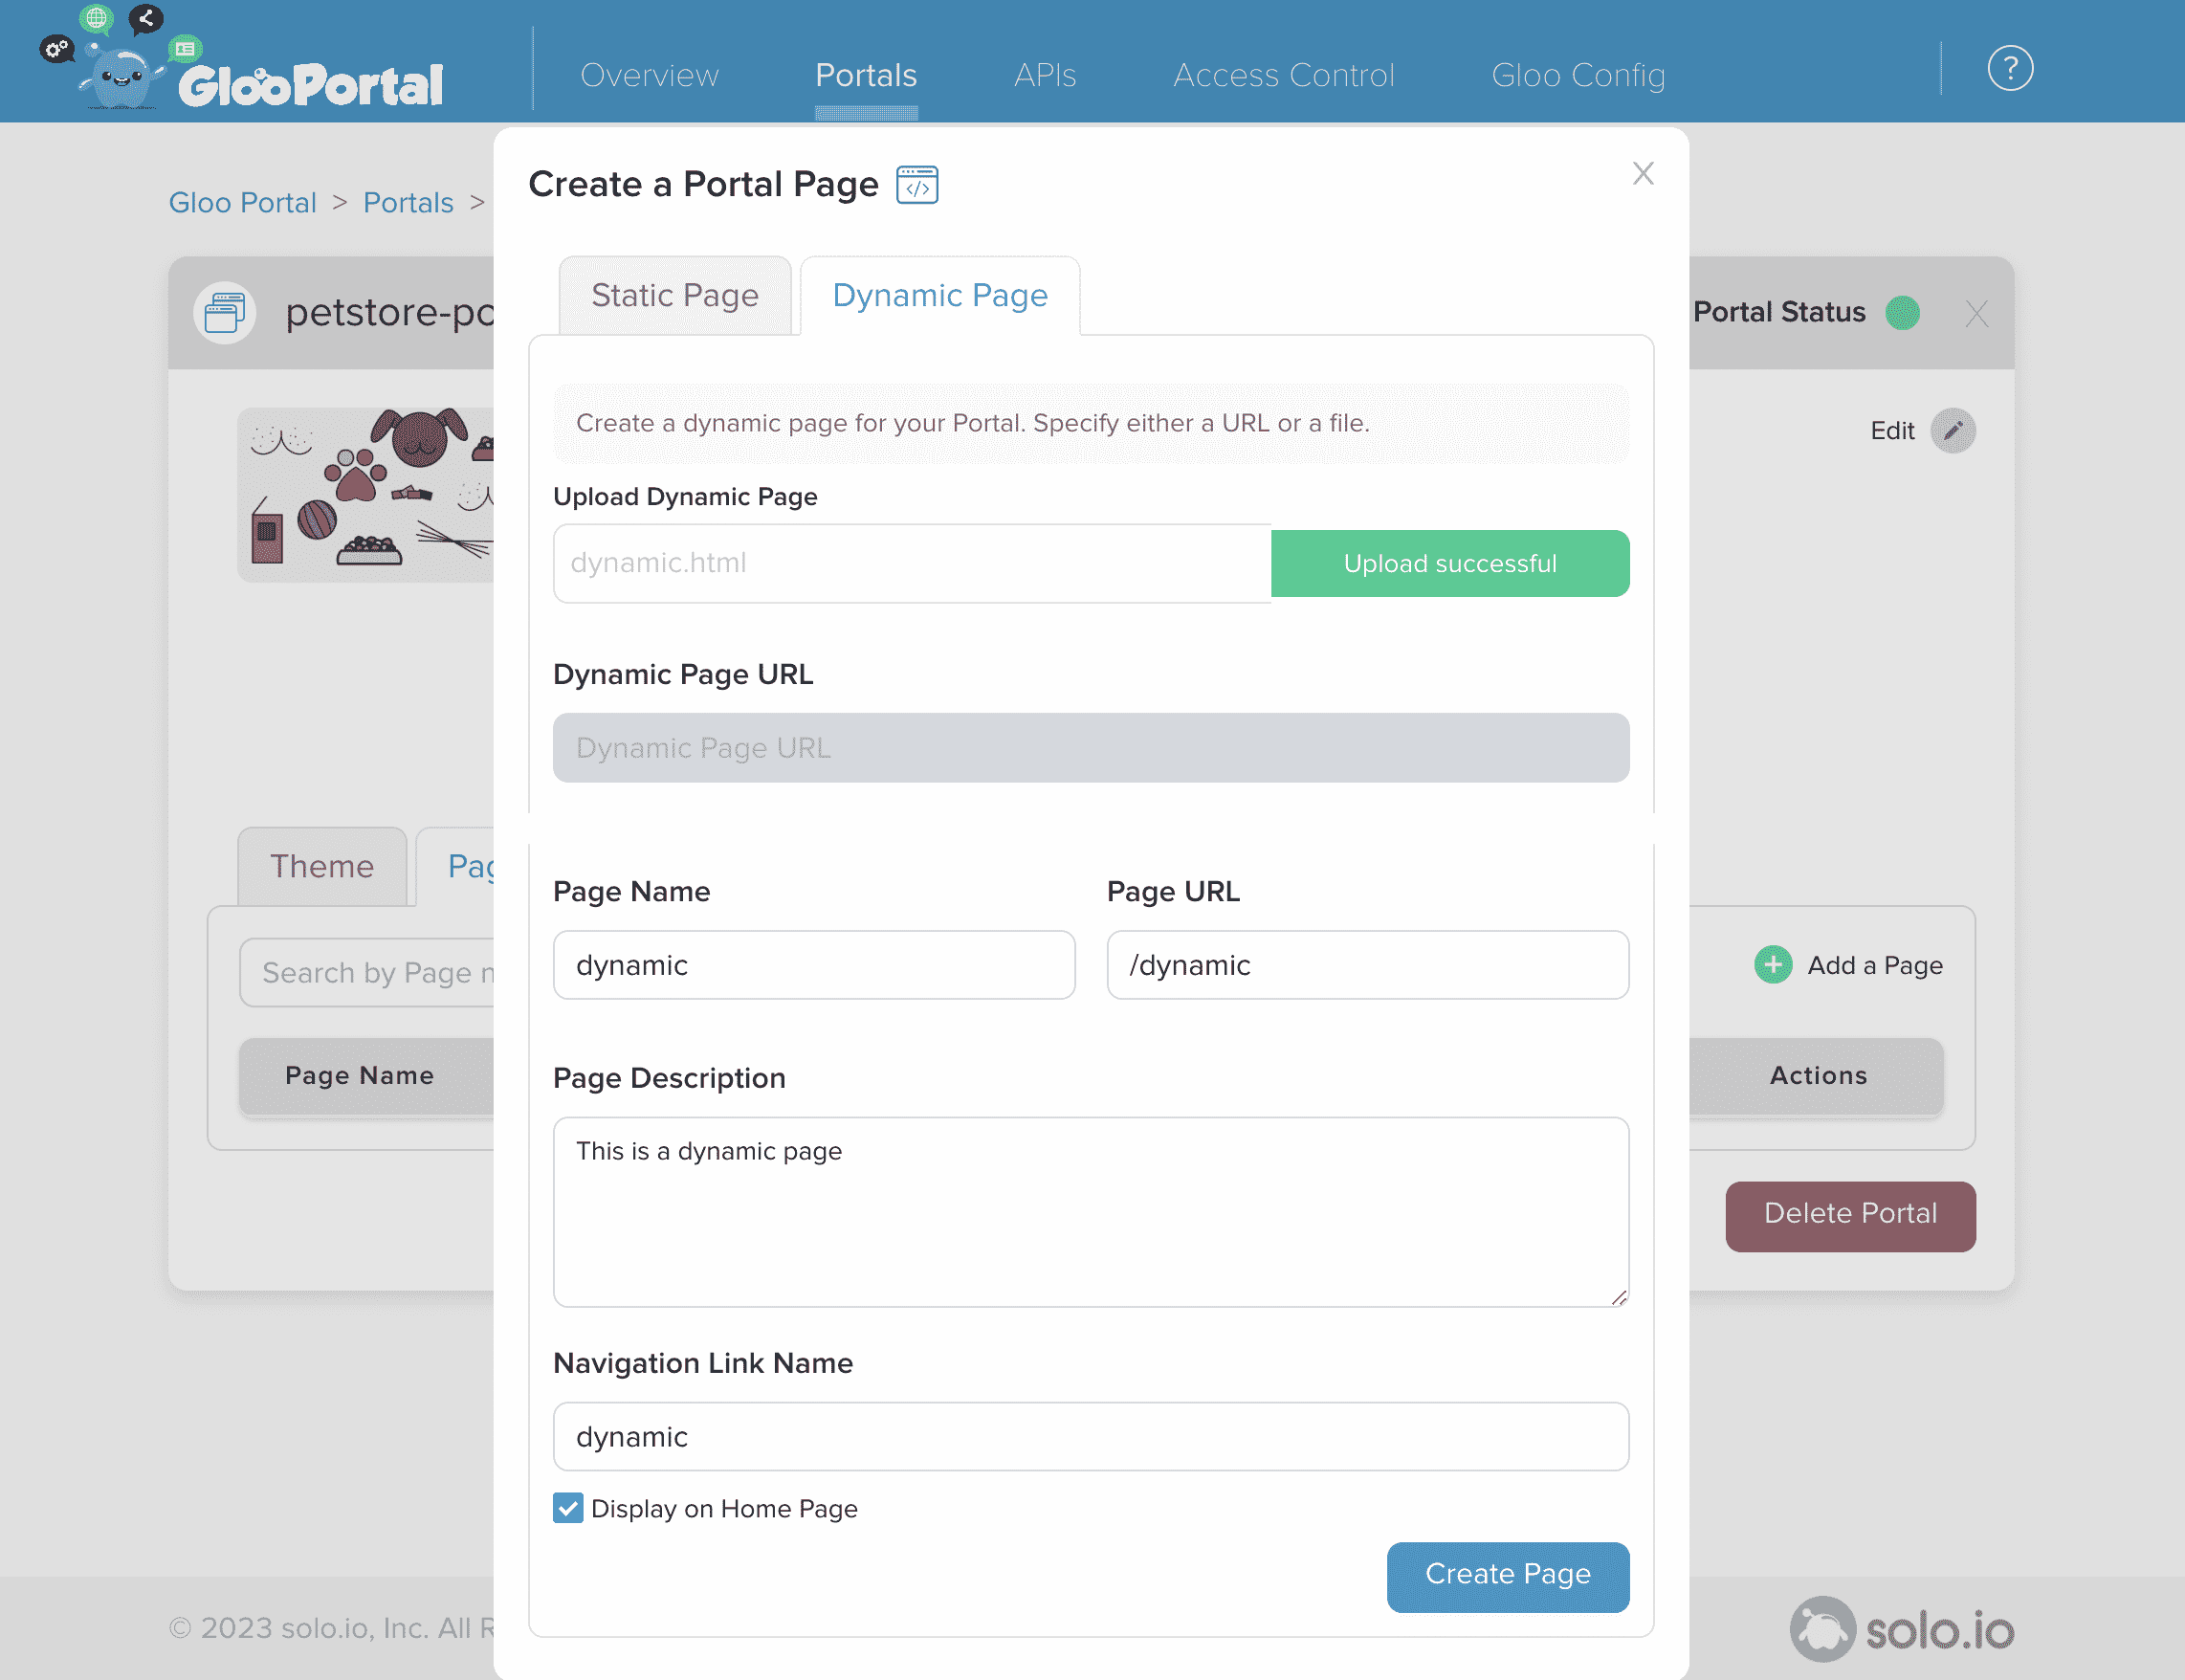
Fill out the rest of the information in the Create Page Modal and upload the dynamic.html file:
Navigate to your Portal UI, and once you're logged in you should see the dynamic page we just created on the homepage:
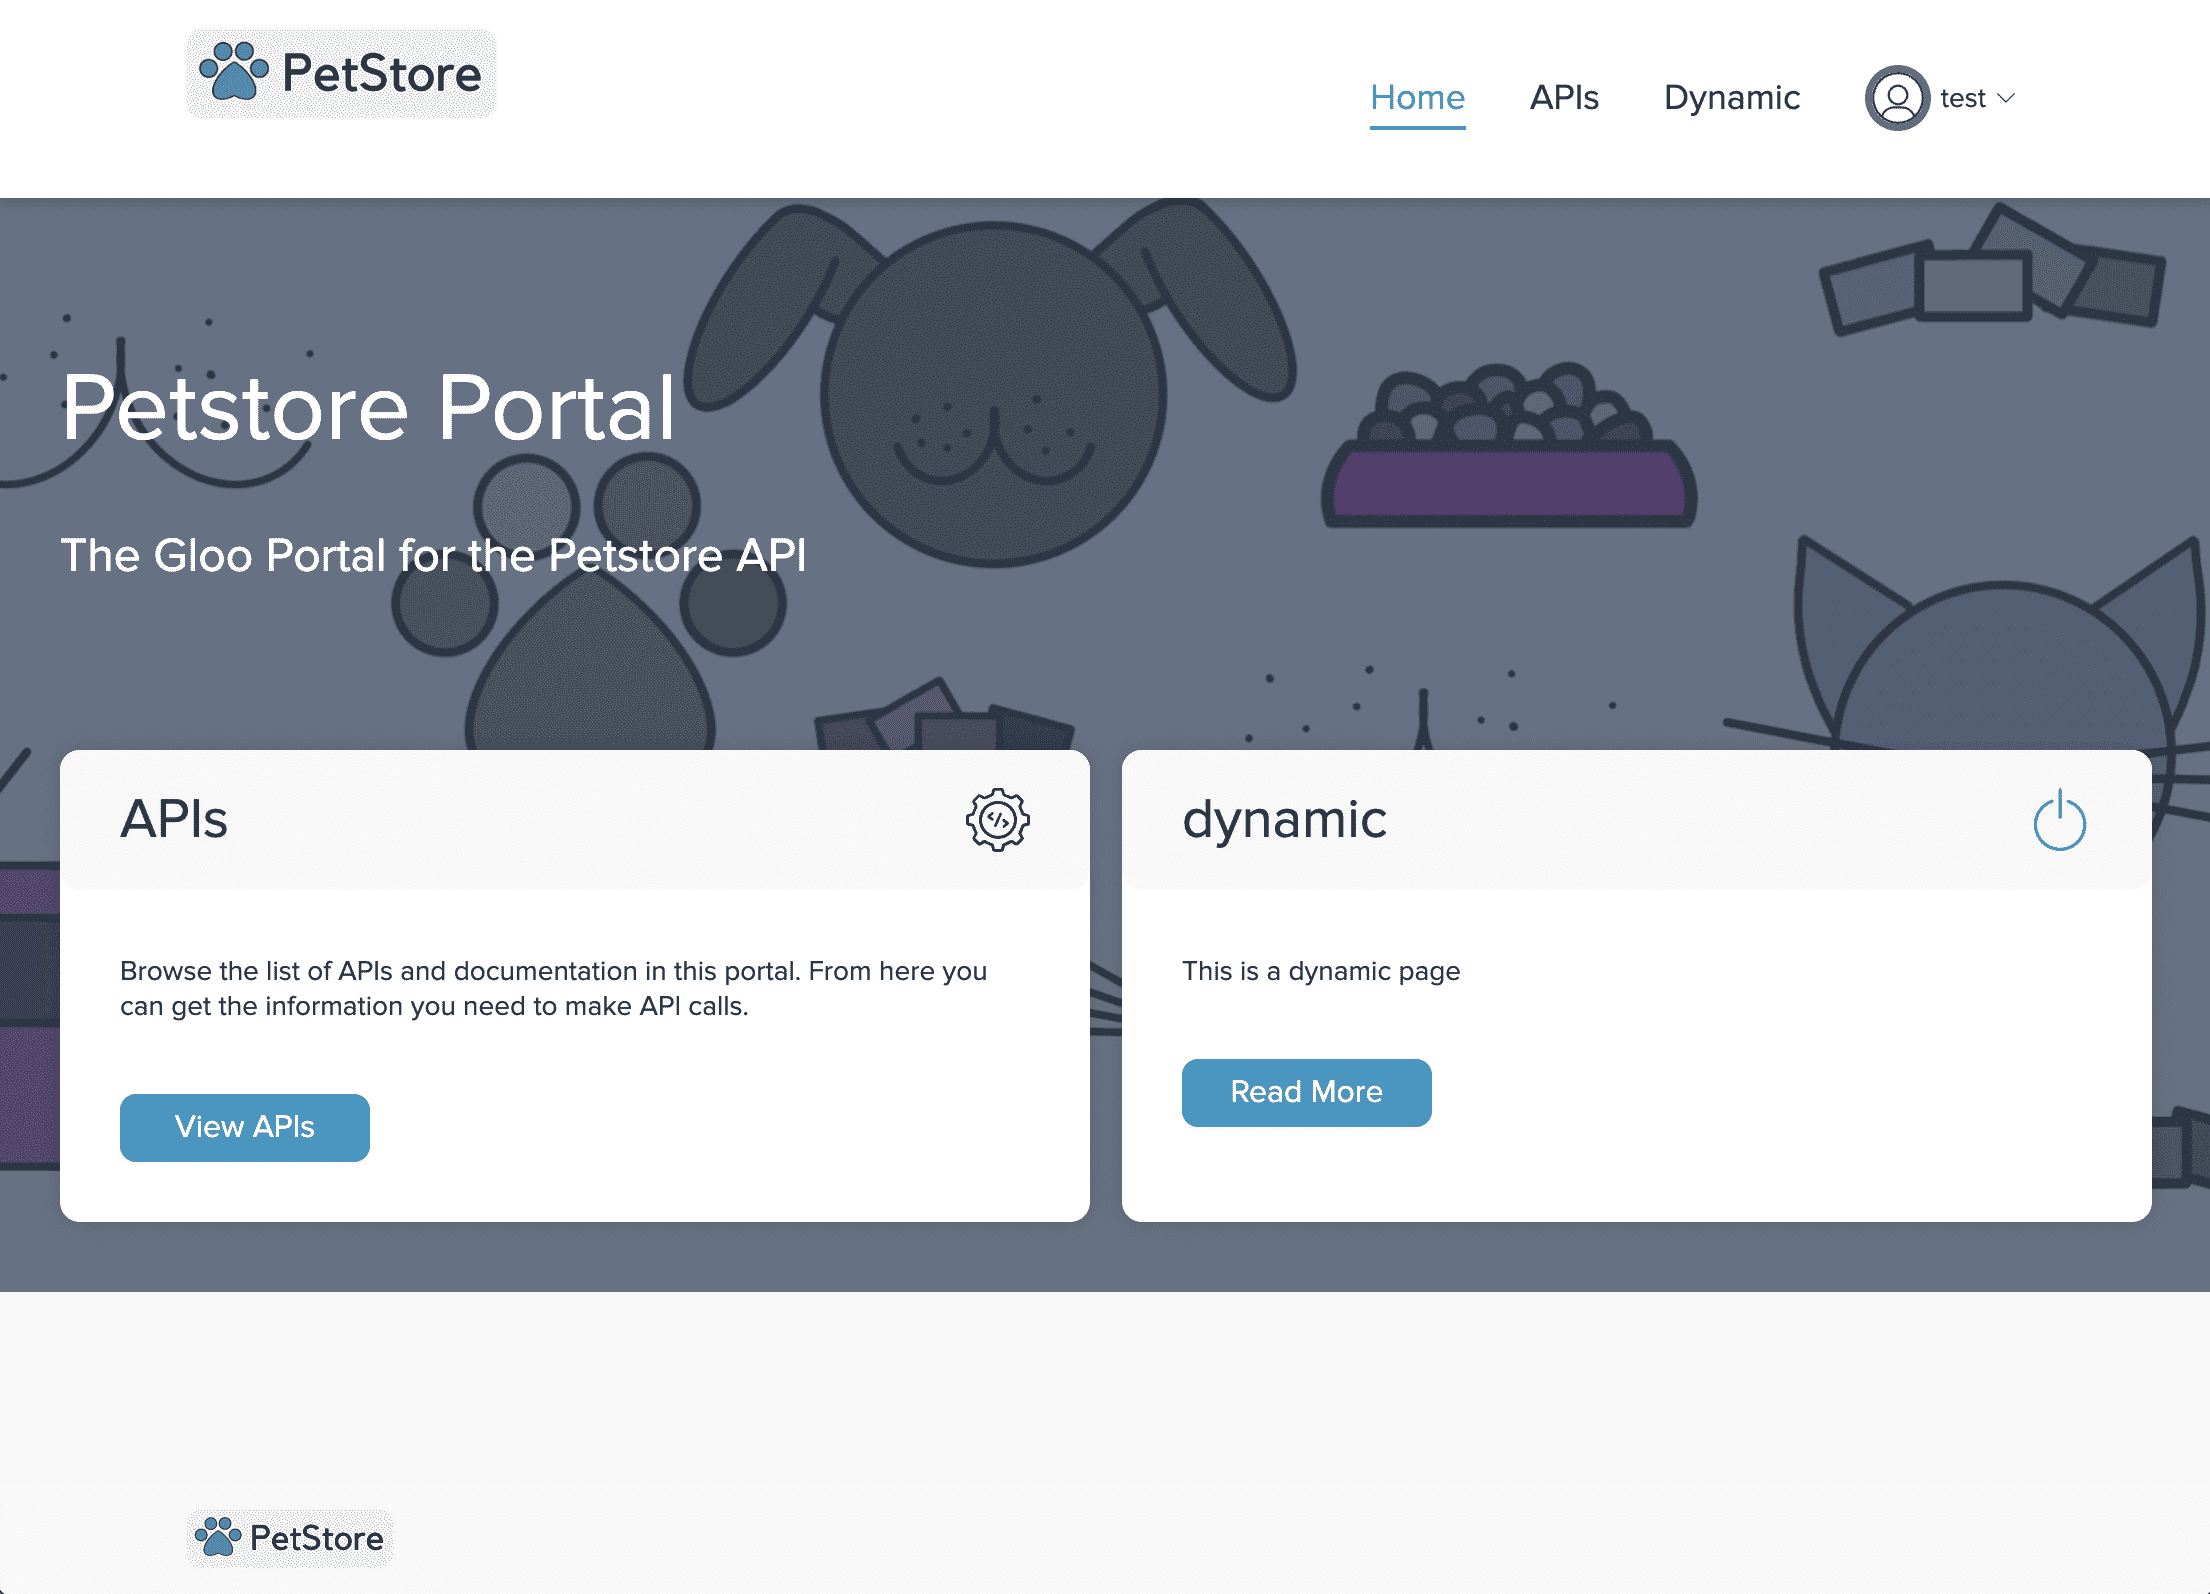
After clicking on the link button you should see that we now have a fully custom page that also has access to Portal data:

Using Custom CSS
In the Portal Details view, under the Theme tab, we expose a feature called ‘Advanced CSS Customization’ where a user can overwrite the default styling of the Portal UI with their own custom CSS by targeting the class names of the html elements.
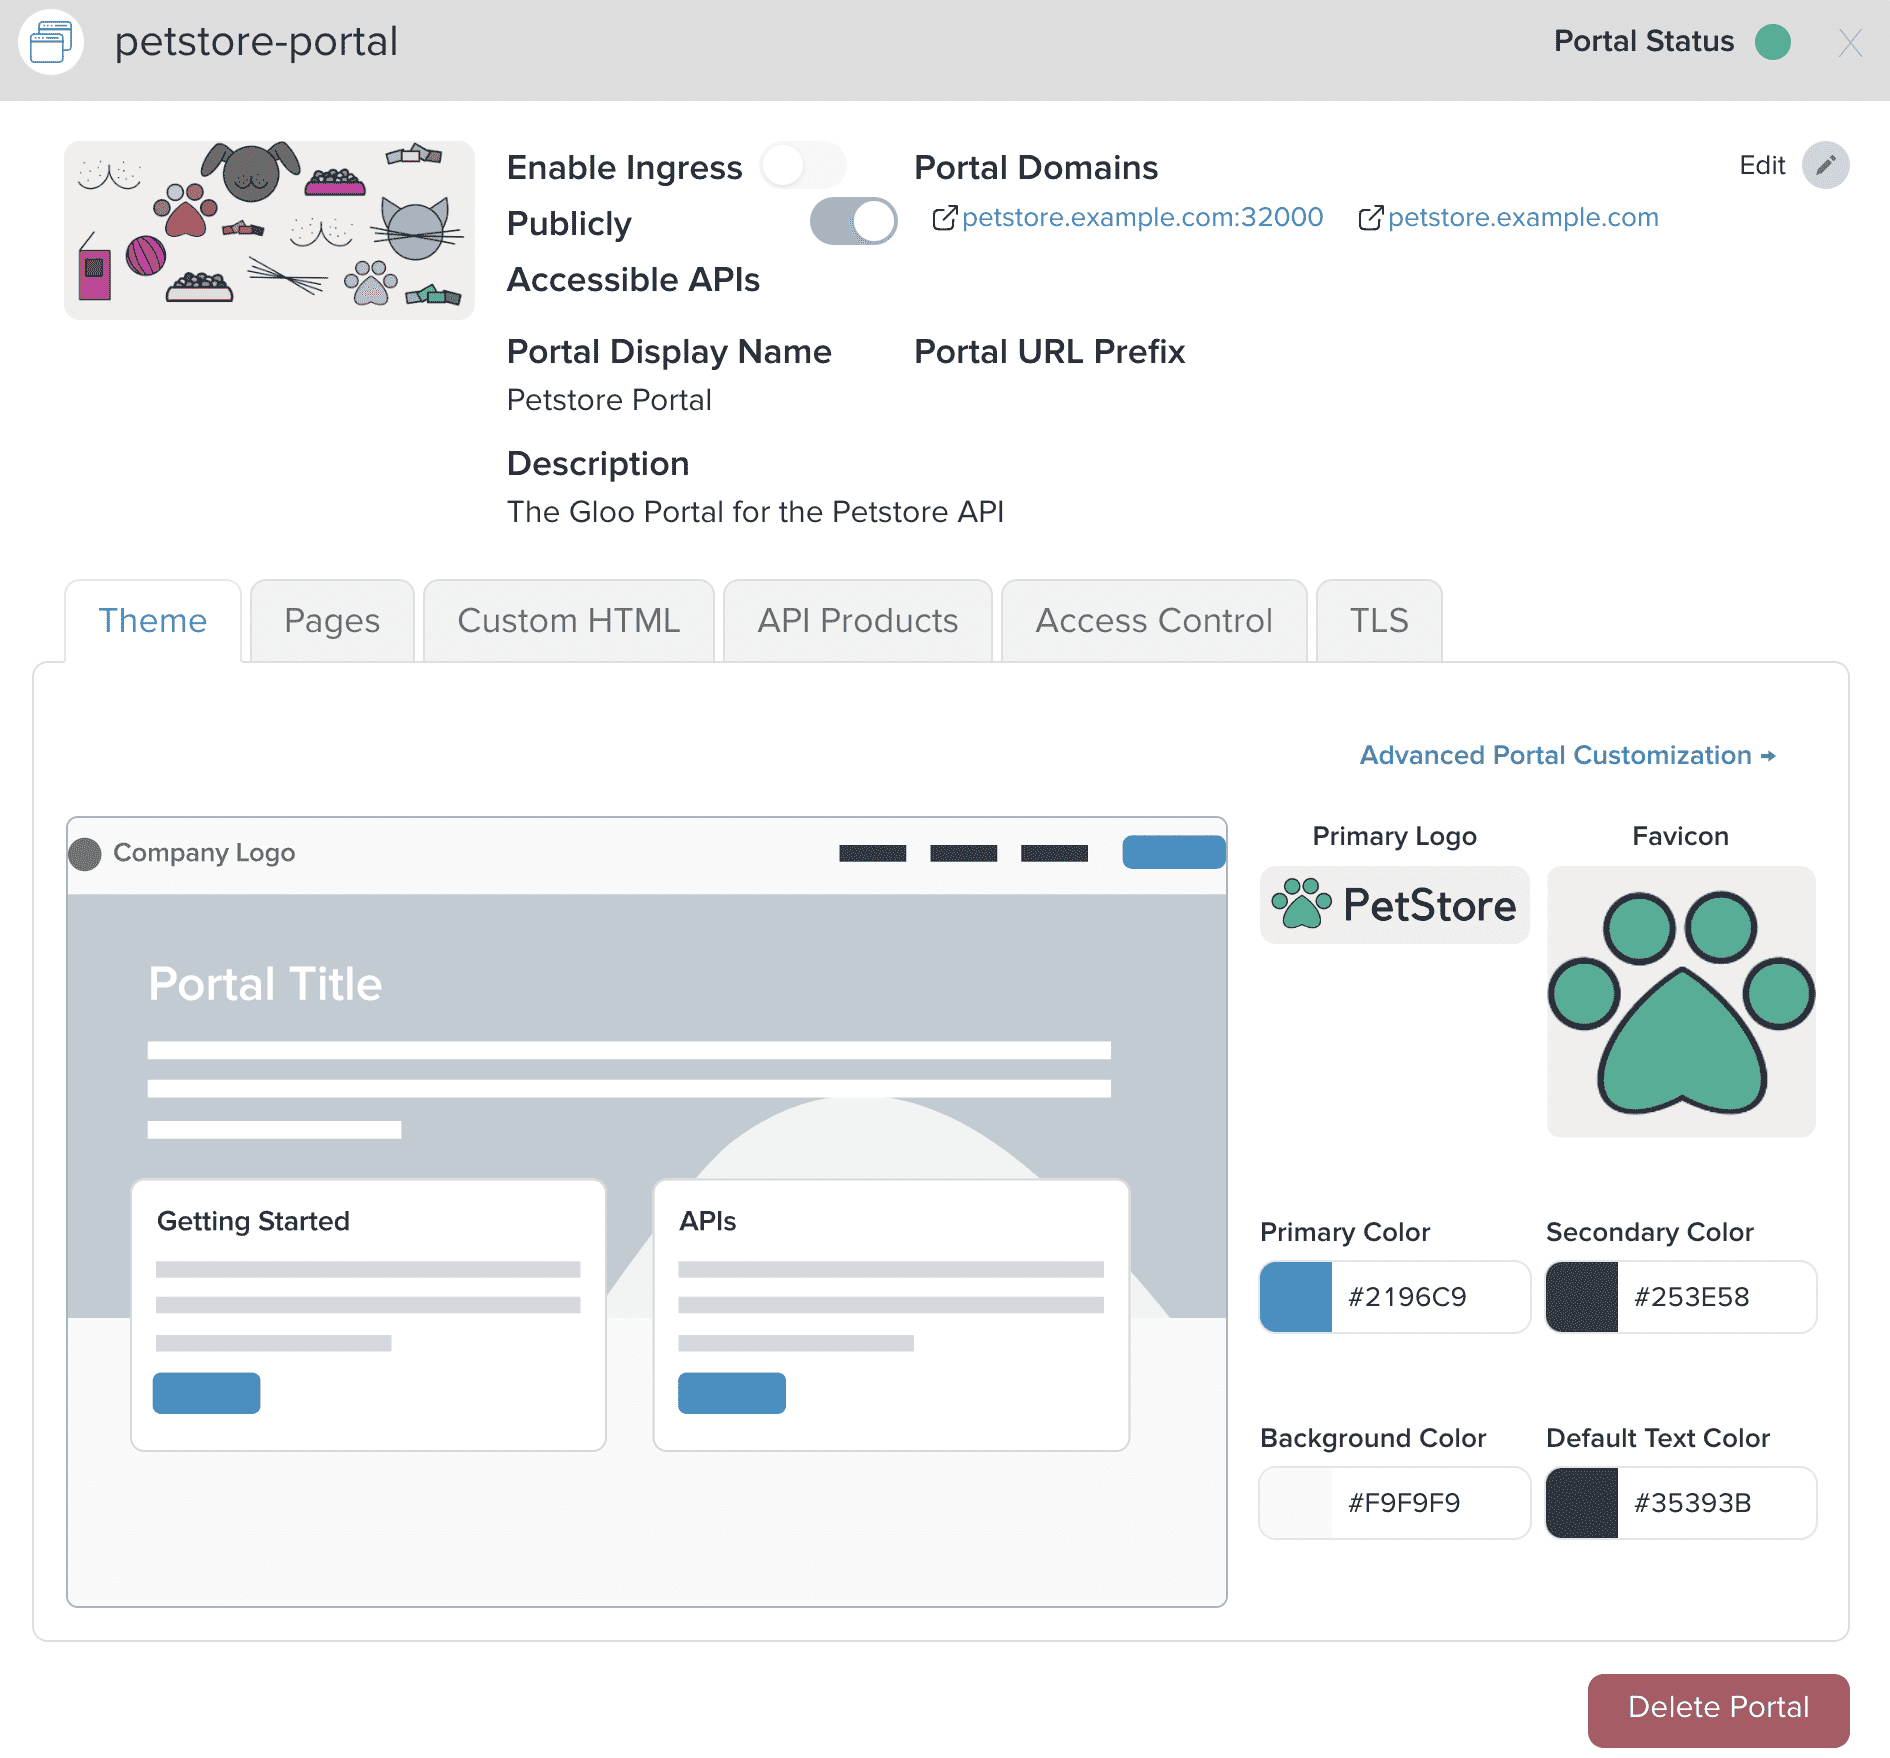
Clicking on ‘Advanced Portal Customization’ brings up the Custom CSS modal, which you can use to override the CSS in the Portal UI to customize the appearance of your Portal.
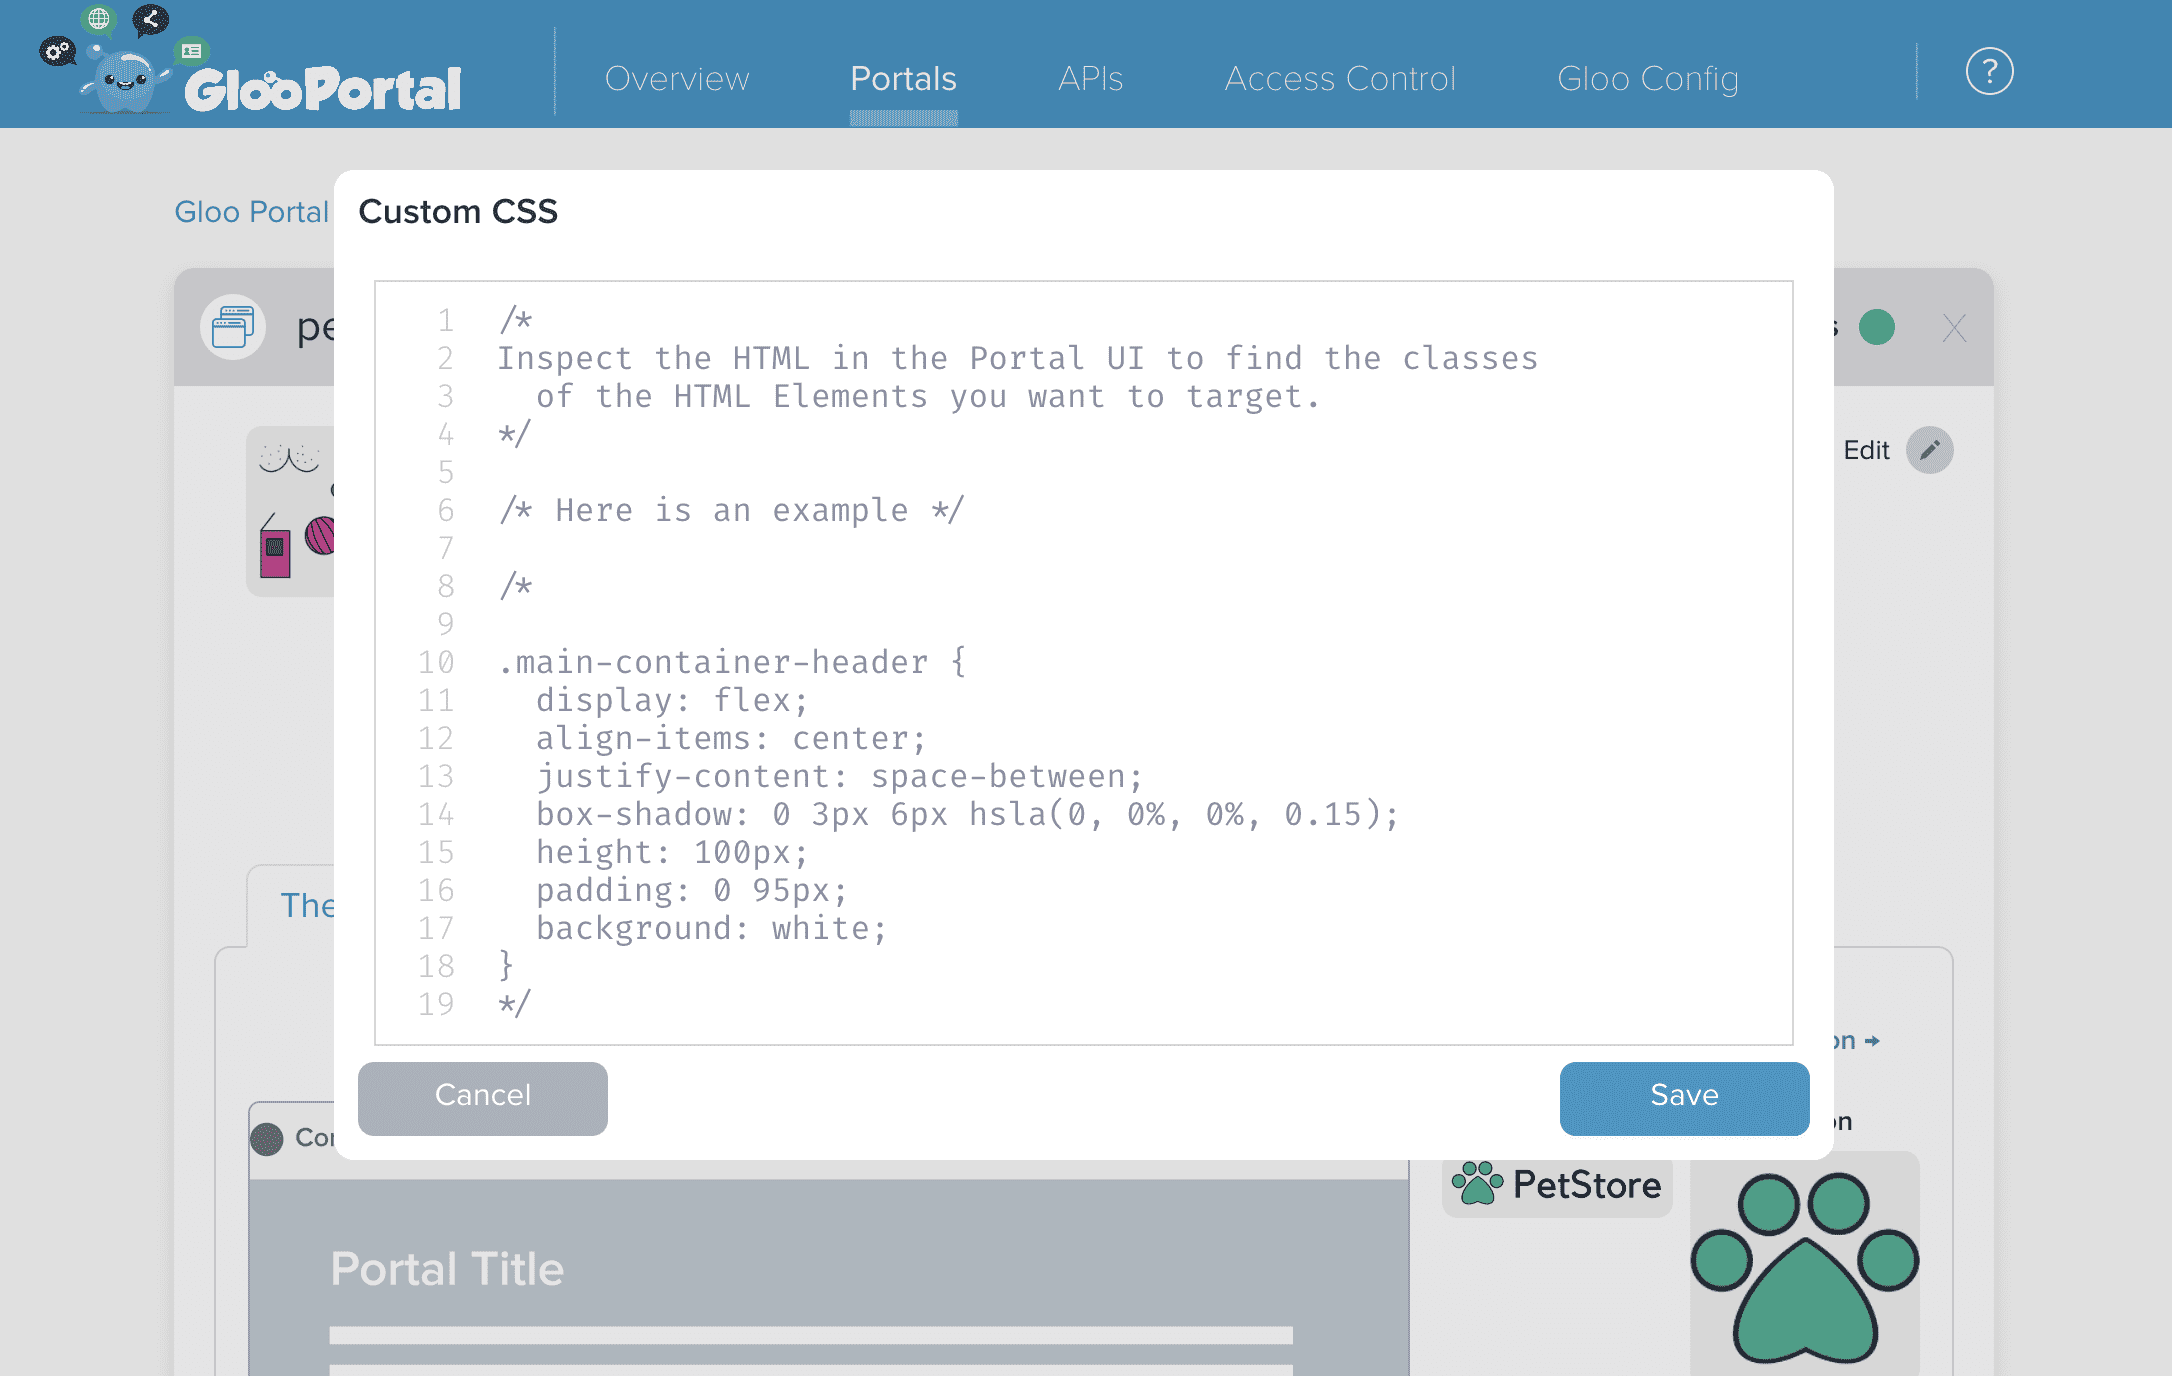
For example, let's say we wanted to customize the title of our Portal.
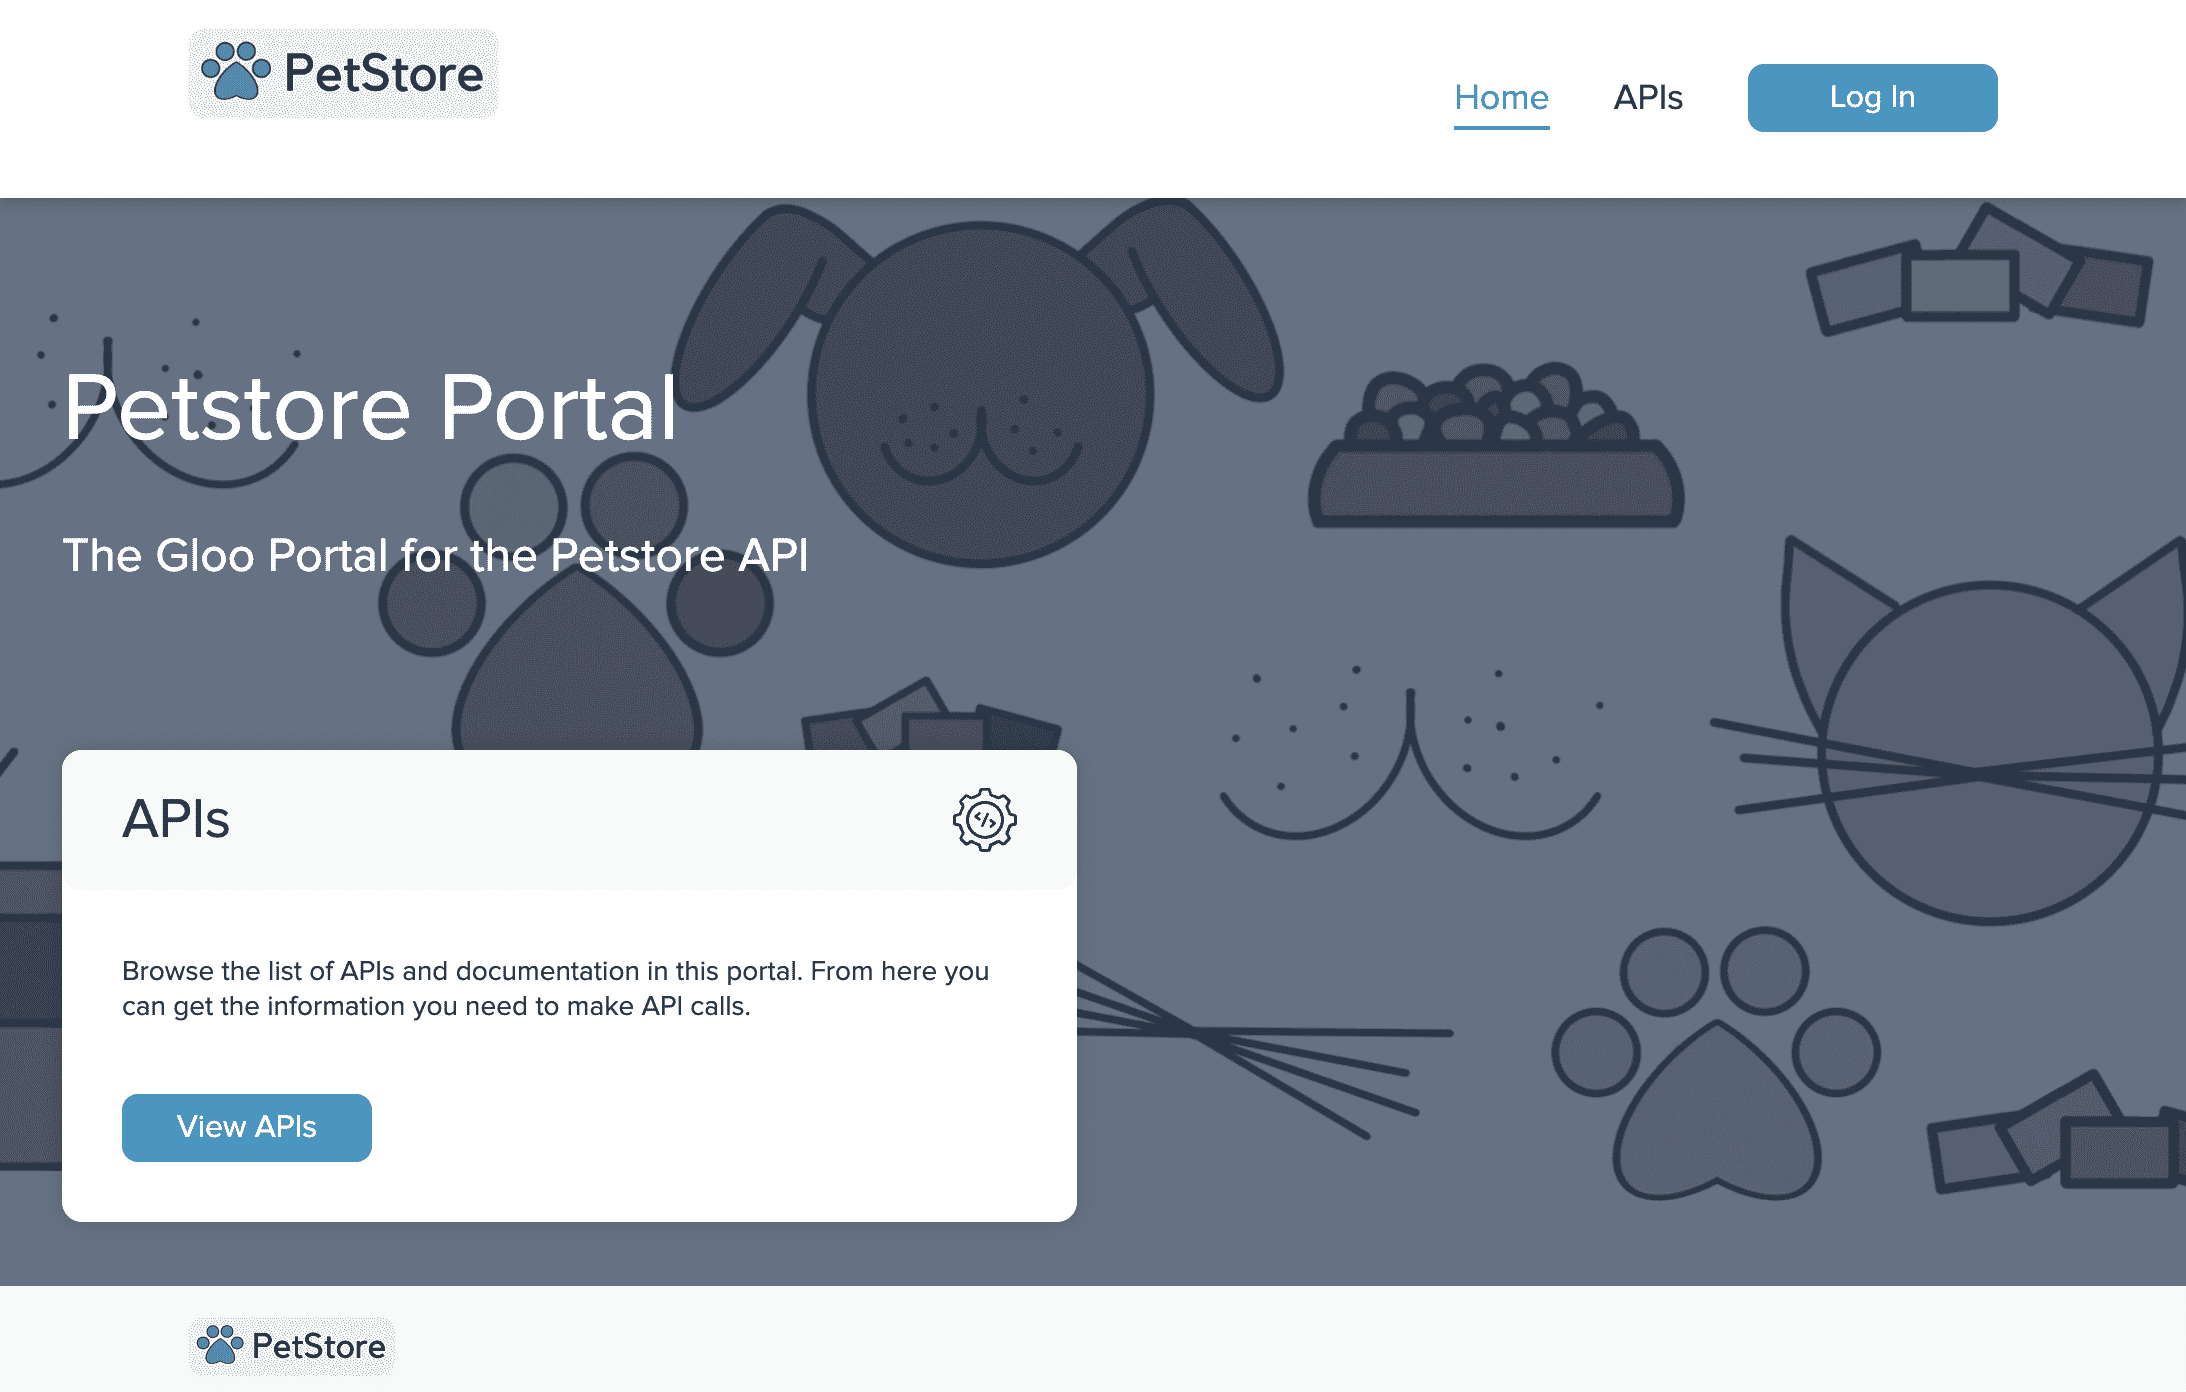
To do this, you will need to right-click on the element in the Portal UI that you want to customize, in this case the title section in the home page, and click ‘inspect element’ to view the CSS classes.
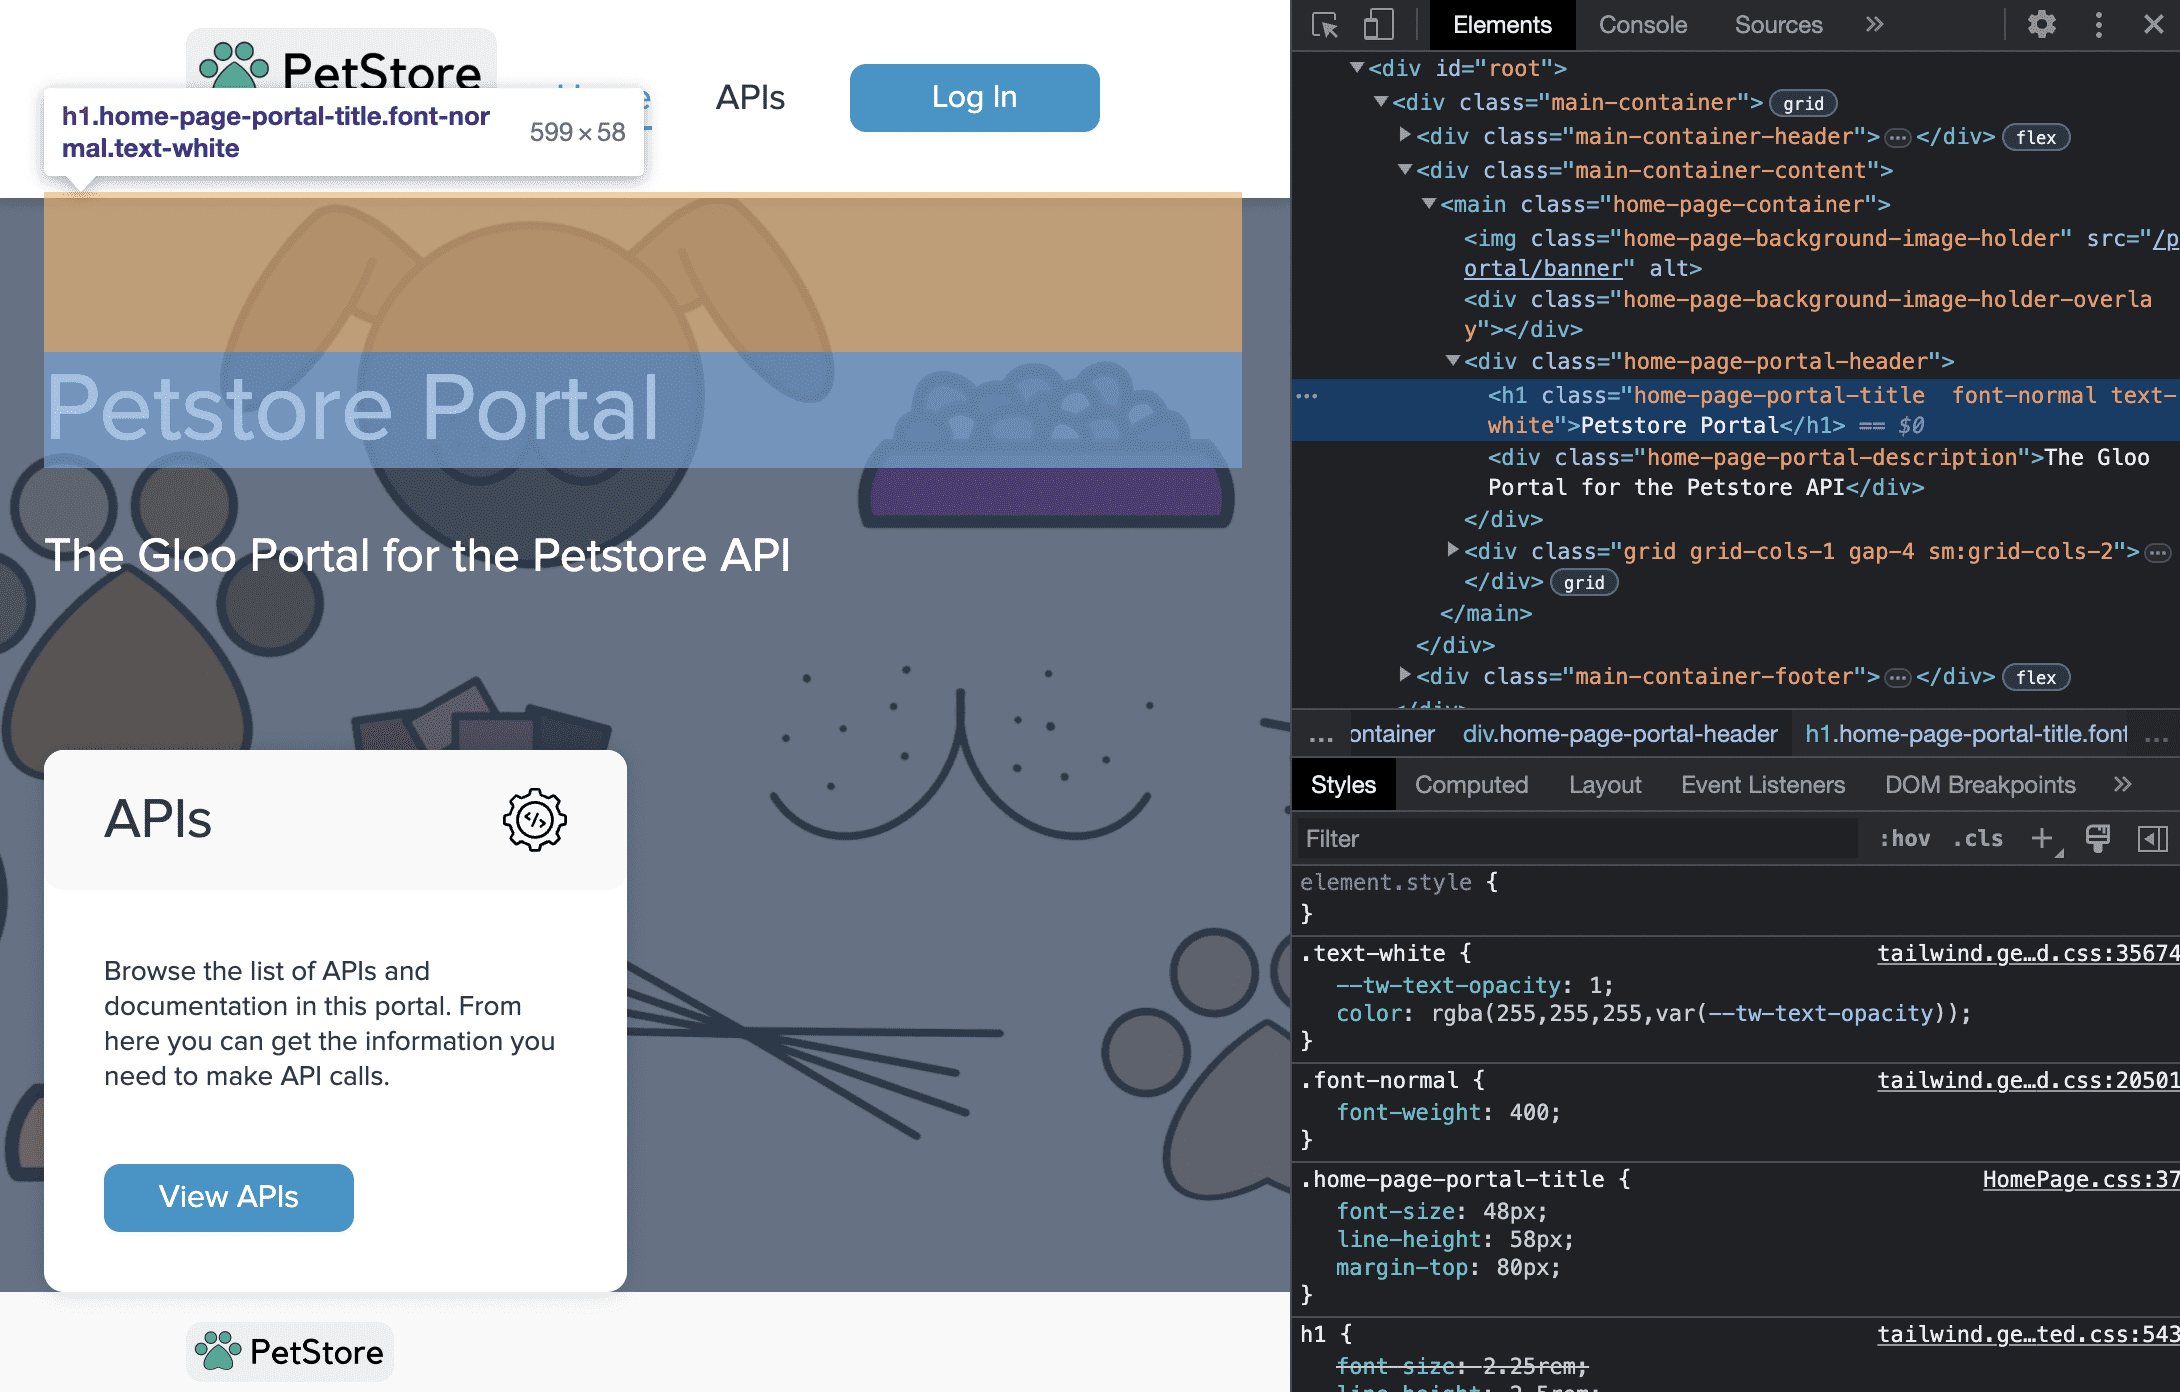
Here we can see that the title has a CSS class named ‘home-page-portal-title’ which we can target in the Admin UI's Advanced Portal Customization modal.
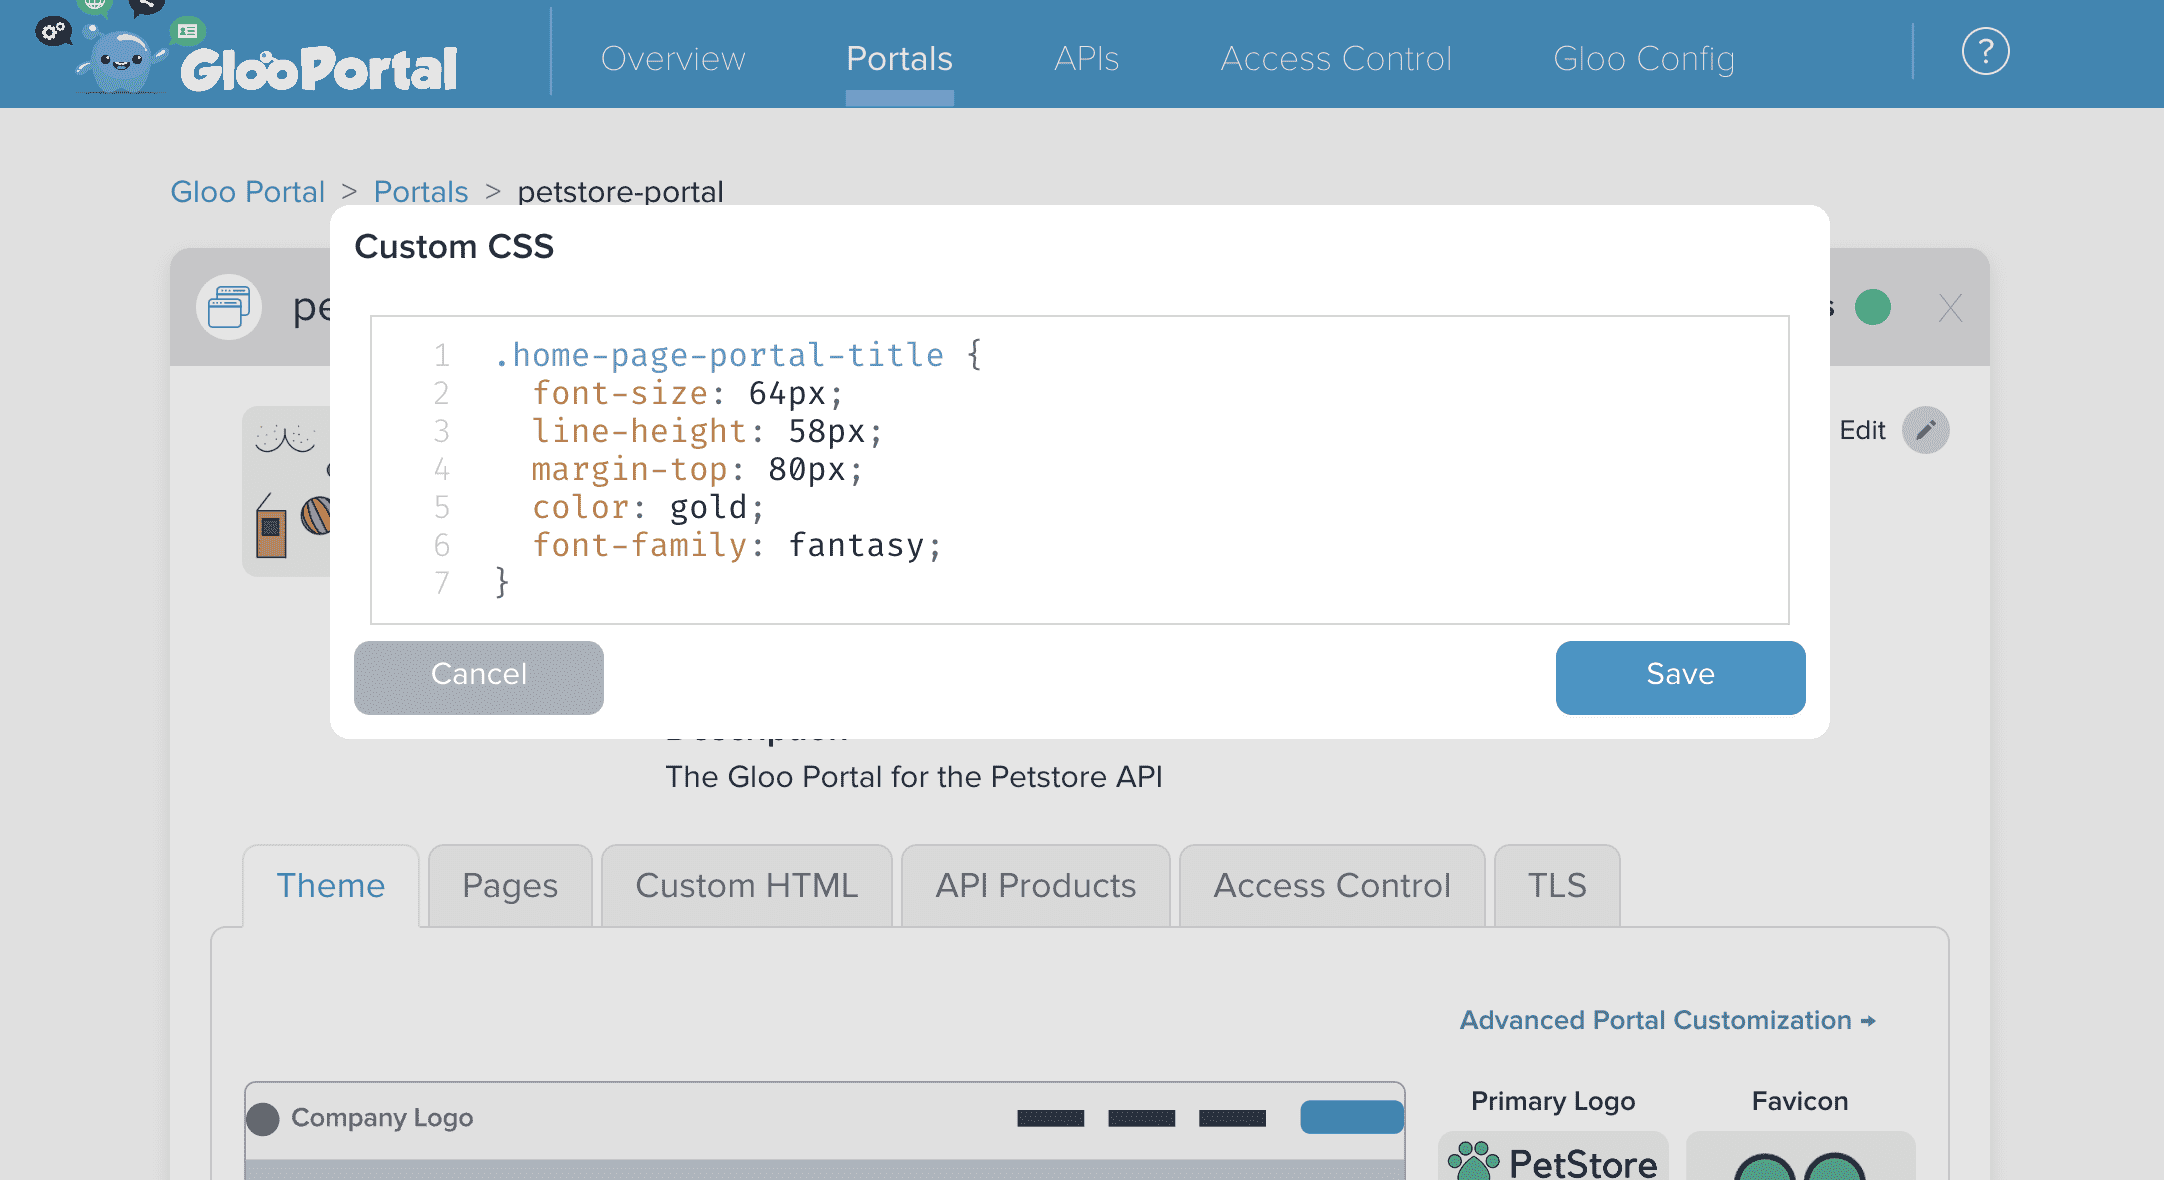
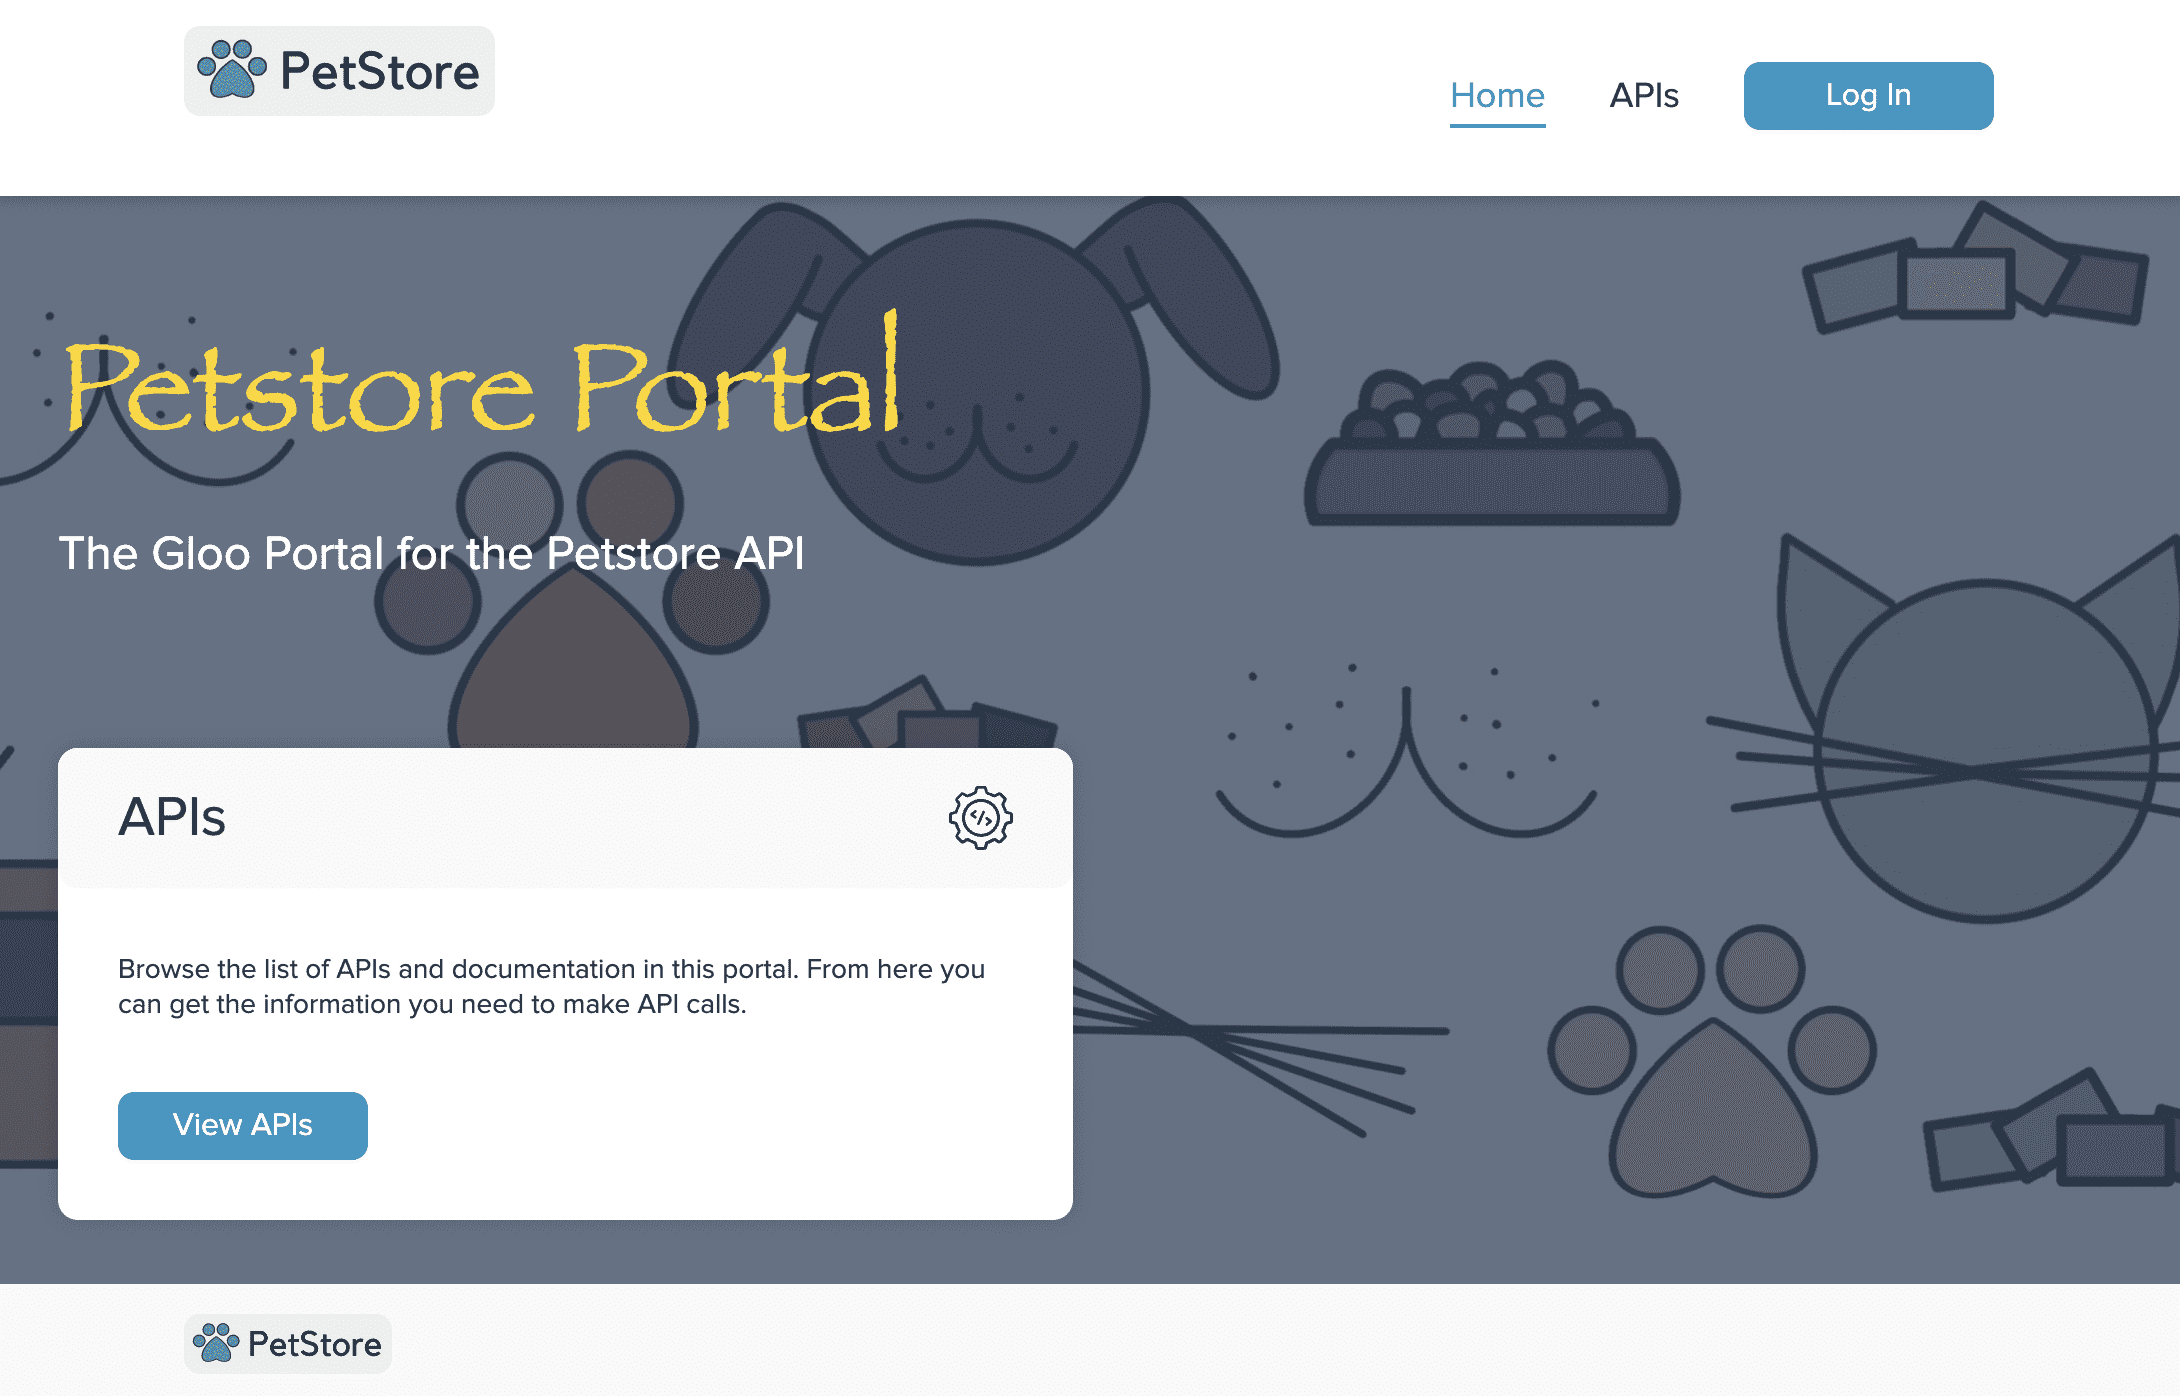
Once the changes are saved, they will be immediately reflected in the Portal UI.
Next steps
You may want to learn more about the concepts behind users, groups, plans, and portals. Check out the architecture page of our concepts section as an excellent jumping off point to better understand how all the pieces of Gloo Portal fit together.
