Persistent storage
Set up Redis to store data in a Kubernetes persistent volume so that data persists across restarts.
About persistent storage options
You can deploy a local instance of Redis®* 1 to back up data for various Gloo components when you install Gloo Mesh Gateway. In the About backing databases docs, you can learn more about what data is stored and your setup options for each individual Gloo component.
When you use a local Redis instance, the data is not persistent. This means that if Redis restarts, such as due to an upgrade, the data is no longer available. The related Gloo components, such as the management server and agent relay process, must repopulate the data in Redis. This relay process can take time, particularly in large environments. Additionally, you might have safety features such as safe mode or safe start windows to prevent translation errors until the data becomes available. In such cases, you might want your local Redis data to persist to speed up the time until the data is available.
Available Gloo components
You can configure persistent storage for the following Gloo Mesh Gateway control plane components that share the same local backing Redis instance:
- Gloo management server
- Gloo UI
- Gloo insights engine
How persistent storage works
You can set up persistent storage for the local Redis instances that back your Gloo components by using Kubernetes storage. To set up Kubernetes storage, you configure three main storage resources: storage classes, persistent volumes (PVs), and persistent volume claims (PVCs). You configure storage classes and PVs on your own. For example, your cloud provider might have pre-configured storage classes that you can choose from to create your PVs. Then during a Gloo installation or upgrade, you use the Gloo Helm chart to configure a PVC (or use an existing one) for the local Redis instance.
Persistent volumes (PVs) are a cluster-wide resource where the persisted data is stored outside the lifecycle of the Redis pod. You can provision the PV yourself or dynamically by using a PVC. Note that your infrastructure provider might limit your options for how to provision the PV.
Persistent volume claims (PVC) request storage for the local Redis instance that mounts the PVC as a volume. PVCs specify size, access modes, and specific storage class requirements. When a PVC is created, Kubernetes finds a PV that matches the claim’s requirements. If a suitable PV is available, the PV is bound to the PVC. If no suitable PV is found but a storage class is defined, Kubernetes can dynamically provision a new PV according to the specifications of the storage class and bind it to the PVC.
Storage classes define different types of storage that are offered by your cluster’s cloud provider or on-premise storage system. You might have different storage classes for different storage performance levels or backup policies that customize settings such as replication or IOPS. You set the storage class that the PVC requests in your Helm settings. If you do not define a storage classes, the default storage class is used.
To statically provision the PV and matching PVC, set the redis.deployment.persistence.persistentVolume.existingClaim value to true. Then, put the name of the PVC that you want the Redis deployment to mount in the redis.deployment.persistence.persistentVolume.name field.
To use dynamic provisioning, you can set up the details of the PVC in the redis.persistence.persistentVolume section of the Gloo Helm chart during installation or upgrade, as described in the following example configuration.
Redis options for RDB and AOF
When you enable persistence for local Redis, you must also set up the persistence mode. You can choose between two main persistence modes: Redis Database (RDB) or Append Only File (AOF). You can also use the modes together, but this use case is rare.
- RDB: RDB provides a point-in-time snapshot for a disaster recovery backup, but has trade-offs in the completeness of data versus AOF.
- AOF: AOF logs every write operation for a more complete recovery option, but has trade-offs in resource usage which can impact performance versus RDB.
For more information, see the Redis docs. For more details of how to configure these persistent modes, see the following example configuration in the setup steps.
Before you begin
Review the backing storage options to understand the ramifications of using the built-in local Redis for the Gloo Mesh Gateway control plane components like the management server.
Set up persistence for the built-in Redis
Get the Helm values for your current installation, such as with the following example commands.
In the
redis.deploymentsection, configure the settings to use persistence for the built-in Redis instance that backs the Gloo Mesh Gateway control plane components. For multicluster setups, theredis.deploymentsection is configured in the Helm installation for the management cluster.Review the following table to understand this configuration.redis: deployment: enabled: true persistence: enabled: true persistentVolume: existingClaim: false name: gloo-mesh-redis storageClass: "" accessModes: - ReadWriteOnce size: "1Gi" aof: appendfsync: everysec enabled: false rdb: saveSnapshot: "60 1000"Setting Description redisThe section to configure the built-in Redis instance that backs the Gloo management server and UI. deploymentThe section to configure the deployment details of the built-in Redis instance. For information about options other than persistence, review the Helm reference docs. persistenceThe section to configure persistent storage for the local Redis instance so that data persists across pod restarts. Note that data does not persist across node or zonal failures. To set up persistence for such scenarios, you can bring your own Redis instance. enabledSet to trueso that the built-in Redis stores data in a Kubernetes persistent volume (PV). The default value isfalse.persistentVolumeThe section to configure the details of the PVC that binds to the PV to back your local Redis instance. existingClaimTo use an existing PVC, set this value to trueand leave the remaining fields in thepersistentVolumesection blank. The default value isfalseso that you can configure a PVC that can dynamically provision a PV.nameThe name of the PVC for the Redis deployment to mount as a volume. The default value is gloo-mesh-redis.storageClassThe storage class of the PVC. If you leave this value blank, as in the example, then the default storage class is used. To disable dynamic provisioning, set this value to '-'. If you disable dynamic provisioning, note that you must manually create the PV that binds to the PVC through static provisioning. To list available storage classes in your cluster, runkubectl get storageclasses. For more info, see the Kubernetes docs.accessModeThe access modes of the PVC. Possible values are ‘ReadWriteOnce’, ‘ReadOnlyMany’, ‘ReadWriteMany’, or ‘ReadWriteOncePod’. For more info, see the Kubernetes docs. sizeThe size of storage capacity that the PVC requests. For more info, see the Kubernetes docs. Storage capacity requests depend on the size of your environment, but the following example values provide a rough guideline: - 1Gi for a small environment (3 clusters, < 1,000 services)
- 2Gi to 5Gi for a medium environment (10 clusters, < 4,000 services)
- 10Gi or larger for a large environment (> 10 clusters, > 5,000 services)
aofThe section to configure Redis with Append Only File (AOF) persistence mode. AOF logs every write operation for a more complete recovery option, but has trade-offs in resource usage which can impact performance vs. RDB. For more info, see the Redis docs. appendfsyncConfigure how often data is saved from the in-memory database to the disk. Options are ’everysec’, ‘always’, or ’no’. The example uses the default value, ’everysec’. enabledSet to true to use AOF (AOF) persistence mode. In this example, the value is set to false, so AOF is not used. rdbThe section to configure Redis with Redis Database (RDB) persistence mode. RDB provides a point-in-time snapshot for a disaster recovery backup, but has trade-offs in the completeness of data vs. AOF. For more info, see the Redis docs. In the example, the rdbsection is present, so the mode is enabled.saveSnapshotConfigure how often an RDB snapshot is created. The format is ‘N M’, where N is the number of seconds and M is the minimum number of changes in the dataset. For example, enter ‘60 1000’ to take a snapshot every 60 seconds when at least 1000 keys are changed since the last snapshot. Continue by upgrading your installation.
Verify the connection
To review the data that is stored in Redis, you can connect to the local Redis instance. If you bring your own Redis, you must use those connection values. For more information, see your Redis provider docs, such as Amazon ElastiCache or Google Cloud Memorystore.
Choose between using the Redis CLI or RedisInsights.
Redis CLI
You can use the Redis CLI that is built into your deployment to review the data in your database.
Install Redis in your cluster so that you can use the
redis-clito connect to your Redis instance.From your terminal, log in to the Redis pod and open a Redis CLI shell.
Run Redis CLI commands, such as
monitororkeys. For more information, see the Redis docs.Example response of data populated by the management server:
  keys *
1) "$CLUSTER_NAME~apps~v1~Deployment"
2) "reports#$CLUSTER_NAME#httpbin#$CLUSTER_NAME"
3) "$CLUSTER_NAME~install.istio.io~v1alpha1~IstioOperator"
4) "reports#$CLUSTER_NAME#gloo-mesh#globalcccfde00-e4a9-4867-b6c0-5df8601f6e1e"
5) "$CLUSTER_NAME~admissionregistration.k8s.io~v1~MutatingWebhookConfiguration"
6) "reports#idx"
7) "reports#$CLUSTER_NAME#store#$CLUSTER_NAME"
8) "gloo.mesh.key.set"
Example response of rate limit counters:
  monitor
OK
1681223733.198361 [0 10.xxx.x.x:xxxxx] "INCRBY" "tree|solo.io|generic_key^gloo-mesh.rl-server-config-gloo-mesh-$CLUSTER_NAME-rate-limiter|generic_key^counter|1718236800" "1"
Example response of API keys for the external auth service and portal server add-ons. Note that the API key name and value are hashed based on the
apiKeyStorage.secretKeythat you configured when setting up the add-ons.keys * 1) "1bbe3f25-5a2a-4797-8ac0-d59c7480377a" 2) "abcmHk2Iwcy3VL+NNswyrs3B4YIEx39BG84jzwcoWB8=" get "1bbe3f25-5a2a-4797-8ac0-d59c7480377a" "xksmHk2Iwcy3VL+NNswyrs3B4YIEx39BG84jzwcoWB8=" get "abcmHk2Iwcy3VL+NNswyrs3B4YIEx39BG84jzwcoWB8=" "{\"api_key\":\"abcmHk2Iwcy3VL+NNswyrs3B4YIEx39BG84jzwcoWB8=\",\"labels\":[\"first.last@example.com\"],\"metadata\":{\"config_id\":\"gloo-mesh.api-key-auth-default-cluster-name-mgt-ext-auth-service\",\"created-ts-unix\":\"1718742070\",\"name\":\"gold-api-key-name\",\"usagePlan\":\"gold\",\"username\":\"first.last@example.com\"},\"uuid\":\"1bbe3f25-5a2a-4797-8ac0-d59c7480377a\"}"
RedisInsights
RedisInsights is a desktop application that you can install for UI- and CLI-based interactions. For more information, see the Redis docs.
- Install RedisInsights. The steps vary depending on where you want to install the app.
- On your local machine: Download RedisInsights.
- In your Kubernetes cluster: See the Redis docs.
- Enable port forwarding on the Redis deployment. Update the namespace and deployment to match the Redis instance in your cluster.
kubectl port-forward -n gloo-mesh deploy/gloo-mesh-redis 6379 - Launch the RedisInsights app.
- Click + Add Redis Database and enter in your localhost and port details, which by default are
127.0.0.1:6379. - Click the database that you just added.
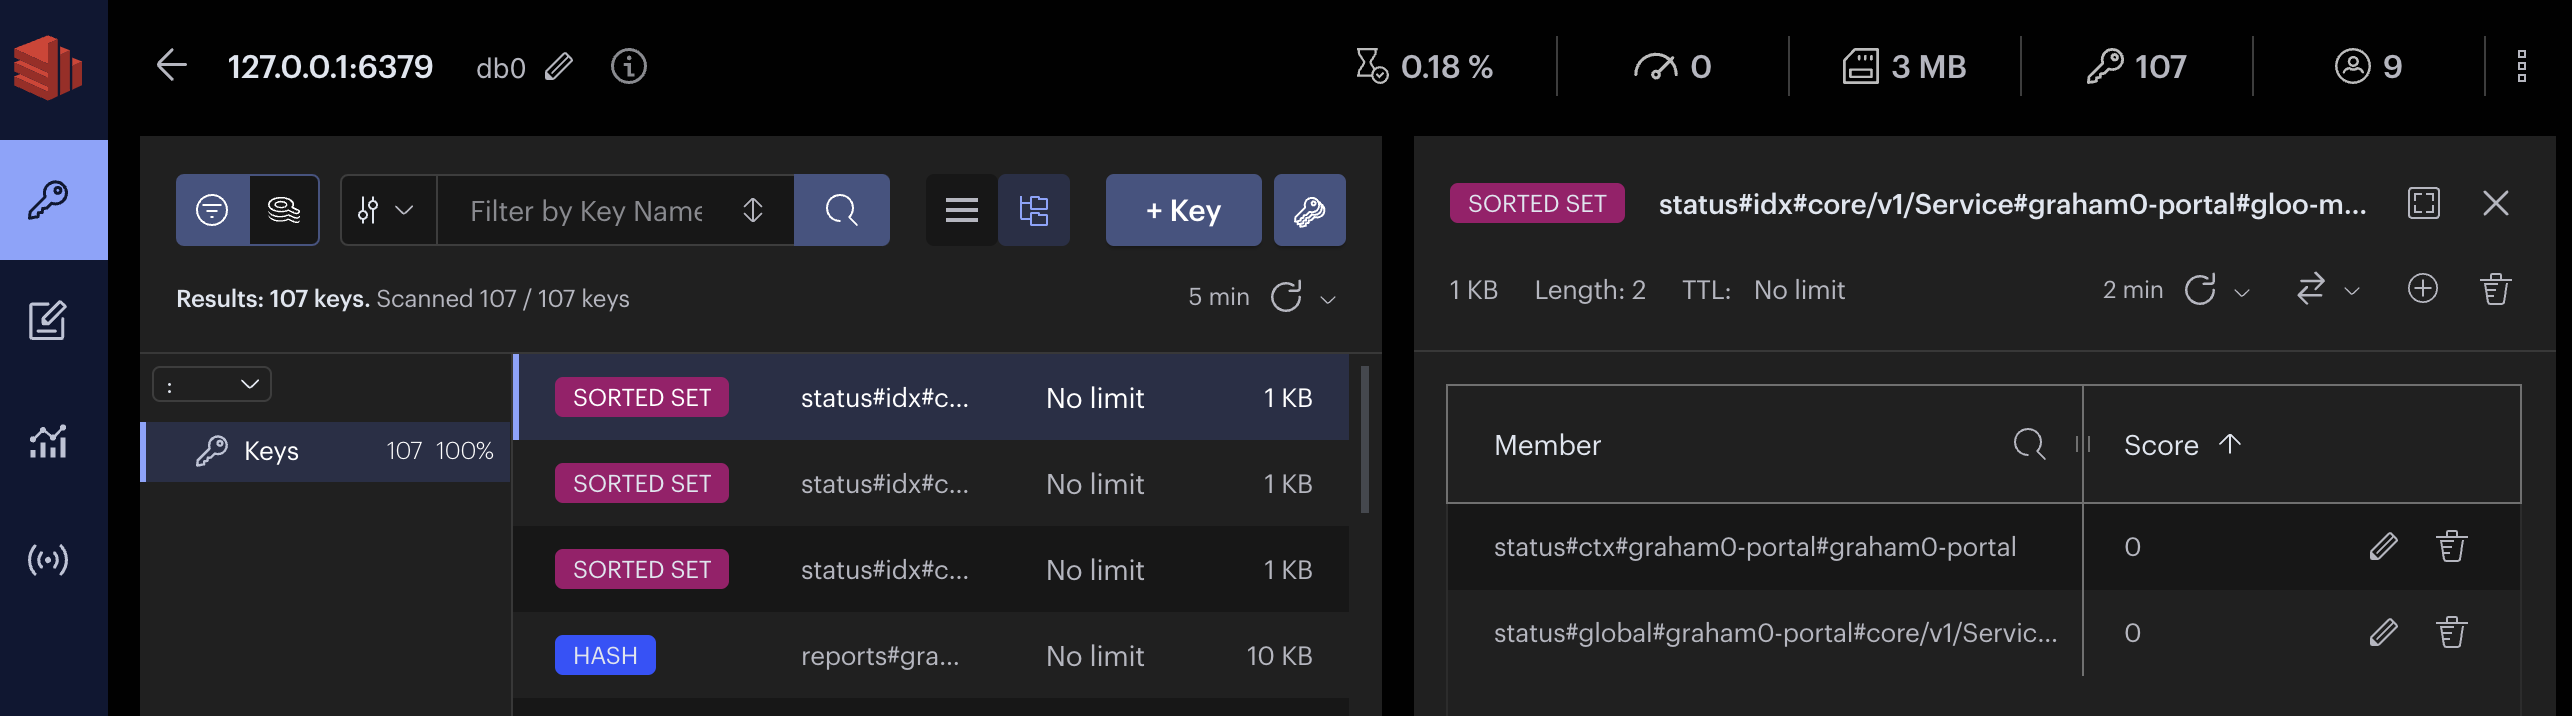
- Use the UI or CLI to explore the data. For example, you can click the Browser tab (the key icon) and toggle the Key view to explore all of the keys in the database instance, as shown in the following screenshot.
*Redis is a registered trademark of Redis Ltd. Any rights therein are reserved to Redis Ltd. Any use by Solo.io, Inc. is for referential purposes only and does not indicate any sponsorship, endorsement or affiliation between Redis and Solo.io. ↩︎