Backend portal configuration
Configure the backend of the developer portal to select the APIs that you want the portal to serve, their visibility settings, and the usage plans that you want to apply.
With the Portal custom resource, you tie together the backend resources that serve the developer portal. These resources include portal settings, usage plans, API products, and more.
About the backend and frontend portals
As you set up a developer portal, you can think about two main parts to configure:
- Backend portal: As part of the Gloo Mesh Gateway installation, Gloo set up a portal server. You can configure this backend portal to expose the Gloo Portal OpenAPI as well as the Portal custom resources that describe each developer portal that you create.
- Frontend portal: The frontend portal is a user-facing application that renders the information about the APIs that the portal server exposes in a developer portal. This way, your users can interact with a graphical user interface to view, authenticate to, and use your API products. For more information, see the Deploy a frontend app guide.
Prepare the backend portal configuration
The Portal custom resource selects the API products and usage plans that you want to expose in the developer portal.
Step 1: Add API products
Decide on the API products that you want your developer portal to serve. To determine the API products that are included in a portal, you specify an API product label selector in your portal resource.
Decide on a label that you want to use to select the API products that you want to include in your developer portal. For example, your label might be
portal: dev-portal.Add the label to the
spec.apissection in your portal resource. When you create the portal resource, all API products with this label are retrieved and the corresponding APIs are stitched together in a combined schema.apiVersion: apimanagement.gloo.solo.io/v2 kind: Portal metadata: name: developer-portal namespace: gloo-mesh spec: visibility: public: true privateAPILabels: portal-visibility: private domains: - "developer.example.com" portalBackendSelectors: - selector: labels: app: gloo-mesh-portal-server usagePlans: - name: bronze displayName: "Bronze Plan" description: "A basic usage plan" - name: silver description: "A better usage plan" - name: gold description: "The best usage plan!" apis: - labels: portal: dev-portalDecide on the API products that you want to include in your portal and add the label to the route table that represents each API product. The following example adds the label to the tracks and petstore API products.
Step 2: Set the visibility of API products
For the API products that the developer portal serves, you can decide whether the API product is visible to all users (public APIs) or if the API product is hidden until the user is successfully authenticated and authorized (private APIs).
Marking an API product as private requires a user to be properly authorized to see the corresponding APIs in the developer portal. However, private API products do not automatically configure an API product to require an API key when interacting with the API. To secure an API product and its APIs with an API key, see Prepare usage plans for your API products.
Click through the following tabs to learn more about the visibility options that are available to you and the resources you need to configure to implement this option.
Step 3: Add usage plans
Describe the usage plans that you want to make visible to your users in the developer portal. You might include information such as a display name and a description that you want to show to users that access the developer portal.
Get the usage plans that you set up earlier. The usage plans are set in the rate limit server configuration.
kubectl get ratelimitserverconfigs usage-plans -n gloo-mesh -o yamlSelect the usage plans that you want to include in your portal. To reference a usage plan in your portal resource, you need to get the
simpleDescriptors.valuevalue. In the following example, the usage plan value isbronze.... spec: destinationServers: - port: name: grpc ref: cluster: $CLUSTER_NAME name: rate-limiter namespace: gloo-mesh raw: setDescriptors: - rateLimit: requestsPerUnit: 1 unit: MINUTE simpleDescriptors: - key: userId - key: usagePlan value: bronzeAdd the usage plan values to the
usagePlanssection of your portal resource. Make sure to enter the usage plan value that you retrieved in the previous step in thespec.usagePlans.namefield. You can optionally add information, such as the display name or a description for each usage plan that is shown to users that access the developer portal. For example, you might include pricing details, rate limiting, or access instructions in the plan description.apiVersion: apimanagement.gloo.solo.io/v2 kind: Portal metadata: name: developer-portal namespace: gloo-mesh spec: domains: - "developer-portal.example.com" portalBackendSelectors: - selector: labels: app: gloo-mesh-portal-server usagePlans: - name: bronze displayName: "Bronze Plan" description: "A basic usage plan" - name: silver description: "A better usage plan" - name: gold description: "The best usage plan!" apis: - labels: portal: dev-portal
Create a backend portal
Now that you prepared your portal configuration, you can create your developer portal and make it available to your users.
Before you begin
This guide assumes that you want to include the tracks and petstore API products in your developer portal. The tracks API is publicly available, and the petstore API is visible only if you are successfully authenticated and authorized.
- Deploy sample REST APIs to create ApiDocs.
- Bundle your APIs into API products.
- Prepare usage plans, which consist of external auth and rate limit policies.
- Prepare your developer portal configuration.
Step 1: Create a backend portal resource
Create a portal resource. The Gloo portal server uses this configuration to create a backend for a developer portal. Later, you can expose the developer portal to end users by creating a frontend app for the portal.
Create a developer portal. The following portal resource creates a developer portal for the
developer.example.comhost and includes all API products with theportal: dev-portallabel. If you followed the examples in Decide on your portal configuration, the tracks and petstore API products are served by this portal resource.kubectl apply -f- <<EOF apiVersion: apimanagement.gloo.solo.io/v2 kind: Portal metadata: name: developer-portal namespace: gloo-mesh spec: visibility: public: true privateAPILabels: portal-visibility: private domains: - "developer.example.com" portalBackendSelectors: - selector: labels: app: gloo-mesh-portal-server usagePlans: - name: bronze displayName: "Bronze Plan" description: "A basic usage plan" - name: silver description: "A better usage plan" - name: gold description: "The best usage plan!" apis: - labels: portal: dev-portal EOFVerify that the internal
PortalConfigresource is created for your portal.kubectl get portalconfigs -n gloo-mesh -o yamlExample output: Notice that the stitched schema is used, as well as the portal metadata that you set in the route table.
apiVersion: v1
items:
- apiVersion: internal.gloo.solo.io/v2
  kind: PortalConfig
  metadata:
 annotations:
   cluster.solo.io/cluster: cluster-1
 creationTimestamp: "2023-04-06T21:30:41Z"
 generation: 1
 labels:
   context.mesh.gloo.solo.io/cluster: cluster-1-portal
   context.mesh.gloo.solo.io/namespace: gloo-mesh-gateways
   context.mesh.gloo.solo.io/workspace: cluster-1-portal
   gloo.solo.io/parent_cluster: cluster-1-portal
   gloo.solo.io/parent_group: ""
   gloo.solo.io/parent_kind: Namespace
   gloo.solo.io/parent_name: gloo-mesh-gateways
   gloo.solo.io/parent_namespace: ""
   gloo.solo.io/parent_version: v1
   reconciler.mesh.gloo.solo.io/name: translator
 name: developer-portal-gloo-mesh-cluster-1-portal
 namespace: gloo-mesh
 resourceVersion: "1985686"
 uid: 59fe5508-d839-4720-b6ae-59347664e3bb
  spec:
 apis:
 - apiSchema:
     cluster: cluster-1-portal
     name: tracks-rt-stitched-openapi-cluster-1-portal-gloo-mesh-gateways-cluster-1-portal
     namespace: gloo-mesh
   contact: support@example.com
   description: REST API for Catstronauts to retrieve data for tracks, authors
  and modules.
   license: license info
   routeTable:
     cluster: cluster-1-portal
     name: tracks-rt
     namespace: gloo-mesh-gateways
   termsOfService: You must authenticate to use this API! And other Terms of Service.
   title: Catstronauts REST API
 - apiSchema:
     cluster: cluster-1-portal
     name: petstore-rt-stitched-openapi-cluster-1-portal-gloo-mesh-gateways-cluster-1-portal
     namespace: gloo-mesh
   contact: support@example.com
   description: Totally awesome API for all things pets!
   license: license info
   routeTable:
     cluster: cluster-1-portal
     name: petstore-rt
     namespace: gloo-mesh-gateways
   termsOfService: You must authenticate to use this API! And other Terms of Service.
   title: Petstore REST API
 domains:
 - developer.example.com
 portalRef:
   cluster: cluster-1-portal
   name: developer-portal
   namespace: gloo-mesh
 public: true
kind: List
metadata:
  resourceVersion: ""
  selfLink: ""
Step 2: Set up routing for the backend portal
Set up routing to the portal server. This way, you can access the backend APIs that serve the frontend developer portal, such as listing the APIs in the portal.
Create a virtual gateway that you use to expose the developer portal. The following example selects the default ingress gateway that you deployed during your Gloo Platform installation. For more examples such as HTTPS/TLS, see Configure gateway listeners.
  kubectl apply -f- <<EOF
apiVersion: networking.gloo.solo.io/v2
kind: VirtualGateway
metadata:
  name: istio-ingressgateway-portal
  namespace: gloo-mesh-gateways
spec:
  listeners:
    - allowedRouteTables:
        - host: developer.example.com
        - host: portal.example.com
      http: {}
      port:
        number: 80
  workloads:
    - selector:
        cluster: $CLUSTER_NAME
        labels:
          istio: ingressgateway
EOF
Create a route table for the developer portal. The following route table creates routes for all the portal APIs so that you can interact with your developer portal.
  kubectl apply -f - <<EOF
apiVersion: networking.gloo.solo.io/v2
kind: RouteTable
metadata:
  name: dev-portal-rt
  namespace: gloo-mesh-gateways
spec:
  hosts:
  - developer.example.com
  virtualGateways:
  - name: istio-ingressgateway-portal
    namespace: gloo-mesh-gateways
  defaultDestination:
    port:
      number: 8080
    ref:
      name: gloo-mesh-portal-server
      namespace: gloo-mesh
      cluster: $CLUSTER_NAME
  http:
    #
    # Portal server routes that require authentication.
    #
    - forwardTo: {}
      name: authn
      labels:
        oauth: "true" # Use this label to apply an OAuth external auth policy
        route: portal-api
      matchers:
        #
        # /v1/me
        - uri:
            prefix: /v1/me
          method: OPTIONS
        - uri:
            prefix: /v1/me
          method: GET
          headers:
            - name: Authorization
              value: "Bearer.*"
              regex: true
        #
        # /v1/apis
        - uri:
            prefix: /v1/apis
          method: GET
          headers:
            - name: Authorization
              value: "Bearer.*"
              regex: true
        #
        # /v1/usage-plans
        - uri:
            prefix: /v1/usage-plans
          method: GET
          headers:
            - name: Authorization
              value: "Bearer.*"
              regex: true
        #
        # /v1/api-keys
        - uri:
            prefix: /v1/api-keys
          method: GET
          headers:
            - name: Authorization
              value: "Bearer.*"
              regex: true
        - uri:
            prefix: /v1/api-keys
          method: POST
          headers:
            - name: Authorization
              value: "Bearer.*"
              regex: true
        - uri:
            prefix: /v1/api-keys
          method: DELETE
          headers:
            - name: Authorization
              value: "Bearer.*"
              regex: true
    #
    # Portal server routes that are public and do not require authentication.
    #
    - forwardTo: {}
      name: no-auth
      labels:
        route: portal-api
      matchers:
        - uri:
            prefix: /v1/apis
          method: GET
        - uri:
            prefix: /v1/usage-plans
          method: GET
        - uri:
            prefix: /v1/api-keys
          method: GET
        #
        # Allow OPTION requests without authentication.
        #
        - uri:
            prefix: /v1/api-keys
          method: OPTIONS
        - uri:
            prefix: /v1/usage-plans
          method: OPTIONS
        - uri:
            prefix: /v1/apis
          method: OPTIONS
EOF
Step 3: Verify the backend portal
Verify that the backend portal is set up by sending a request and reviewing its resources in the Gloo UI.
The /me and /api-keys paths are protected even if you set API product visibility to public. These API paths cannot be accessed until a user is authenticated with an OIDC provider. For more information, see Set up external authentication.
Send a request to the developer portal to list the APIs that you have access to. Note that because the petstore API is set to private, only the tracks API is returned in your CLI output. To view the private petstore APIs, you must set up authentication and authorization. For more information, see Secure the portal.
curl -vik --resolve developer.example.com:80:$INGRESS_GW_ADDRESS http://developer.example.com:80/v1/apisExample output:
  * Mark bundle as not supporting multiuse
< HTTP/1.1 200 OK
HTTP/1.1 200 OK
< content-type: application/json
content-type: application/json
< date: Fri, 14 Apr 2023 13:57:02 GMT
date: Fri, 14 Apr 2023 13:57:02 GMT
< content-length: 387
content-length: 387
< x-envoy-upstream-service-time: 0
x-envoy-upstream-service-time: 0
< server: istio-envoy
server: istio-envoy

<

[{"apiId":"tracks-rt-gloo-mesh-gateways-portal","contact":"support@example.com","customMetadata":null,"description":"REST API for Catstronauts to retrieve data for tracks, authors and modules.","license":"license info","termsOfService":"You must authenticate to use this API! And other Terms of Service.","title":"Catstronauts REST API","usagePlans":["silver","gold","bronze"]}]
* Connection #0 to host developer.example.com left intact
Launch the Gloo UI.
meshctl dashboardFrom the menu, click the Portals page.
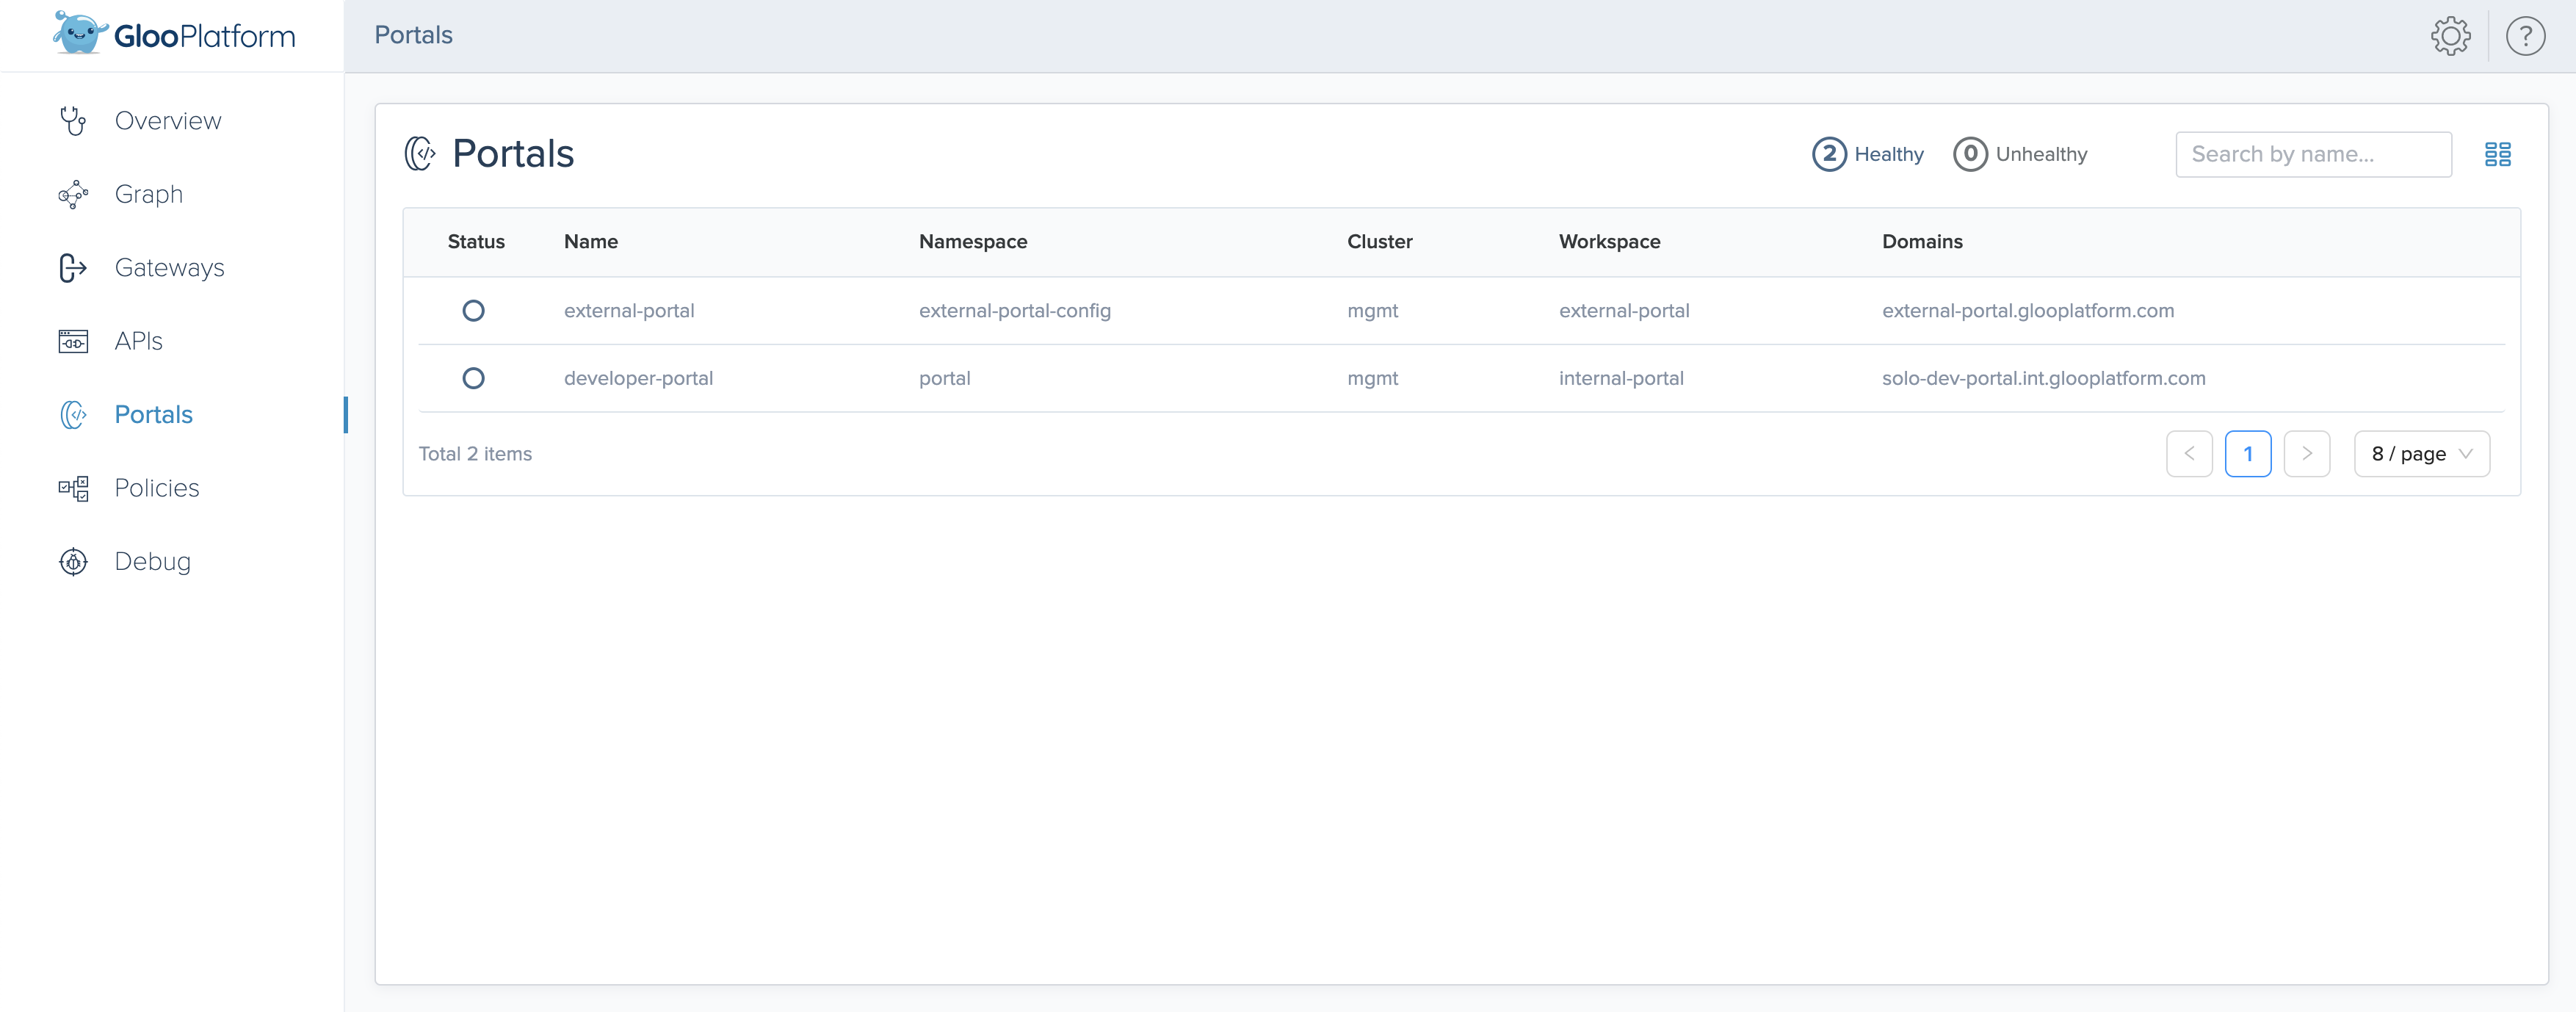
Figure: Gloo UI view of portals Figure: Gloo UI view of portals Click your portal and review the Published APIs and Usage Plans of the portal.
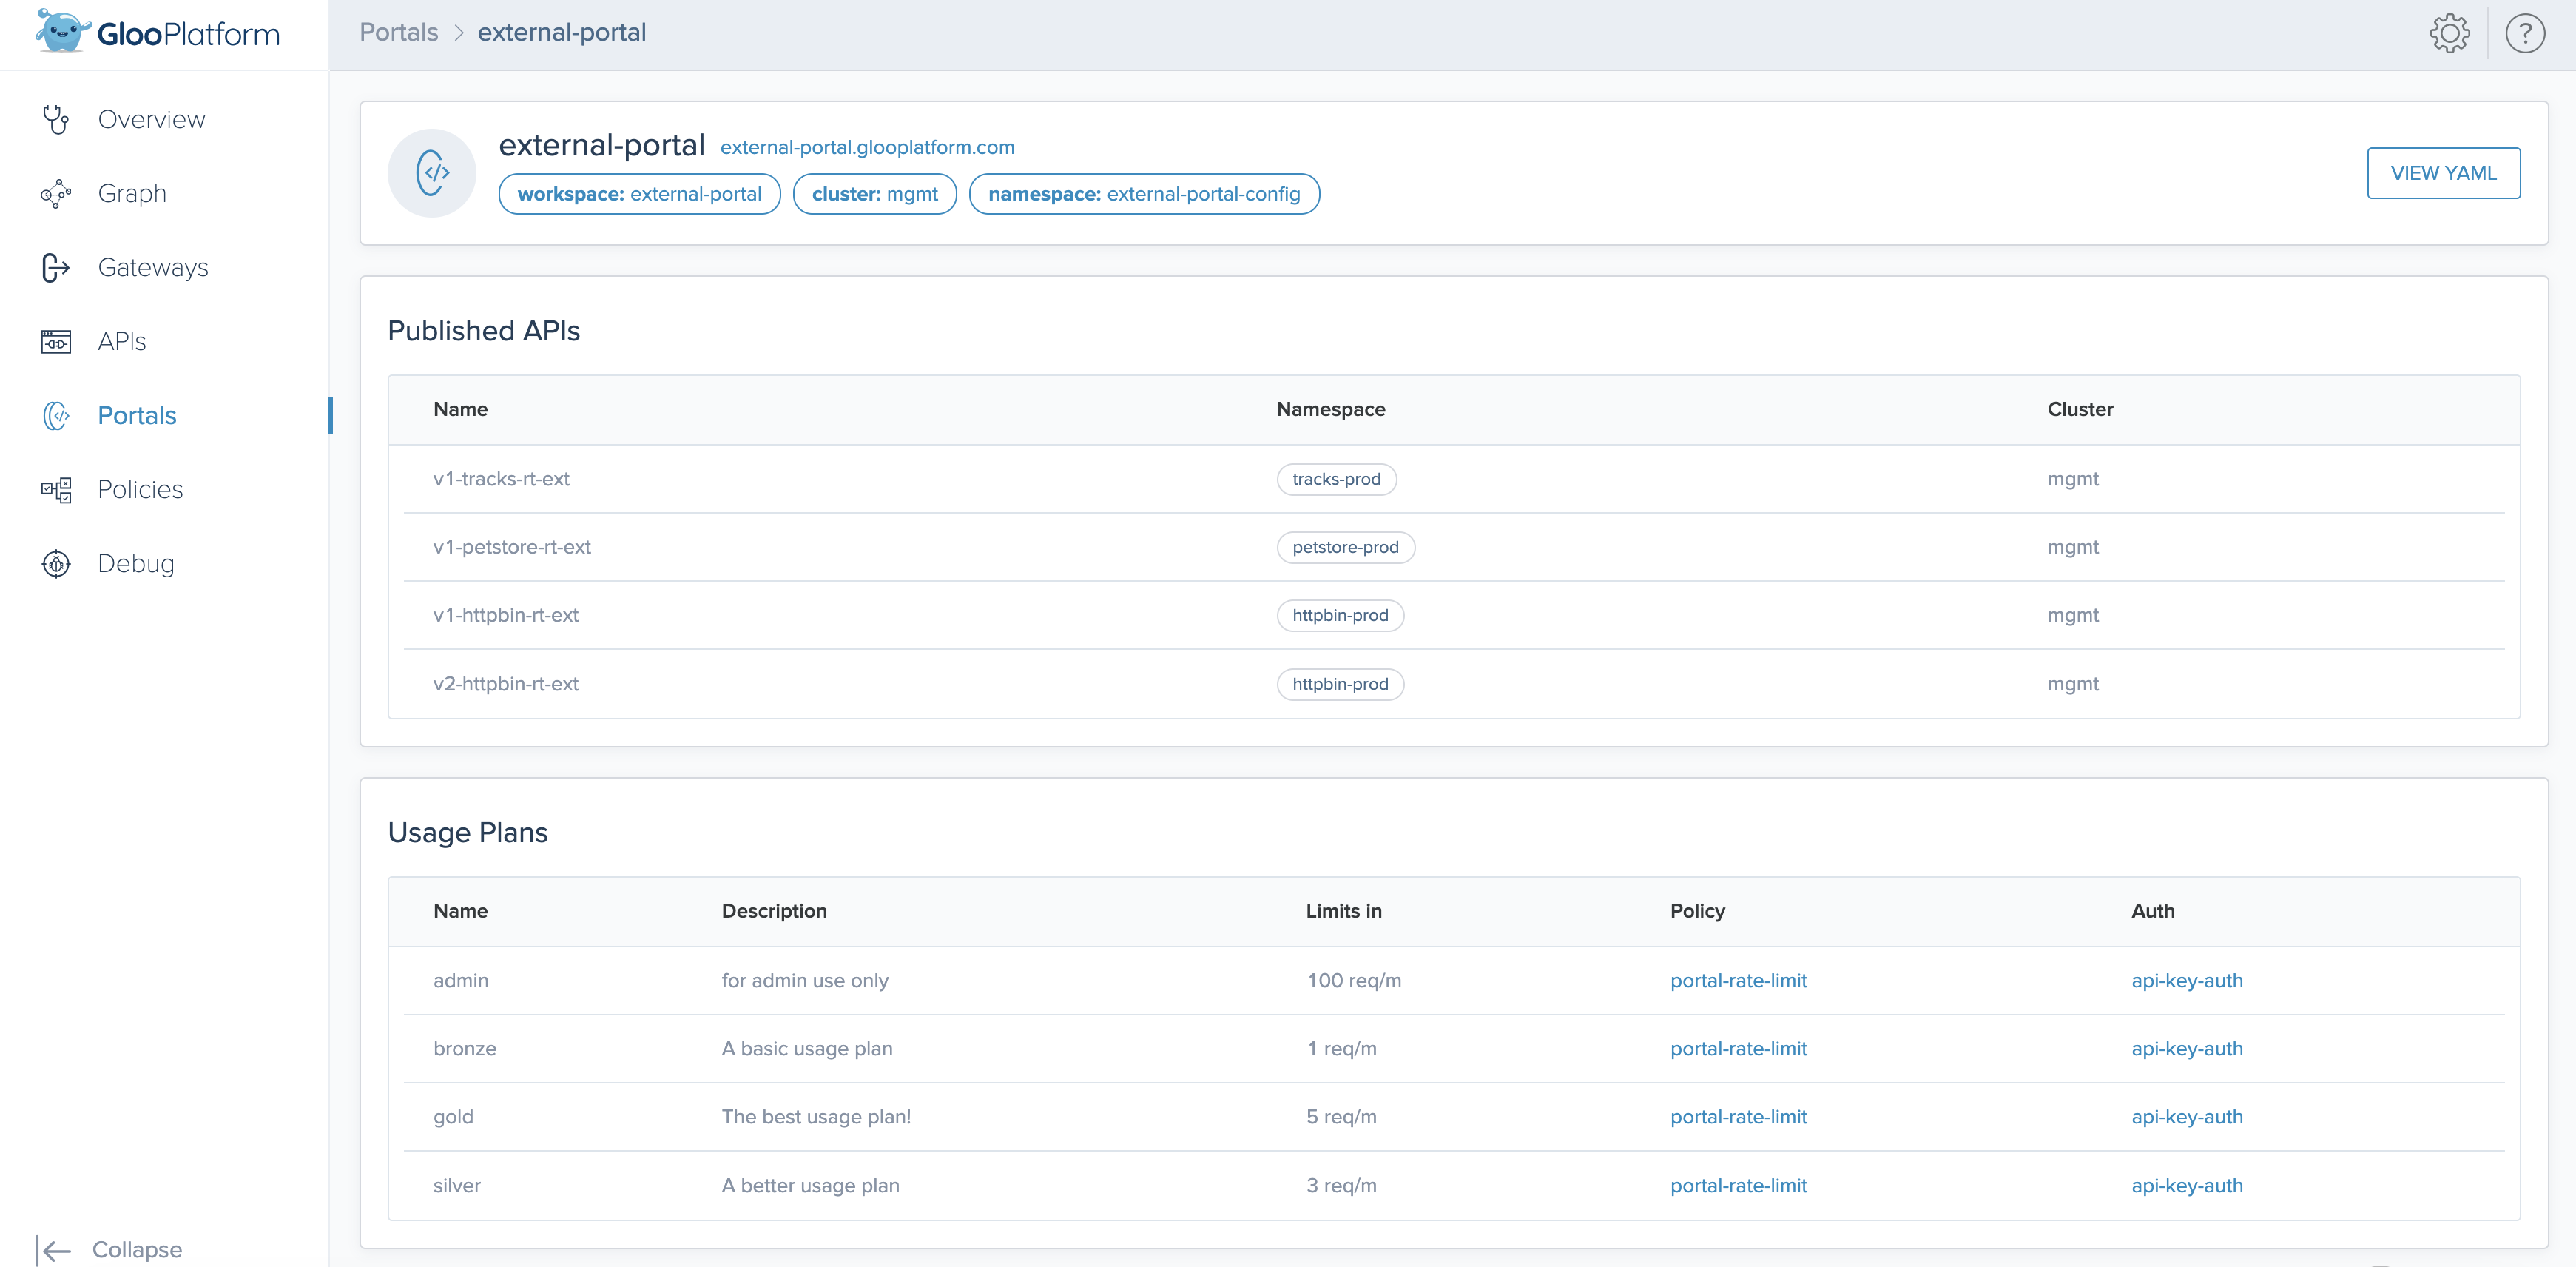
Figure: Gloo UI detailed view of portals Figure: Gloo UI detailed view of portals
Next steps
You can continue to use your portal in several ways:
- Create a frontend for the developer portal.
- Secure the portal, either along your backend or frontend routes.