Built-in Redis
Use the local, built-in Redis instances as part of your Gloo installation.
About
When you install Gloo Mesh Enterprise, you can choose to set up a local, built-in Redis®* 1 instance by default.
Note that the local built-in Redis option is a good choice for single cluster environments and for data that is not critical to app performance. For other multicluster environments and higher availability, consider bringing your own Redis instance, either as a separate deployment to the cluster such as Enterprise Redis or as an external instance in a cloud provider such as AWS ElastiCache. For more information, see Redis deployment options.
About the built-in Redis instances
The following table describes the built-in Redis instances that are created for you when you enable the Helm field during the installation.
Keep in mind that you might use the same instance for different use cases. For example, you can share an instance for the control plane (snapshot and insights) and the data plane (extAuthService and rateLimiter).
| Helm name | Redis deployment name | Namespace | Gloo component that uses Redis | Description |
|---|---|---|---|---|
redis | redis | gloo-mesh | Management server, agent, insights engine, UI | The default configuration path for the control plane that is still supported for ease of setup and upgrades. As of version 2.6, you can alternatively use the redisStore sections for snapshot and insights to configure separate Redis instances for these use cases. |
redisStore.extAuthService | gloo-redis-ext-auth | gloo-mesh | External auth service, portal server | Information to enforce external auth on requests, such as API keys. If the portal server is also enabled, the Redis instance configurations must match for both the external auth service and portal server. |
redisStore.insights | gloo-redis-insights | gloo-mesh | Insights engine, UI | Insights that provide information about your service mesh environment. |
redisStore.rateLimiter | gloo-redis-rate-limiter | gloo-mesh | Rate limiter | Rate limit counters to block requests that exceed the count. |
redisStore.snapshot | gloo-redis-snapshot | gloo-mesh | Management server, agent, insights engine, UI | Input and output snapshots of the configuration for all the resources in your environment. |
Step 1: Enable built-in Redis
Through Helm, you can configure Redis to store the data for several Gloo Mesh Enterprise components, as described in About Redis. After, Gloo deploys a Redis instance for each one based on the details that you configure.
When you install or upgrade Gloo Mesh Enterprise, include the following Helm values to enable the deployment of a built-in Redis instance. The following subsections cover use cases for having a separate control plane and data plane (the preferred minimum configuration), sharing the same instance across all usages, or having separate instances for all usages.
Option 1 (preferred): Separate control plane and data plane instances
Enable one instance for the control plane and one instance for the data plane.
Shared control plane instance
You have two options for a shared control plane instance:
redis: Theredissection of the Helm chart is enabled by default unless you explicitly disable it. Gloo deploys aredisinstance that the management server, insights engine, and UI are automatically configured to use. This default configuration path is still supported for ease of setup and upgrades.redisStore: Enable one of theredisStore.snapshotorredisStore.insightssections. Then, point the other section to the enabled section. This configuration path is available as of Gloo Mesh Enterprise version 2.6. You might want to use this approach to standardize the way that you write the Redis store configuration across the control plane and data plane components.
Shared data plane instance
Enable one of the redisStore.extAuthService or redisStore.rateLimiter sections. Then, point the other section to the enabled section.
Option 2: Shared instance for all usages
You have two options for a shared instance for both control plane and data plane usage:
redis: Theredissection of the Helm chart is enabled by default unless you explicitly disable it. Gloo deploys aredisinstance that the management server, insights engine, and UI are automatically configured to use. This configuration path is still supported for ease of setup and upgrades. You can point all theredisStorecomponents to this Redis instance.redisStore: Enable one of theredisStorecomponents, such assnapshot. Then, point all the other sections to the enabled section. This configuration path is available as of Gloo Mesh Enterprise version 2.6. You might want to use this approach to standardize the way that you write the Redis store configuration across the control plane and data plane components.
Option 3: Separate instances for all usages
Enable each built-in Redis instance separately. Note that you must also disable the default redis configuration section so that the control plane is not set up to use the legacy redis deployment.
Step 2: Add persistent storage
For more highly available setups, configure persistent storage for the built-in Redis instance. For more information, see Persistent storage.
Persistent storage helps protect data from pod restarts, but does not protect against zonal or regional failures. For more HA options, deploy your own Redis.
In the deployment.persistence section for each stanza of the redisStore, configure the settings to use persistence for the built-in Redis instance that backs the Gloo Mesh Enterprise components.
  deployment:
    enabled: true
    persistence:
      enabled: true
      persistentVolume:
        existingClaim: false
        name: gloo-mesh-redis
        storageClass: ""
        accessModes:
        - ReadWriteOnce
        size: "1Gi"
      aof:
        appendfsync: everysec
        enabled: false
      rdb:
        saveSnapshot: "60 1000"
| Setting | Description |
|---|---|
deployment | The section to configure the deployment details of the built-in Redis instance. For information about options other than persistence, review the Helm reference docs. |
persistence | The section to configure persistent storage for the local Redis instance so that data persists across pod restarts. Note that data does not persist across node or zonal failures. To set up persistence for such scenarios, you can bring your own Redis instance. |
enabled | Set to true so that the built-in Redis stores data in a Kubernetes persistent volume (PV). The default value is false. |
persistentVolume | The section to configure the details of the PVC that binds to the PV to back your local Redis instance. |
existingClaim | To use an existing PVC, set this value to true and leave the remaining fields in the persistentVolume section blank. The default value is false so that you can configure a PVC that can dynamically provision a PV. |
name | The name of the PVC for the Redis deployment to mount as a volume. The default value is gloo-mesh-redis. |
storageClass | The storage class of the PVC. If you leave this value blank, as in the example, then the default storage class is used. To disable dynamic provisioning, set this value to "-". If you disable dynamic provisioning, note that you must manually create the PV that binds to the PVC through static provisioning. To list available storage classes in your cluster, run kubectl get storageclasses. For more info, see the Kubernetes docs. |
accessMode | The access modes of the PVC. Possible values are ReadWriteOnce, ReadOnlyMany, ReadWriteMany, or ReadWriteOncePod. For more info, see the Kubernetes docs. |
size | The size of storage capacity that the PVC requests. For more info, see the Kubernetes docs. Storage capacity requests depend on the size of your environment, but the following example values provide a rough guideline:
|
aof | The section to configure Redis with Append Only File (AOF) persistence mode. AOF logs every write operation for a more complete recovery option, but has trade-offs in resource usage which can impact performance vs. RDB. For more info, see the Redis docs. |
appendfsync | Configure how often data is saved from the in-memory database to the disk. Options are ’everysec’, ‘always’, or ’no’. The example uses the default value, ’everysec'. |
enabled | Set to true to use AOF (AOF) persistence mode. In this example, the value is set to false, so AOF is not used. |
rdb | The section to configure Redis with Redis Database (RDB) persistence mode. RDB provides a point-in-time snapshot for a disaster recovery backup, but has trade-offs in the completeness of data vs. AOF. For more info, see the Redis docs. In the example, the rdb section is present, so the mode is enabled. |
saveSnapshot | Configure how often an RDB snapshot is created. The format is ‘N M’, where N is the number of seconds and M is the minimum number of changes in the dataset. For example, enter ‘60 1000’ to take a snapshot every 60 seconds when at least 1000 keys are changed since the last snapshot. |
Step 3: Configure API key details for the developer portal
If you use the developer portal, configure details related to storing API keys in the Redis instance for the external auth service. By default, the configuration that you set for redisStore.extAuthService is also used by the portal server. This way, the portal server can write API keys that protect the APIs exposed in the developer portal, and the external auth service can read the same API keys to authenticate requests.
redisStore.extAuthService.client.secretKey: Replace with a random string to use to hash the API keys that are stored in Redis. The example uses"ThisIsSecret".
redisStore:
  extAuthService:
    client:
      secretKey: "ThisIsSecret"
Step 4: Configure more details
Further configure the default Redis values. For specific fields and more information, check the Helm reference for each component of the redisStore section.
Common configuration sections include:
- Client connection details, such as redirects, retries, and max connections.
- Deployment details, such as to modify the Kubernetes deployment’s resource limits and requests for the built-in Redis instance.
- Deployment sidecar details, if you want to run the Redis deployment as a sidecar to an existing Redis instance instead of its own.
- Deployment image details, particularly if you store the Solo-provided images in your own private registry and create an image pull secret for an air-gapped installation.
- Persistence details, as described in the previous section.
Step 5: Verify the connection
To review the data that is stored in Redis, you can connect to the local Redis instance. If you bring your own Redis, you must use those connection values. For more information, see your Redis provider docs, such as Amazon ElastiCache or Google Cloud Memorystore.
Choose between using the Redis CLI or RedisInsights.
Redis CLI
You can use the Redis CLI that is built into your deployment to review the data in your database.
Install Redis in your cluster so that you can use the
redis-clito connect to your Redis instance.From your terminal, log in to the Redis pod and open a Redis CLI shell.
Run Redis CLI commands, such as
monitororkeys. For more information, see the Redis docs.Example response of data populated by the management server:
  keys *
1) "$CLUSTER_NAME~apps~v1~Deployment"
2) "reports#$CLUSTER_NAME#httpbin#$CLUSTER_NAME"
3) "$CLUSTER_NAME~install.istio.io~v1alpha1~IstioOperator"
4) "reports#$CLUSTER_NAME#gloo-mesh#globalcccfde00-e4a9-4867-b6c0-5df8601f6e1e"
5) "$CLUSTER_NAME~admissionregistration.k8s.io~v1~MutatingWebhookConfiguration"
6) "reports#idx"
7) "reports#$CLUSTER_NAME#store#$CLUSTER_NAME"
8) "gloo.mesh.key.set"
Example response of rate limit counters:
  monitor
OK
1681223733.198361 [0 10.xxx.x.x:xxxxx] "INCRBY" "tree|solo.io|generic_key^gloo-mesh.rl-server-config-gloo-mesh-$CLUSTER_NAME-rate-limiter|generic_key^counter|1718236800" "1"
Example response of API keys for the external auth service and portal server add-ons. Note that the API key name and value are hashed based on the
apiKeyStorage.secretKeythat you configured when setting up the add-ons.keys * 1) "1bbe3f25-5a2a-4797-8ac0-d59c7480377a" 2) "abcmHk2Iwcy3VL+NNswyrs3B4YIEx39BG84jzwcoWB8=" get "1bbe3f25-5a2a-4797-8ac0-d59c7480377a" "xksmHk2Iwcy3VL+NNswyrs3B4YIEx39BG84jzwcoWB8=" get "abcmHk2Iwcy3VL+NNswyrs3B4YIEx39BG84jzwcoWB8=" "{\"api_key\":\"abcmHk2Iwcy3VL+NNswyrs3B4YIEx39BG84jzwcoWB8=\",\"labels\":[\"first.last@example.com\"],\"metadata\":{\"config_id\":\"gloo-mesh.api-key-auth-default-cluster-name-mgt-ext-auth-service\",\"created-ts-unix\":\"1718742070\",\"name\":\"gold-api-key-name\",\"usagePlan\":\"gold\",\"username\":\"first.last@example.com\"},\"uuid\":\"1bbe3f25-5a2a-4797-8ac0-d59c7480377a\"}"
RedisInsights
RedisInsights is a desktop application that you can install for UI- and CLI-based interactions. For more information, see the Redis docs.
- Install RedisInsights. The steps vary depending on where you want to install the app.
- On your local machine: Download RedisInsights.
- In your Kubernetes cluster: See the Redis docs.
- Enable port forwarding on the Redis deployment. Update the namespace and deployment to match the Redis instance in your cluster.
kubectl port-forward -n gloo-mesh deploy/gloo-mesh-redis 6379 - Launch the RedisInsights app.
- Click + Add Redis Database and enter in your localhost and port details, which by default are
127.0.0.1:6379. - Click the database that you just added.
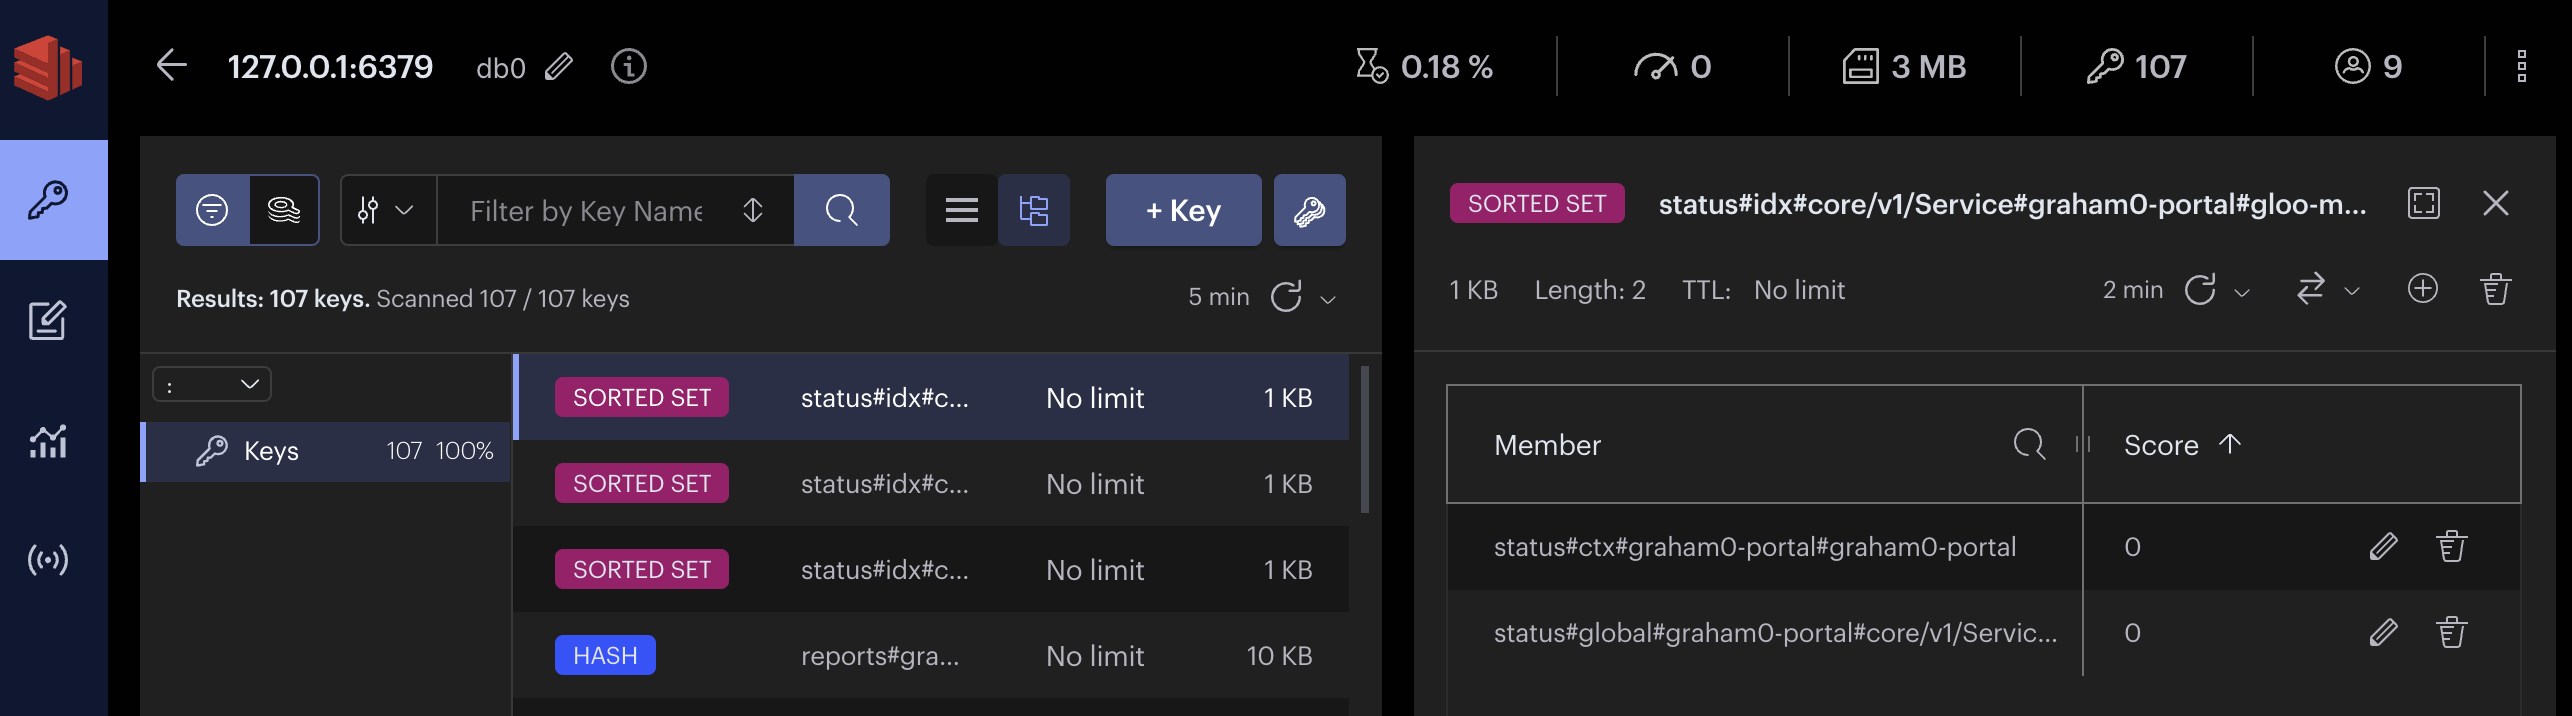
- Use the UI or CLI to explore the data. For example, you can click the Browser tab (the key icon) and toggle the Key view to explore all of the keys in the database instance, as shown in the following screenshot.
*Redis is a registered trademark of Redis Ltd. Any rights therein are reserved to Redis Ltd. Any use by Solo.io, Inc. is for referential purposes only and does not indicate any sponsorship, endorsement or affiliation between Redis and Solo.io. ↩︎