Install Istio with EKS add-on
If you use Amazon Elastic Kubernetes Service (EKS) clusters, you can install the Solo distribution of Istio by using an EKS add-on.
About the add-on
The EKS add-on reduces the amount of work for you to install, configure, and update the Solo distribution of Istio. AWS validates that the add-on works on EKS, so that you can be confident in using a secure, stable release. Your organization might encourage you to use the add-on to meet internal compliance requirements or account spending obligations. For more information, see the AWS docs.
Keep in mind that the add-on only installs the Solo distribution of Istio. For the multicluster management and other capabilities of Gloo Mesh, you can install Gloo Mesh Enterprise and the Solo distribution of Istio instead. For more information about the Solo distribution, see About the Solo distribution of Istio.
Due to a lack of support for the Istio CNI and iptables for the Istio proxy, you cannot run Istio (and therefore Gloo Mesh Enterprise) on AWS Fargate. For more information, see the Amazon EKS issue.
Before you begin
Create or use existing EKS clusters. Keep in mind the following points:
- The cluster must be able to run Istio, such as meeting the performance, platform, and application requirements.
- The cluster must run on a supported Kubernetes version.
- The cluster name must be alphanumeric with no special characters except a hyphen (-), lowercase, and begin with a letter (not a number).
- If you plan to use Gloo Mesh, you typically install Istio in data plane clusters that run your workloads. You don’t need to install Istio in the cluster that you plan to use for the Gloo Mesh management plane.
Install any CLI tools that you might need to work with your cluster, such as the following:
If you plan to install the add-on via automation such as Terraform, you must first accept the subscription terms in the AWS Marketplace console.
Install with the AWS console
You can install the Solo distribution of Istio by using the EKS console. For complete EKS add-on instructions, see the AWS docs.
- Open the Amazon EKS console.
- From the cluster list, select your cluster.
- Click the Add-ons tab.
- Click Get more add-ons.
- Scroll down to the AWS Marketplace add-ons section. In the search box, enter
soloto filter the results for theSolo.io Istio Distributionadd-on.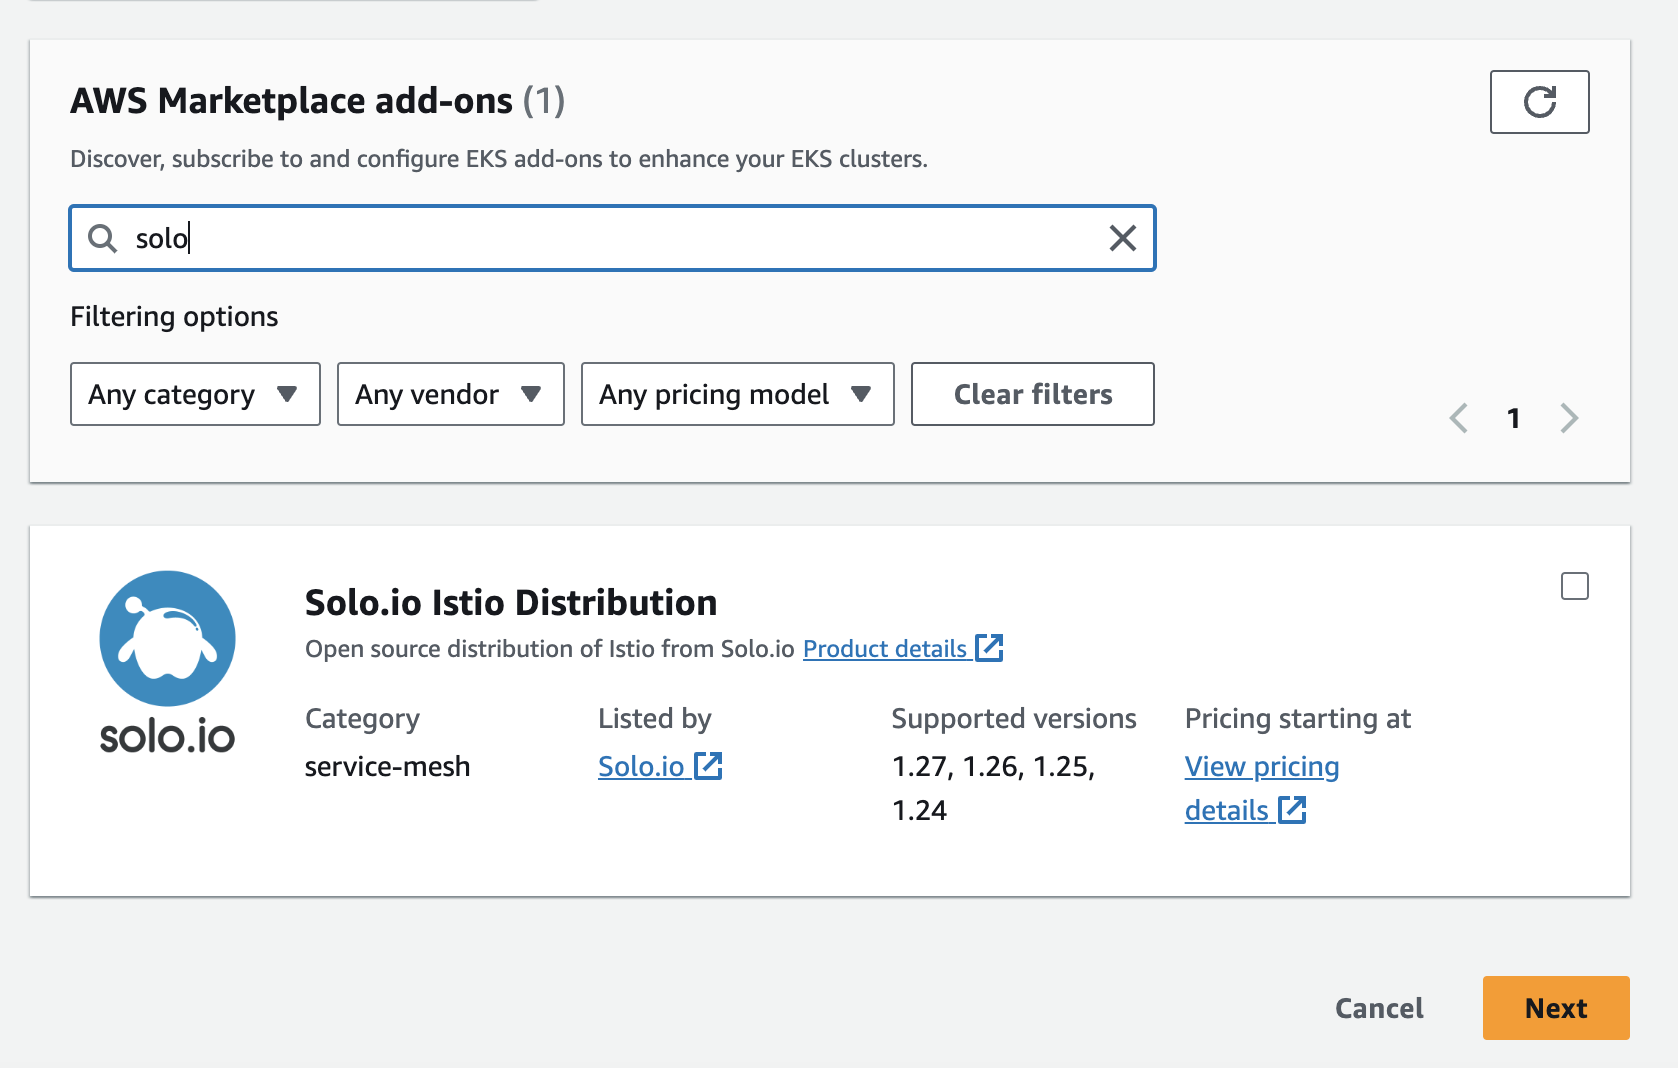
Figure: Find the Solo add-on for EKS - Click the checkbox for the add-on, and then click Next.
- Select the version that you want to install, leave the other configuration options at the default values, and then click Next.
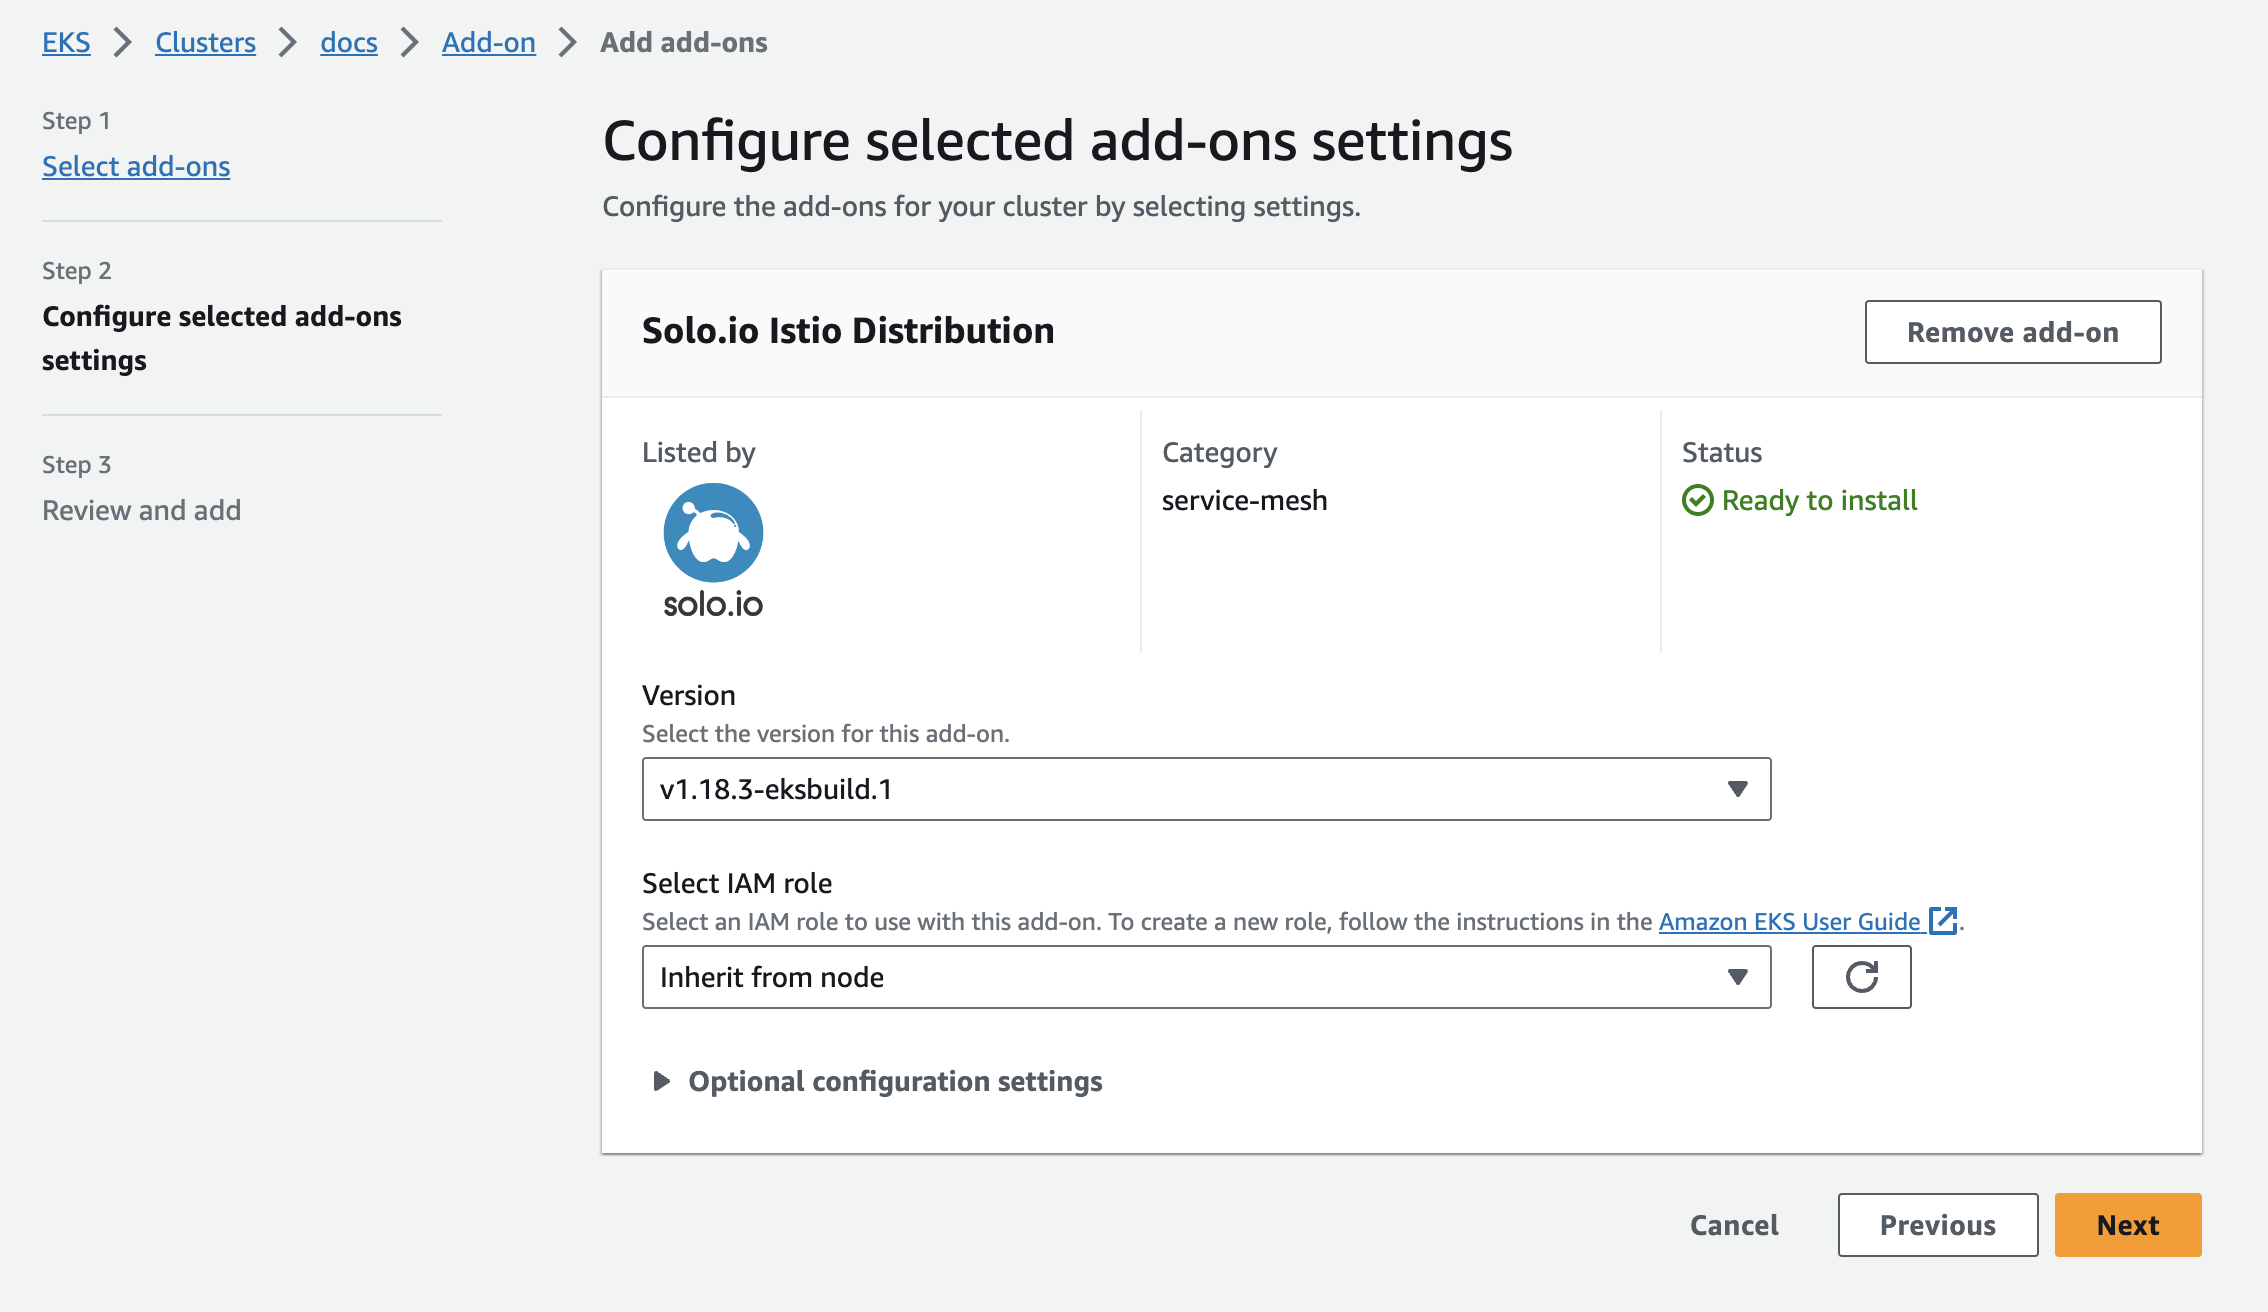
Figure: Configure the Solo add-on for EKS - Review the add-on details, and then click Create.
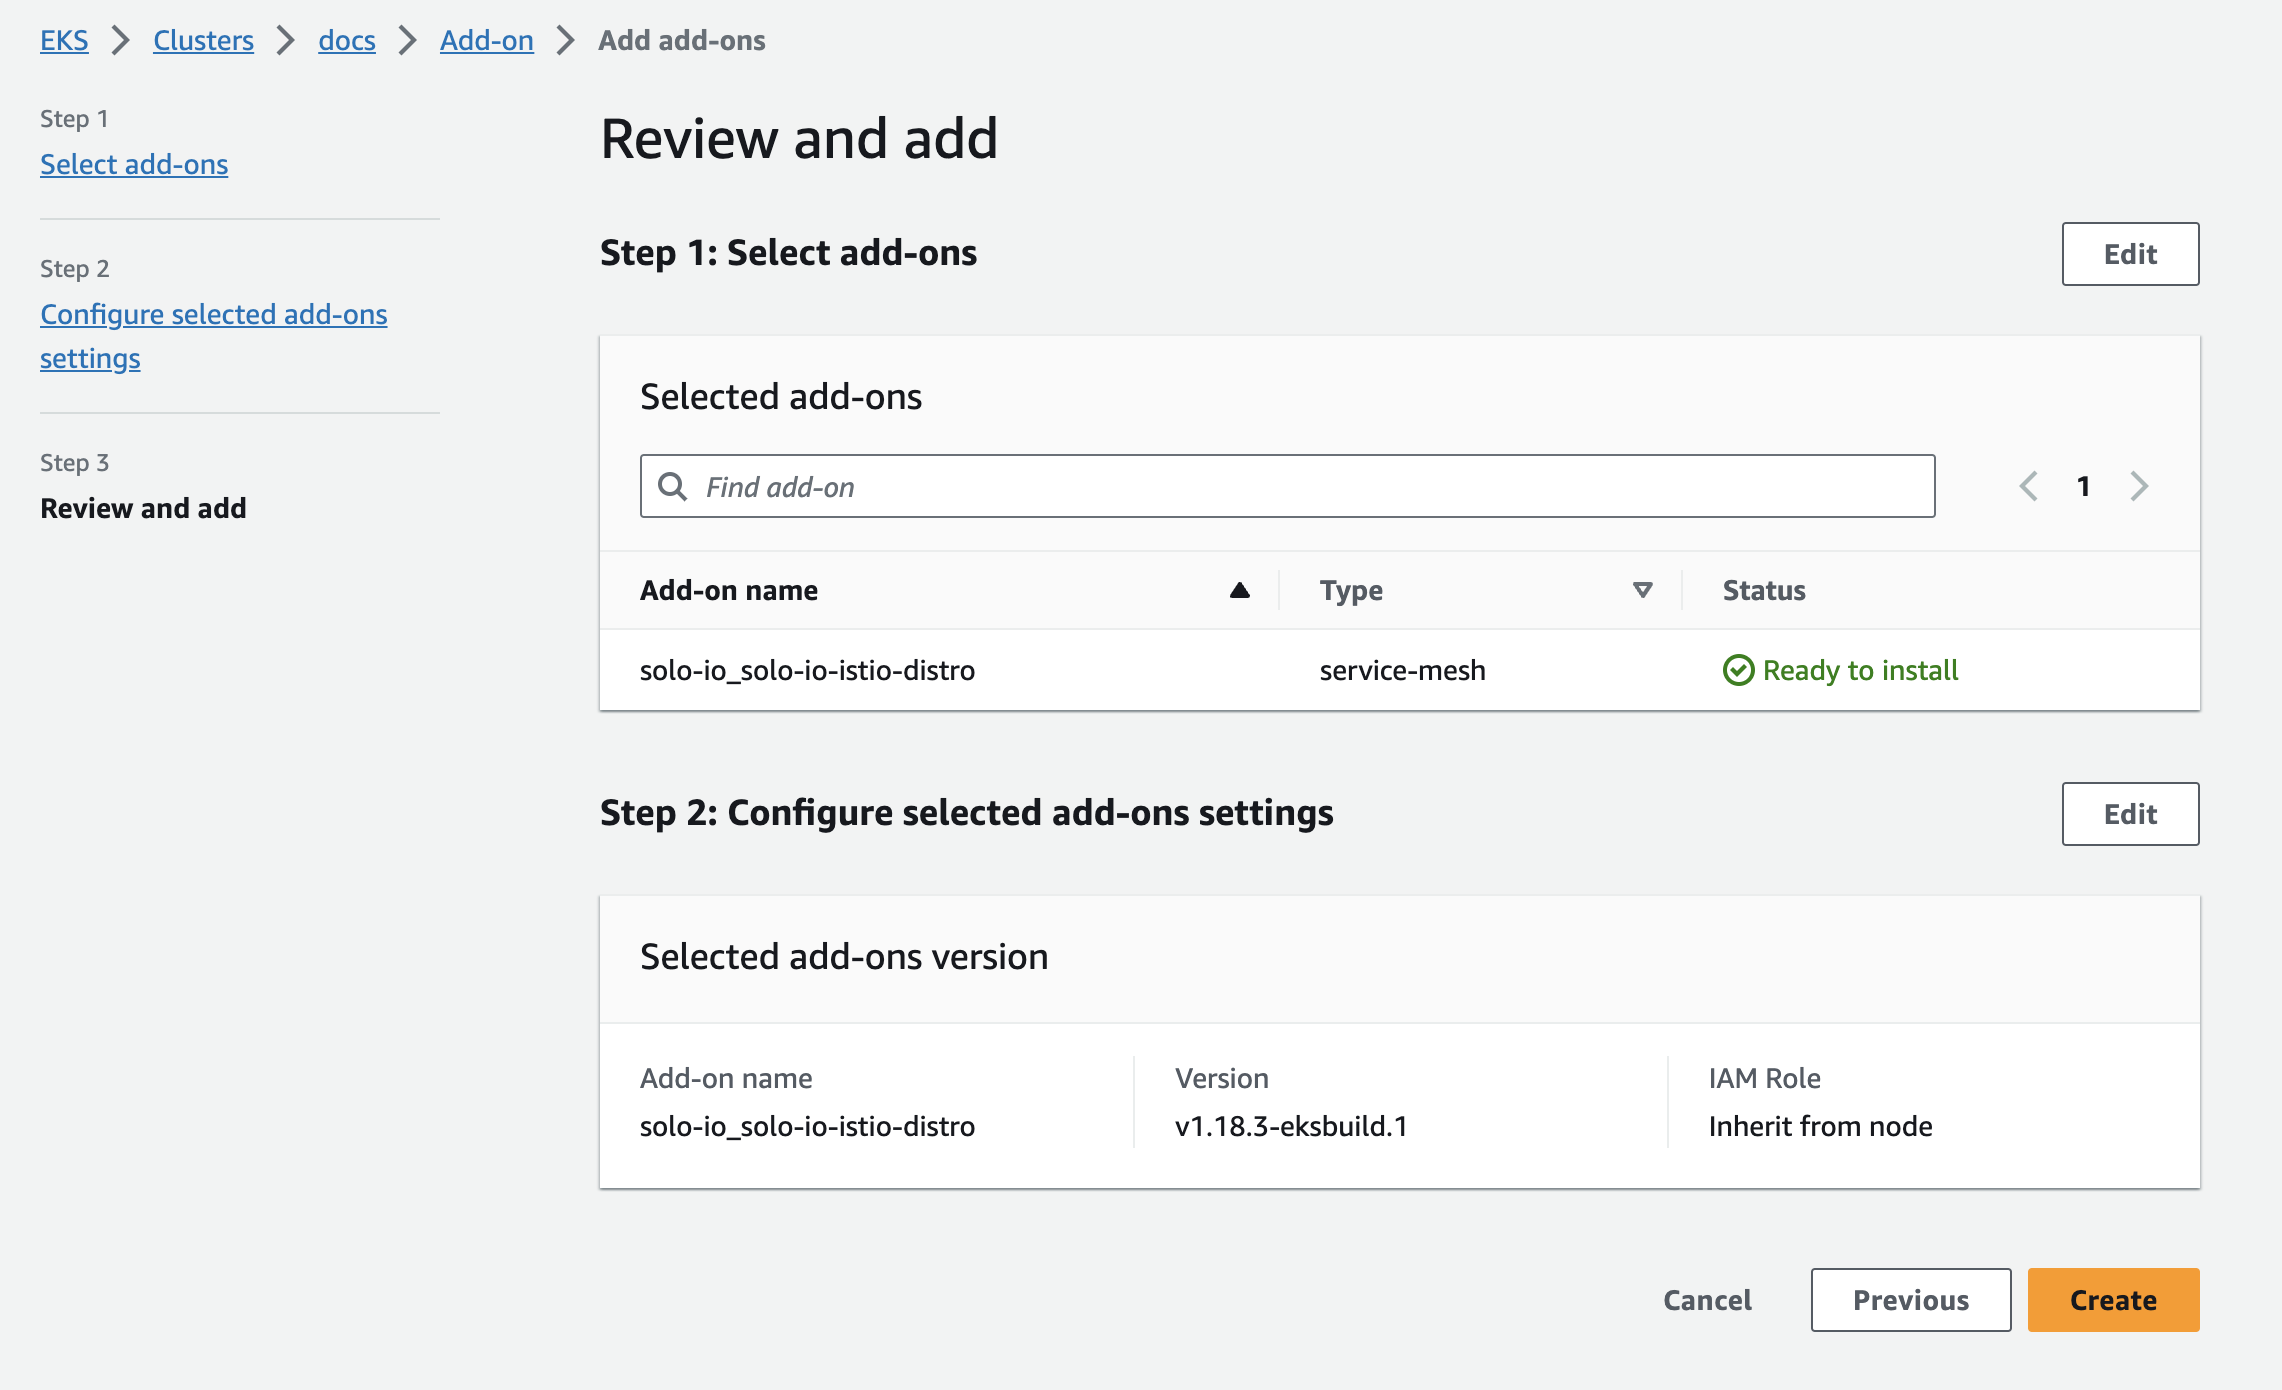
Figure: Review and create the Solo add-on for EKS - From the cluster details page, click the Add-ons tab and verify that the status is
Active. The installation might take a few minutes. If not, review the add-on status. Common issues include a lack of compute resources to run Istio, such as no nodes.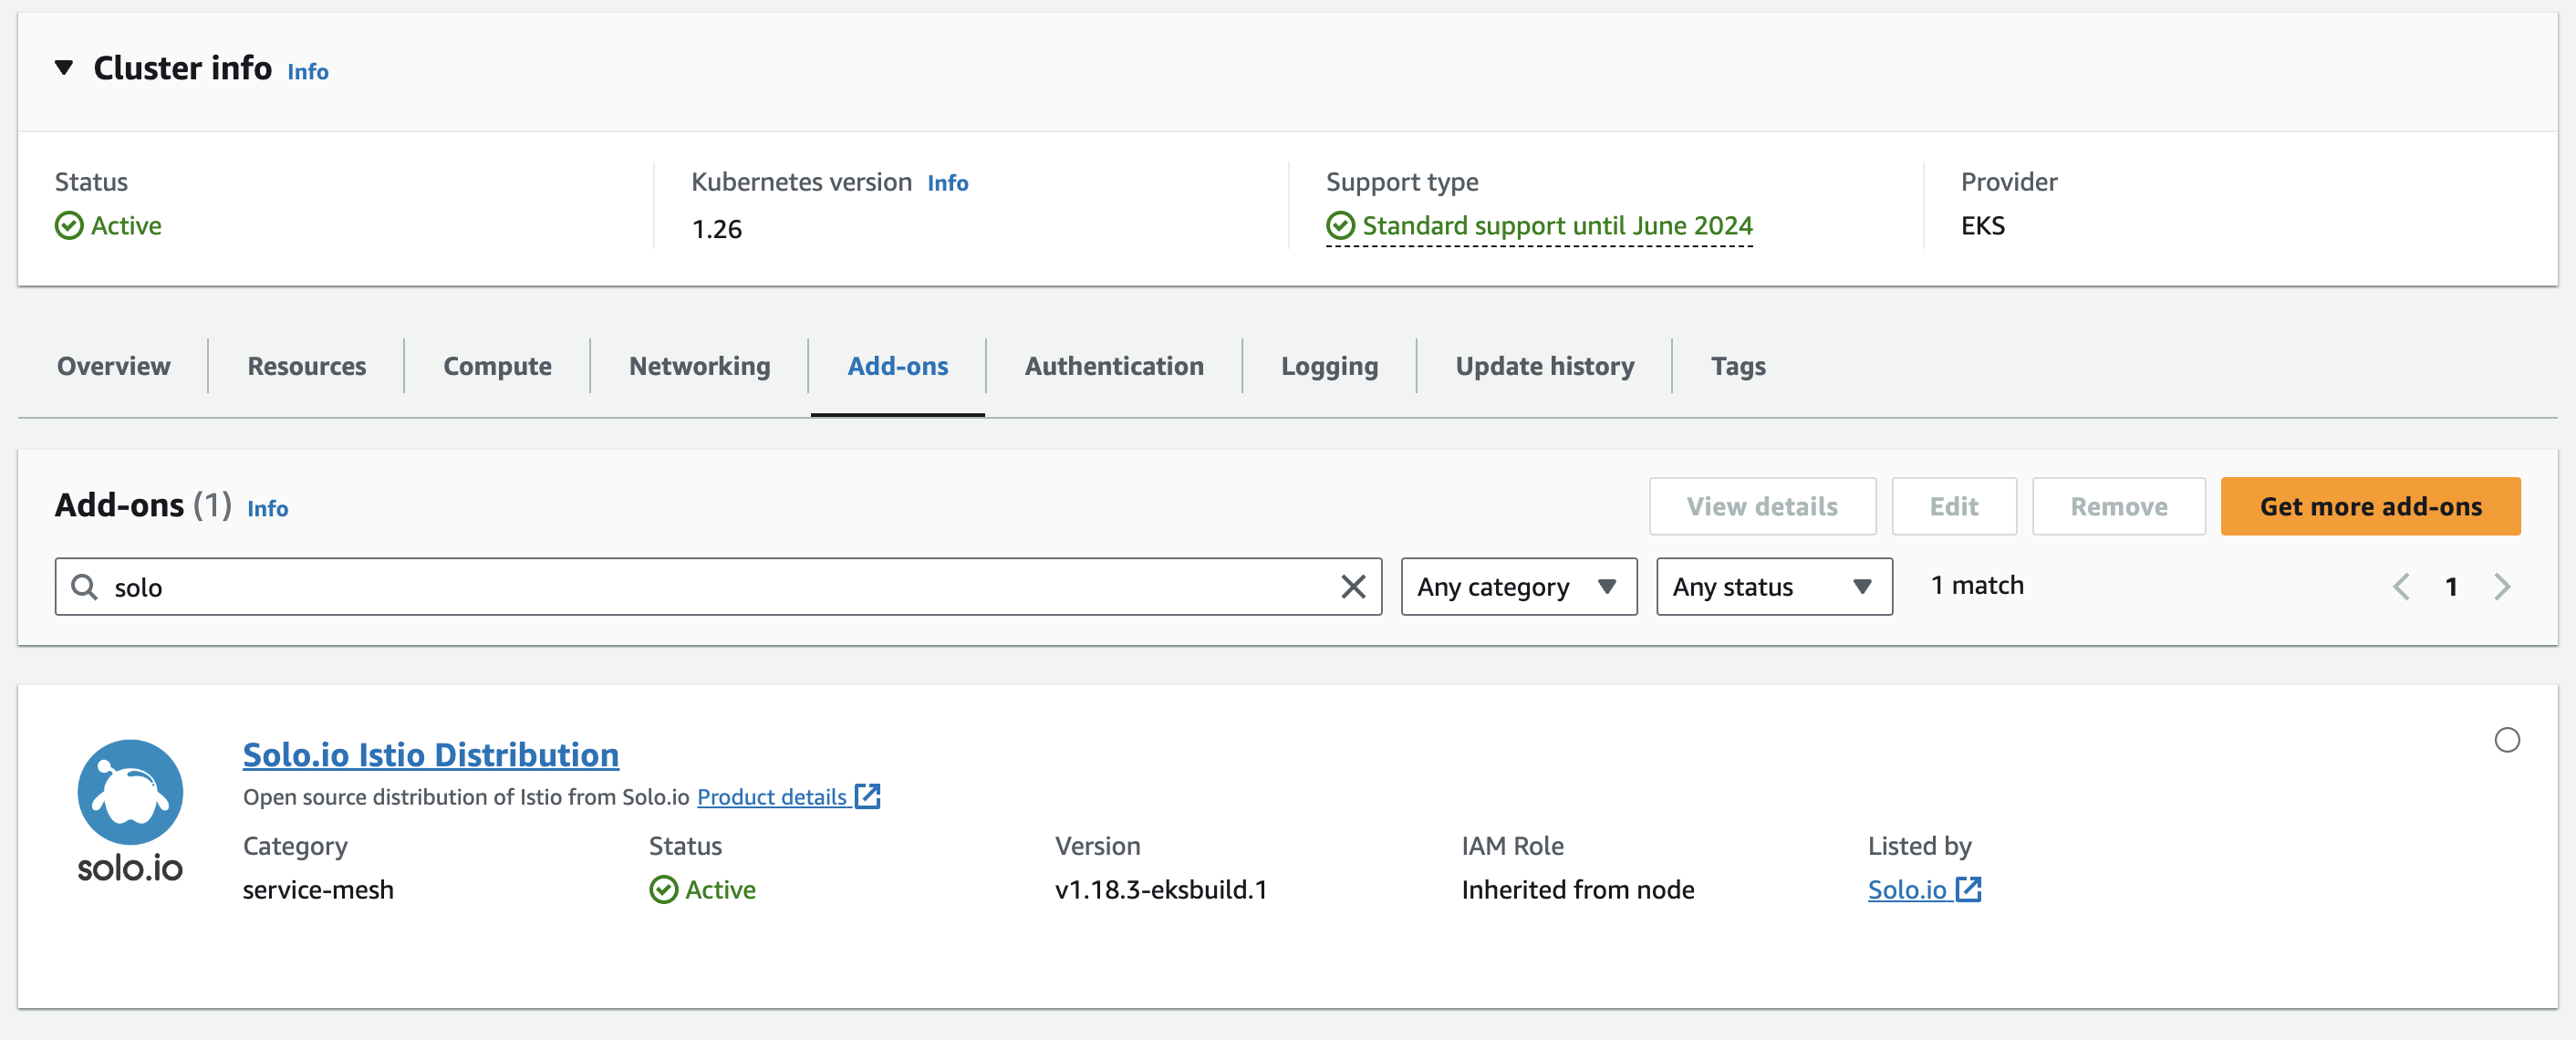
Figure: Active status for Solo add-on for EKS
The add-on starts to install the Solo distribution of Istio. Next, verify your installation.
Install with the AWS CLI
You can install the Solo distribution of Istio by using the eksctl CLI. For complete EKS add-on instructions, see the AWS docs.
Get the name and region of the cluster that you want to install the add-on in.
eksctl get clusters -AInstall the add-on, replacing the cluster and region with the values that you got in the previous step. For more options, such as to set a specific version of the add-on, run
eksctl create addon --help.eksctl create addon --name solo-io_solo-io-istio-distro --cluster $CLUSTER --region $REGIONCheck that the status of the addon is
ACTIVEwith no (0) issues. The installation might take a few minutes. If not, review the add-on status. Common issues include a lack of compute resources to run Istio, such as no nodes.eksctl get addon --cluster $CLUSTER --region $REGIONExample output:
  NAME				VERSION			STATUS	ISSUES	IAMROLE	UPDATE AVAILABLE								CONFIGURATION VALUES
solo-io_solo-io-istio-distro	v1.18.3-eksbuild.1	ACTIVE	0
The add-on starts to install the Solo distribution of Istio. Next, verify your installation.
Verify your installation
After the add-on is installed, verify that Istio is working.
Verify that the
istiodpod has a status ofRunning.kubectl get pods -n istio-systemExample output:
     NAME                            READY   STATUS    RESTARTS   AGE
   istiod-1-20-b65676555-g2vmr     1/1     Running   0          47s
Verify that istiod uses the Solo distribution of Istio.
kubectl describe pod -n istio-system <istiod-pod>Example truncatd output: Note
solo-ioin the image repository.Name: istiod-74b9849b8c-knmjd Namespace: istio-system Containers: discovery: Image: xxxxxxxx.dkr.ecr.us-east-1.amazonaws.com/solo-io/xxxxxxxx/pilot:1.18.3
Next steps
Now that Istio is installed in your cluster, review the following next steps you can take.
- Service mesh management: Follow the community Istio docs to manage your service mesh. For example, you might try out the following guides:
- Test Istio by deploying the sample Bookinfo app.
- Install an Istio ingress gateway to control external traffic.
- Add-on management: The EKS add-on simplifies installing Istio. When Solo releases a new version of Istio for the EKS add-on, you can upgrade to this version by following the AWS guide.
- Multicluster enterprise features: Install Gloo Mesh Enterprise and the Solo distribution of Istio instead. If you use the add-on to install Istio, you must repeat the installation in each workload cluster. Then, you create Istio gateways for ingress and east-west traffic, such as described in the manual Istio deployment guide.
Uninstall the add-on
You can uninstall the Solo distribution of Istio from by using AWS. Keep in mind that this action removes the Istio service mesh from your cluster.
For more information about removing an EKS add-on, see the AWS docs.
Remove the Solo distribution of Istio add-on for EKS.
Open the Amazon EKS console.
From the cluster list, select your cluster.
Click the Add-ons tab.
In the search box, enter
soloto filter the results for theSolo.io Istio Distributionadd-on.Figure: Find the Solo add-on for EKS Click the add-on, and then click Remove.
In the pop-up window, type the add-on name and click Remove. Alternatively, you can keep Istio running in your cluster but disable EKS add-on management by toggling Preserve on cluster.
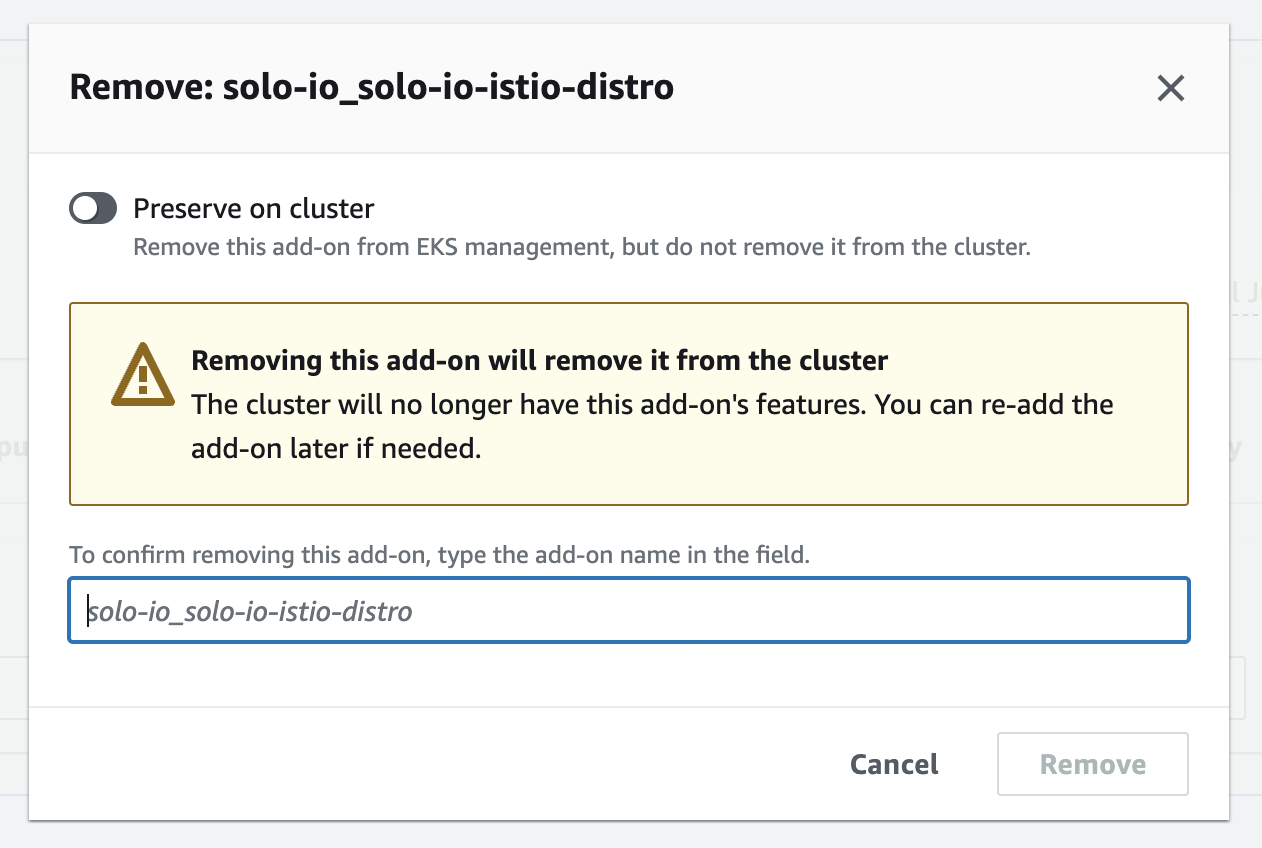
Figure: Remove the Solo add-on for EKS
eksctl delete addon --name solo-io_solo-io-istio-distro --cluster $CLUSTERNote: To keep Istio running in your cluster but disable EKS add-on management, include the
--preserveoption.Clean up the
istio-systemnamespace in your cluster.kubectl delete namespace istio-system