Backstage frontend plugin
Create a developer portal in Backstage for your developers to view and access your portal API products.
You can use the Gloo Portal Backstage frontend plugin to create a developer portal frontend for your developers so that they can view and access your API products. The Backstage platform allows you to expose multiple infrastructure and software development tools under a centralized software catalog. You can also find Gloo Portal’s plugin from the Backstage plugin catalog.
Looking to add your Gloo Portal APIs to your existing Backstage API catalog? Try the backend plugin. By setting up the backend, you create the necessary Backstage entities to integrate your APIs into the Backstage catalog. You also enable periodic fetching to make sure your APIs stay up to date. Then, you can use your APIs as part of Backstage, such as to bundle your API products with other APIs in the Backstage catalog to create your own customized developer portal.
Before you begin
- Configure the developer portal, including to create and expose the portal server securely.
- Make sure that you set up the OAuth external authentication policy for the OIDC provider that you want to use, such as Keycloak or Okta.
- Configure the OAuth details to protect your frontend app. The steps vary by OIDC provider. For instructions, see the Basic OAuth for Portal guide.
Step 1: Install the Gloo Portal Backstage plugin
You can install a frontend plugin for your developer portal in your Backstage application. Choose from among the following options.
This guide assumes that you created a Backstage app that is named portal and that the portal directory represents the Backstage root directory.
You can use a sample container image in Solo’s public image registry, gcr.io/solo-public/docs/portal-backstage-frontend. This image is for a simple Backstage app that already has the Gloo Portal plugin integrated. Continue to Deploy your Backstage app.
Create or use an existing Backstage app. If you do not have a Backstage app, follow the getting started guide to install one on your local machine.
cd portalInstall the Gloo Portal Backstage frontend plugin into your Backstage app.
yarn add --cwd ./packages/app @solo.io/platform-portal-backstage-plugin-frontendFrom the Backstage app root directory, open the
/packages/app/src/App.tsxfile.open packages/app/src/App.tsxAdd the following imports to the top of the
App.tsxfile.import { GlooPortalHomePage, GlooPortalApiDetailsPage, } from '@solo.io/platform-portal-backstage-plugin-frontend';In the same
App.tsxfile, add the following routes to the<FlatRoutes>element.<Route path="/gloo-platform-portal" element={<GlooPortalHomePage />} /> <Route path="/gloo-platform-portal/apis" element={<GlooPortalHomePage />} /> <Route path="/gloo-platform-portal/usage-plans" element={<GlooPortalHomePage />} /> <Route path="/gloo-platform-portal/apis/:apiId" element={<GlooPortalApiDetailsPage />} />From the Backstage app root directory, open the
/packages/app/src/components/Root/Root.tsxfile.open packages/app/src/components/Root/Root.tsxAdd the following import to the top of the
Root.tsxfile.import { GlooIcon } from '@solo.io/platform-portal-backstage-plugin-frontend';In the same
Root.tsxfile, add the following icon to the<SidebarScrollWrapper/>element.<SidebarItem icon={GlooIcon} to="gloo-platform-portal" text="Gloo Portal" />From the Backstage app root directory, open the
app-config.local.yamlfile.open app-config.local.yamlConfigure the details of the OAuth identity provider that you use for external authentication to your Gloo Portal. Replace the
$PORTAL_URL,$CLIENT_ID,$TOKEN_ENDPOINT,$AUTH_ENDPOINT, and$LOGOUT_ENDPOINTvariables with the values that you previously retrieved. For more information, see the OAuth step in Before you begin.Example command to get your OAuth details:
  echo $PORTAL_URL
echo $CLIENT_ID
echo $TOKEN_ENDPOINT
echo $AUTH_ENDPOINT
echo $LOGOUT_ENDPOINT
Example
app-config.local.yamlfile:# Backstage override configuration for your local development environment glooPlatformPortal: # The URL of the Gloo Portal REST server. # Format this variable with a "/v1" path, such as: "http://developer.example.com/v1". # The default value is: "http://localhost:31080/v1". portalServerUrl: "$PORTAL_URL" # The OAuth identity provider's Client ID. # In Keycloak, open the $KEYCLOAK_URL UI, click Clients, and from the Settings tab, find the Client ID. # In Okta, open your $OKTA_URL and from the Applications section, find your app's Client ID. clientId: "$CLIENT_ID" # The endpoint to get the OAuth token. # In Okta or Keycloak, you can find the `token_endpoint` property at: # $KEYCLOAK_URL/auth/realms/<your-realm>/.well-known/openid-configuration # $OKTA_URL/.well-known/openid-configuration tokenEndpoint: "$TOKEN_ENDPOINT" # The endpoint to get the PKCE authorization code. # In Okta or Keycloak, you can find the `authorization_endpoint` property at: # $KEYCLOAK_URL/auth/realms/<your-realm>/.well-known/openid-configuration # $OKTA_URL/.well-known/openid-configuration authEndpoint: "$AUTH_ENDPOINT" # The endpoint to end the session. # In Okta or Keycloak, you can find the `end_session_endpoint` property at: # $KEYCLOAK_URL/auth/realms/<your-realm>/.well-known/openid-configuration # $OKTA_URL/.well-known/openid-configuration logoutEndpoint: "$LOGOUT_ENDPOINT"Open the Backstage app. The app opens on http://localhost:3000.
yarn devFrom the menu, select Gloo Portal. Verify that you see the Gloo Portal welcome screen.
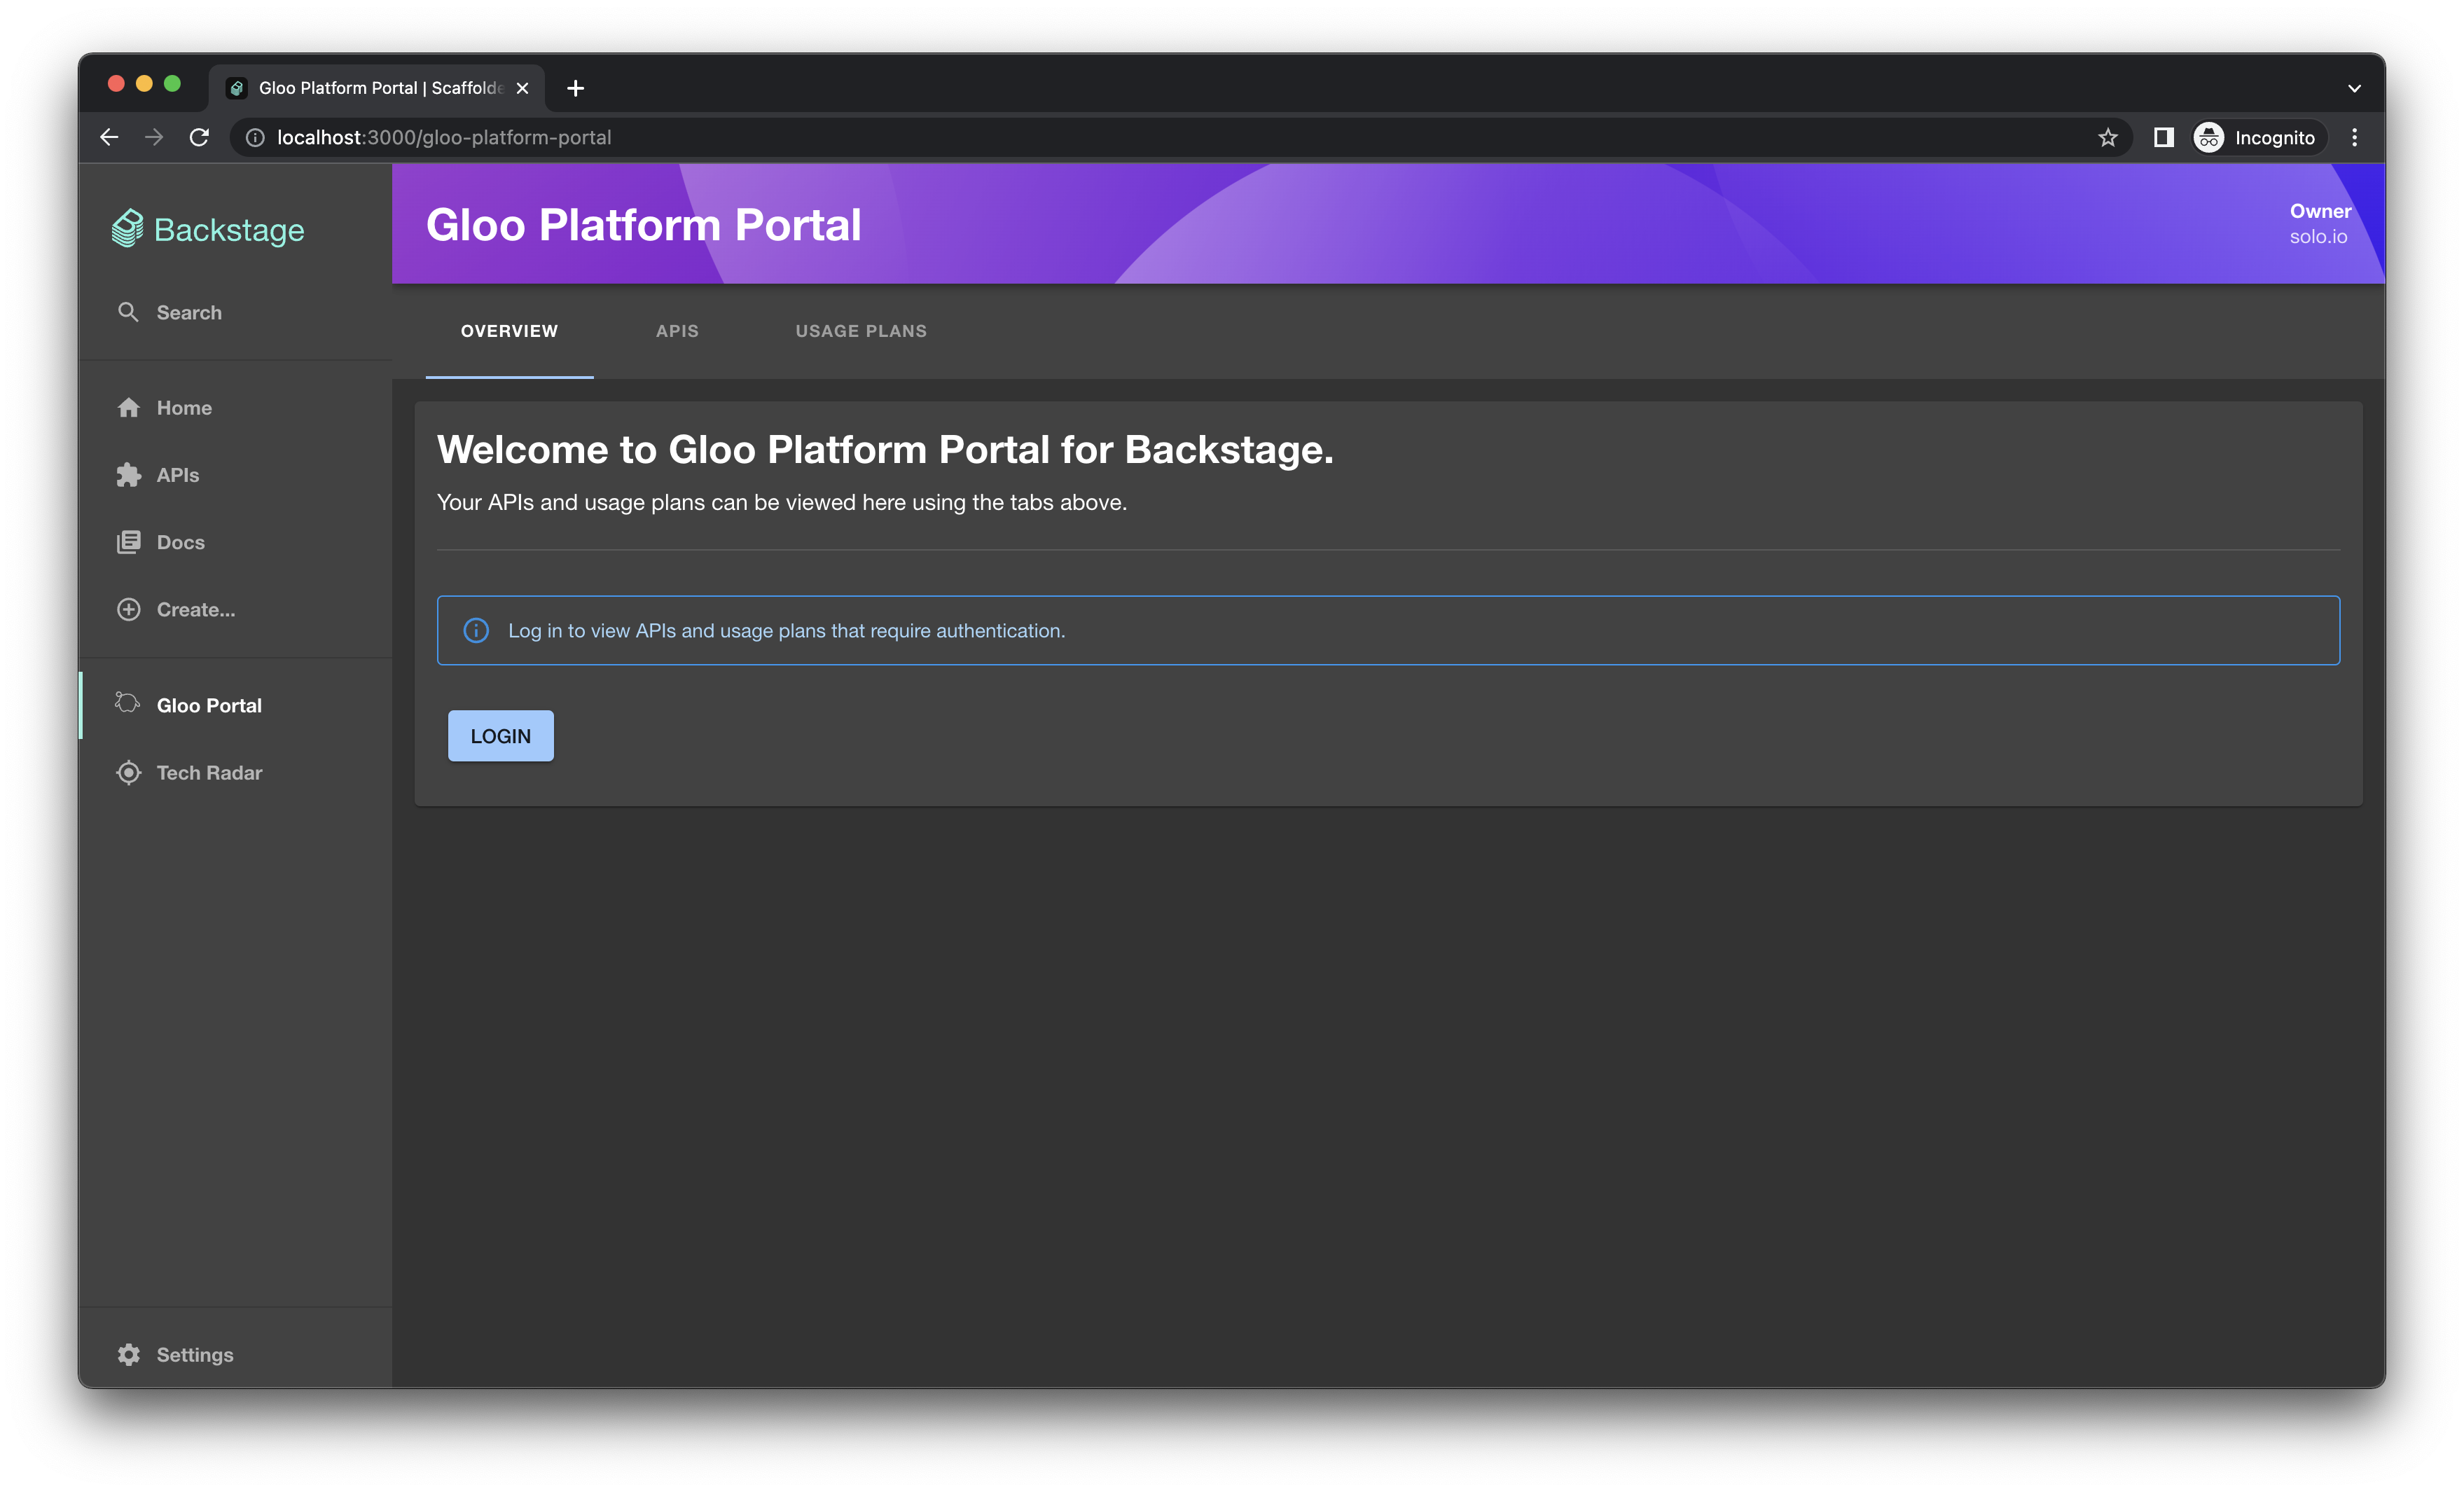
Figure: Gloo Portal welcome screen Click Login. You are redirected to your OAuth provider site, where you can log in with the credentials of one of the users that you configured, such as
user1username andpasswordpassword for Keycloak.
You successfully installed and verified the Gloo Portal frontend plugin for Backstage!
Step 2: Deploy your Backstage app
In the previous section, you set up your Backstage app with the Gloo Portal frontend plugin locally. Now, you can deploy your Backstage app to your cluster.
The following steps use a simple deployment with Solo’s sample Backstage frontend app. To create your own Backstage app, you can follow the Backstage documentation to containerize and deploy your Backstage app as a Kubernetes deployment.
Create a Postgres database instance that your Backstage app can access. For example, you might deploy Postgres to your cluster. Or, you might create a Postgres database instance in the same cloud provider, such as Amazon RDS for Postgres SQL or Google Cloud SQL.
Make sure that your cluster can connect to the Postgres instance. For example, you might have to create the Postgres instance in the same virtual private cloud (VPC) network as your cluster and enable connectivity.Create a secret with the connection details of the Postgres database instance to use for your Backstage deployment.
POSTGRES_USER: A common default username ispostgres. If your username differs, update this value.POSTGRES_PASSWORD: Replace with the password for the username to your Postgres instance.POSTGRES_HOST: Replace with the hostname to your Postgres instance. Note that this host must be accessible from your cluster. If you deployed Postgres in your cluster, this value is the name of the service in the same namespace as your Backstage app, such aspostgres.POSTGRES_PORT: The default port is 5432. If your port is different, update this value.
  kubectl apply -f- <<EOF
apiVersion: v1
kind: Secret
metadata:
  name: postgres-secrets
  namespace: backstage
type: Opaque
stringData:
  POSTGRES_USER: "postgres"
  POSTGRES_PASSWORD: "password"
  POSTGRES_HOST: "postgres"
  POSTGRES_PORT: "5432"
EOF
Create a secret with the details of the OAuth identity provider that you use for external authentication to your Gloo Portal. Replace the variables with the values that you previously retrieved. For more information, see the OAuth step in Before you begin.
PORTAL_SERVER_URL: The URL that the Gloo Portal REST server is available on. This URL matches the host in the route table for thegloo-mesh-portal-server, such ashttp://developer.example.com. You can check the hostnames of your route tables with the following command. For local development, use the default valuehttp://localhost:31080/v1. Format this variable with a/v1path, such as:http://developer.example.com/v1.CLIENT_ID: The OAuth identity provider’s Client ID.- In Keycloak, open the
$KEYCLOAK_URL, click Clients, and from the Settings tab, find the Client ID. - In Okta, open the
$OKTA_URLand from the Applications section, find your app’s Client ID.
- In Keycloak, open the
- In your OAuth provider, access the well-known OpenID config path for your authorization server, such as the following examples for Keycloak and Okta.
- Keycloak OpenID config path:
$KEYCLOAK_URL/auth/realms/<your-realm>/.well-known/openid-configuration - Okta OpenID config path:
$OKTA_URL/oauth2/default/.well-known/openid-configuration
- Keycloak OpenID config path:
- From the OpenID config path, get the values for the following endpoints:
TOKEN_ENDPOINT: The endpoint to get the OAuth token.AUTH_ENDPOINT: The endpoint to get the PKCE authorization code.LOGOUT_ENDPOINT: The endpoint to end the session.
Keep in mind that the Portal URL and OAuth endpoints that you set in the deployment configuration must match. For example, if you use a secure HTTPS gateway, then the Portal URL and OAuth endpoints should begin with `https://` instead of `http://`.kubectl apply -f- <<EOF apiVersion: v1 kind: Secret metadata: name: backstage-secrets namespace: backstage type: Opaque stringData: PORTAL_SERVER_URL: "http://developer.example.com" CLIENT_ID: "$CLIENT_ID" TOKEN_ENDPOINT: "$TOKEN_ENDPOINT" AUTH_ENDPOINT: "$AUTH_ENDPOINT" LOGOUT_ENDPOINT: "$LOGOUT_ENDPOINT" EOFCreate the Kubernetes resources that you need to run your Backstage frontend app.
ServiceAccount: Create a separate service account for your frontend app so that its identity is separate from the other apps that run in the namespace.Service: Create a service for the frontend app so that you can expose it securely.Deployment: Create a deployment to run the frontend app.The following example uses a sample Backstage image from Solo’s public image registry. If you built your container image in a different container registry, copy and update the YAML configuration fileimagelocation before applying the file to your cluster.
kubectl apply -n backstage -f https://raw.githubusercontent.com/solo-io/gloo-mesh-use-cases/main/gloo-gateway/portal/backstage-frontend-deployment.yamlCreate a route table to expose the frontend app securely through the ingress gateway. The following example uses the host
developer.example.com. It refers to the virtual gateway that you created when you configured the developer portal. For more examples such as HTTPS/TLS, see Configure gateway listeners.kubectl apply -f- <<EOF apiVersion: networking.gloo.solo.io/v2 kind: RouteTable metadata: name: portal-backstage-frontend namespace: gloo-mesh-gateways labels: app: backstage-frontend spec: hosts: - "developer.example.com" virtualGateways: - name: istio-ingressgateway-portal namespace: gloo-mesh-gateways http: - name: backstage-frontend forwardTo: destinations: - port: number: 80 ref: name: backstage-frontend namespace: backstage cluster: $CLUSTER_NAME labels: route: portal-api matchers: - uri: prefix: / EOF
Step 3: Verify your Backstage frontend app
Now that you built and deployed your frontend app, you can access the developer portal in your browser.
Check that the Backstage frontend app’s resources are healthy.
kubectl get all -n backstage -l app=backstage-frontendVerify that you can access the developer portal frontend in your web browser. If you used the example in this guide, enter
http://developer.example.com/in your web browser.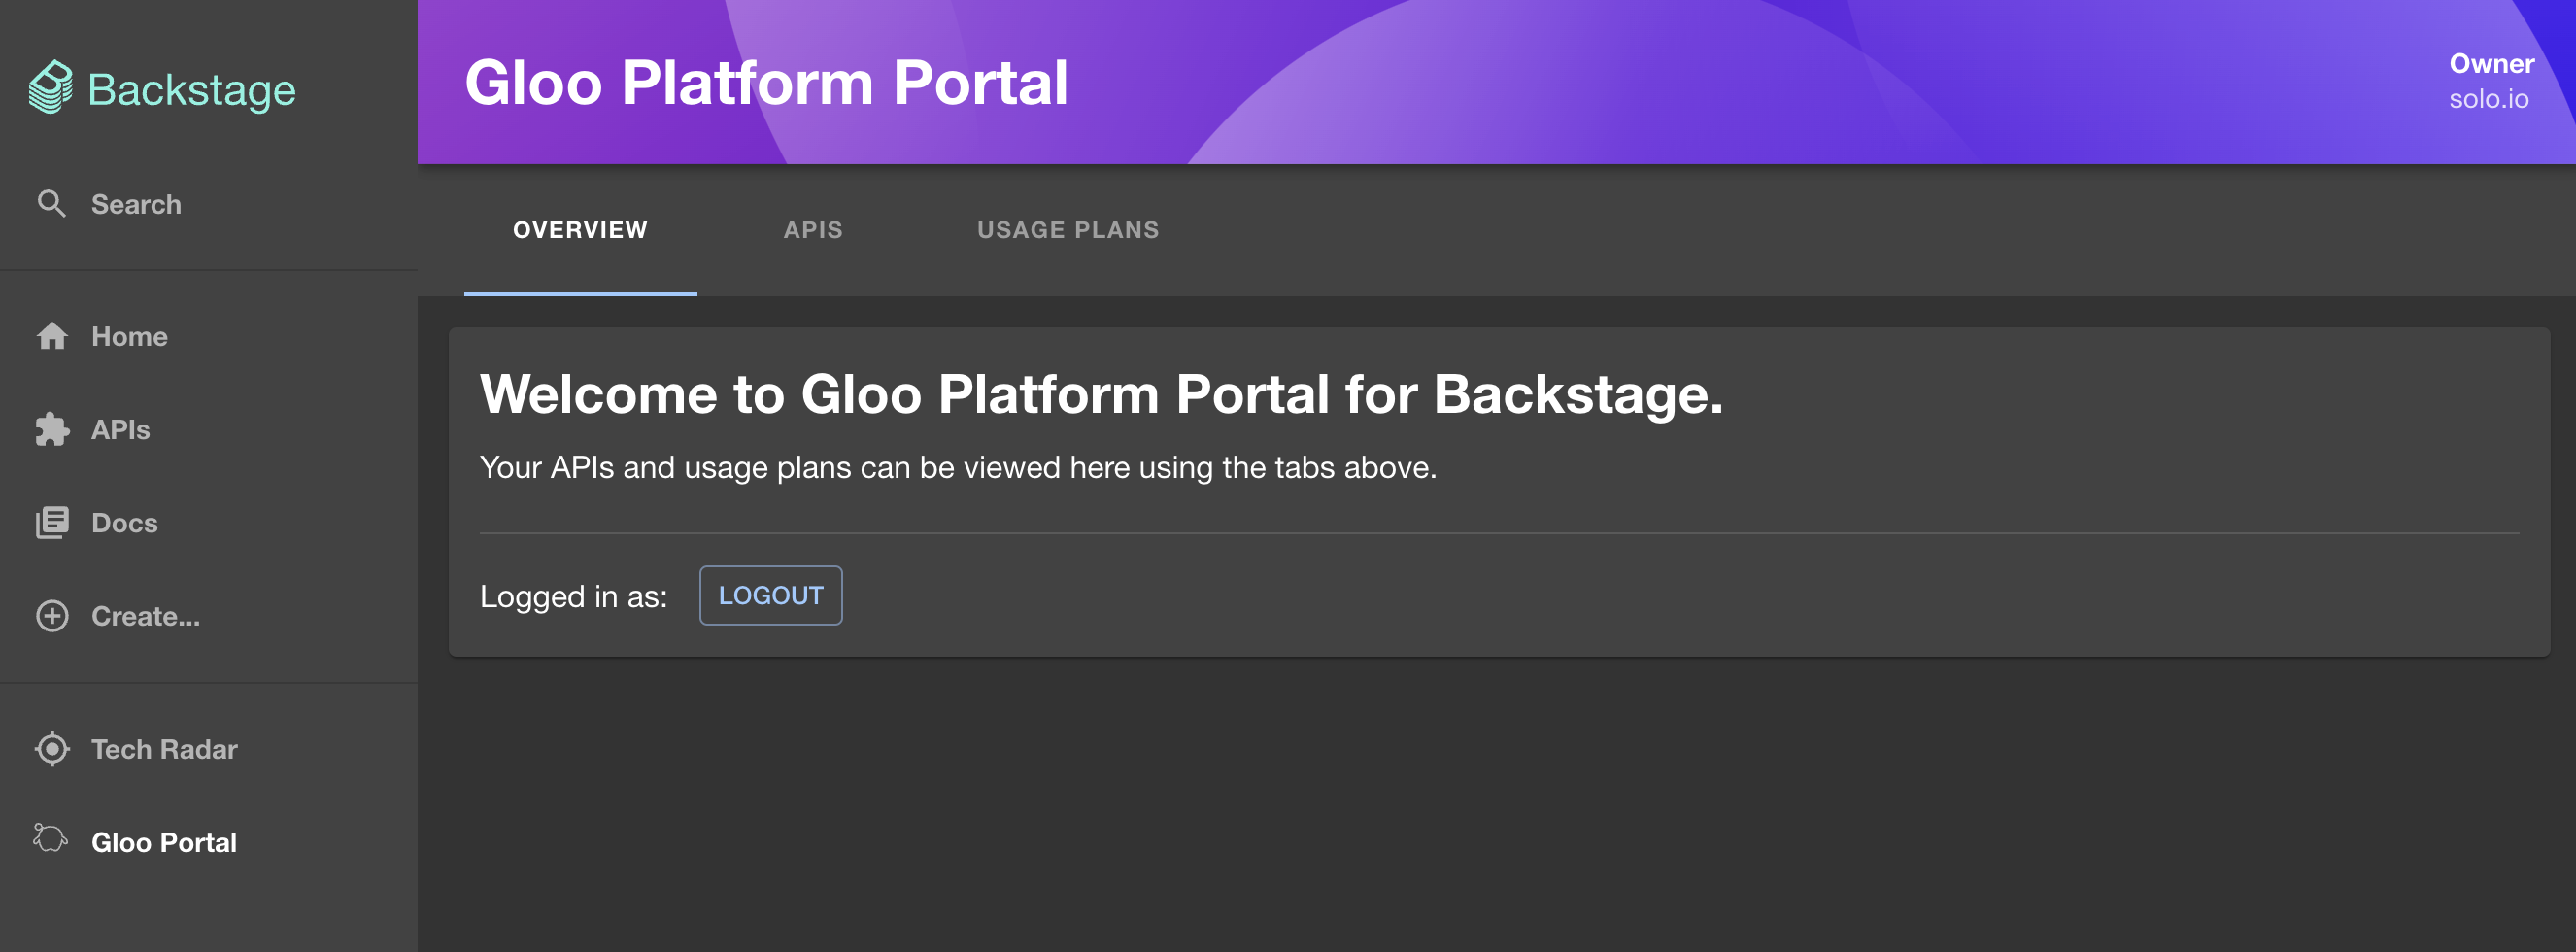
Figure: Backstage portal welcome screen
If you click Login but see an Access issues error message or cannot view the APIs or usage plans, see Debug the frontend app for portal.
Next steps
Great job! You deployed the Backstage frontend app for the developer portal. Now, when you update your Portal resource to add new API products, usage plans, or metadata, the frontend is automatically updated for you.
- If you didn’t already, you can follow the Backstage docs to customize the frontend app for your brand.
- Share the developer portal guide with your end users so that they know how to interact with the developer portal.