Okta authorization code example
Follow along with an example to use Okta for an authorization code to secure an httpbin app.
Use the Okta identity hub to expose a consistent OpenID Connect interface to your apps while allowing your users to use credentials that are managed by Okta to authenticate with your app.
Before you begin
- Set up Gloo Mesh Gateway in a single cluster.
- Install Bookinfo and other sample apps.
Configure an HTTP listener on your gateway and set up basic routing for the sample apps.
Make sure that the external auth service is installed and running. If not, install the external auth service.
kubectl get pods -A -l app=ext-auth-serviceIf you don’t have an Okta account, sign up for an Okta developer account.
Step 1: Securely expose the httpbin app
Create an HTTPS listener on your gateway to securely expose the httpbin app on the httpbin-okta-auth.com hostname.
Follow the steps in the HTTPS listener guide to create a virtual gateway with an HTTPS listener. When you set environment variables at the beginning of the guide, set
$DNS_NAMEtohttpbin-okta-auth.comand$SERVER_CERT_NAMEtovg-okta-auth. Make sure that you deploy the virtual gateway to thehttpbinnamespace. Your virtual gateway looks similar to the following:kubectl apply -f- <<EOF apiVersion: networking.gloo.solo.io/v2 kind: VirtualGateway metadata: name: ${SERVER_CERT_NAME} namespace: httpbin spec: listeners: - allowedRouteTables: - host: $DNS_NAME http: {} port: number: 443 tls: mode: SIMPLE secretName: gw-ssl-1-secret - allowedRouteTables: - host: $DNS_NAME http: {} httpsRedirect: true port: number: 80 workloads: - selector: labels: istio: ingressgateway cluster: $CLUSTER_NAME namespace: gloo-mesh-gateways EOFCreate a route table to route incoming HTTPS traffic on the ingress gateway to the httpbin app in your cluster.
  kubectl apply -f- <<EOF
apiVersion: networking.gloo.solo.io/v2
kind: RouteTable
metadata:
  name: httpbin-rt
  namespace: httpbin
spec:
  hosts:
  - $DNS_NAME
  http:
  - forwardTo:
      destinations:
      - ref:
          name: httpbin
          namespace: httpbin
          cluster: $CLUSTER_NAME
        port:
          number: 8000
        kind: SERVICE
    matchers:
    - uri:
        prefix: /
        ignoreCase: true
    labels:
      oauth: "true"
    name: httpbin
  virtualGateways:
  - name: ${SERVER_CERT_NAME}
EOF
Get the external address of your ingress gateway. The steps vary depending on the type of load balancer that backs the ingress gateway.
- LoadBalancer IP address:
export INGRESS_GW_IP=$(kubectl get svc -n gloo-mesh-gateways istio-ingressgateway -o jsonpath='{.status.loadBalancer.ingress[0].ip}') echo $INGRESS_GW_IP - LoadBalancer hostname:
  export INGRESS_GW_IP=$(kubectl get svc -n gloo-mesh-gateways istio-ingressgateway -o jsonpath='{.status.loadBalancer.ingress[0].hostname}')
echo $INGRESS_GW_IP
Note: Depending on your environment, you might see
<pending>instead of an external IP address. For example, if you are testing locally in kind or minikube, or if you have insufficent permissions in your cloud platform, you can instead port-forward the service port of the ingress gateway:kubectl -n gloo-mesh-gateways port-forward deploy/istio-ingressgateway-1-20 8081- LoadBalancer IP address:
Verify that you can send a request to the httpbin app.
curl -vik --resolve httpbin-okta-auth.com:443:${INGRESS_GW_IP} https://httpbin-okta-auth.com:443/status/200Example output:
  ...
* TLSv1.2 (OUT), TLS handshake, Client hello (1):
* TLSv1.2 (IN), TLS handshake, Server hello (2):
* TLSv1.2 (IN), TLS handshake, Certificate (11):
* TLSv1.2 (IN), TLS handshake, Server key exchange (12):
* TLSv1.2 (IN), TLS handshake, Server finished (14):
* TLSv1.2 (OUT), TLS handshake, Client key exchange (16):
* TLSv1.2 (OUT), TLS change cipher, Change cipher spec (1):
* TLSv1.2 (OUT), TLS handshake, Finished (20):
* TLSv1.2 (IN), TLS change cipher, Change cipher spec (1):
* TLSv1.2 (IN), TLS handshake, Finished (20):
* SSL connection using TLSv1.2 / ECDHE-RSA-CHACHA20-POLY1305
* ALPN, server accepted to use h2
* Server certificate:
*  subject: CN=httpbin-okta-auth.com; O=vg-okta-auth
*  start date: Jun 15 18:09:37 2023 GMT
*  expire date: Jun 12 18:09:37 2033 GMT
*  issuer: CN=httpbin-okta-auth.com; O=gateway-root
*  SSL certificate verify result: unable to get local issuer certificate (20), continuing anyway.
* Using HTTP2, server supports multi-use
* Connection state changed (HTTP/2 confirmed)
* Copying HTTP/2 data in stream buffer to connection buffer after upgrade: len=0
* Using Stream ID: 1 (easy handle 0x146018c00)
> GET /status/200 HTTP/2
> Host: httpbin-okta-auth.com
> user-agent: curl/7.77.0
> accept: */*
>
* Connection state changed (MAX_CONCURRENT_STREAMS == 2147483647)!
< HTTP/2 200
HTTP/2 200
...
Store the URL to your httpbin app as an environment variable.
export APP_URL=https://${DNS_NAME}Update the
/etc/hostfile on your local machine to map the ingress gateway IP to thehttpbin-okta-auth.comthat you set up earlier. If you have an existing hostname that is configured for TLS, for example by setting up a route53 record, this step is not required.Open the
/etc/hostsfile.sudo nano /etc/hostsMap the value of $INGRESS_GW_IP to the
httpbin-okta-auth.comhostname.Save your changes.
Step 2: Set up an Okta OIDC app
Configure an Okta OIDC app to get the client and issuer information that you need to create external auth policies.
Open the Okta dashboard. If you don’t have an Okta account that you can use, sign up for an Okta developer account.
From the Applications menu, click Applications > Create New App. Note that you might see a Create App Integration button instead.
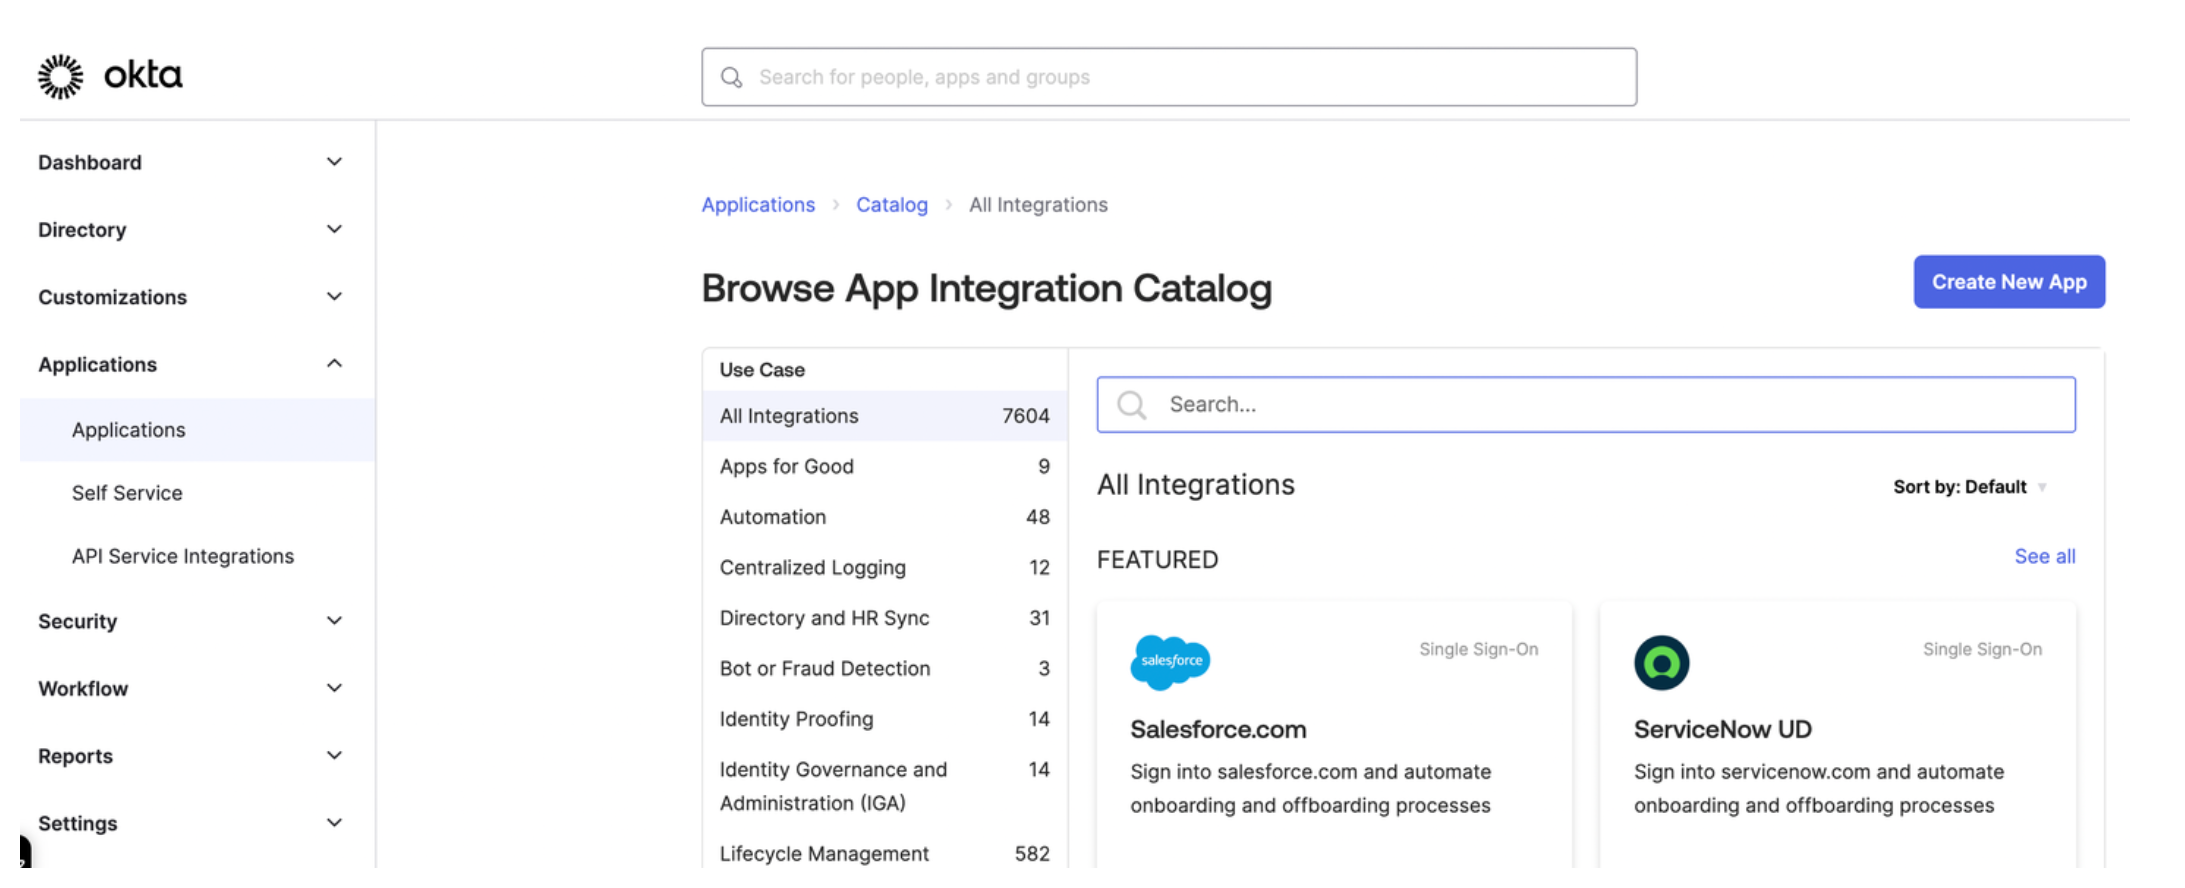
Figure: Okta application dashboard Select OIDC - OpenID Connect as the sign-in method for your app and Web application as your application type. Then, click Next.
Enter a name for your app and optionally upload a logo.
For Grant type, select Client Credentials, Authorization Code, and Refresh Token.
For Sign-in redirect URIs, enter the location from which you want to allow users to log in. The URL is composed of the hostname that you set up for your Portal resources and the
/callbackpath. For example, for the developer portal frontend app, you might enterhttps://developer.example.com/callback.For the Sign-out redirect URIs, enter the location to redirect the user after logging out, such as
https://developer.example.com/logout.From the Assignments section, select Allow everyone in your organization to access. This way, you do not need to assign a user or group to this app. Instead, you can use your Okta developer account credentials to test the Okta authentication flow.
Click Save to save your changes. You are redirected to the Okta app details page.
From the General tab on the Okta app details page, note the Client ID and the client Secret.

Figure: Okta General tab Store the Client ID and Secret as environment variables.
  export CLIENT_ID=<client-id>
export CLIENT_SECRET=<secret>
From the Sign on tab in the OpenID Connect ID Token section, change the Issuer from
Dynamicto the Okta URL. Your Okta URL typically includes your account ID and anokta.comextension, such ashttps://dev-12345678.okta.com.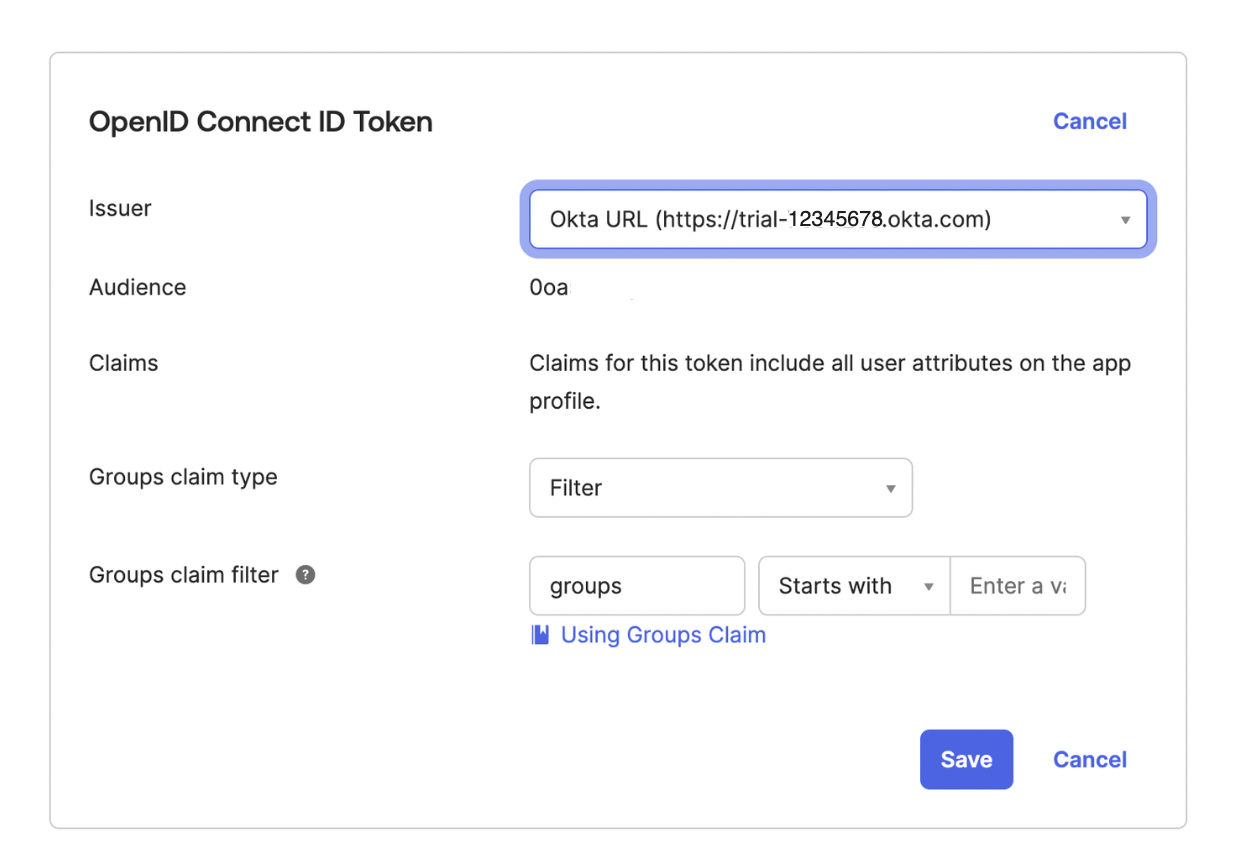
Figure: Okta Signon tab Store the issuer URL as an environment variable.
export ISSUER_URL=<issuer-URL>From the navigation menu, click Security > API.
Click the Authorization Server that you want to use, such as
default.From the Settings tab, click the Metadata URI. In a new tab, your browser opens to a URL similar to
https://dev-1234567.okta.com/oauth2/default/.well-known/oauth-authorization-server.From the metadata URI, search for and save the
token_endpointas an environment variable. This endpoint is where to get the OAuth token.export TOKEN_ENDPOINT=https://dev-1234567.okta.com/oauth2/default/v1/token
Step 3: Set up external auth with Okta
Set up Gloo Platform external auth policies with Okta as the OIDC provider.
Create an external auth server that enforces your extauth policy.
  kubectl apply -f - <<EOF
apiVersion: admin.gloo.solo.io/v2
kind: ExtAuthServer
metadata:
  name: httpbin
  namespace: httpbin
spec:
  destinationServer:
    port:
      number: 8083
    ref:
      cluster: $CLUSTER_NAME
      name: ext-auth-service
      namespace: gloo-mesh
EOF
Create a Kubernetes secret with the client secret from your Okta account.
  kubectl apply -f - <<EOF
apiVersion: v1
kind: Secret
type: extauth.solo.io/oauth
metadata:
  name: okta-client-secret
  namespace: httpbin
stringData:
  client-secret: ${CLIENT_SECRET}
EOF
Create an external auth policy.
  kubectl apply -f- <<EOF
apiVersion: security.policy.gloo.solo.io/v2
kind: ExtAuthPolicy
metadata:
  name: httpbin-okta
  namespace: httpbin
spec:
  applyToRoutes:
    - route:
        labels:
          oauth: "true"
  config:
    glooAuth:
      configs:
      - oauth2:
          oidcAuthorizationCode:
            appUrl: $APP_URL
            callbackPath: /callback
            clientId: $CLIENT_ID
            clientSecretRef:
              name: okta-client-secret
              namespace: httpbin
            issuerUrl: $ISSUER_URL
            scopes:
            - openid
    server:
      name: httpbin
EOF
Review the following table to understand this configuration.
Setting Description appUrlEnter the address to access the httpbin app. If you followed the example in this guide, your app URL is https://httpbin-okta-auth.com.callbackPathCreate the redirect URL by appending this path to the appUrl. After successful authentication in Okta, you are redirected to this URL.clientIdEnter the client ID that was assigned to your Okta OIDC app. You can retrieve the client ID from the General tab of your Okta OIDC app. clientSecretEnter the reference to the Kubernetes secret that you created earlier and that stores the client secret value. You can retrieve the client secret from the General tab of your Okta OIDC app. issuerUrlEnter the Okta issuer URL that you set up in the Okta app, such as https://dev-12345678.okta.com. You can retrieve the Okta issuer URL from the Issuer field on the Sign on tab of your Okta OIDC app.Make sure that the authconfig resource that is automatically created for you has a status of
Accepted.kubectl get authconfig -n gloo-mesh -o yaml
Step 4: Verify external auth with Okta
Try to access your app to verify that external auth is enforced by Okta.
In your browser, open the app URL to your httpbin app. Make sure that you are redirected to the Okta login screen.
open $APP_URLEnter your Okta developer account credentials. If successfully authenticated, Okta issues an ID token and redirects you to the httpbin app.
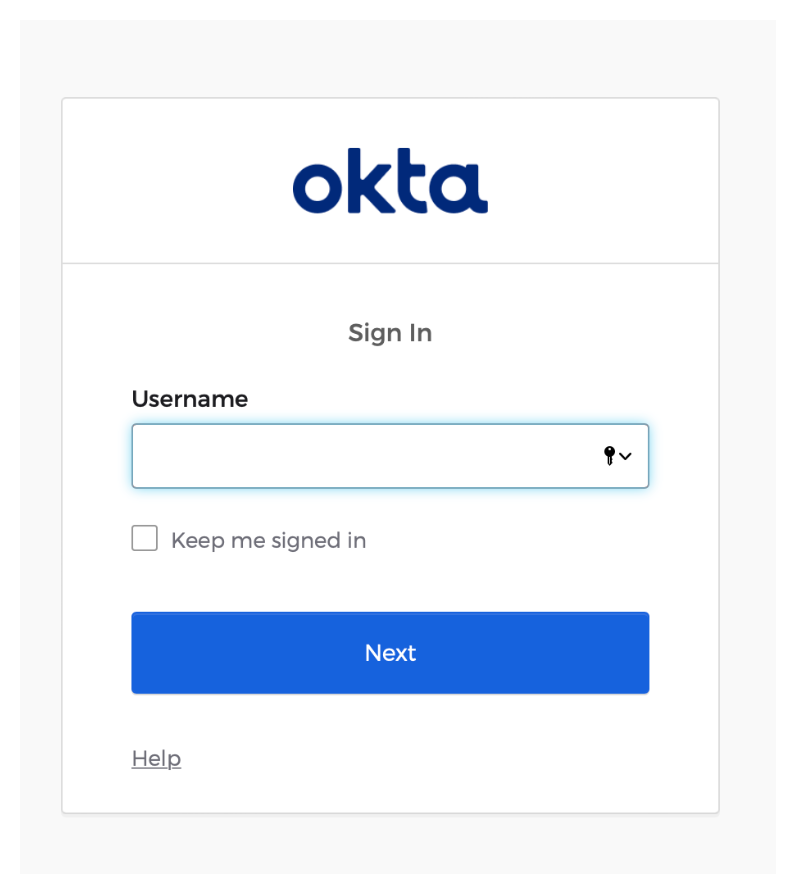
Figure: Okta login screen
Cleanup
You can optionally remove the resources that you set up as part of this guide.Delete the virtual gateway, secret, and route table that you create to expose the Gloo UI.
  kubectl delete vg $SERVER_CERT_NAME -n httpbin
kubectl delete secret gw-ssl-1-secret -n gloo-mesh-gateways
kubectl delete rt httpbin-rt -n httpbin
kubectl delete extauthserver httpbin -n httpbin
kubectl delete secret okta-client-secret -n httpbin
kubectl delete extauthpolicy httpbin-okta -n httpbin
Remove your Okta OIDC app.
- Open the Okta dashboard and select Applications > Applications from the menu.
- Find your Okta OIDC app.
- Click the gear icon and from the drop-down menu, select Deactivate.