Auth0
Let users authenticate with your app by using their Auth0 account.
Use Auth0 as an Identity and Access Management (IAM) provider with Gloo Gateway. Auth0 provides a consistent OpenID Connect (OIDC) interface across your identity providers (IdPs). Your Auth0 users can authenticate to your apps by using credentials that Auth0 manages.
You can adapt these steps for other IAM providers. For more information and options, see About OAuth.
This feature is an Enterprise-only feature that requires a Gloo Gateway Enterprise license.
Before you begin
Consider increasing the default timeout of the external auth server. When you set up OAuth, the external auth server must communicate with the external OIDC provider’s authorization server. Because of this interaction, the OIDC flow might take longer than the default timeout of 200ms. In such cases, you might noticed failed requests or unexpected behavior. You can increase the default timeout by setting the requestTimeout value on the external auth settings. The external auth settings can be configured on the Gloo Gateway Settings object.
Follow the Get started guide to install Gloo Gateway, set up a gateway resource, and deploy the httpbin sample app.
Get the external address of the gateway and save it in an environment variable.
Step 1: Set up your Auth0 account
Set up your Auth0 account, including user credentials to test with.
- If you do not already have one, sign up for an Auth0 account. After signup, you can access the Auth0 management dashboard through a personalized URL with your tenant domain name, such as
https://manage.auth0.com/dashboard/us/solo-io/. - From the Auth0 dashboard menu, go to User Management > Users.
- Click + Create User and fill out the email and password details. The test user gets an email to confirm the account.
Step 2: Create an Auth0 application
Create an Auth0 application that you integrate with the Gloo Gateway external auth server. The following example uses Auth0’s Regular Web Application template as a quick test, but you can adapt the steps to other templates. For more information, see the Auth0 docs.
- From the Auth0 dashboard menu, go to Applications > Applications.
- Click +Create Application.
- Click Regular Web Application and enter a name for your app, such as
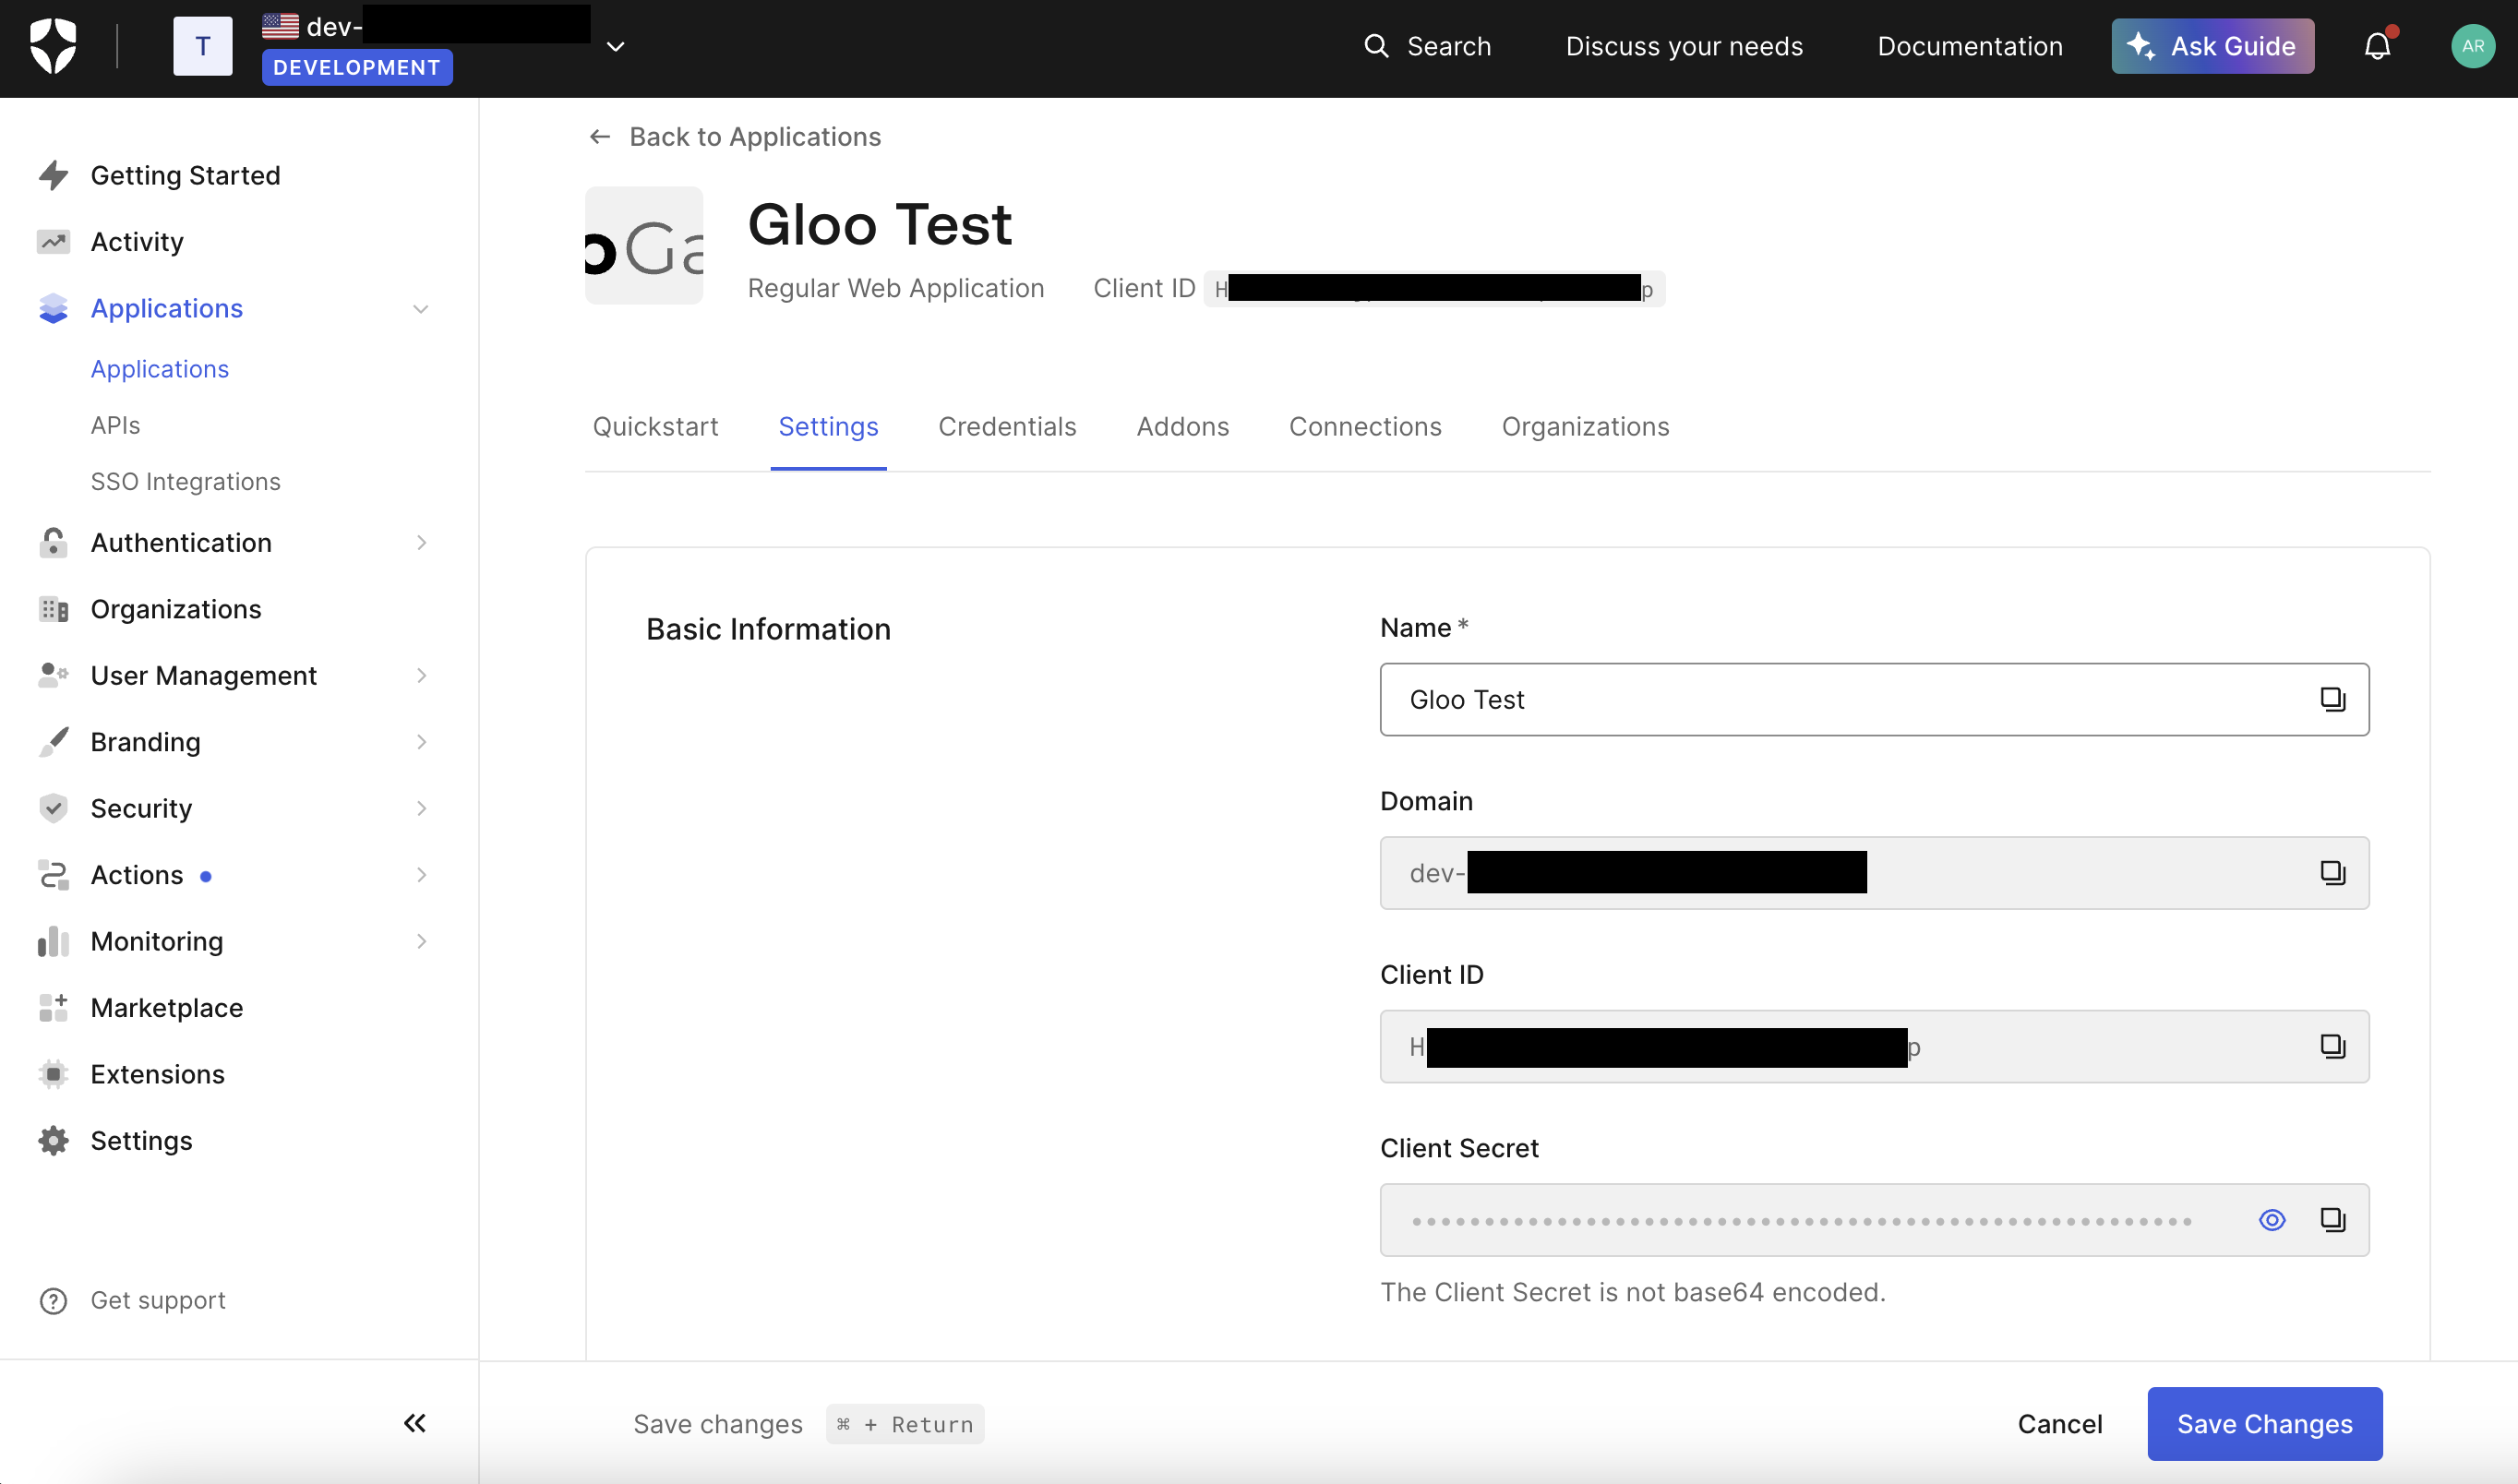
Solo Test. - From the the Settings tab, in the Basic information, save the following values as environment variables.
- Domain, such as
<tenant>.us.auth0.com:export DOMAIN=<domain> - Client ID:
export CLIENT_ID=<client_id> - Client secret:
export CLIENT_SECRET=<client_secret>
- Domain, such as
- Scroll down to the Application URIs section.
- In the Allowed Callback URLs section, enter the URL for Auth0 to redirect a user to after authenticating, such as
http://extauth.example.com:8080/callback. Later, you configure theextauth.example.comdomain in the HTTPRoute for the example httpbin app. - In the footer, click Save Changes.
Step 3: Create an OAuth policy
Create the resources needed to enforce an OAuth policy that uses Auth0 as the IAM provider.
In the workload cluster that you want to create the OAuth policy in, store the client credentials of your Auth0 app in a Kubernetes secret.
  kubectl apply -f - <<EOF
apiVersion: v1
kind: Secret
metadata:
  name: auth0
  namespace: httpbin
type: extauth.solo.io/oauth
stringData:
  client-secret: ${CLIENT_SECRET}
EOF
Create an AuthConfig resource with your external authentication rules. The following example sets up authentication with Auth0 via an authorization code. For more options, see the OAuth2 API docs.
  kubectl apply -f - <<EOF
apiVersion: enterprise.gloo.solo.io/v1
kind: AuthConfig
metadata:
  name: oauth-auth0
  namespace: httpbin
spec:
  configs:
  - oauth2:
      oidcAuthorizationCode:
        appUrl: http://extauth.example.com:8080
        callbackPath: /callback
        clientId: ${CLIENT_ID}
        clientSecretRef:
          name: auth0
          namespace: httpbin
        issuerUrl: https://${DOMAIN}
        session:
          cookieOptions:
            notSecure: true
        scopes:
        - email
EOF
Review the following table to understand this configuration.
Setting Description oauth2Configure the OAuth 2.0 protocol details to use to authenticate requests. The example uses Google as the external identity provider. appUrlThe public URL of the app that you want to set up external auth for. This setting is used in combination with the callbackPathattribute. In this example, you did not configure Google OAuth with a public URL. Instead, you can usehttp://extauth.example.com:8080to test the authentication setup.callbackPathThe callback path, relative to the appUrl setting. After a user authenticates, the identity provider redirects the user to this callback URL. Gloo Gateway intercepts requests with this path, exchanges the authorization code received from the IAM provider for an ID token, places the ID token in a cookie on the request, and forwards the request to its original destination. The callback path must have a matching route in the HTTPRoute resource that is associated with the AuthConfig. For example, you could simply have a/path-prefix route which would match any callback path. The important part of this callback catchall route is that the request goes through the routing filters, including external auth.clientIdThe client ID token that you got when you registered your app with the identity provider. clientSecretRefThe Kubernetes secret that has the client secret that you got when you registered your app with the identity provider. issuerUrlThe URL of the OpenID Connect identity provider. Gloo Gateway automatically discovers OIDC configuration by querying the .well-known/openid-configurationendpoint on theissuer_url. In this example, Gloo Gateway expects to find OIDC discovery information athttps://${DOMAIN}.sessionDetails on how to store the user session details. In this example, the cookie is insecure, for demonstration purposes. scopesOther OIDC scopes to request. By default, the openidscope is included, which returns the OIDC protocol information that is needed to verify the user’s identity. This example also requests theemailscope, which has the user’s Google email address. For more information, see the OpenID docs.Create a RouteOption resource that refers to the AuthConfig resource that you just created.
  kubectl apply -f- <<EOF
apiVersion: gateway.solo.io/v1
kind: RouteOption
metadata:
  name: httpbin-oauth
  namespace: httpbin
spec:
  options:
    extauth:
      configRef:
        name: oauth-auth0
        namespace: httpbin
EOF
Create an HTTPRoute resource for the httpbin app that requires authentication with Google for requests along the
/path. After the user is successfully authenticated with Google, an access token is issued and the user is redirected to the callback path (/callback) that you defined in the AuthConfig resource. Because the HTTPRoute matches on the/prefix path, it also matches requests along the callback path. The access token that is included in the callback path includes the original prefix path of the request. The external auth server is configured to extract the original request path and to redirect the user back to this path.kubectl apply -f- <<EOF apiVersion: gateway.networking.k8s.io/v1 kind: HTTPRoute metadata: name: httpbin-oauth-route namespace: httpbin spec: parentRefs: - name: http namespace: gloo-system hostnames: - extauth.example.com rules: - matches: - path: type: PathPrefix value: / filters: - type: ExtensionRef extensionRef: group: gateway.solo.io kind: RouteOption name: httpbin-oauth backendRefs: - name: httpbin port: 8000 EOF
Step 4: Verify the OAuth policy
Verify that your resources are in an
Acceptedstate. If not, review the messages. Common issues include referencing the wrong RouteOption resource in theextensionReffilter, creating multiple RouteOption resources and attaching them via thetargetRefsoption, or missing ReferenceGrants for resources that are in different namespaces.kubectl describe AuthConfig -n httpbin oauth-auth0 kubectl describe RouteOption -n httpbin httpbin-oauth kubectl describe HttpRoute -n httpbin httpbin-oauth-routeUpdate the
/etc/hostsfile on your local machine to match the$INGRESS_GW_ADDRESSto theextauth.example.comhost.Open the
/etc/hostsfile.sudo vi /etc/hostsMatch the
extauth.example.comhost to the$INGRESS_GW_ADDRESS. For example, if$INGRESS_GW_ADDRESSis 34.2.1.2, add the following snippet to your/etc/hostsfile.34.2.1.2 extauth.example.com
In your browser, open any path to your app. For example, you might use http://extauth.example.com:8080/anything as your app URL. Verify that you are redirected to the Auth0 login screen.
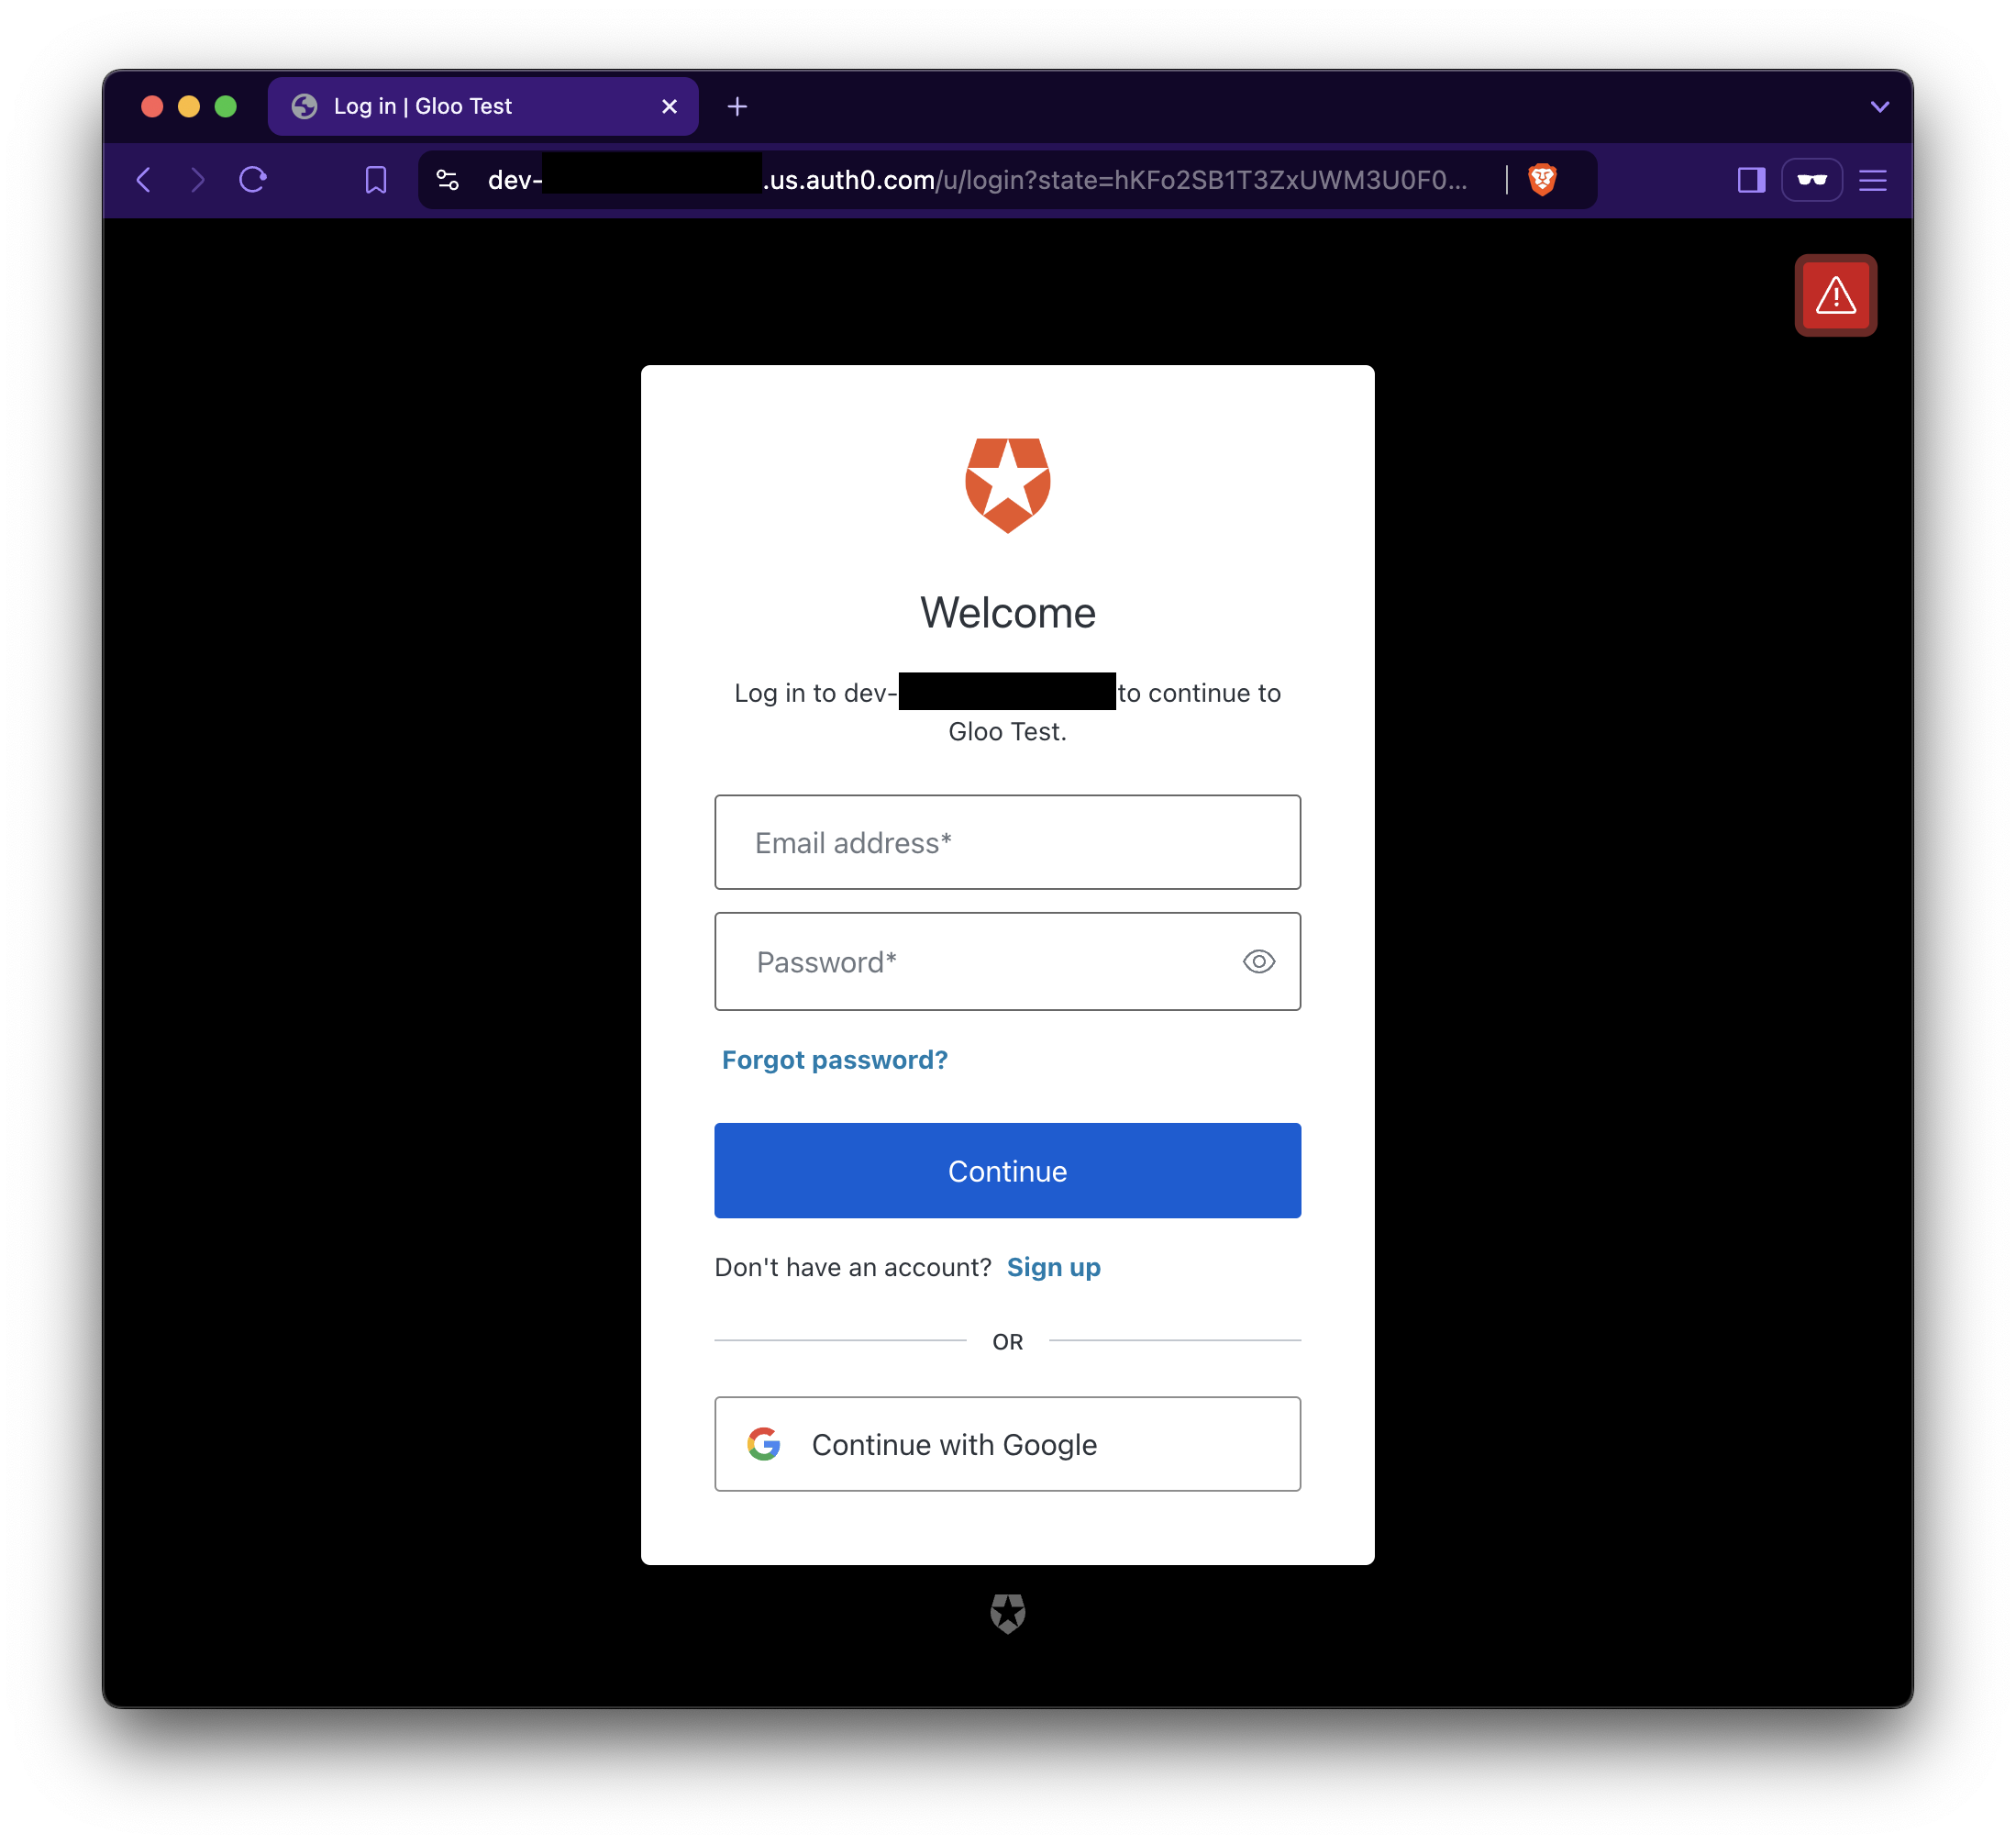
Figure: Auth0 login page Figure: Auth0 login page Log in to Auth0 with the credentials of your test user. Verify that you are redirected to the
/callbackpath, with the access token from Auth0 added as a query string in the URL. Because the callback path is included in the/matcher, the external auth server continues to process the request and extracts the original prefix path from the callback URL. Then, the request is forwarded to the httpbin app along the original prefix path (/anything).- Example web page content: Notice that the Auth0 ID and access tokens are included in the Cookie header.
  {
  "args": {},
  "headers": {
    "Accept": [
      "text/html,application/xhtml+xml,application/xml;q=0.9,image/avif,image/webp,image/apng,*/*;q=0.8"
    ],
    "Accept-Encoding": [
      "gzip, deflate"
    ],
    "Accept-Language": [
      "en-US,en;q=0.9"
    ],
    "Cookie": [
      "id_token=eyJh....; access_token=eyJhb..."
    ],
    "Host": [
      "extauth.example.com:8080"
    ],
    "Sec-Gpc": [
      "1"
    ],
    "Upgrade-Insecure-Requests": [
      "1"
    ],
    "User-Agent": [
      "Mozilla/5.0 (Macintosh; Intel Mac OS X 10_15_7) AppleWebKit/537.36 (KHTML, like Gecko) Chrome/127.0.0.0 Safari/537.36"
    ],
    "X-Envoy-Expected-Rq-Timeout-Ms": [
      "15000"
    ],
    "X-Forwarded-Proto": [
      "http"
    ],
    "X-Request-Id": [
      "58xxxxxx-2xxx-4xxx-bxx-4xxxxxxxx"
    ],
    "X-User-Id": [
      "https://${DOMAIN}.us.auth0.com/;auth0|xxx"
    ]
  },
  "origin": "10.xx.x.xx:46xxx",
  "url": "http://extauth.example.com:8080/anything",
  "data": "",
  "files": null,
  "form": null,
  "json": null
}
Cleanup
You can optionally remove the resources that you set up as part of this guide.
  kubectl delete Secret -n httpbin auth0
kubectl delete AuthConfig -n httpbin oauth-auth0
kubectl delete RouteOption -n httpbin httpbin-oauth
kubectl delete HttpRoute -n httpbin httpbin-oauth-route