Create a portal
Create the backend and frontend of your developer portal.
Previously, you bundled your apps into ApiProducts. Now, you configure the backend and frontend of your developer portal to serve the ApiProducts to your end users.
Before you begin
Complete the API product tutorial.
Create the backend portal
Create a Portal that configures the host domain on which you want to expose your ApiProducts to end users.
Step 1: Create the portal
Create a Portal custom resource. You create the Portal in the same namespace as the ApiProducts. This way, you do not need to create a Kubernetes ReferenceGrant to let the Portal refer to the ApiProducts.
  kubectl apply -n gloo-system -f- <<EOF
apiVersion: portal.gloo.solo.io/v1
kind: Portal
metadata:
  name: portal-developer
  namespace: gloo-system
spec:
  visibility:
    public: true
  apiProducts:
  - name: tracks-svc-api-product
    namespace: gloo-system
  - name: petstore-svc-api-product
    namespace: gloo-system
EOF
Review the following table to understand this configuration.
Field Description metadata Note that the Portal is created in the same namespace as the portal server and ApiProducts, gloo-system. If your Portal is in a different namespace, you must create a Kubernetes ReferenceGrant to let the Portal refer to the portal server’s Service and the ApiProducts.visibility Decide whether the ApiProducts in the portal are visible to all users (public APIs) or if the ApiProducts are hidden until the user successfully authenticates (private APIs). The default value is falseto set up private APIs. The example sets the value totrueso that any user can view the ApiProductsapiProducts Select the ApiProducts to include in the portal. Check the status of your ApiProducts. Notice that the ApiProducts are now
ACCEPTEDbecause you created a portal that selects them.kubectl get apiproducts -n gloo-system -o yaml | grep status -A5Example output:
    status:
    state:
      State:
        approval: ACCEPTED
        message: SUCCESS
        observedGeneration: 2
--
  status:
    state:
      State:
        approval: ACCEPTED
        message: SUCCESS
        observedGeneration: 1
Check the ApiDocs again. Notice that Gloo automatically generated an ApiDoc that includes the stitched schema of all the paths that are exposed by each matcher of the HTTPRoutes for each ApiProduct in the same
gloo-systemnamespace as the Portal. For example, you have one stitched schema for the 3 services that are part of the Petstore ApiProduct.kubectl get apidocs -AExample output:
  NAMESPACE     NAME                                        AGE
gloo-system   store-route-gloo-system-stitched-openapi    10s
gloo-system   tracks-route-gloo-system-stitched-openapi   10s
pets          pets-rest-api-service                       26m
store         store-rest-api-service                      26m
tracks        tracks-rest-api-service                     26m
users         users-rest-api-service                      26m
Check that Gloo automatically generated a PortalConfig resource. The PortalConfig is an internal resource that Gloo uses to combine the stitched schema of the ApiDoc, the portal metadata of each ApiProduct, and the other details such as visibility and host domain for your Portal.
kubectl describe portalconfigs -n gloo-systemExample output:
  Name:         portal-developer-gloo-system
Namespace:    gloo-system
Labels:       portal.gloo.solo.io/gc_label=gloo-system
Annotations:  <none>
API Version:  internal.gloo.solo.io/v2
Kind:         PortalConfig
Spec:
  Apis:
    API Id:                    petstore-v1
    API Product Display Name:  Pet Store
    API Product Id:            petstore
    API Schema:
      Name:       pets-route-gloo-system-stitched-openapi
      Namespace:  gloo-system
    API Version:  v1
    Contact:      support@example.com
    Custom Metadata:
      Compatibility:           None
    Description:               Totally awesome API for all things pets!
    License:                   License info, such as MIT
    Lifecycle:                 Supported
    Terms Of Service:          You must authenticate to use this API! And other Terms of Service.
    Title:                     Pet Store REST API
    API Id:                    tracks-v1
    API Product Display Name:  Catstronauts Course Tracks
    API Product Id:            tracks
    API Schema:
      Name:       tracks-route-gloo-system-stitched-openapi
      Namespace:  gloo-system
    API Version:  v1
    Contact:      support@example.com
    Custom Metadata:
      Compatibility:   None
    Description:       REST API for Catstronauts to retrieve data for tracks, authors and modules.
    License:           License info, such as MIT
    Lifecycle:         Supported
    Terms Of Service:  You must authenticate to use this API! And other Terms of Service.
    Title:             Catstronauts REST API
  Portal Ref:
    Name:       portal-developer
    Namespace:  gloo-system
  Public:       true
Status:
  Common:
    State:
      Approval:  ACCEPTED
      Message:   SUCCESS
Step 2: Create a route to the portal
Create an HTTPRoute for the backend portal. The HTTPRoute maps your Kubernetes Gateway with the backend portal server and the host domain that you want your backend portal to be available on.
- You can set up your own hostname, such as
portal.example.com. Also include the internal portal server’s hostname,gateway-portal-web-server.gloo-system. This way, the route can handle internal requests to the portal server. - Set up a rule to forward requests to the portal server along the
/v1path. The portal server expects requests along this path. - Create the HTTPRoute in the same namespace as the portal server. This way, you do not need to create a Kubernetes ReferenceGrant to let the HTTPRoute refer to the portal server’s Service.
kubectl apply -n gloo-system -f- <<EOF apiVersion: gateway.networking.k8s.io/v1 kind: HTTPRoute metadata: name: portal-backend-route namespace: gloo-system spec: parentRefs: - name: http namespace: gloo-system hostnames: - portal.example.com - gateway-portal-web-server.gloo-system rules: - backendRefs: - name: gateway-portal-web-server namespace: gloo-system port: 8080 matches: - path: type: PathPrefix value: /v1 EOF- You can set up your own hostname, such as
Confirm that the route references are resolved.
kubectl get httproutes -n gloo-system portal-backend-route -o yamlExample output:
  [...]
    - lastTransitionTime: "2024-04-17T18:54:53Z"
      message: ""
      observedGeneration: 2
      reason: ResolvedRefs
      status: "True"
      type: ResolvedRefs
Good job! You set up the backend of your developer portal. The backend means that your ApiProducts are exposed on a backend-facing host, portal.example.com, that your internal services use to route and protect requests to the backing API services.
Next, you can set up a frontend portal.
Create the frontend portal
The frontend portal is the web user interface (UI) application that your end users access. In the portal, your end users can discover and authenticate to use your ApiProducts.
Gloo provides a sample React app that you can use as a starting point to develop your own frontend application. This frontend app displays the ApiProducts that your Portal resource selects. Because this information is controlled by the Portal resource, you don’t have to update the frontend app as often after the initial setup.
Deploy the
dev-portal-startersample React app. For more information, see the GitHub project. Notice that the portal server URL environment variable is set toportal.example.com, which is the same hostname that you defined in the HTTPRoute for the backend portal.kubectl apply -n gloo-system -f- <<EOF apiVersion: v1 kind: ServiceAccount metadata: name: portal-frontend namespace: gloo-system --- apiVersion: v1 kind: Service metadata: name: portal-frontend namespace: gloo-system labels: app: portal-frontend service: portal-frontend spec: ports: - name: http port: 4000 targetPort: 4000 selector: app: portal-frontend --- apiVersion: apps/v1 kind: Deployment metadata: name: portal-frontend namespace: gloo-system spec: replicas: 1 selector: matchLabels: app: portal-frontend template: metadata: labels: app: portal-frontend spec: serviceAccountName: portal-frontend containers: - image: gcr.io/solo-public/docs/portal-frontend:latest imagePullPolicy: Always name: portal-frontend args: ["--host", "0.0.0.0"] ports: - containerPort: 4000 env: - name: VITE_PORTAL_SERVER_URL value: http://portal.example.com:8080/v1 # The URL that the backend Portal is exposed on via an HTTPRoute. EOFVerify that the frontend app is running.
kubectl get all -n gloo-system -l app=portal-frontendCreate an HTTPRoute for the frontend portal app. The hostname matches the hostname for the backend portal,
portal.example.com. Your end users can access the frontend portal app on this hostname. You create the HTTPRoute in the same namespace as the frontend portal app. This way, you do not need to create a Kubernetes ReferenceGrant to let the HTTPRoute refer to the frontend portal app’s Service.kubectl apply -n gloo-system -f- <<EOF apiVersion: gateway.networking.k8s.io/v1 kind: HTTPRoute metadata: name: portal-frontend-route namespace: gloo-system spec: parentRefs: - name: http namespace: gloo-system hostnames: - portal.example.com - gateway-portal-web-server.gloo-system rules: - backendRefs: - name: portal-frontend namespace: gloo-system port: 4000 EOFVerify that the frontend route is created. In the status section, check for
AcceptedandResolvedRefsin the reason output.kubectl get httproute portal-frontend-route -n gloo-system -o yaml | grep "status" -A15
You are almost there! You have all the pieces for a basic developer portal set up. Now, you can check out the portal as an end user.
Explore the portal
Explore how your end users can use the developer portal to discover, access, and use your API products. Because you set the portal visibility to public and did not enforce authentication, you can review all the pages that are available in the web UI.
Prepare your local setup for the portal frontend route.
In your browser, open the web UI of the frontend portal app, http://portal.example.com:8080/.
When you open the web UI, you might see the following message:no healthy upstream. The portal frontend app is probably still in process. View the logs until you see a message that indicates that the portal frontend app is available. The process can take a few minutes. To view the logs, runkubectl logs -n gloo-system deploy/portal-frontend.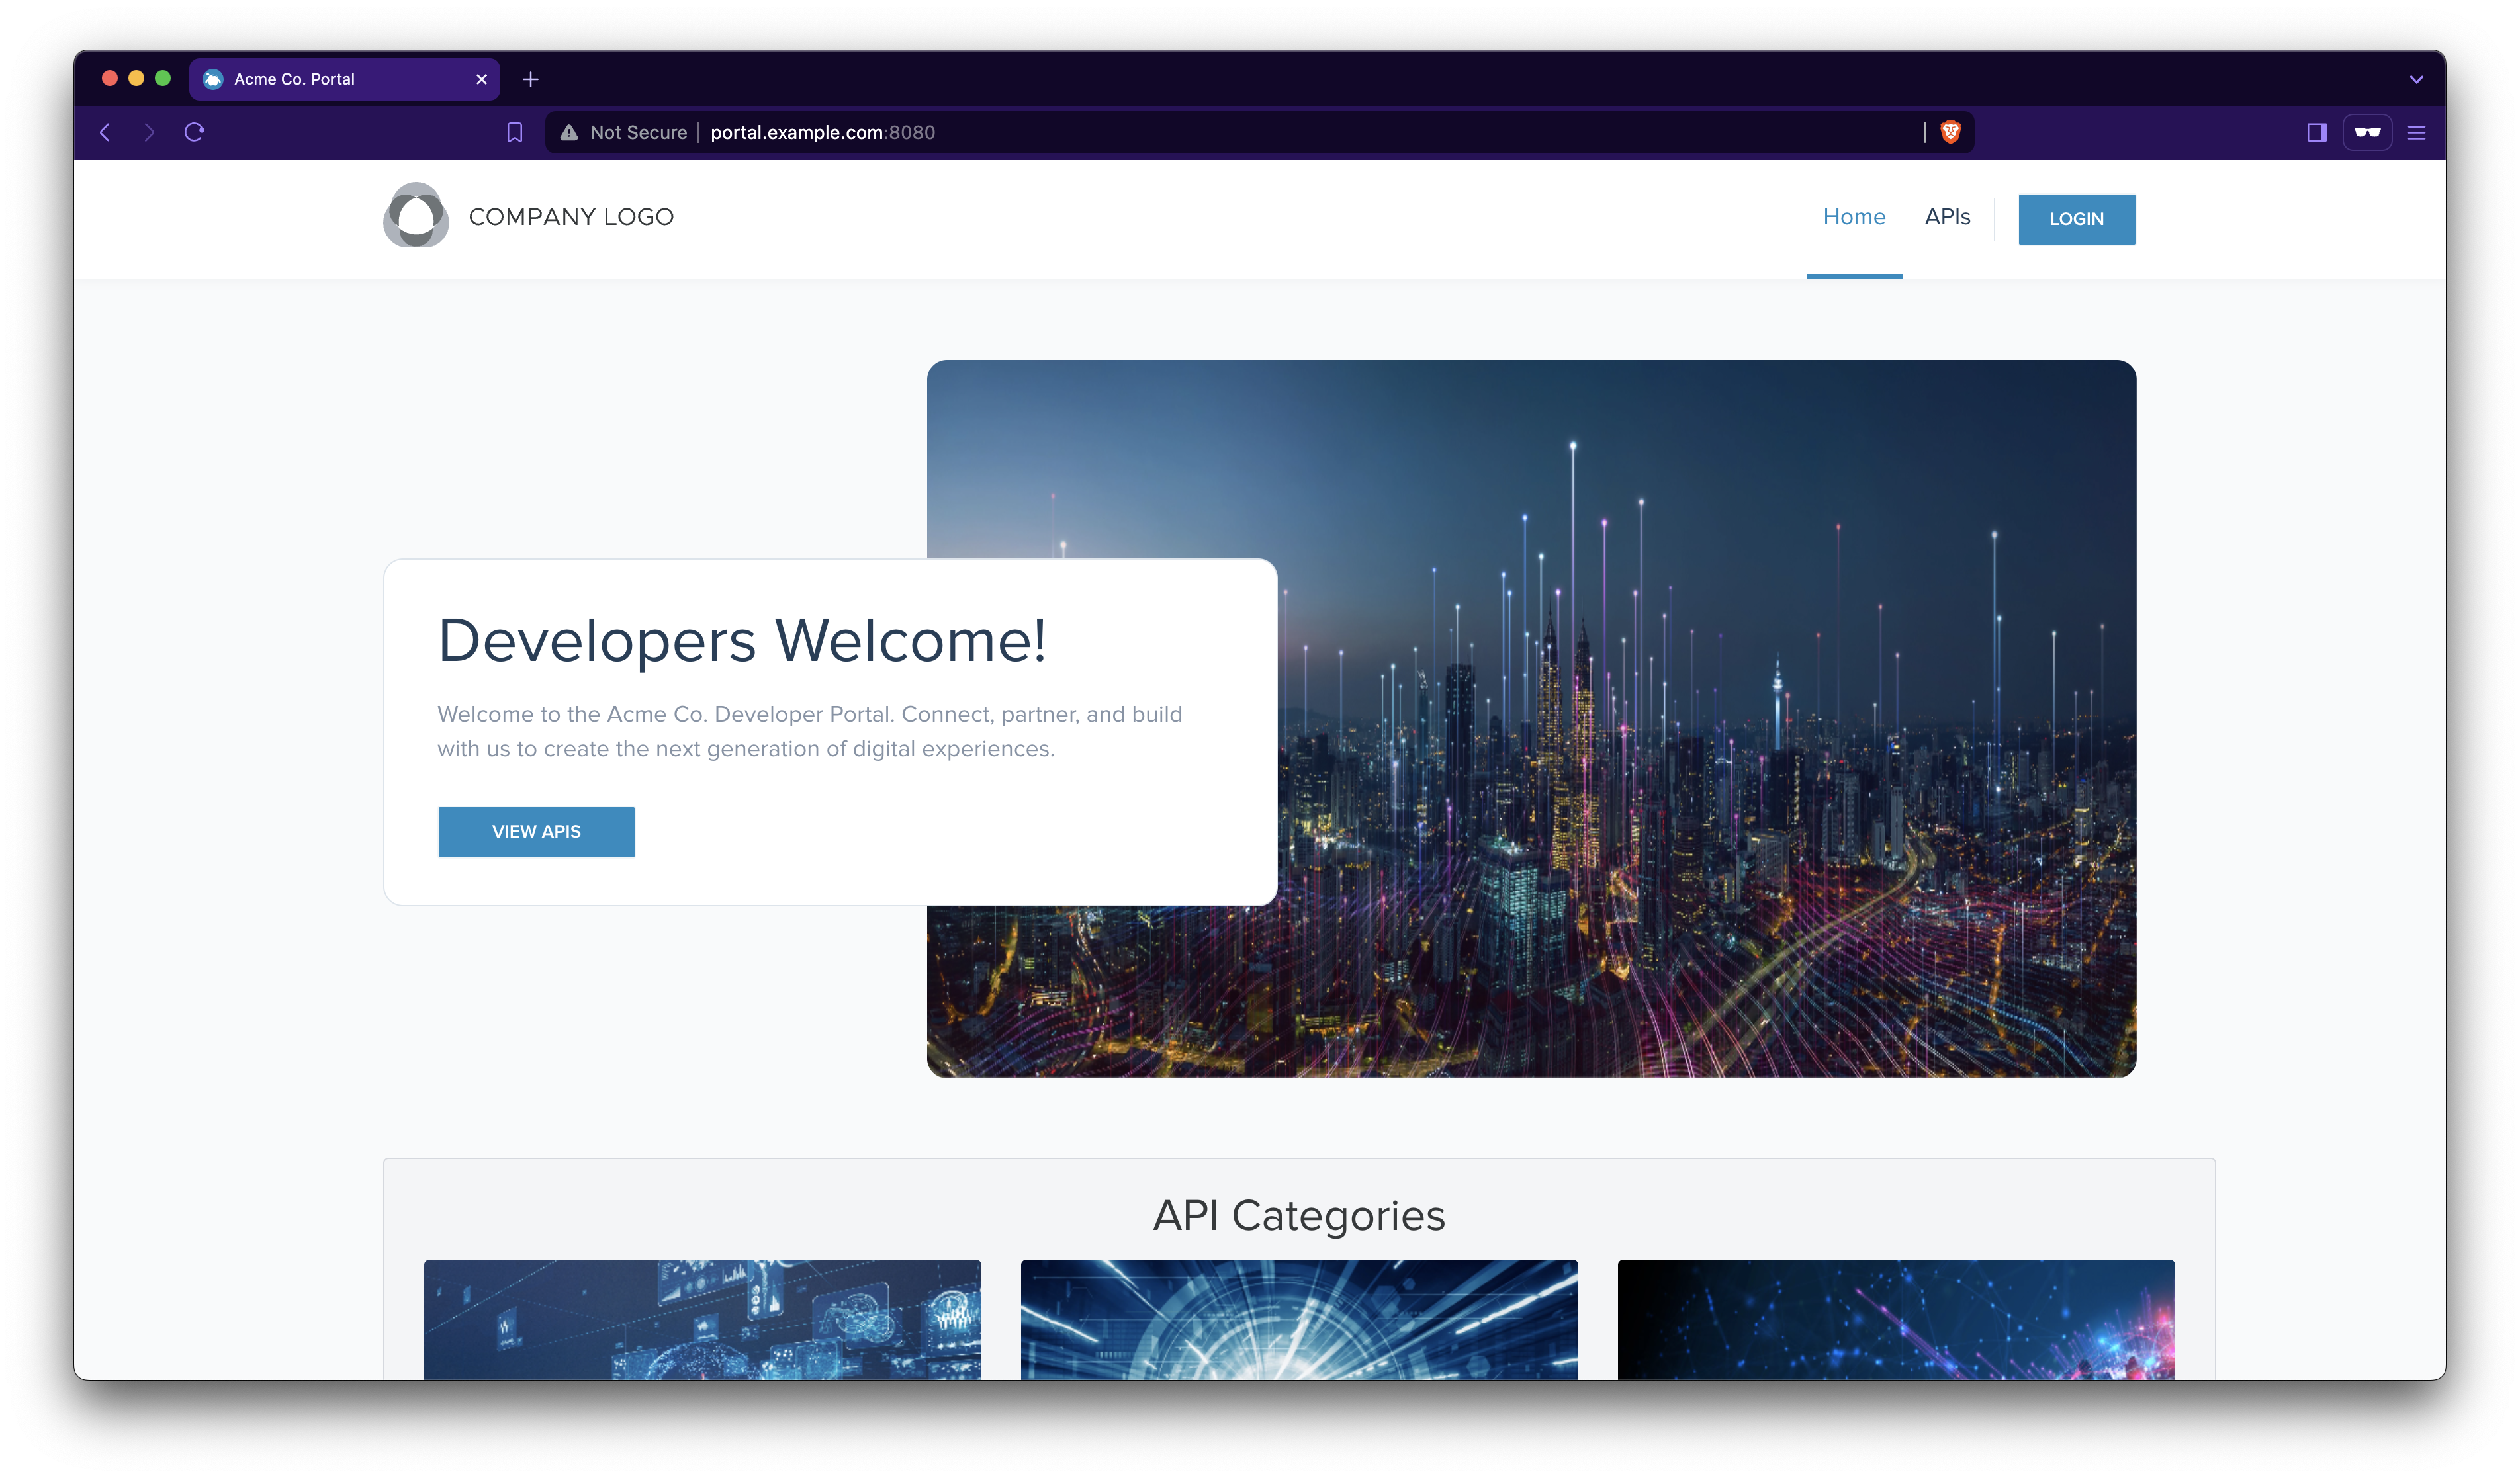
Figure: Welcome page of the developer portal. Figure: Welcome page of the developer portal. From the menu bar, click the APIs tab. You find the two ApiProducts that you created in this tutorial. Note that the portal metadata that you configured is shown for the description, version, tags, and other information.
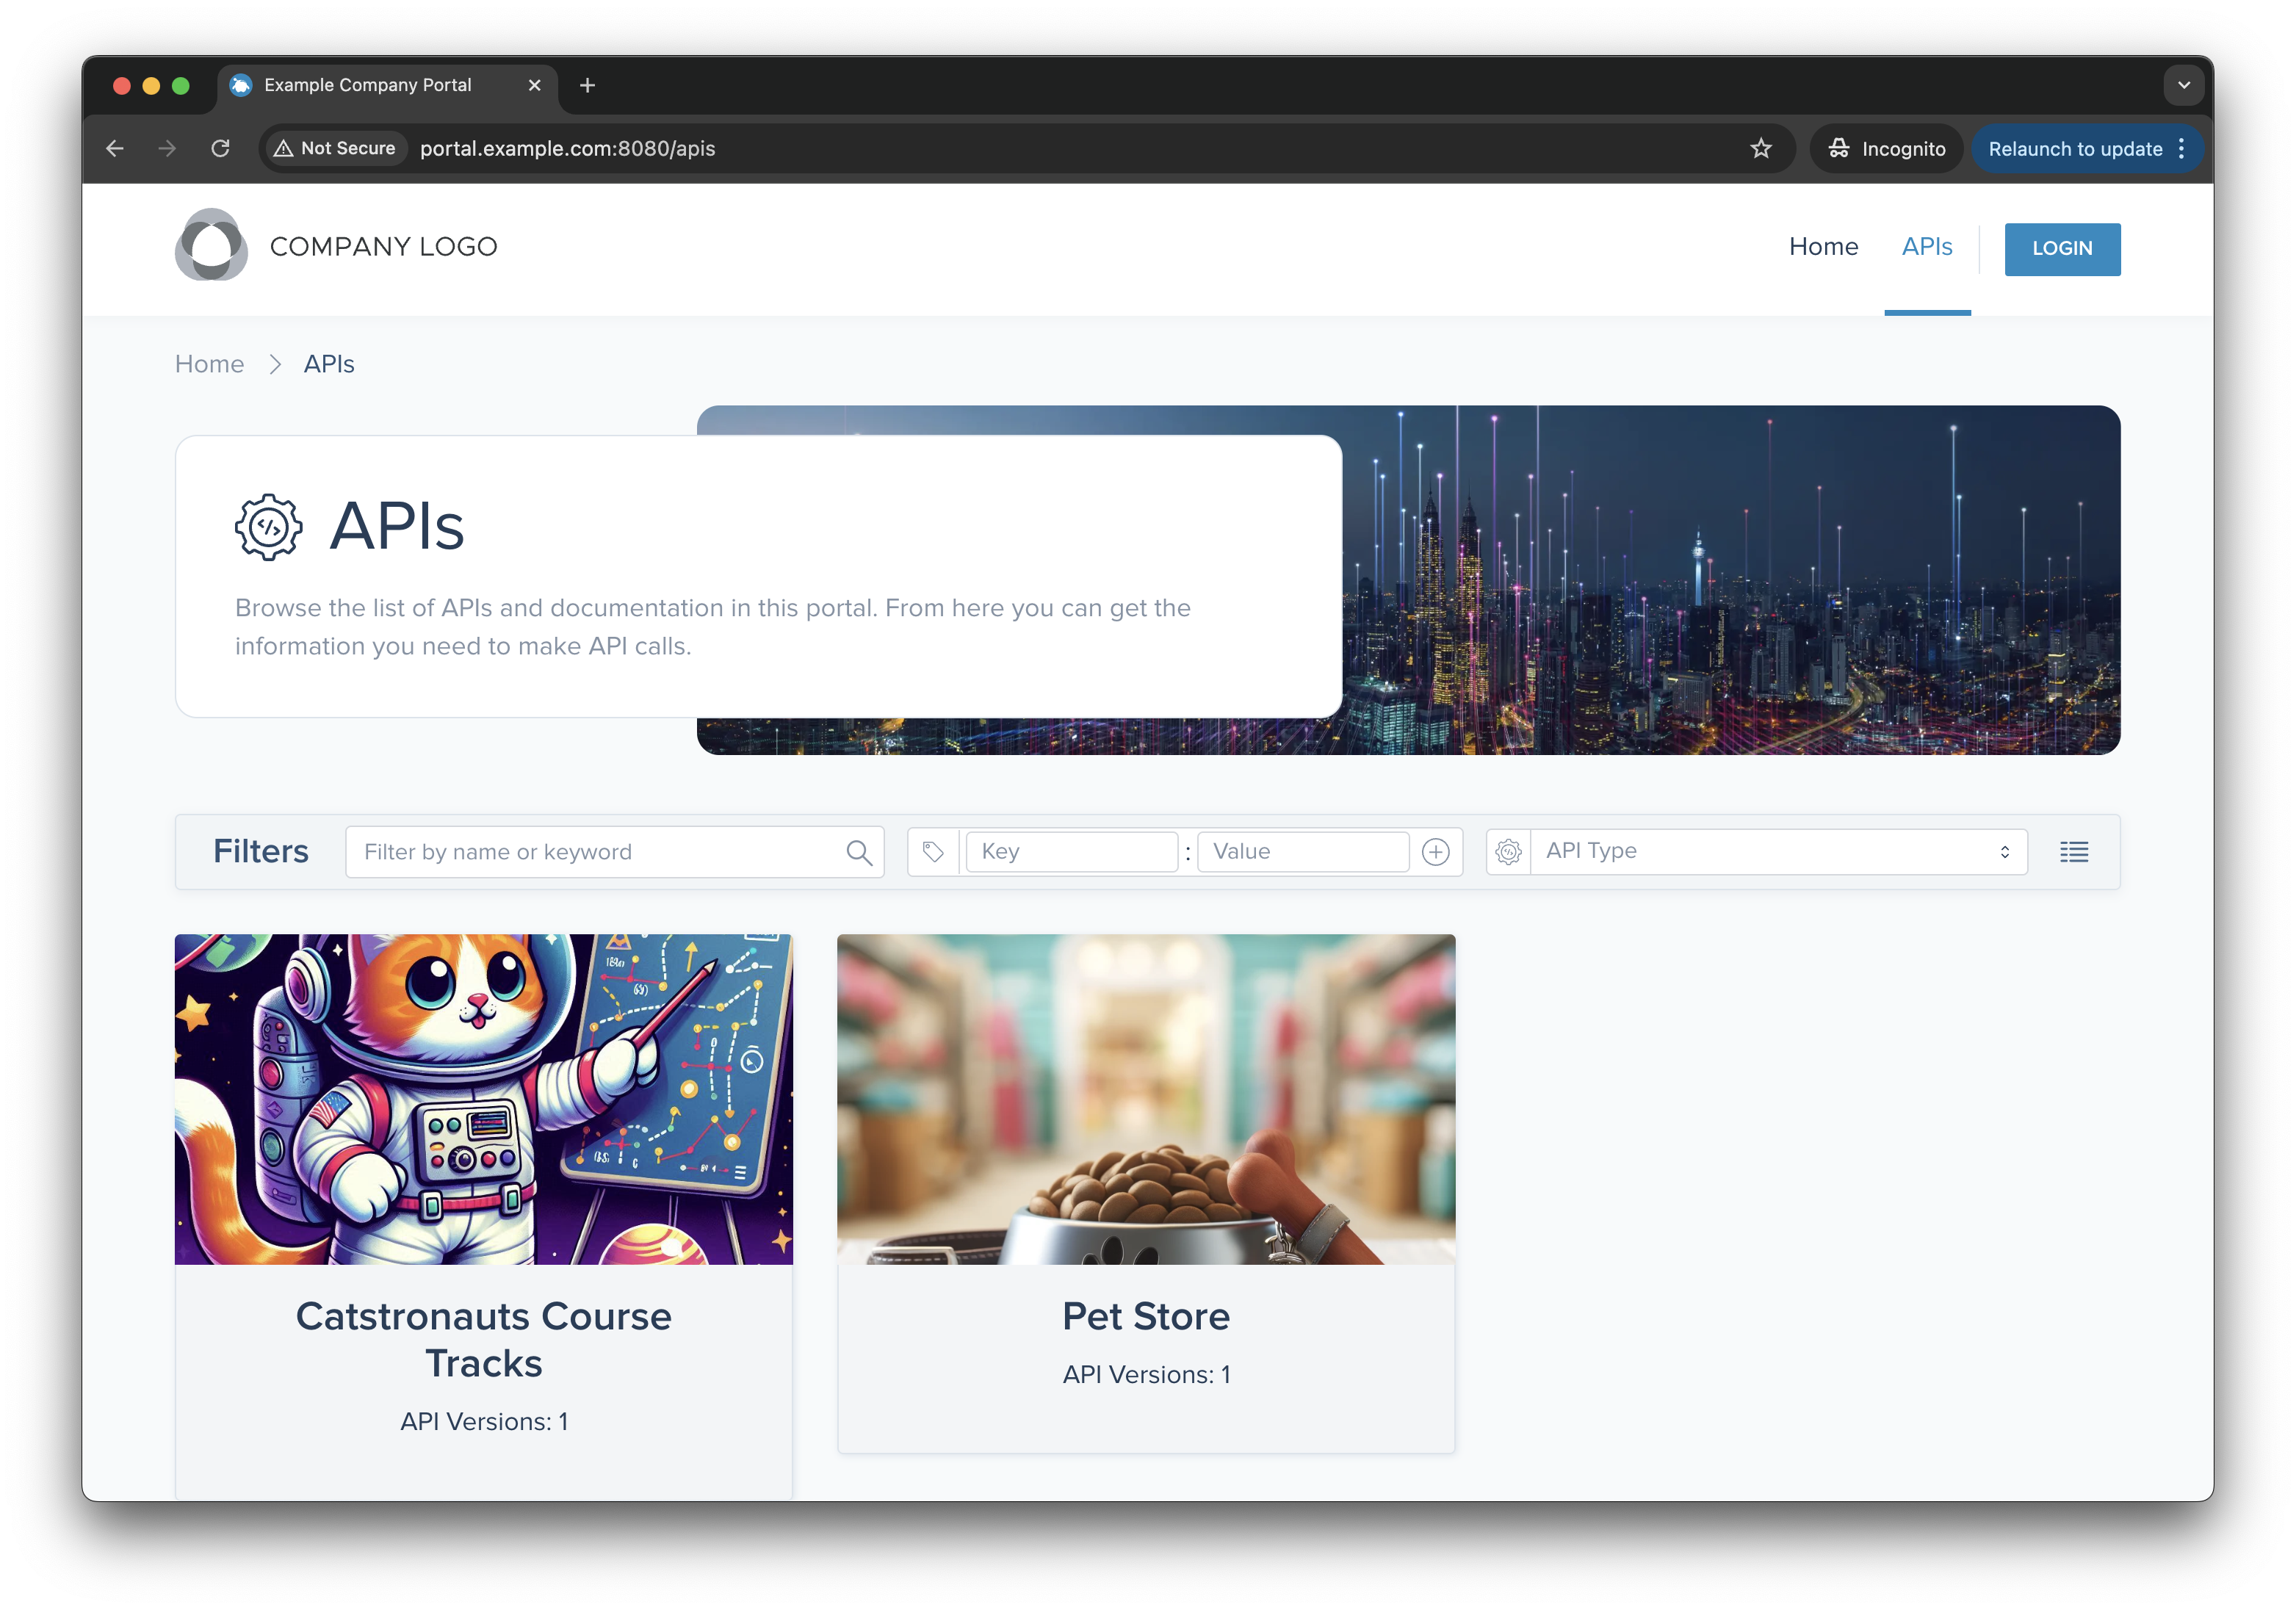
Figure: API products in the developer portal. Figure: API products in the developer portal. Click the Pet Store REST API. You can review the OpenAPI spec for each route in the ApiProduct, for
pet,store, anduser. To get a JSON file of the OpenAPI spec from either view, click Download.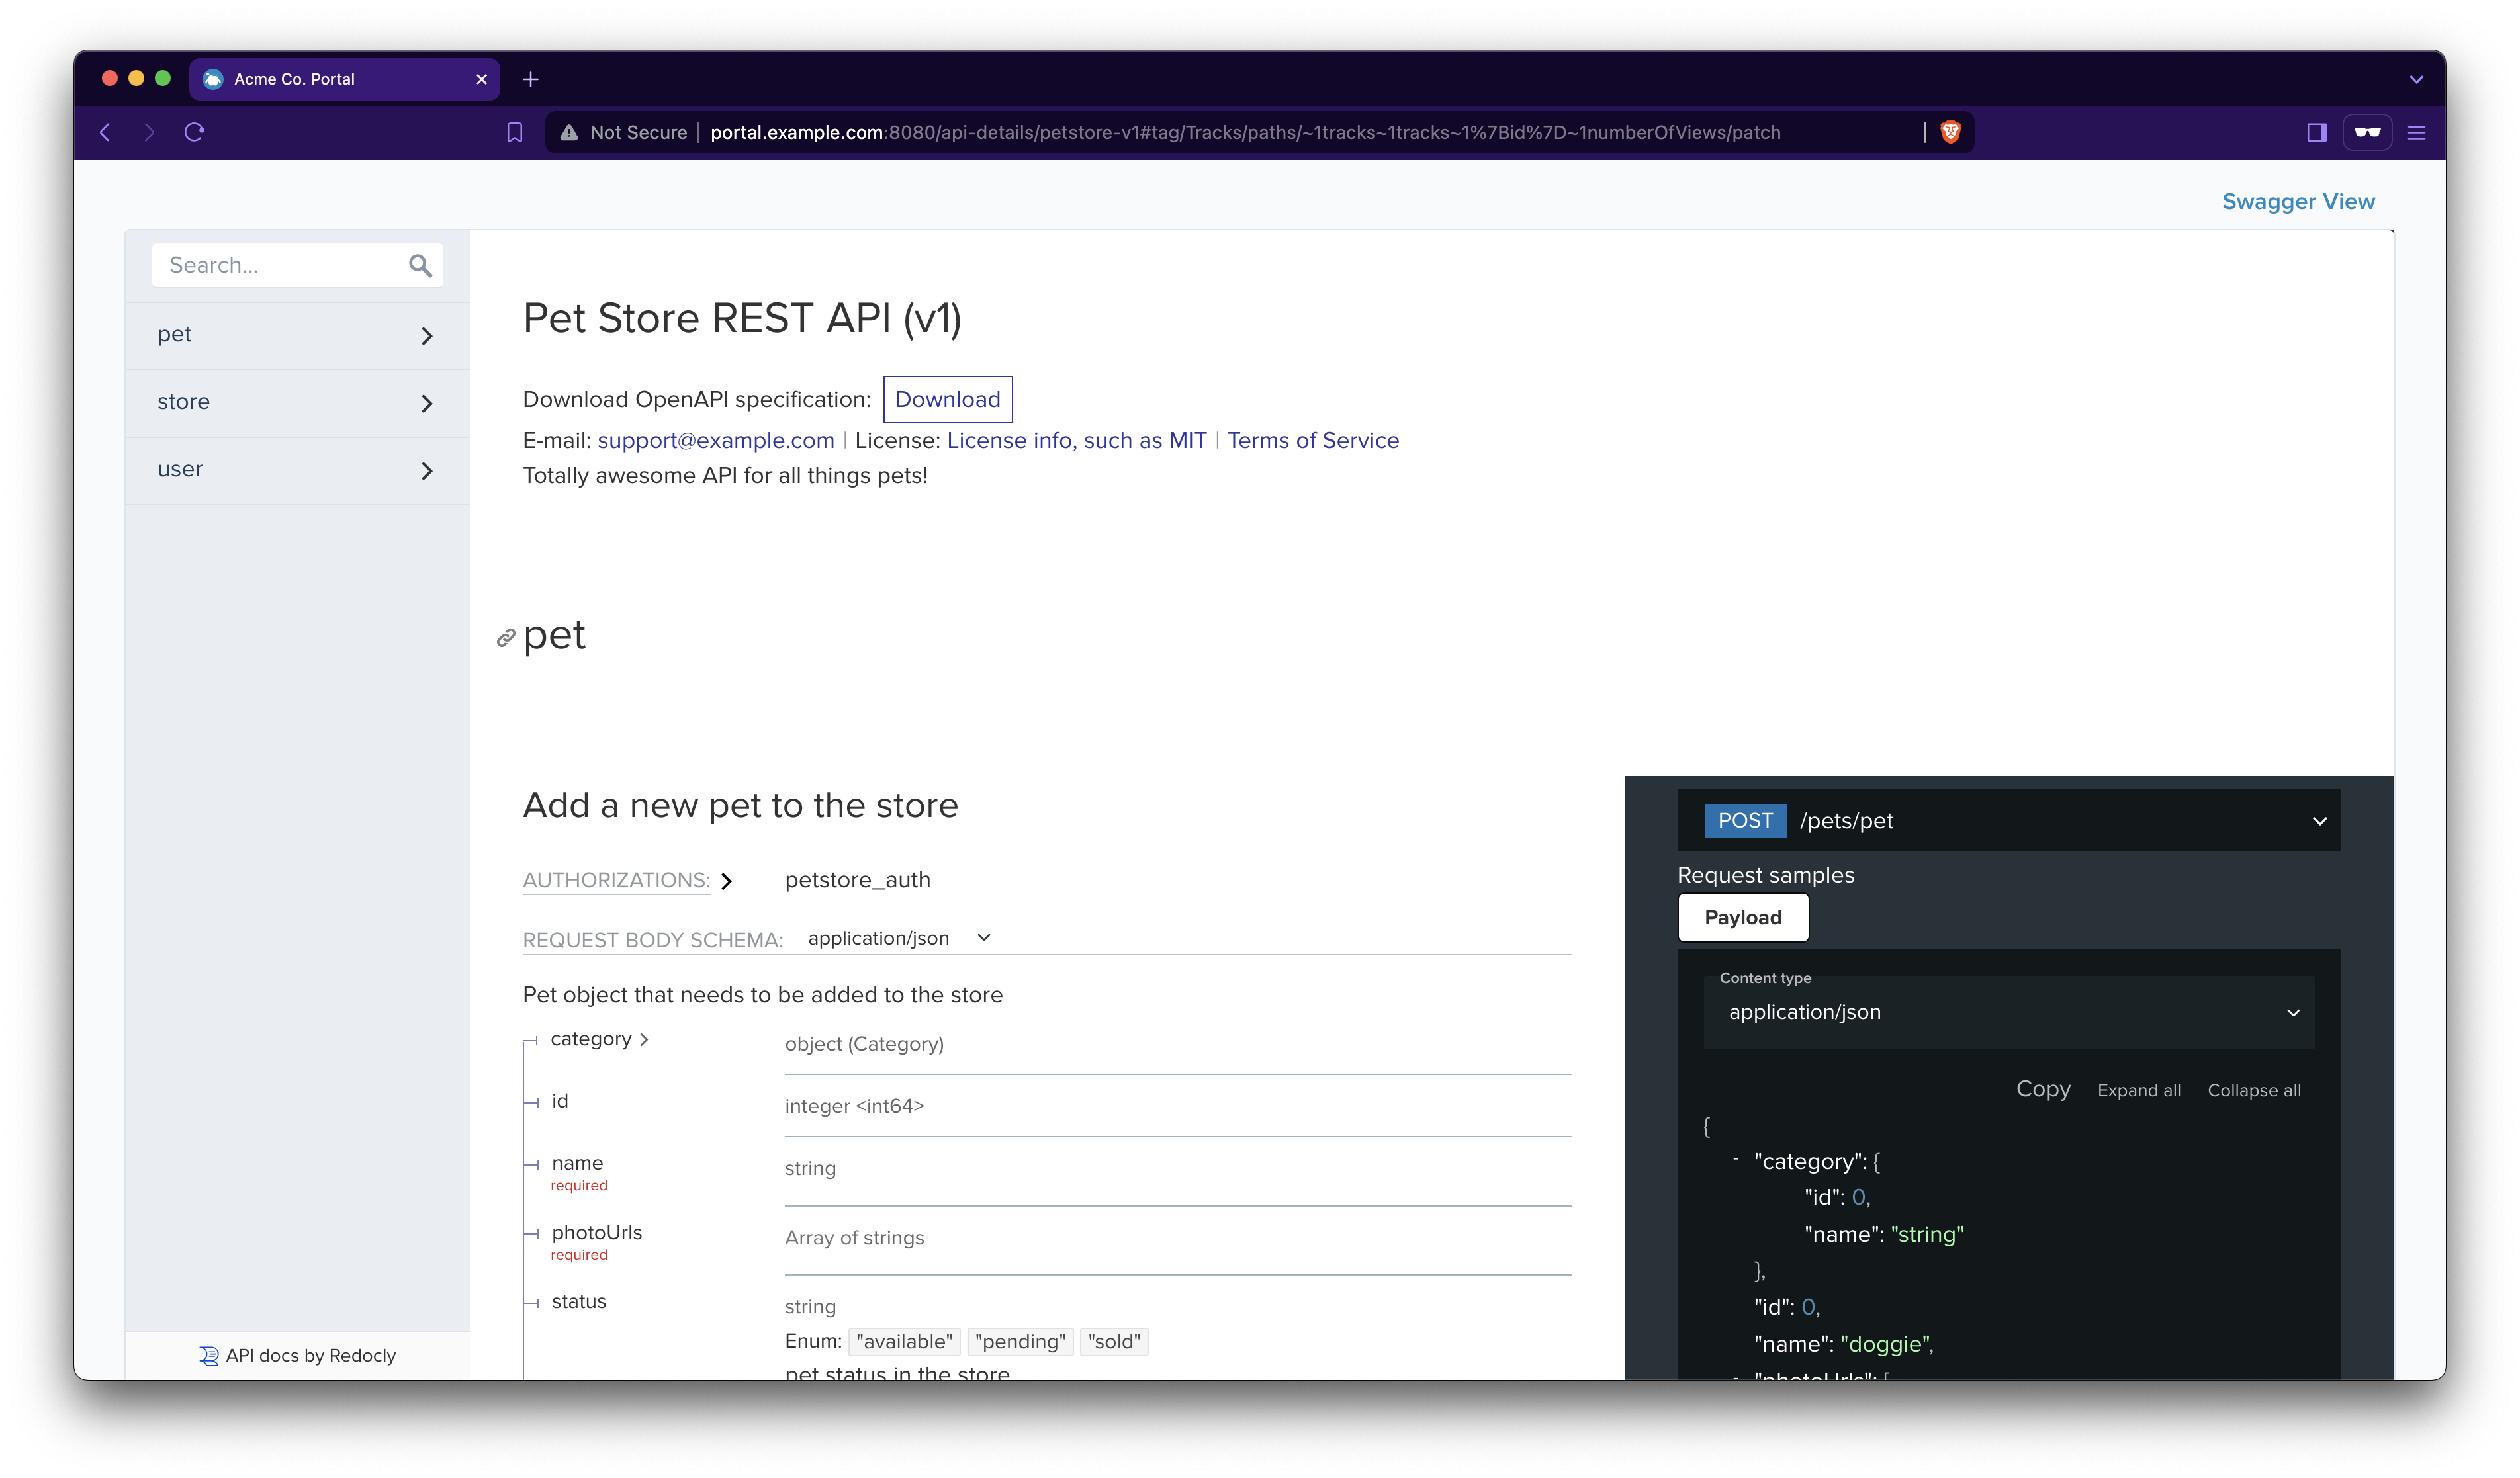
Figure: Redocly view of the OpenAPI spec for the Petstore ApiProduct. Figure: Redocly view of the OpenAPI spec for the Petstore ApiProduct. Click Swagger View to toggle the view from Redocly to Swagger.
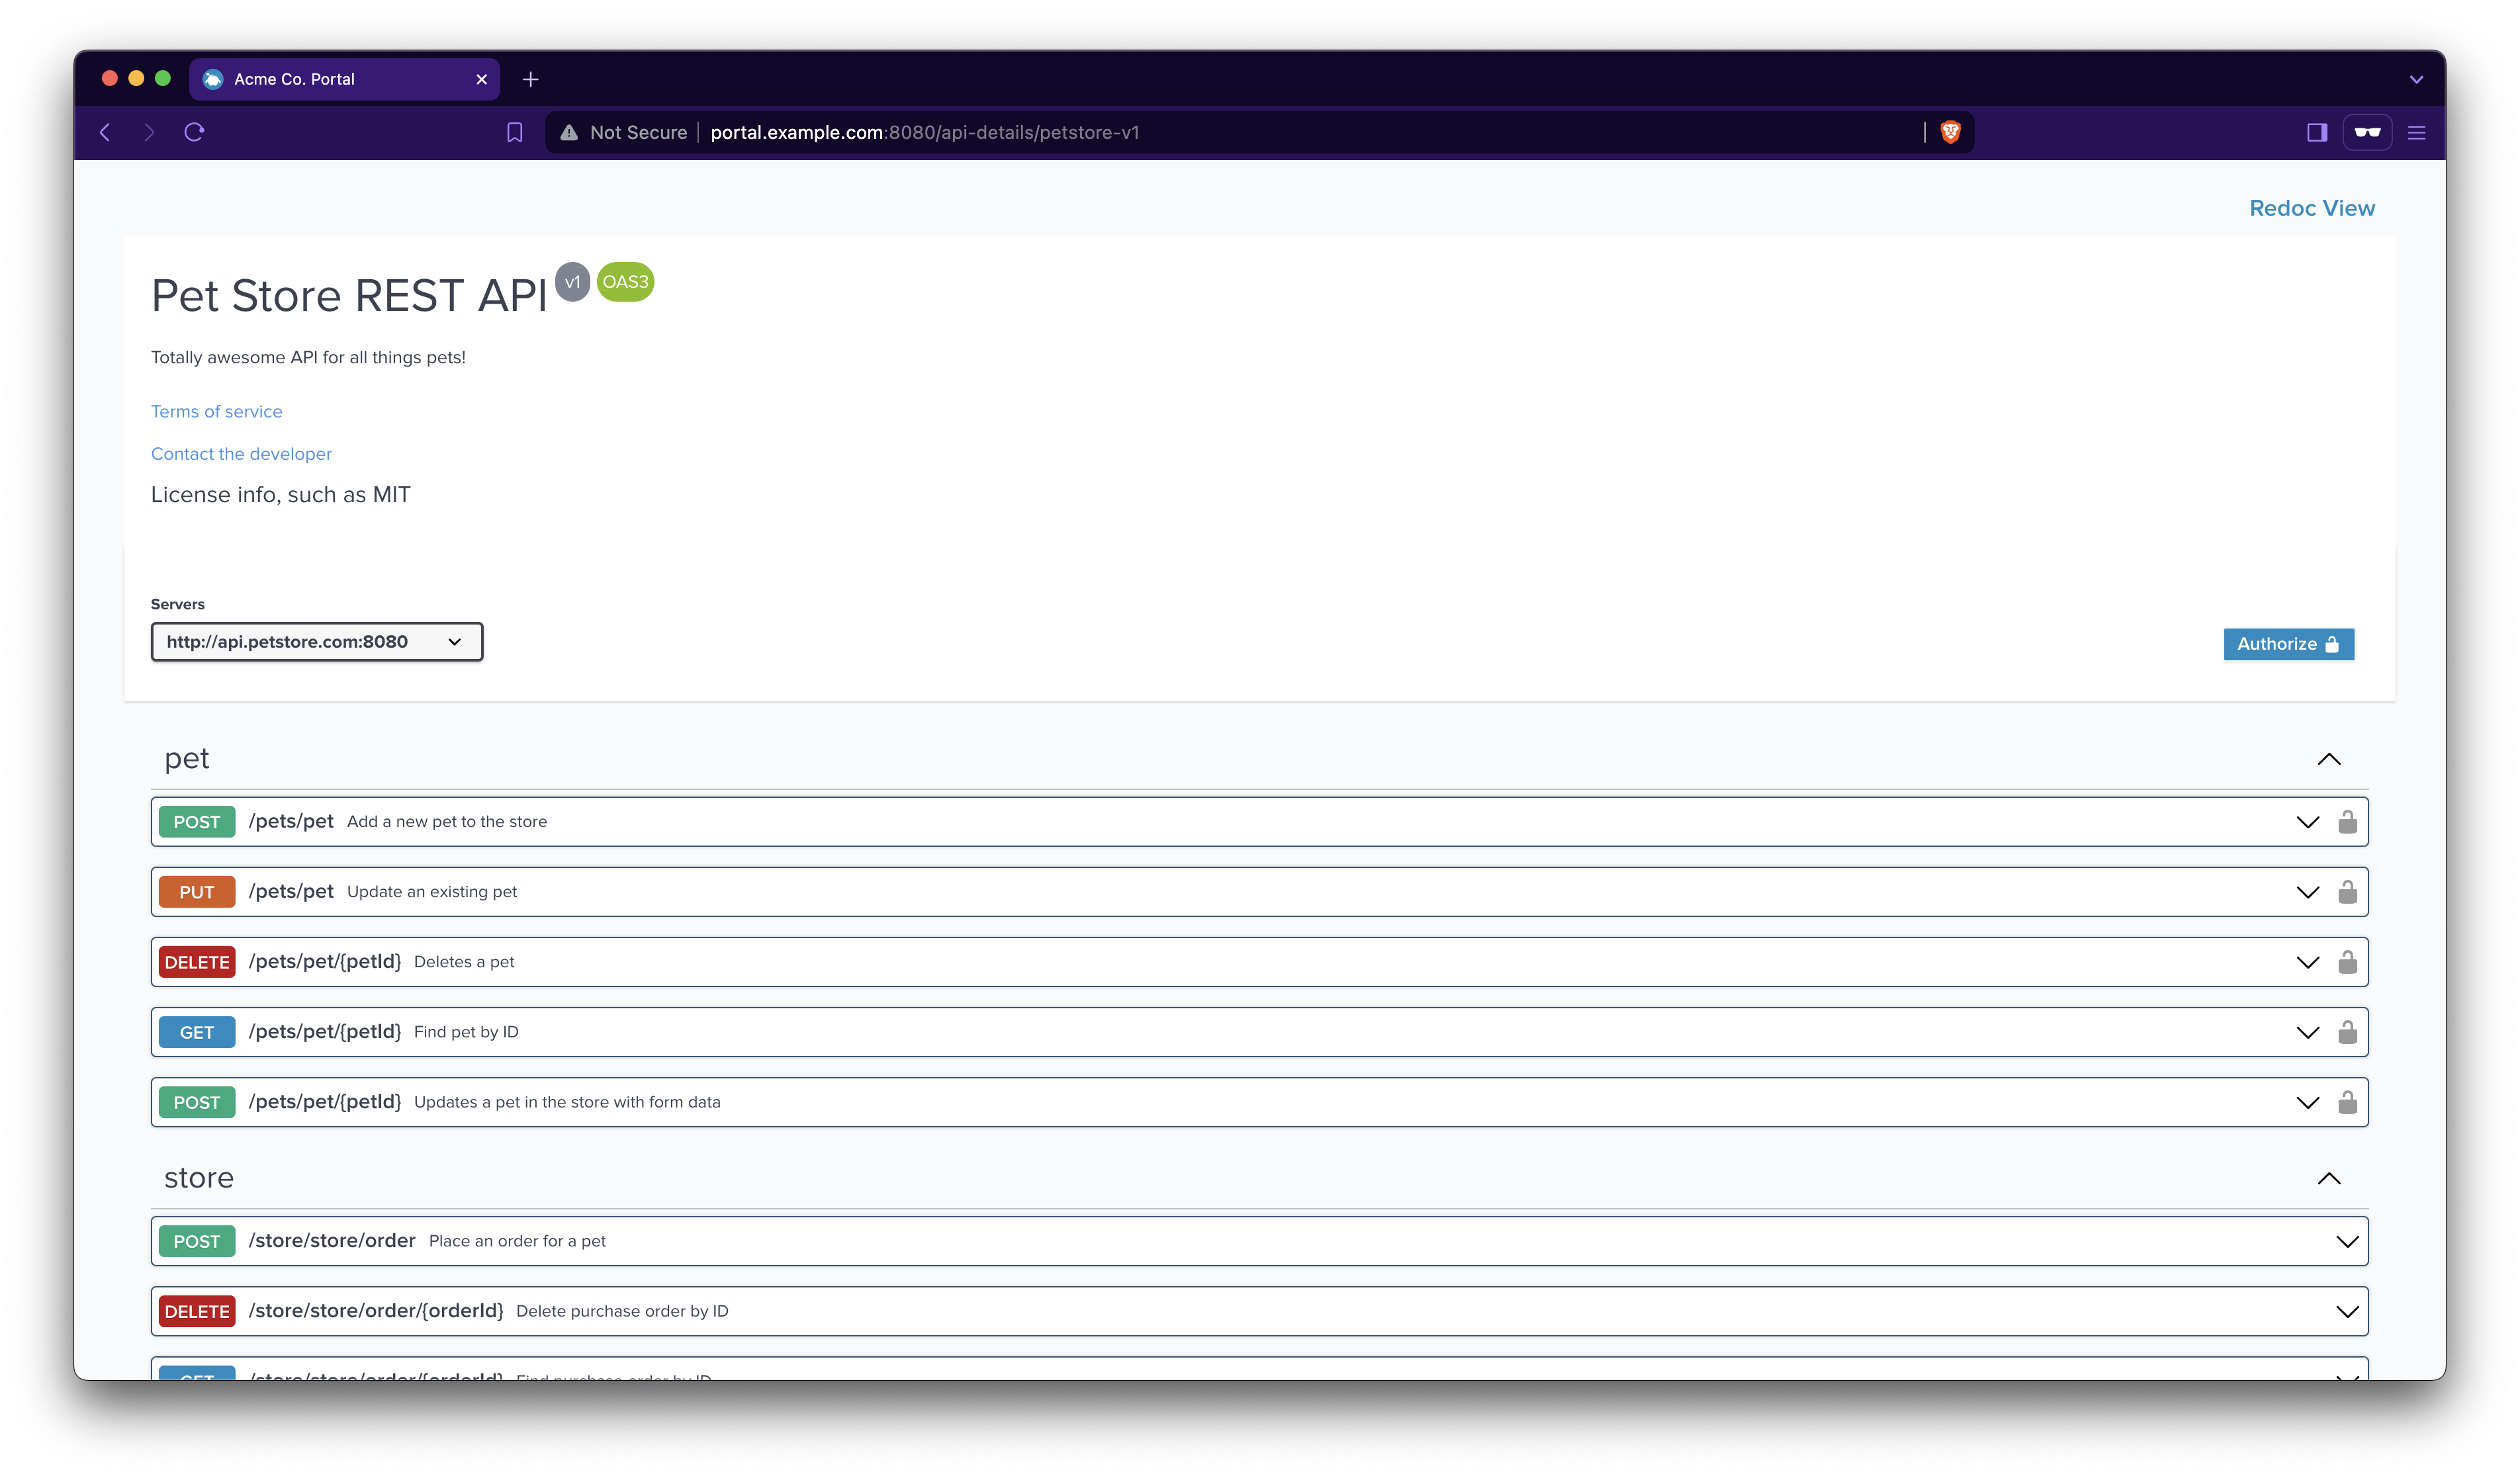
Figure: Swagger view of the OpenAPI spec for the Petstore ApiProduct. Figure: Swagger view of the OpenAPI spec for the Petstore ApiProduct.
Good job! You set up and explored the developer portal.
Next steps
By following these tutorials, you set up a basic portal backend and frontend. However, anyone with the link can open the portal frontend or send requests to your APIs.
For more advanced steps to protect the portal, see the following guides:
- Secure Portal APIs to learn more about your security options.
- Set up a secure login to access the portal frontend app.
- Set up credential management so that users can provision their own credentials to APIs that are protected by
portalAuthexternal authentication. - Set up rate limits for APIs.