On this page
End user guide
Explore how your end users can use the developer portal to discover, access, and use your API products.
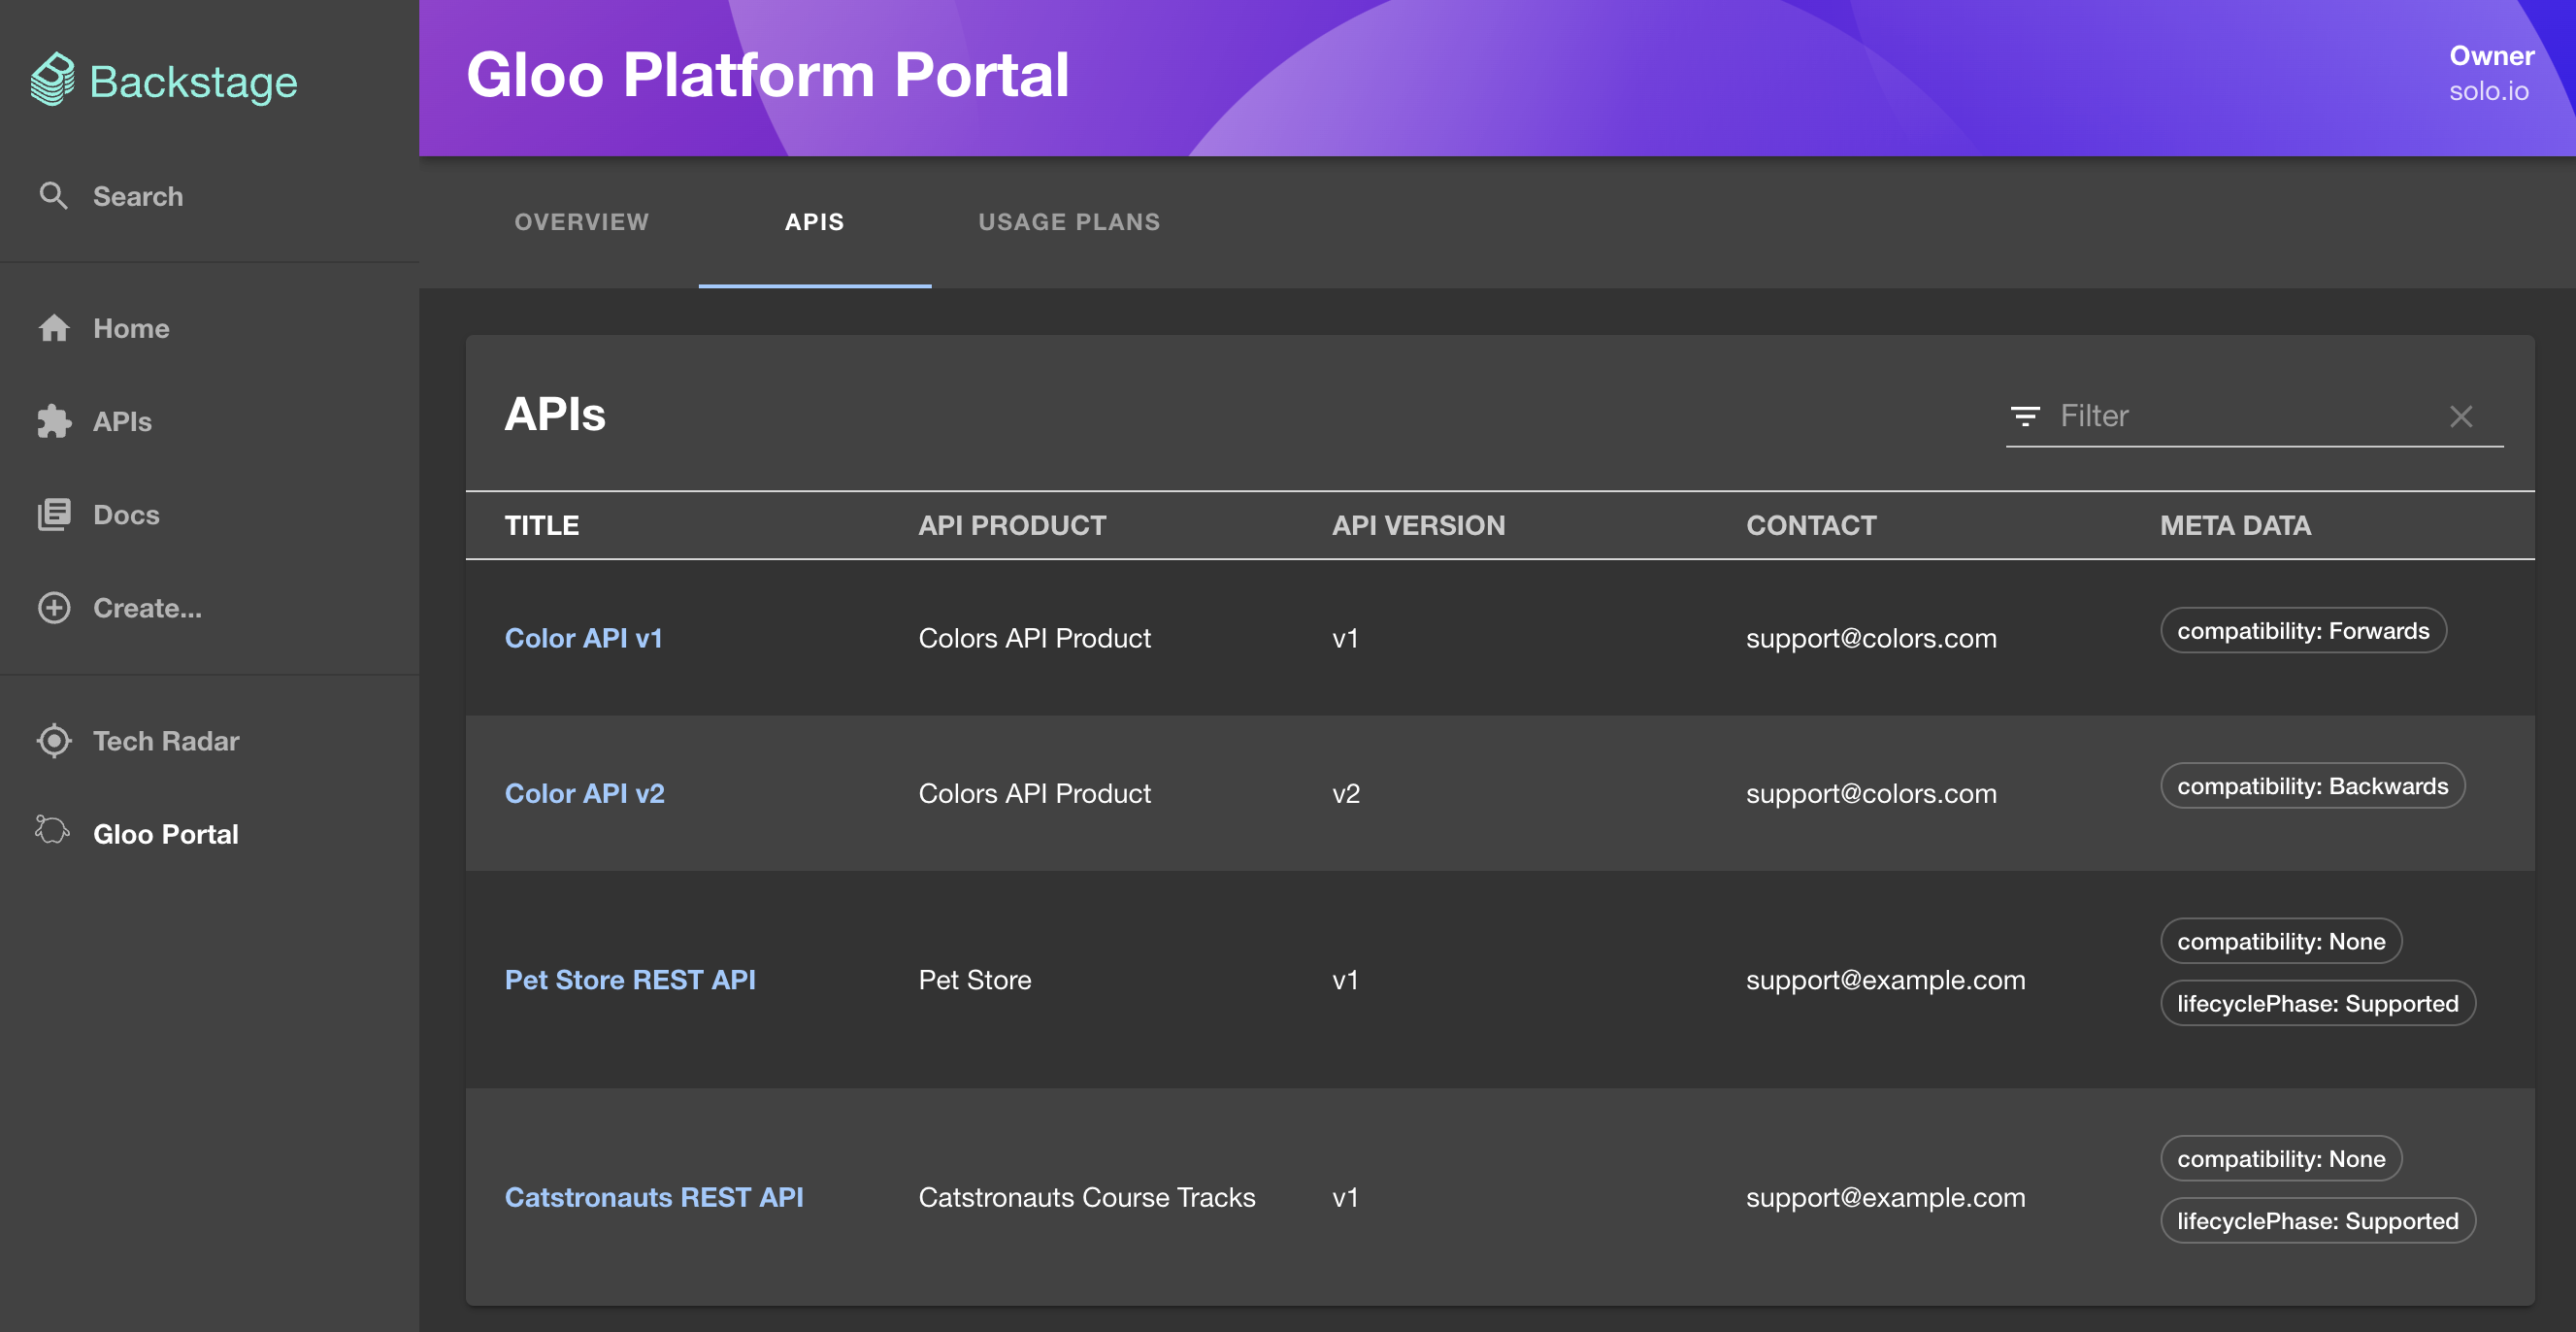
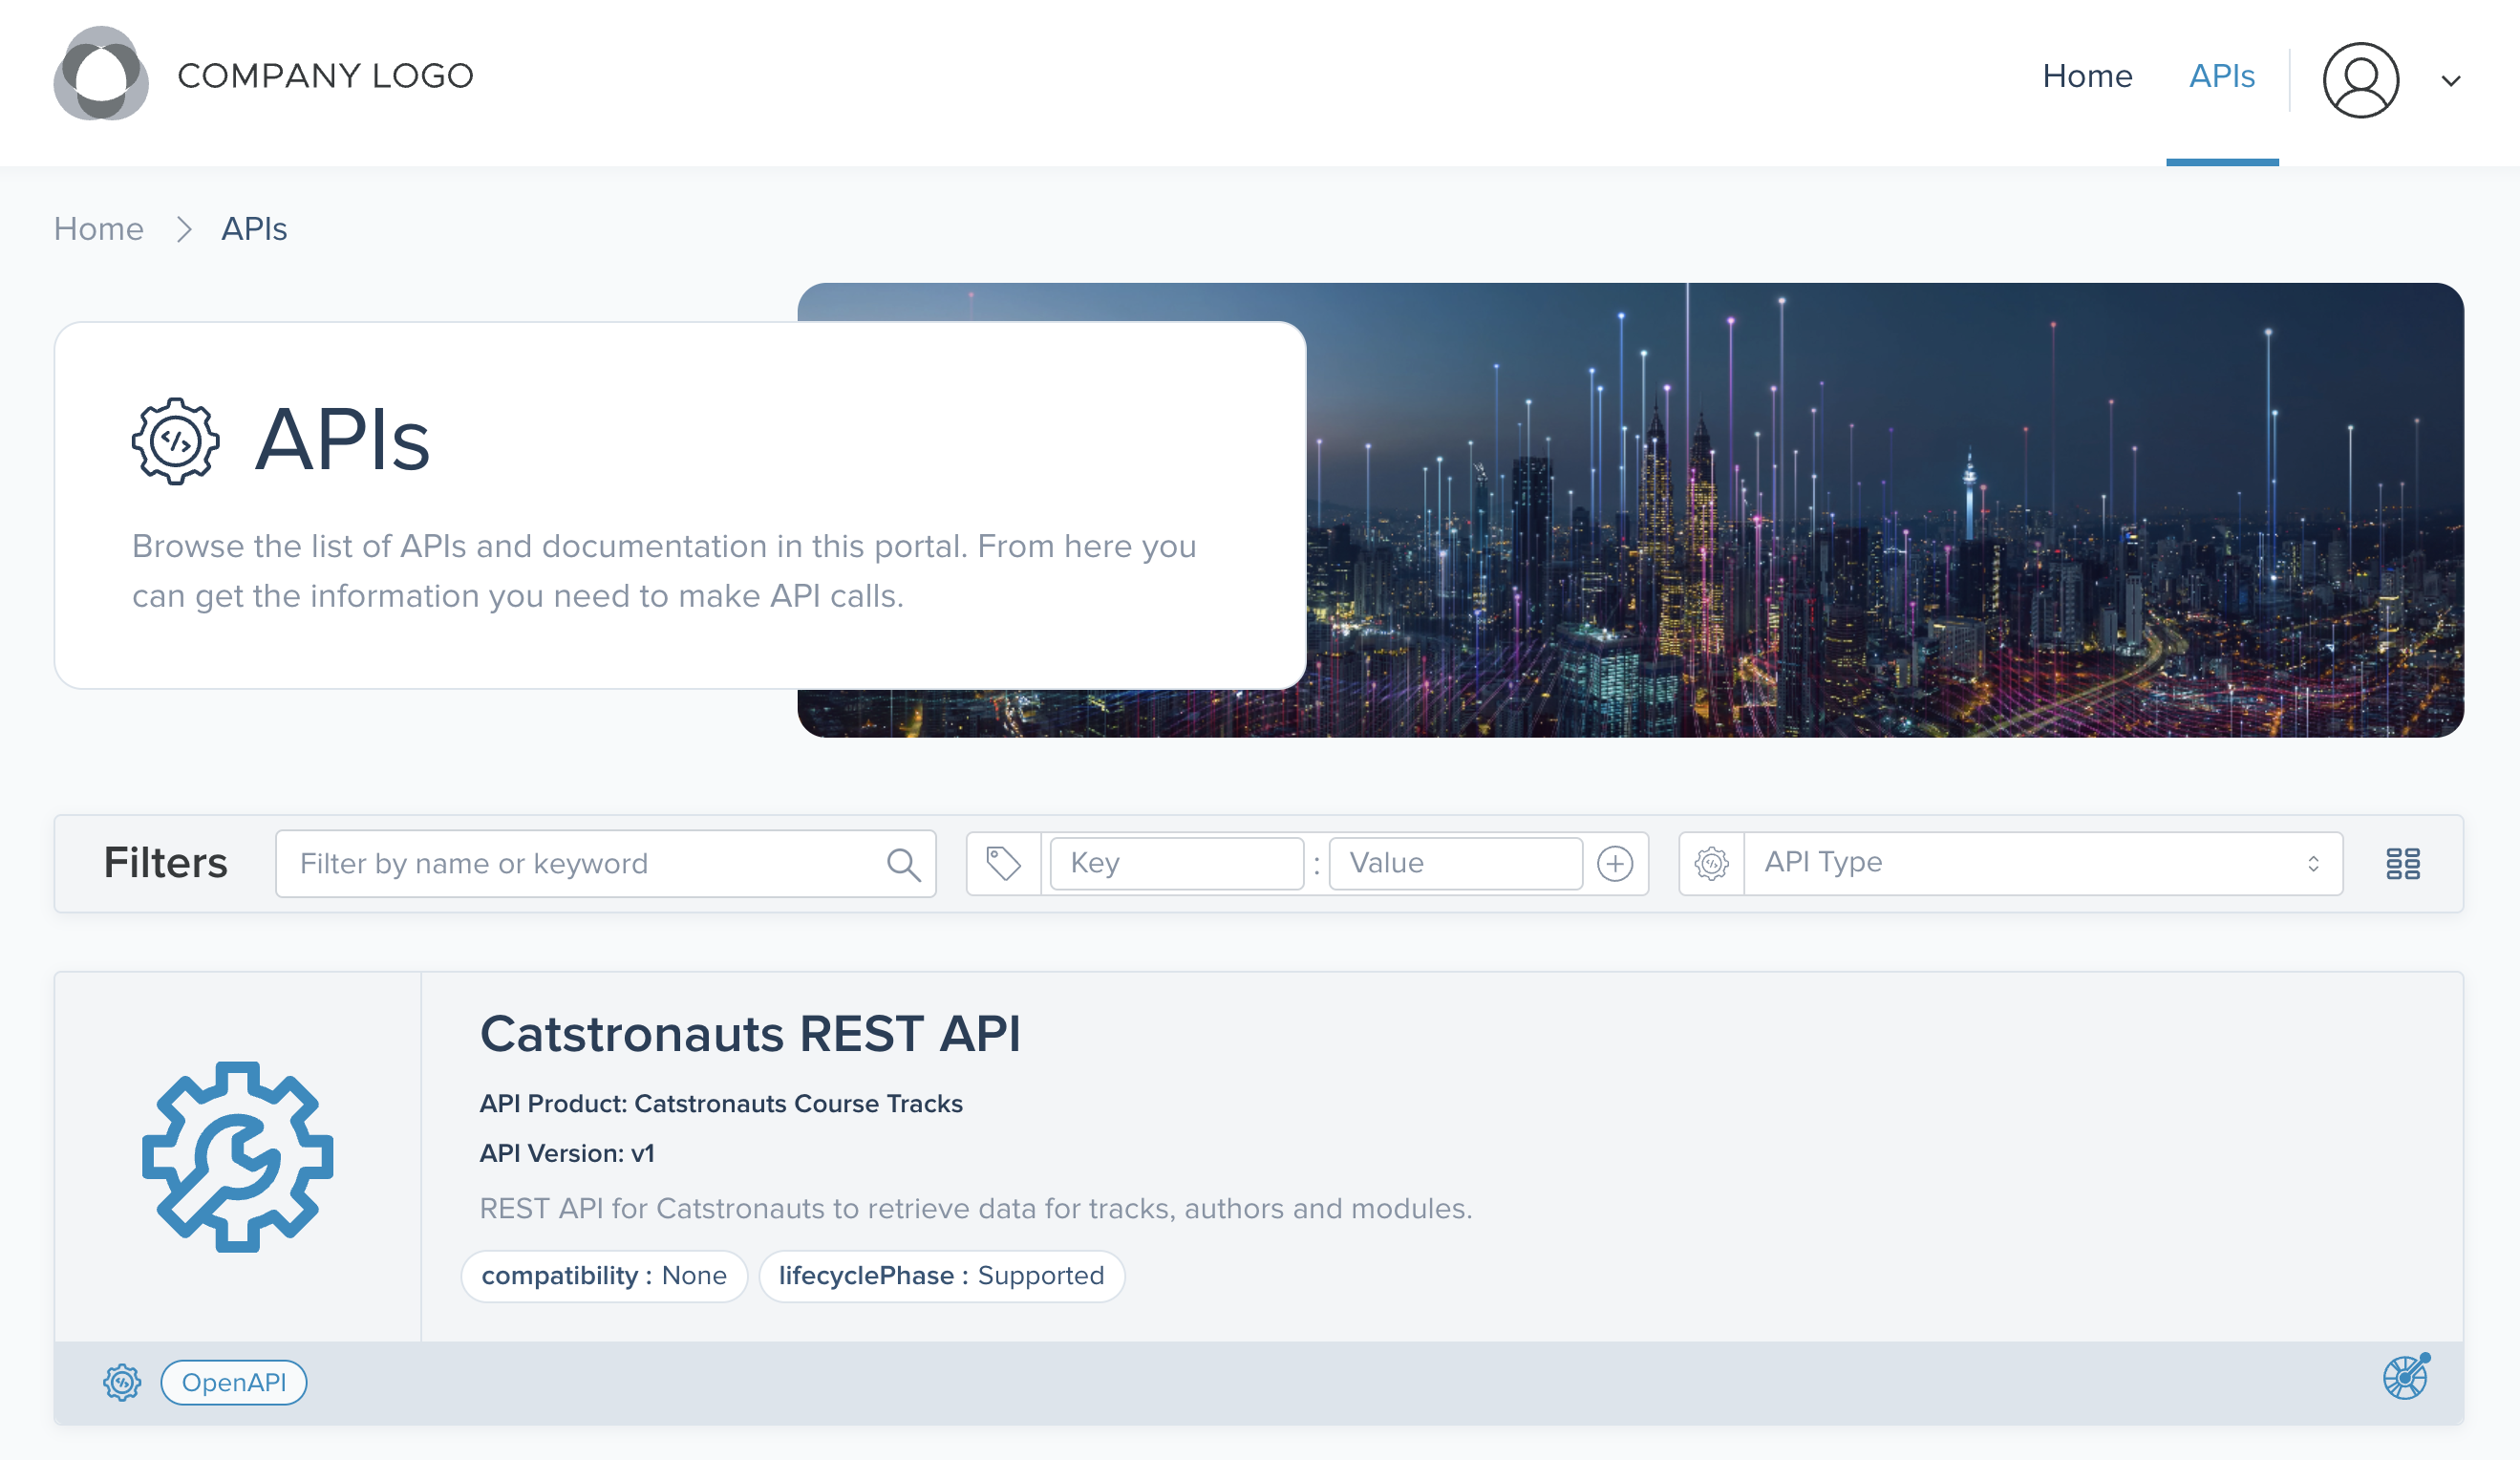
The end user guide varies depending on the type of frontend application that you deployed for the developer portal. This guide includes steps for the sample React app and Solo’s Backstage frontend plugin. If you created or modified your own frontend app, adjust the guide accordingly.
Before you begin
Before giving your end users the developer portal, complete the tutorials to install Gloo Portal and create a developer portal.
Discover your API products
End users can discover API products in your developer portal that they have access to.
- To launch the developer portal, your end users enter the hostname that you exposed the portal on, such as
developer.example.com, in their web browser. - By default, end users can review the home page. They can see any APIs that you did not require authentication for via external auth policies. If you followed the steps in the previous guides, the Tracks and Petstore API products are included in the portal. However, only the tracks API is publicly available and can be seen when selecting APIs from the menu bar. The petstore API is set to private and can only be seen after the user logs in to the developer portal.
- To review private APIs and perform other actions, such as to create an API key, the end users click Login. They are redirected to the OIDC provider that you configured.
- After successfully logging in, the end users can see the public and private APIs that they have access to.
- Users can select an API product to see the OpenAPI specification for that API in Swagger or Redoc format. They can review details, such as the API schema, required request parameters, response body information, or supported HTTP response codes.

