Create Users and Groups
While unauthenticated access is an option when it comes to using the API Products, many situations will call for authentication to consume an API. To provide access to a Portal UI or enable authentication and rate limiting for APIs, you are going to need to set up users and groups. Those users and groups will be associated with Usage Plans that define what type of authentication is associated with an API Product, along with any additional details like rate limits.
In this guide we are going to create users and groups through the Admin Dashboard. The users and groups we create will be associated with an API Product, Portal UI, and Usage Plan.
Pre-requisites
You will need to have Gloo Portal deployed on a Kubernetes cluster, and a connection to the Admin Dashboard as described in the Using the Admin Dashboard guide.
You will also need the following items provisioned in Gloo Portal:
You can follow the guides linked above to perform the action through the Admin Dashboard or go through the Getting started guide to provision these resources using kubectl.
Create a Group
We will first create a group that is associated with an API Product and Portal UI. Then we will create a user and add them to the group. They will inherit the group's access to API Products, Usage Plans, and Portal UIs.
We will start from the Overview page of the Admin Dashboard. First you will click on the Access Control item in the navigation bar to manage users, groups, and API keys.

The page should load on Basic Authentication including Groups and Users. Click on the Create a Group button to start the process.

On the General page, you will fill out the basic fields for the new group.
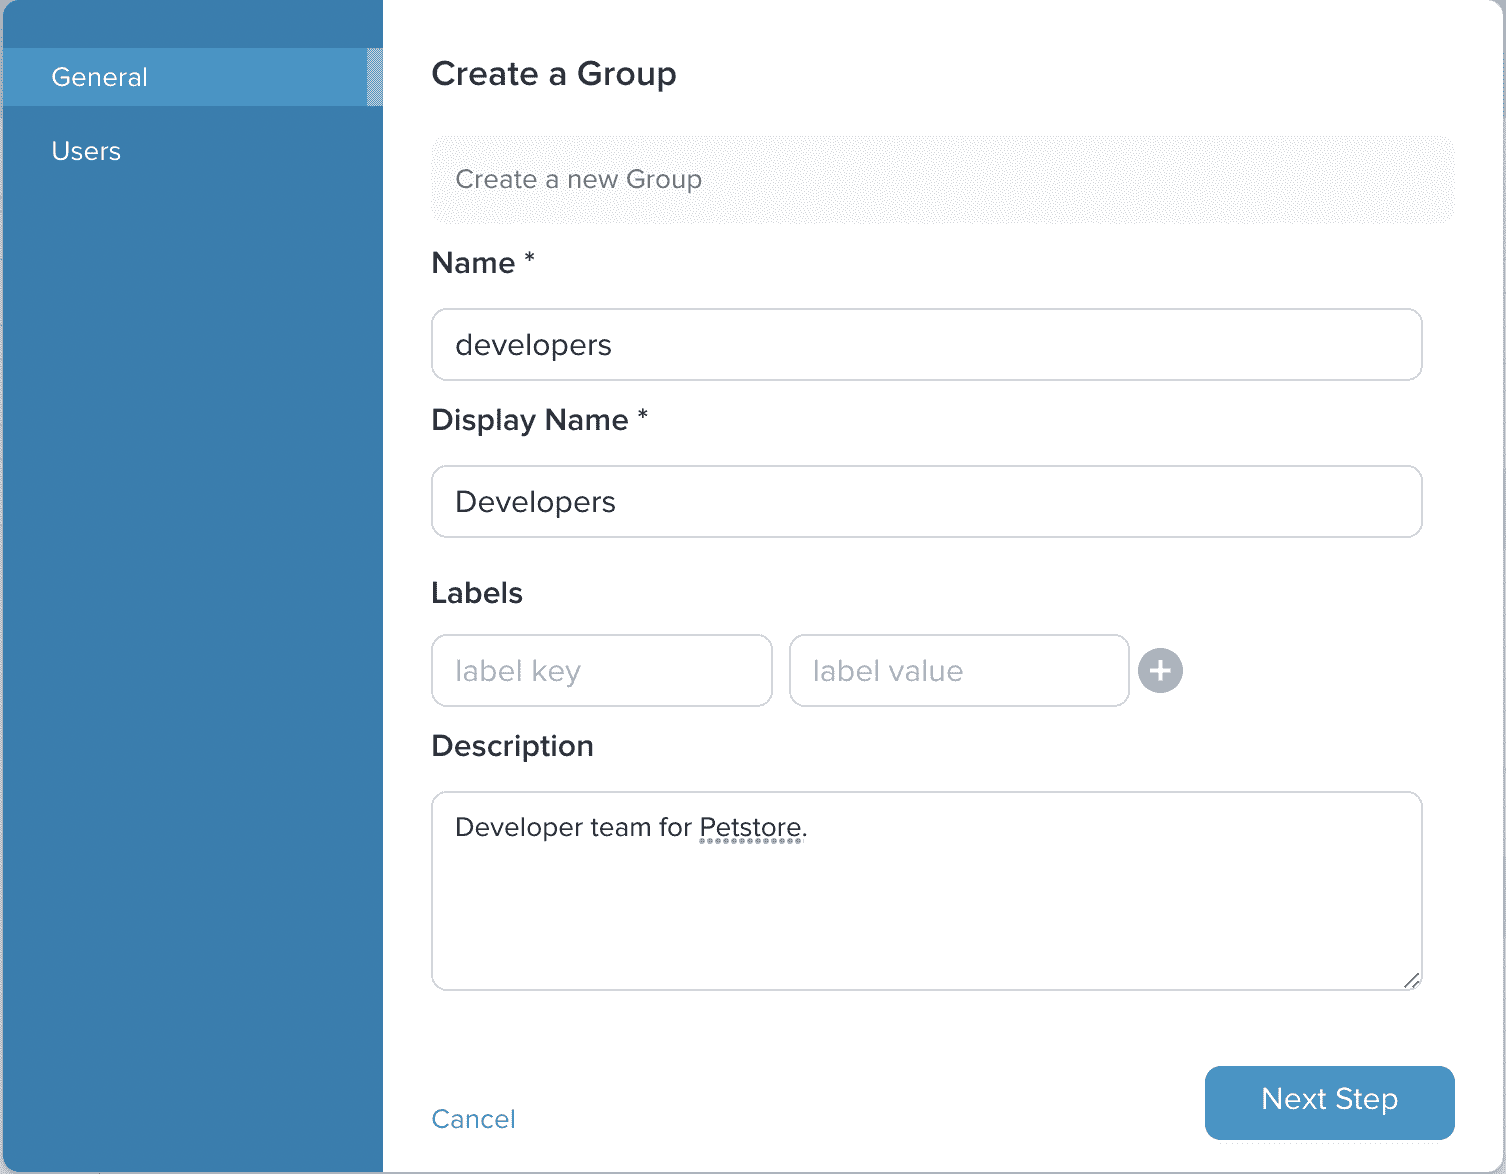
In our example we are going to use the following values:
- Name: developers
- Display Name: Developers
- Description: Developer team for Pet Store.
Then click on Next Step to move to the Users page. The users page allows you to add one or more users to the group.
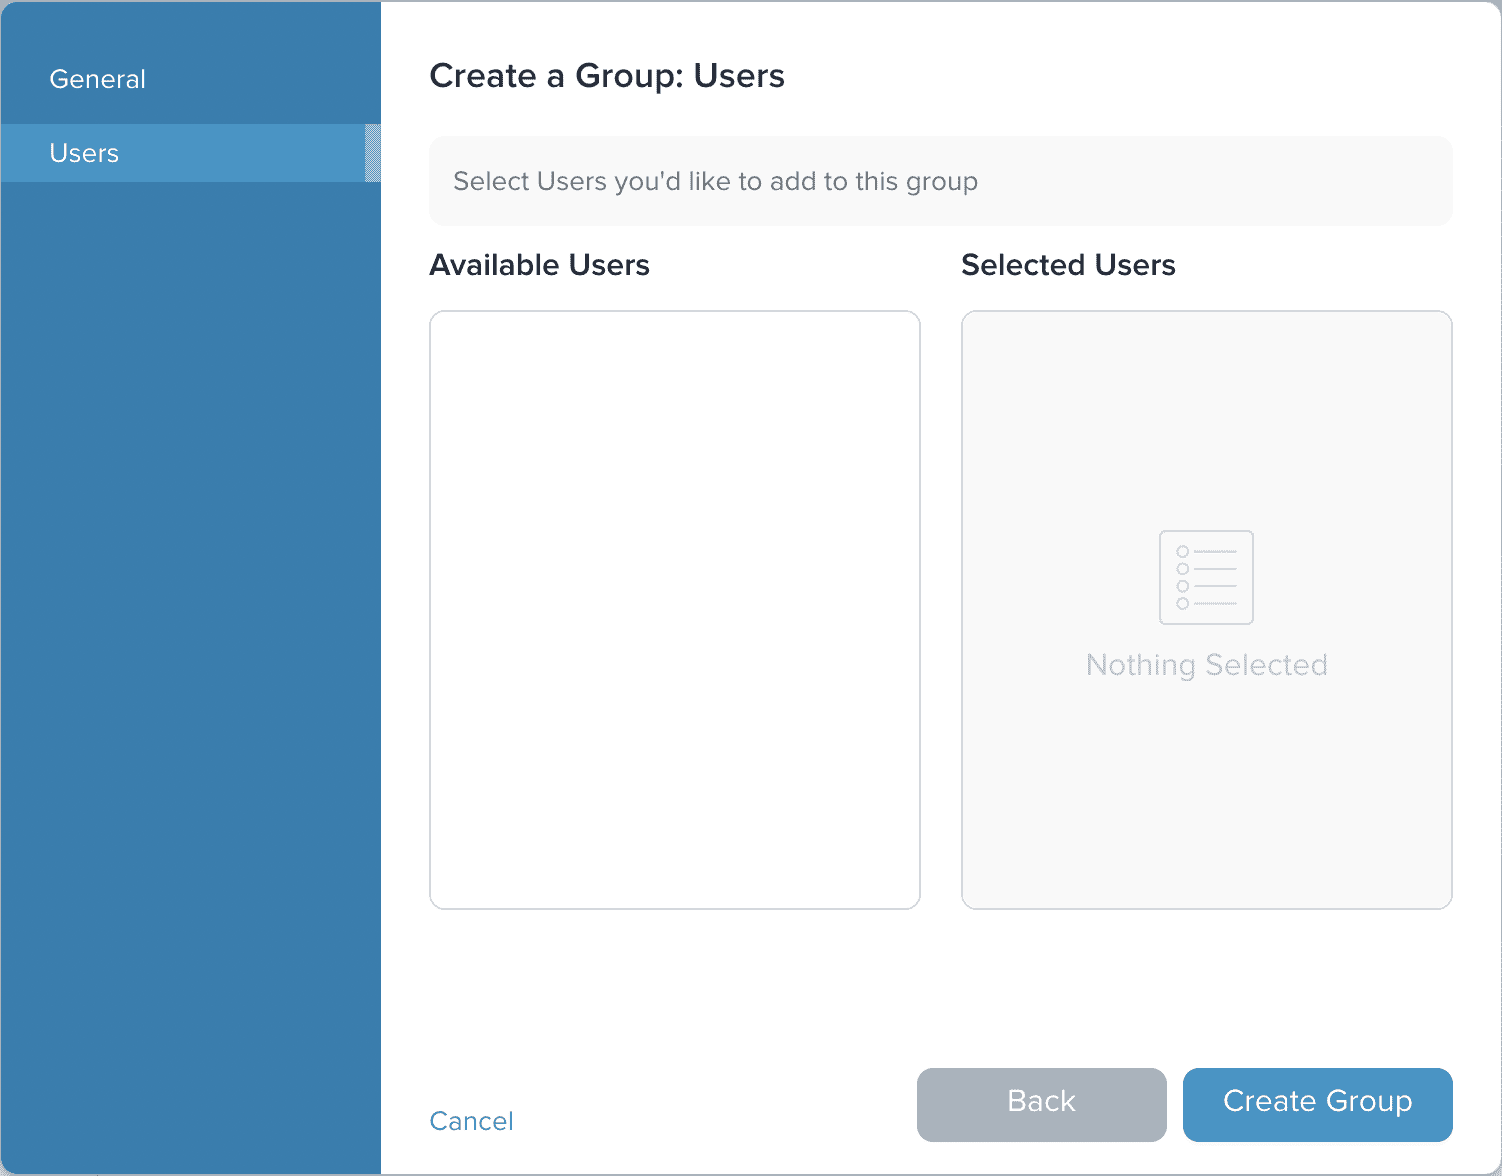
We do not have any users created yet, so click on Create Group button to finish the process. Back in the Access Control view, you should see the newly created group under the Groups area.

Associate an API Product with the Group
Now that we have a Group created, we can associate it with an API Product and Portal UI.
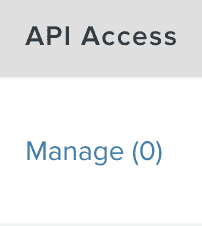
To associate the Developers group with an API Product, click on Manage under the API Access header.
A modal will appear where you can select the API Product and Usage Plan using label selectors.
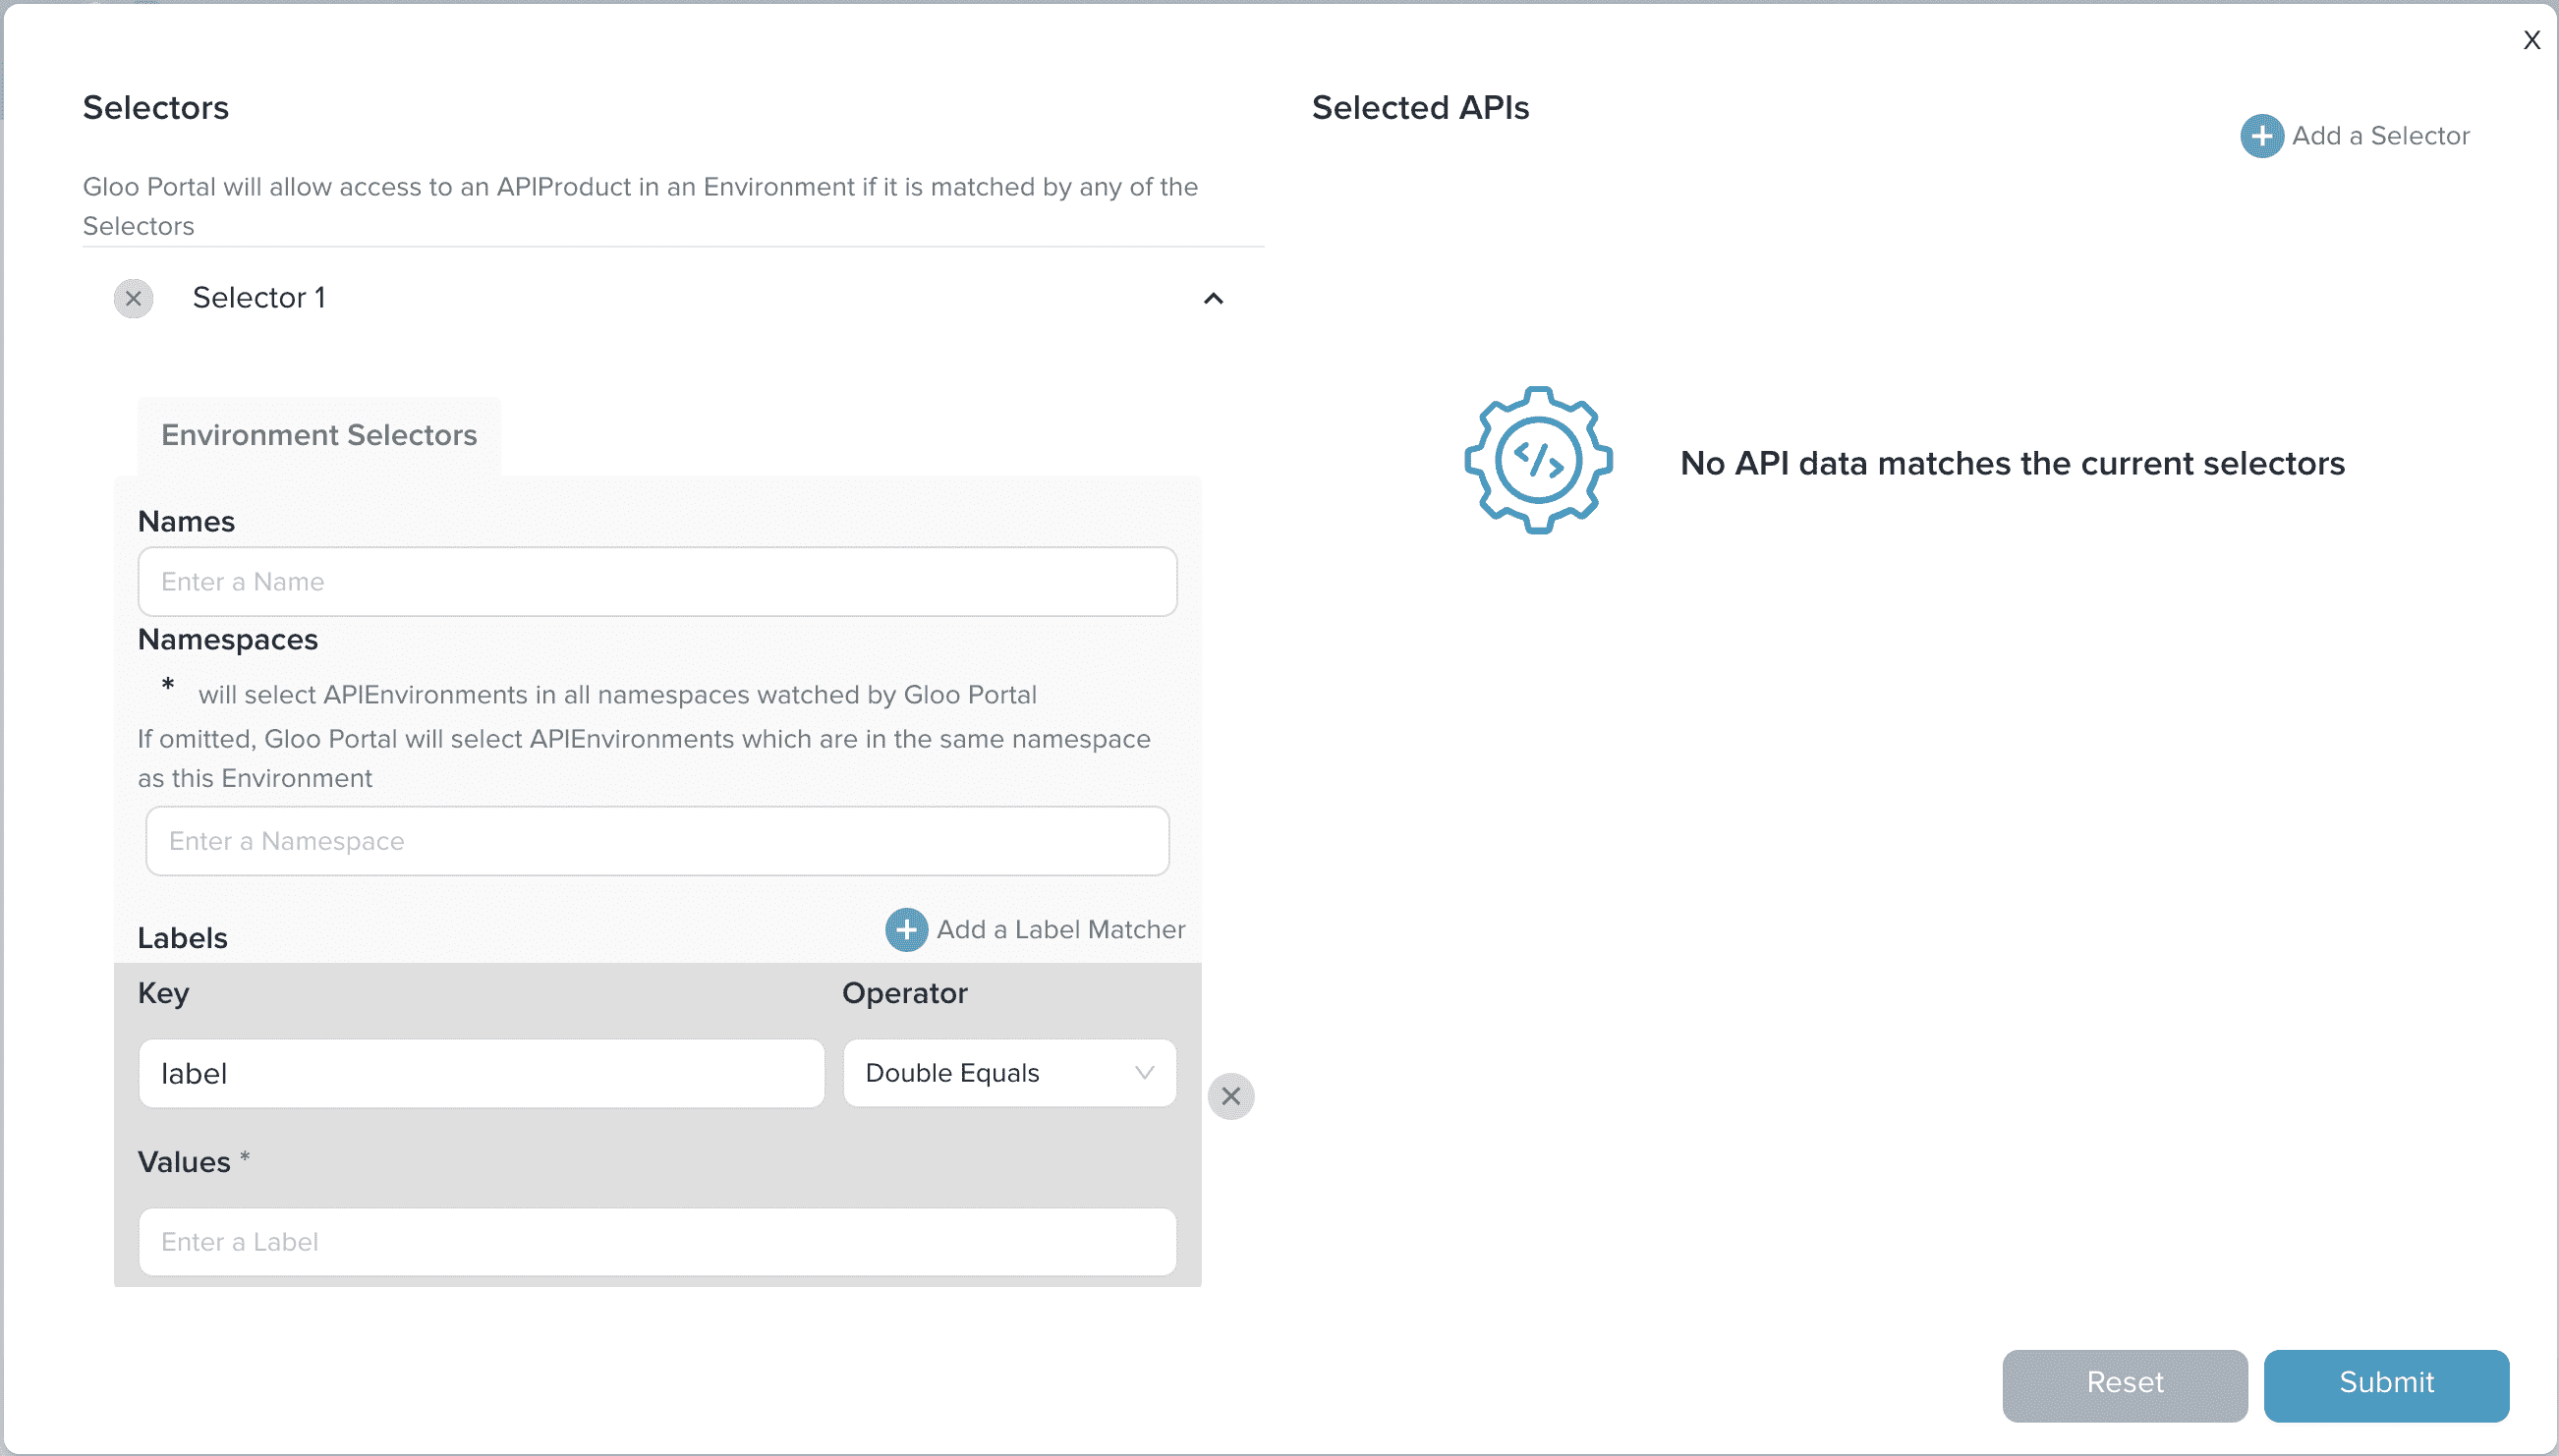
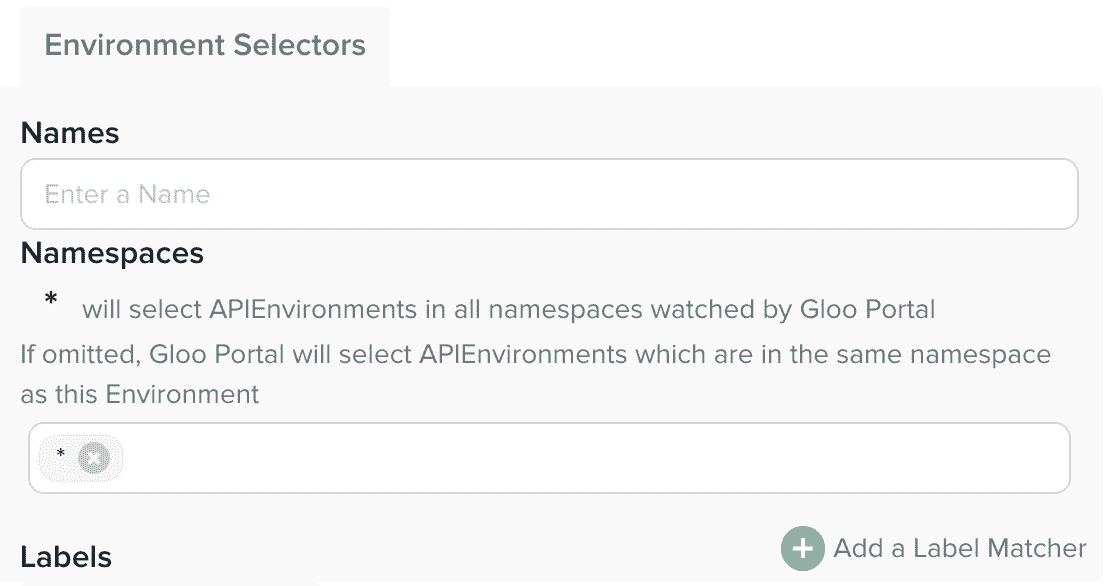
Under Environment Selectors, we will want to remove the default label matcher by clicking on the “X”. We will also want to set Namespaces to *. This will allow the group to search for the API Product in any namespace.
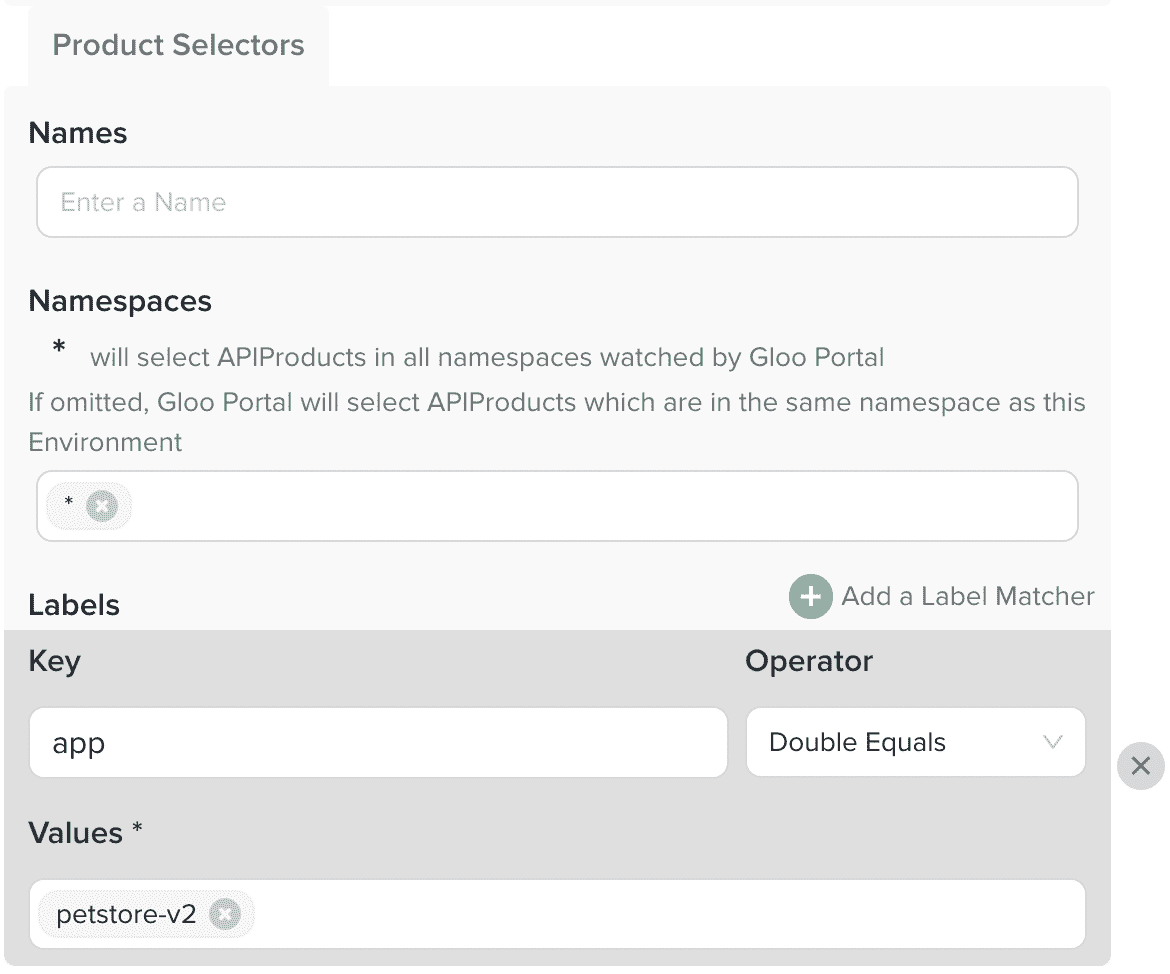
As for the Product Selectors, we will want to set the following values:
- Namespaces: *
- Labels:
- Key: app
- Values: petstore-v2
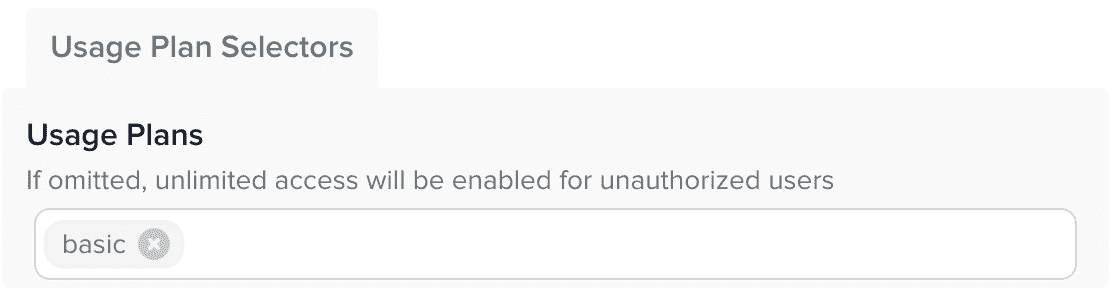
Lastly, we will want to set the Usage Plan to the one we created earlier.
Under Usage Plan Selectors, select basic from the dropdown.
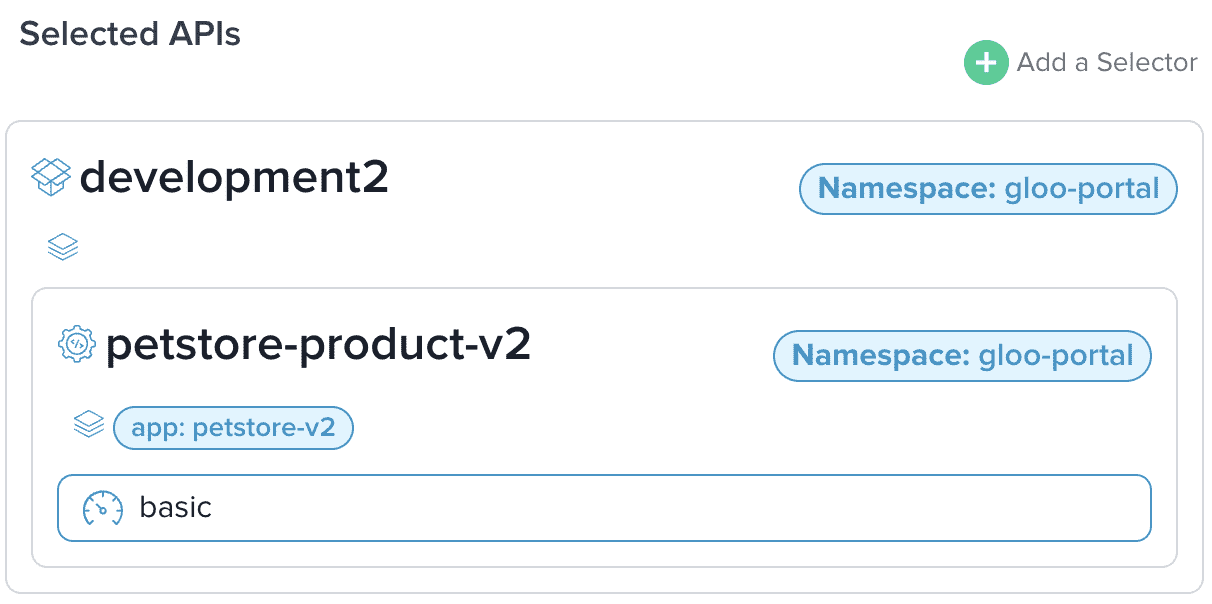
Once you have set the values, you will see the the section under Selected APIs get populated with the API Product and Usage Plan selected. Click on Submit to save the changes.
Associate a Portal UI with the Group
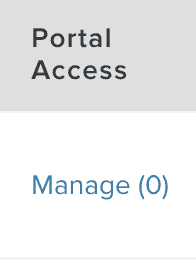
To associate the Developers group with a Portal UI, click on Manage under the Portal Access header.
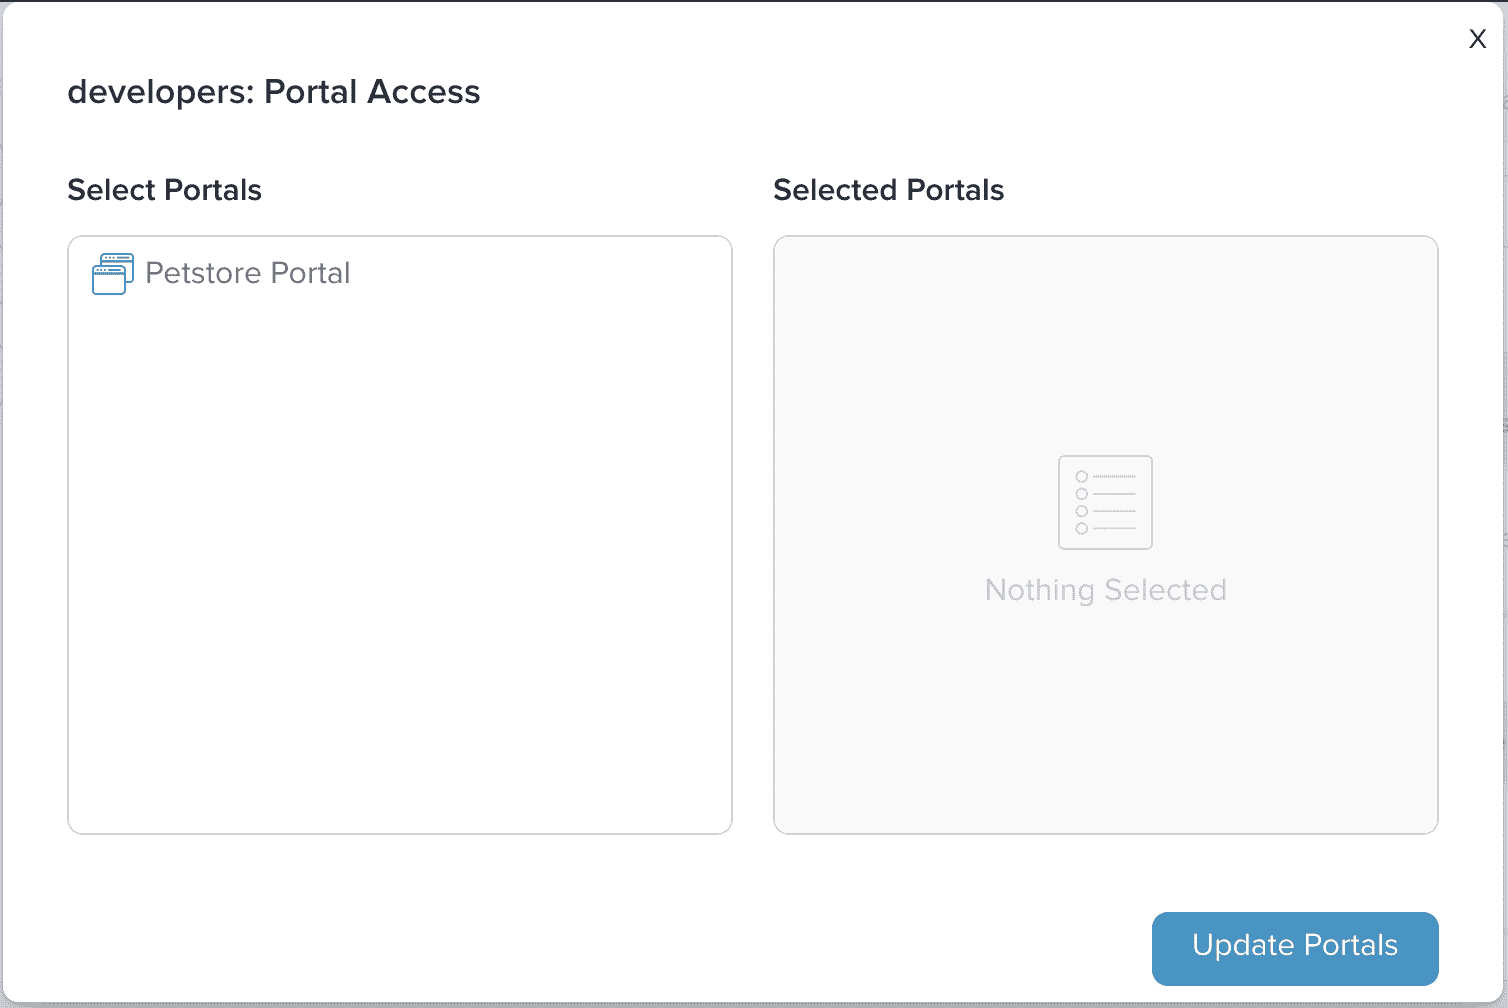
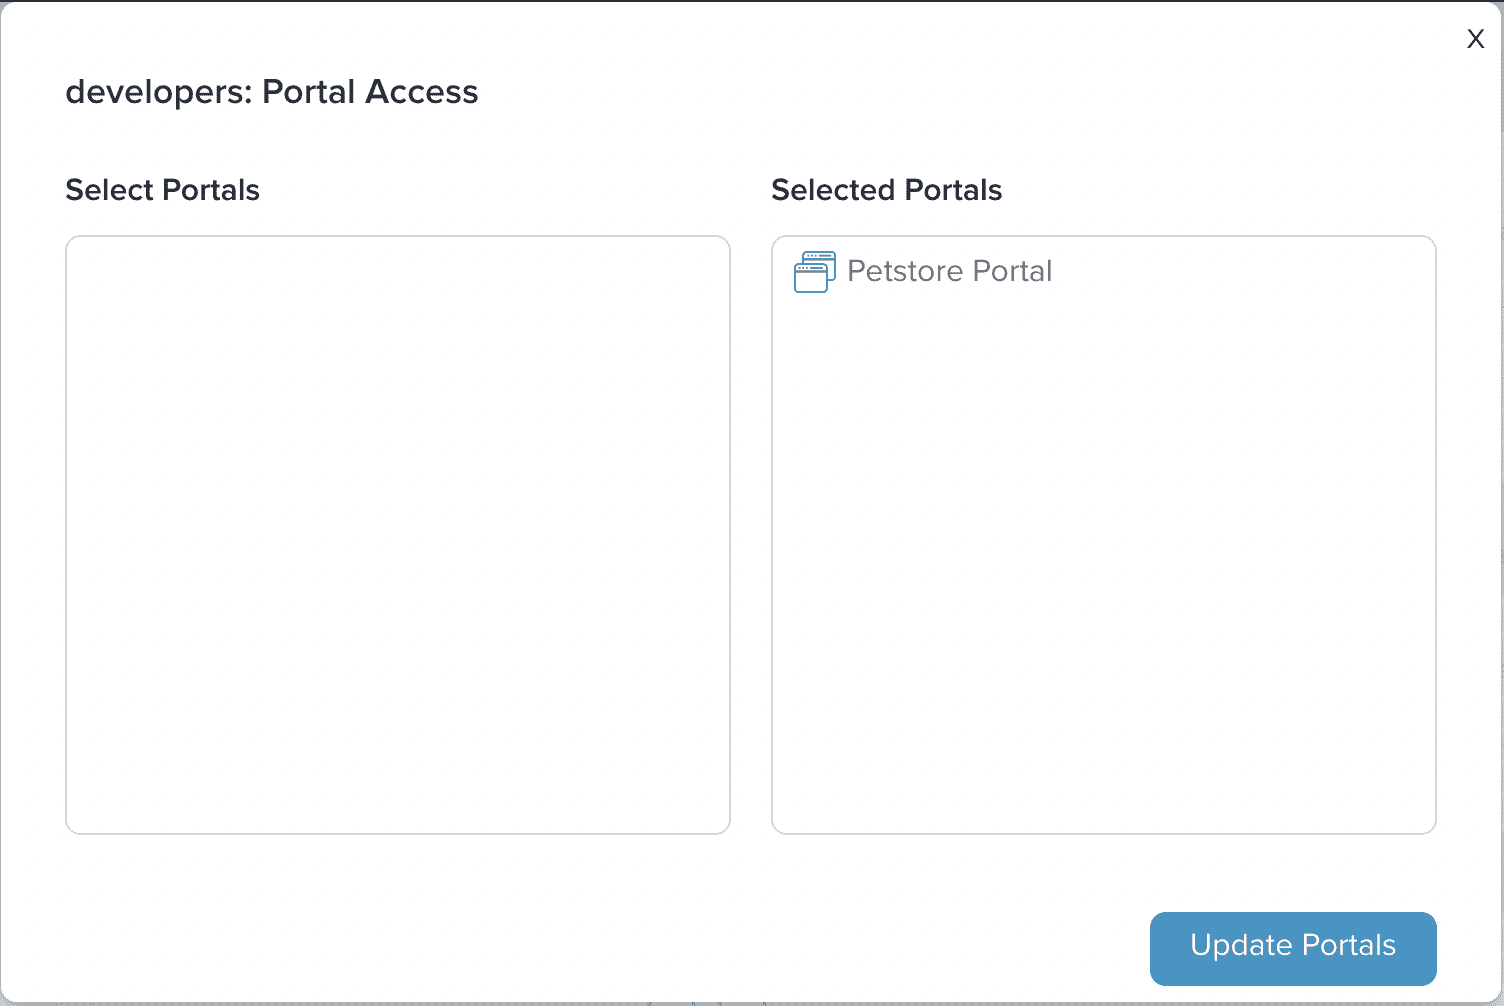
From the modal that appears, you will want to select the Petstore Portal you created earlier. Once selected, it will move from the Select Portals section to the Selected Portals section. Click on Update Portals to save the changes.
Once completed, the Developers group will be associated with the Petstore Portal and API.

Now it's time to add a member to the group!
Create a User
We will start from the Access Control page of the Admin Dashboard. Click on the Create a User button to start the process.
On the General page, you will fill out the basic fields for the new user.
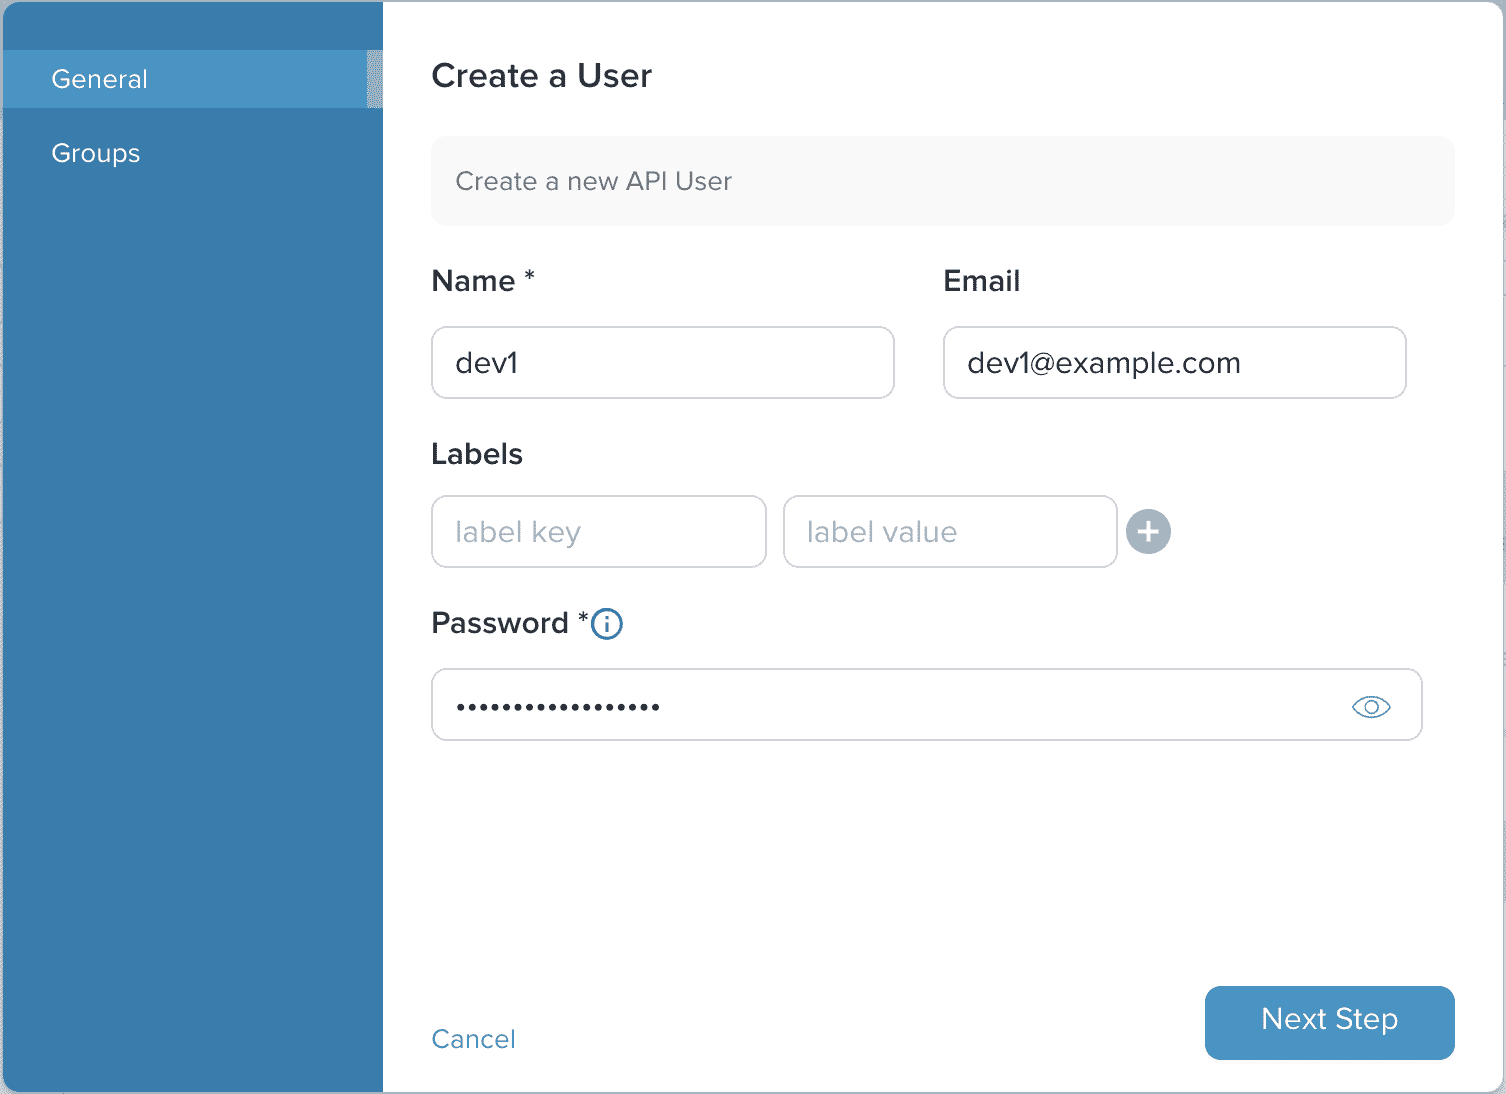
In our example we are going to use the following values:
- Name: dev1
- Email: dev1@example.com
- Password: mysecurepassword1!
Then click on Next Step to move to the Groups page. The groups page allows you to add the user to one or more groups.
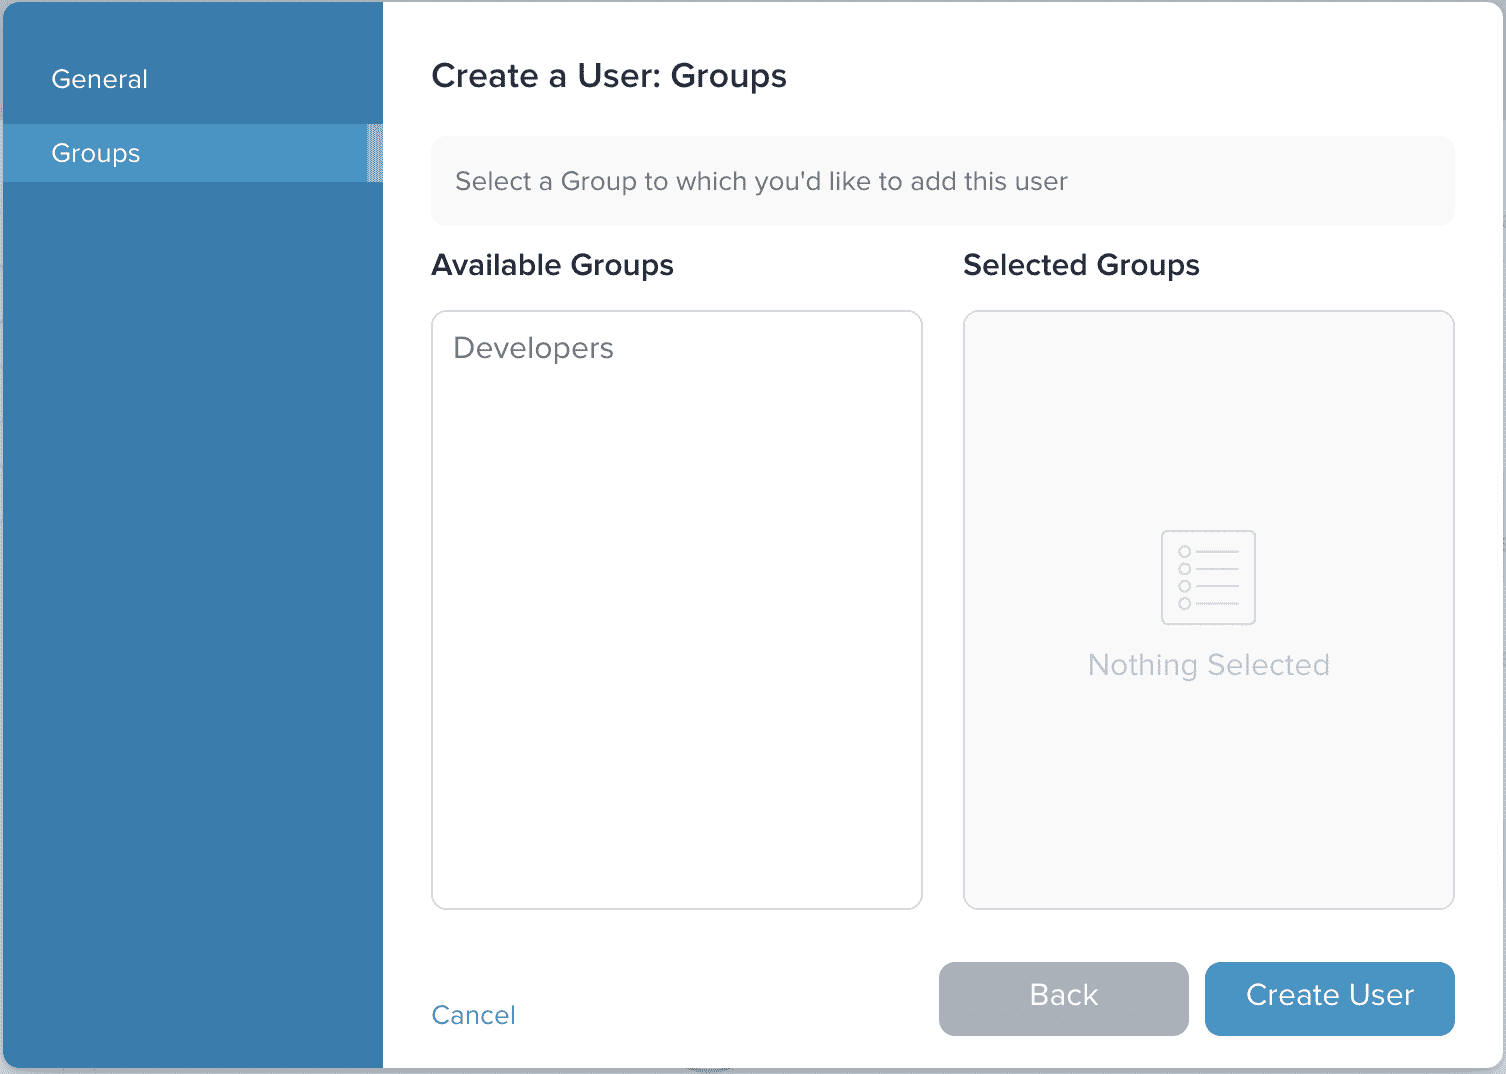
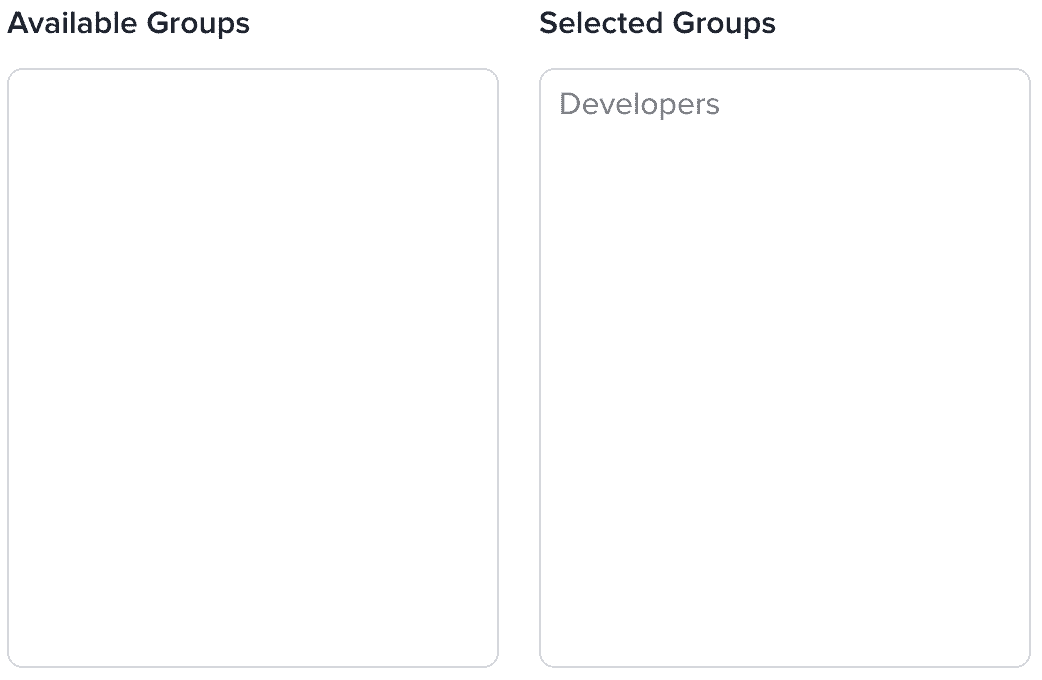
Click on the green plus sign next to the developers group to move it from Available Groups to Selected Groups. The user will inherit the API Products and Portal UIs associated with the group.
Now click on Create User to complete the process.
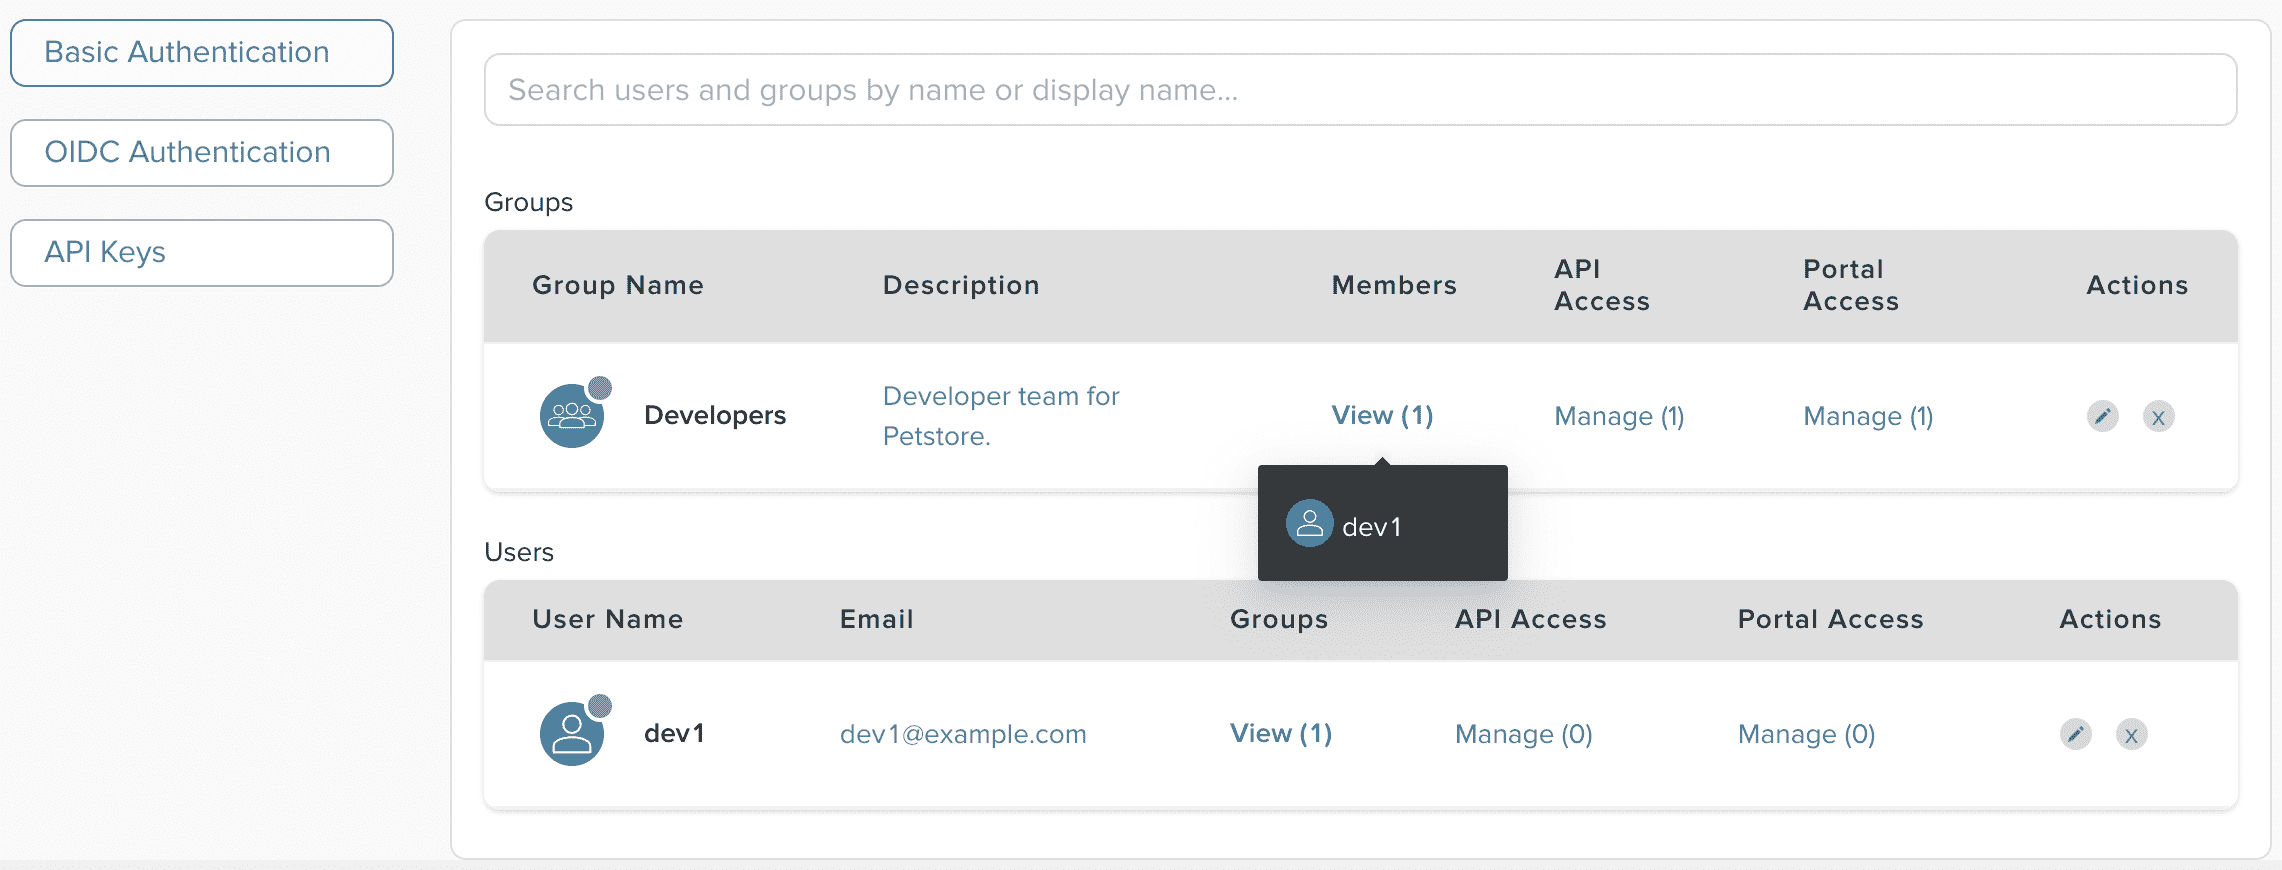
From the Basic Authentication view we can see that the dev1 user has been created. By hovering over the View text for Groups, we can see that dev1 is a member of developers.
Validate Access
Now that we have created a group with access to the Petstore product and Portal UI, we can validate that access by looking at the properties of the API Product and Portal UI.
From the navigation bar, select the APIs category.

The page should load the list of API Environments by default.
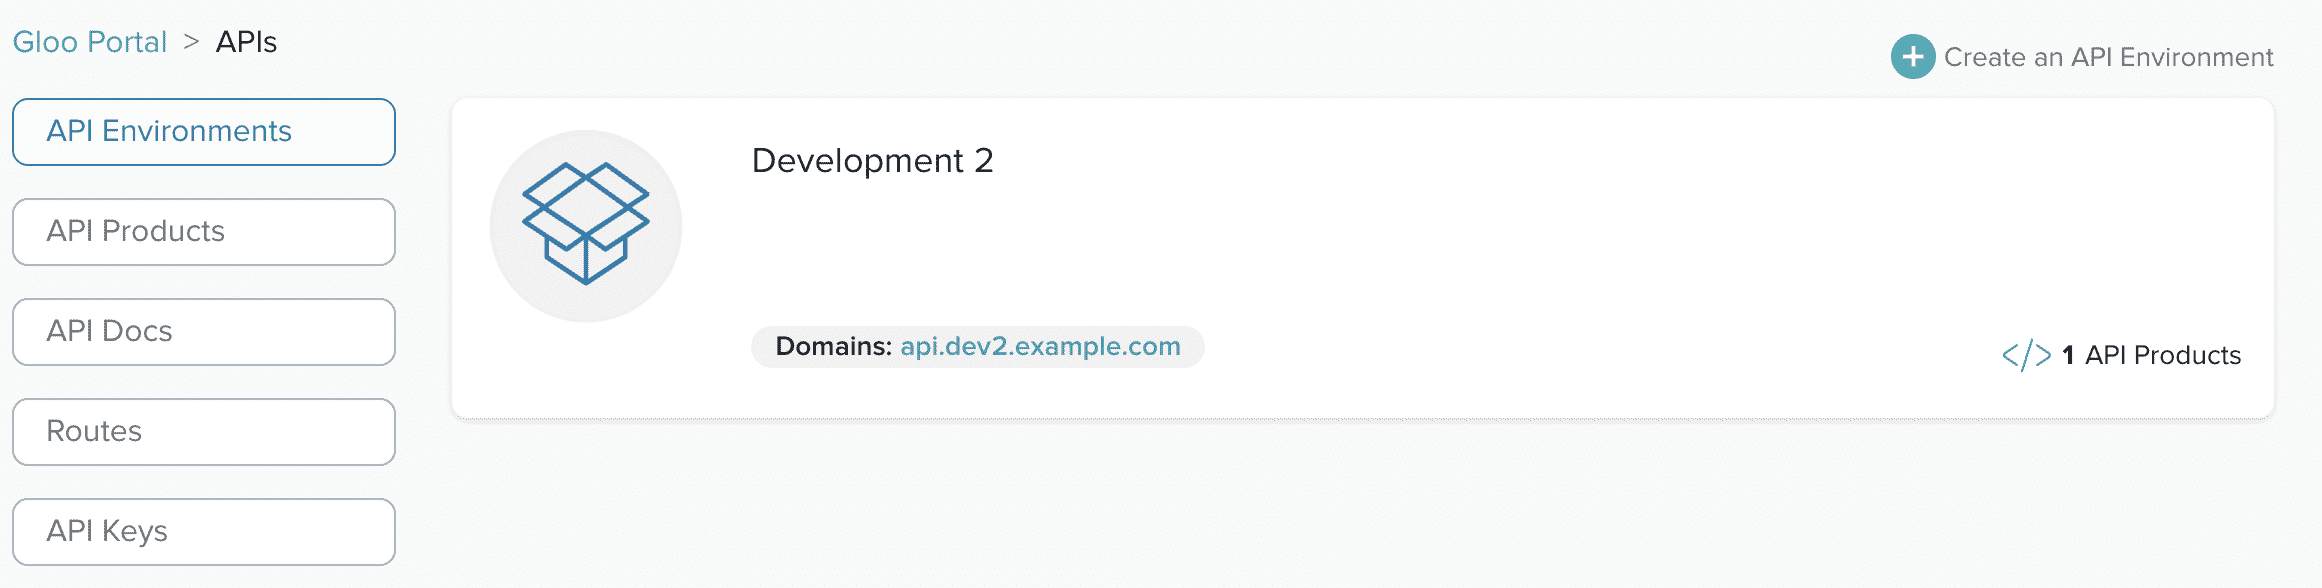
Let's go into the Development 2 environment and take a look at the Petstore Product v2 API Product.
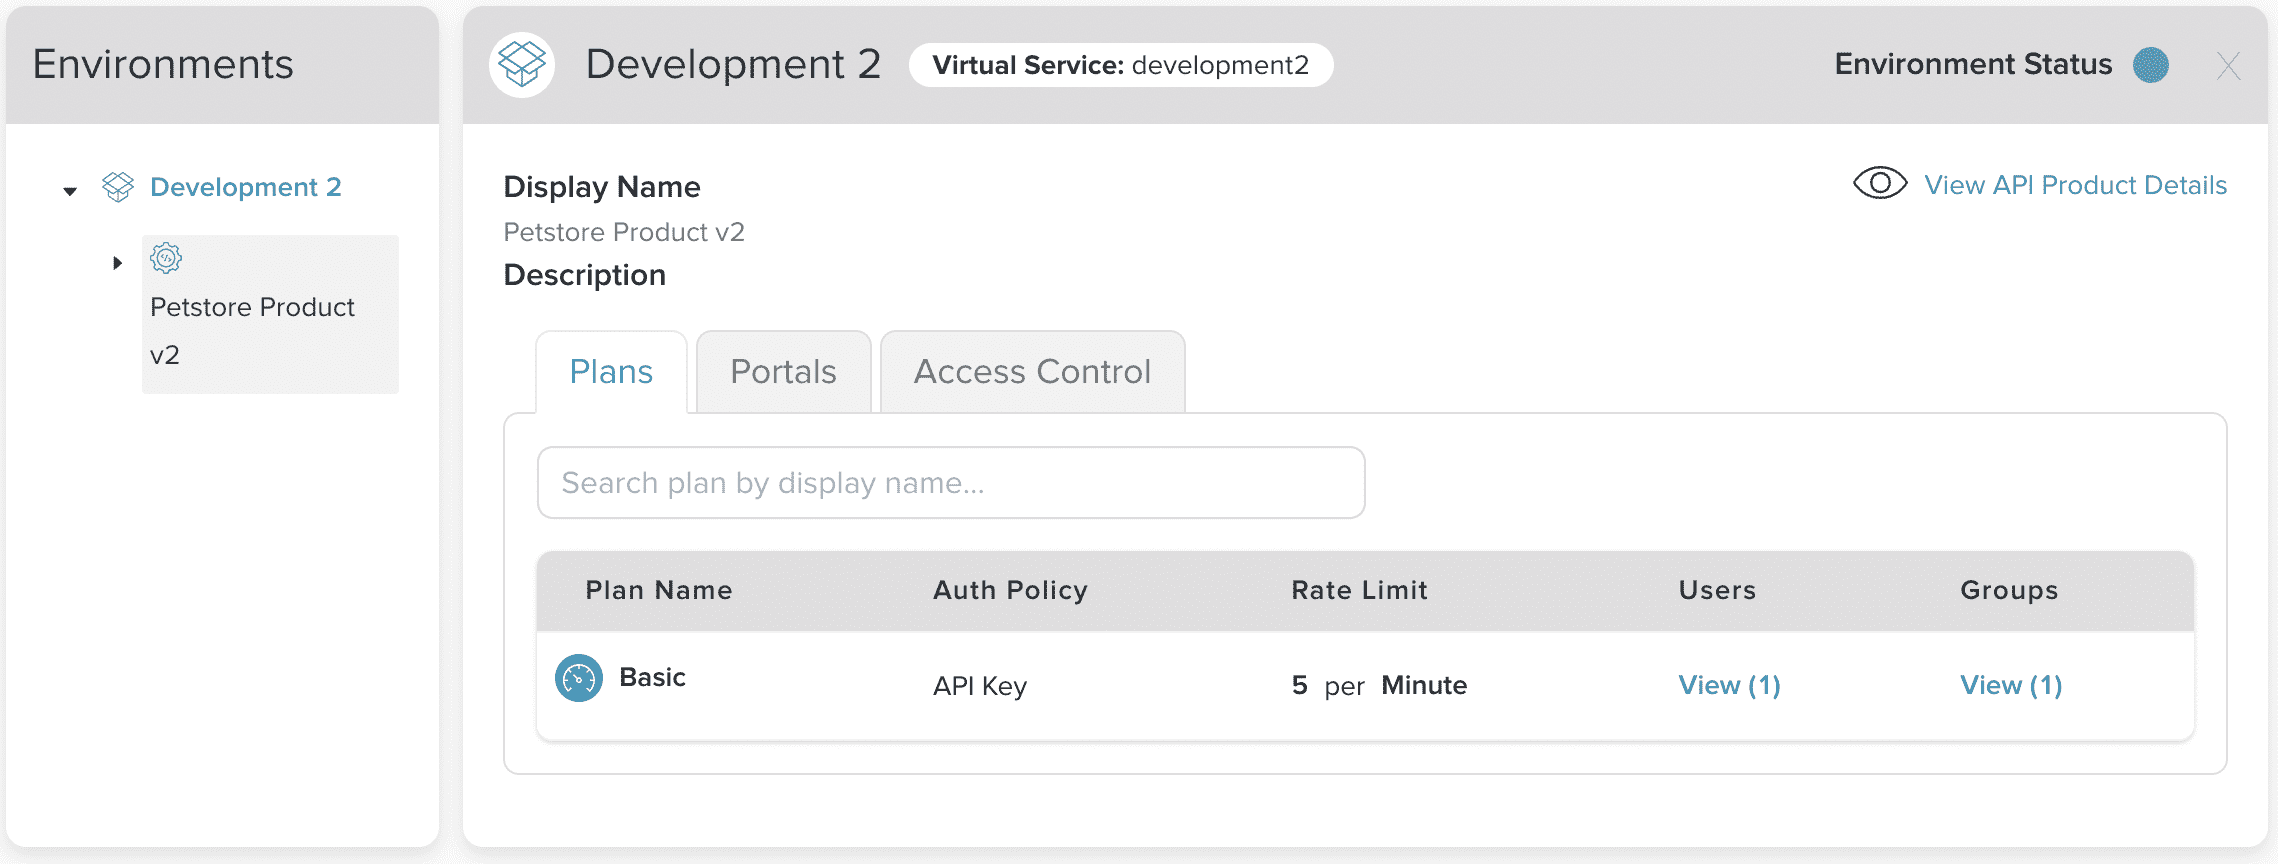
We can see that our Basic usage plan now has one user and one group associated with it. We can view more information by clicking on the Access Control tab.
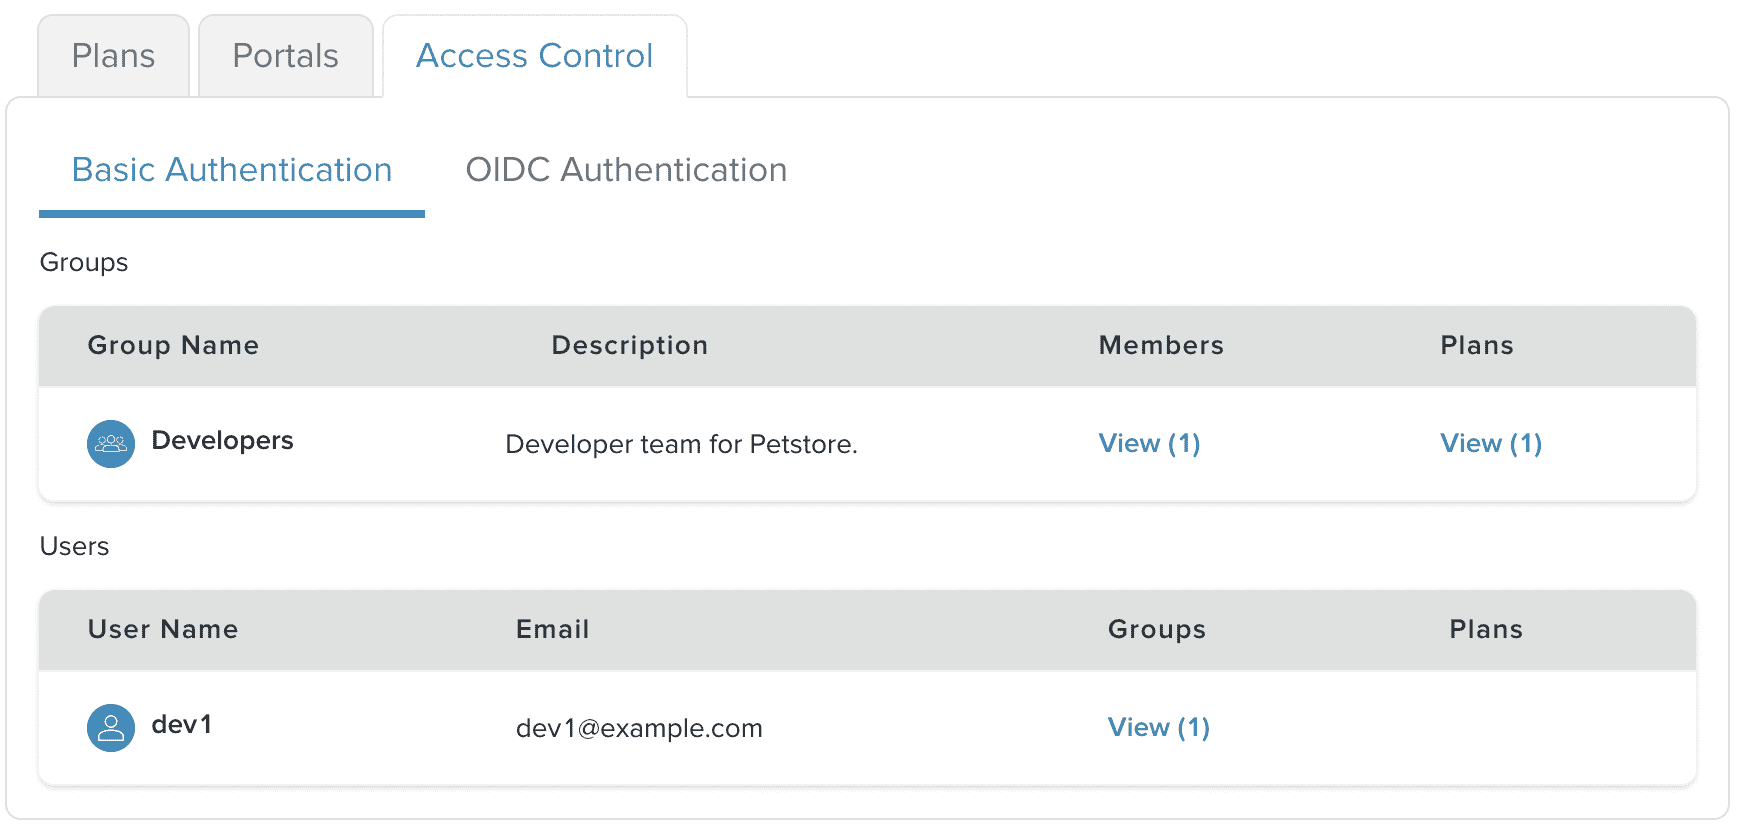
The Developers group has one member and one plans associated with it.
Next let's take a look at the Portal UI. Start by clicking the Portals category on the navigation bar.

Then click on the Petstore Portal entry, and select the Access Control tab.
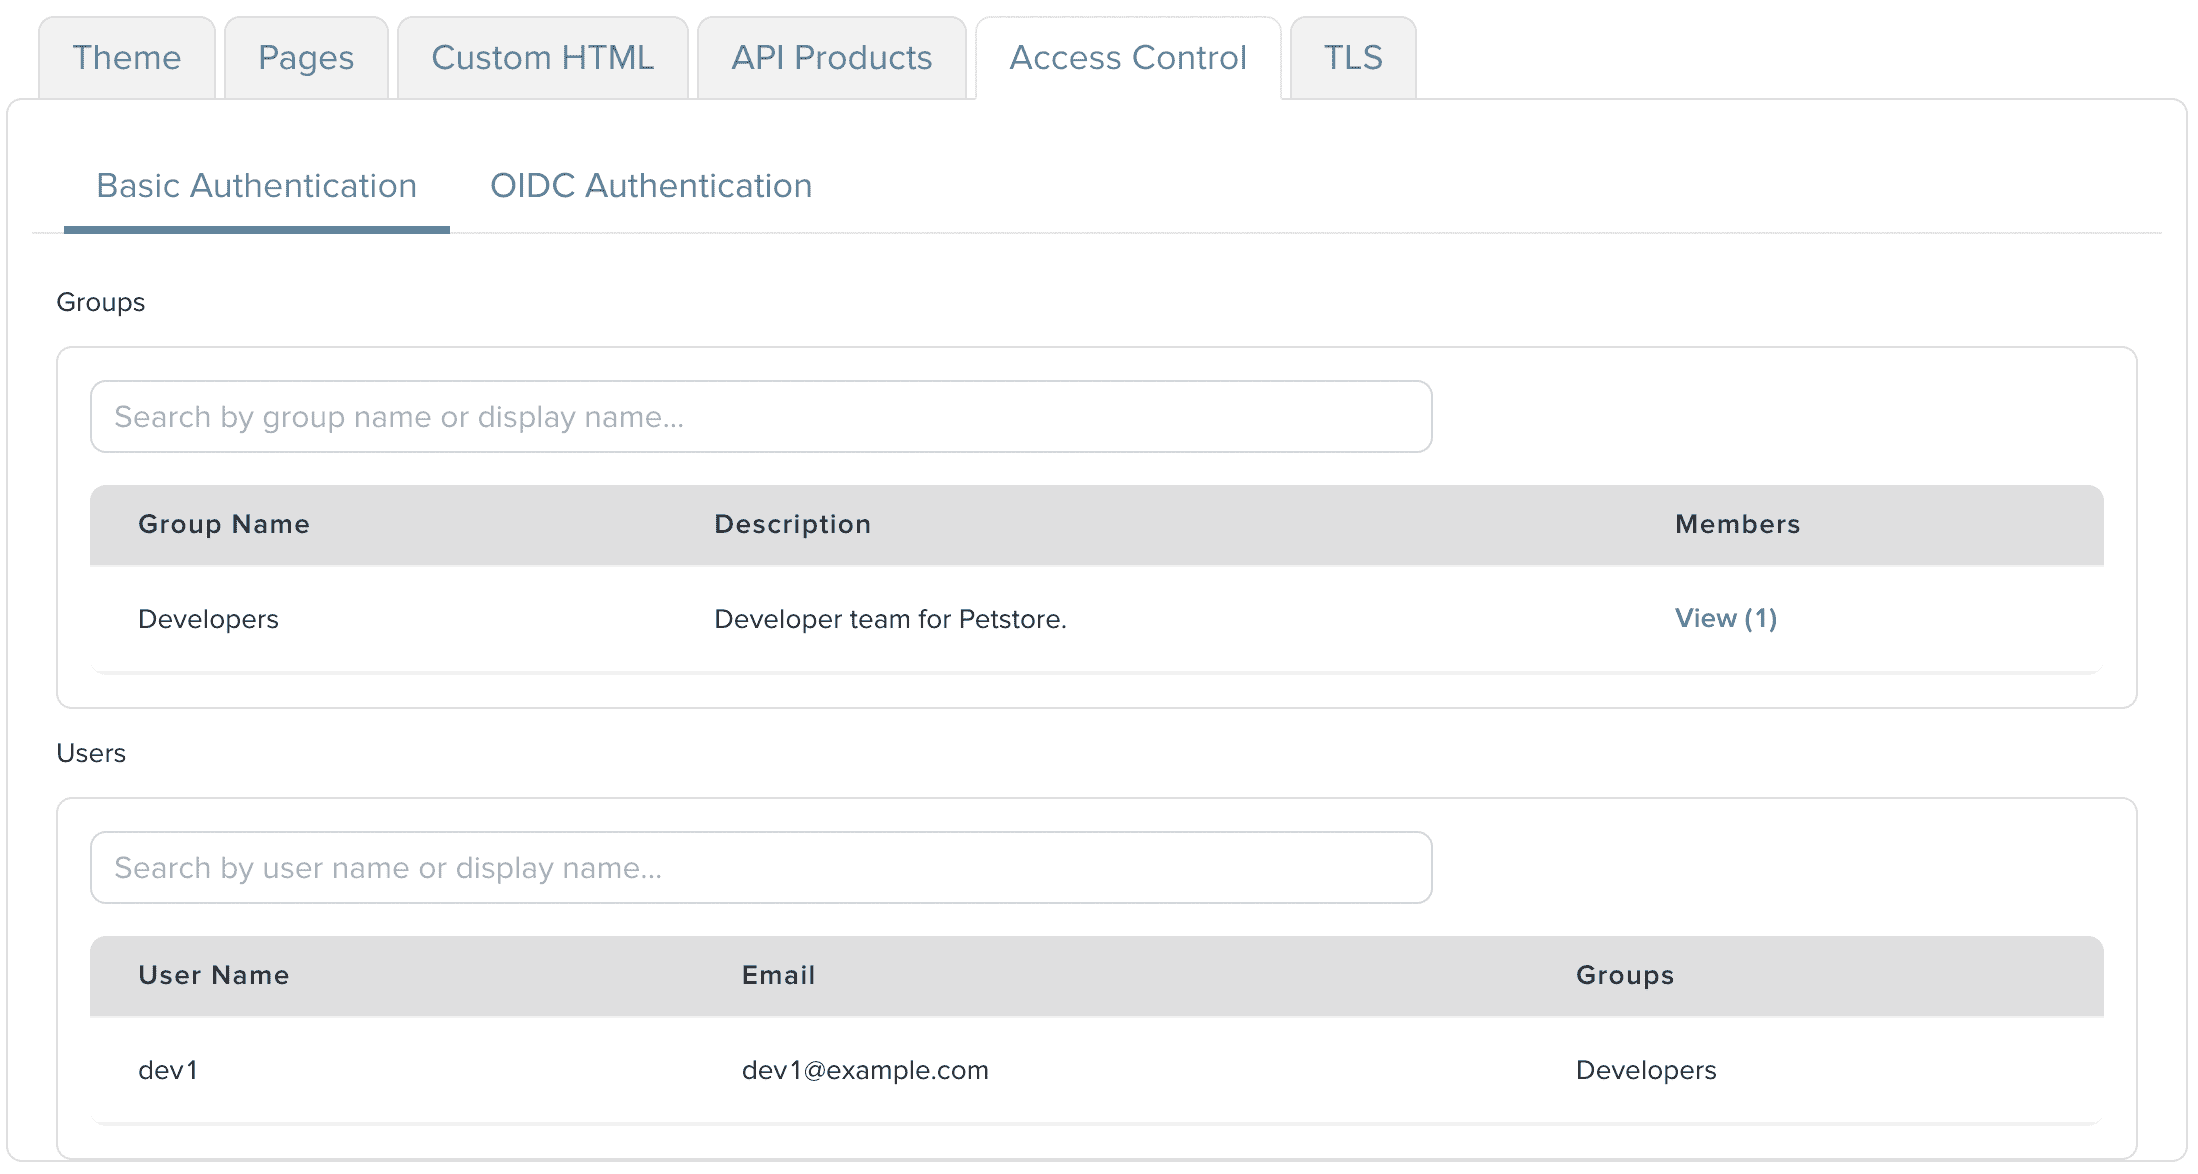
We can see that the developers group and the dev1 user have access to the Portal UI.
From here you can test the user access by following the existing User and Groups guide starting with the “Using the Petstore portal” section.
Next steps
You may want to learn more about the concepts behind users, groups, plans, and portals. Check out the architecture page of our concepts section as an excellent jumping off point to better understand how all the pieces of Gloo Portal fit together.